|
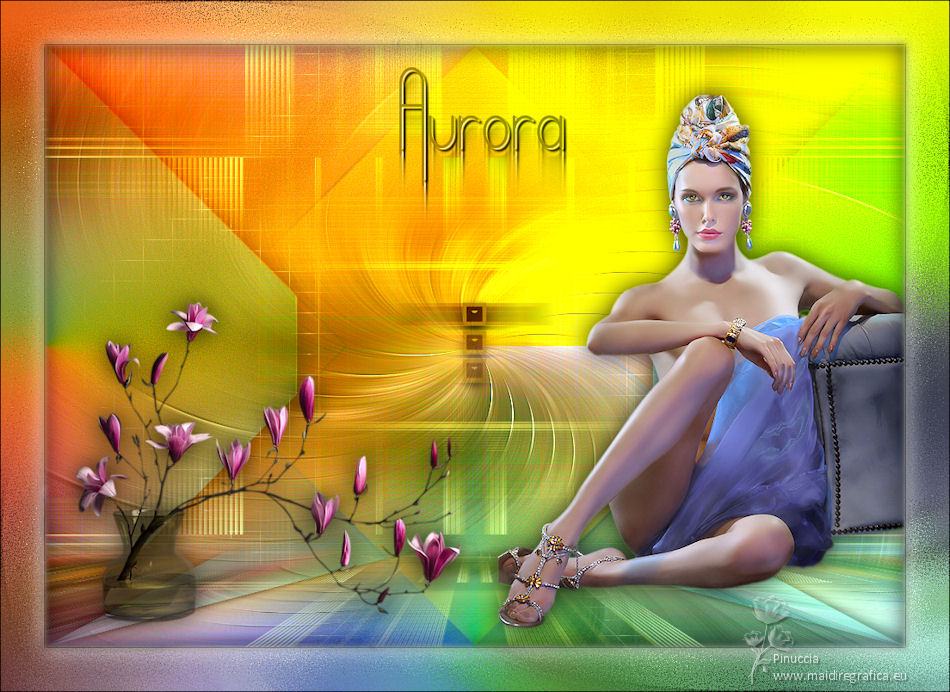
AURORA

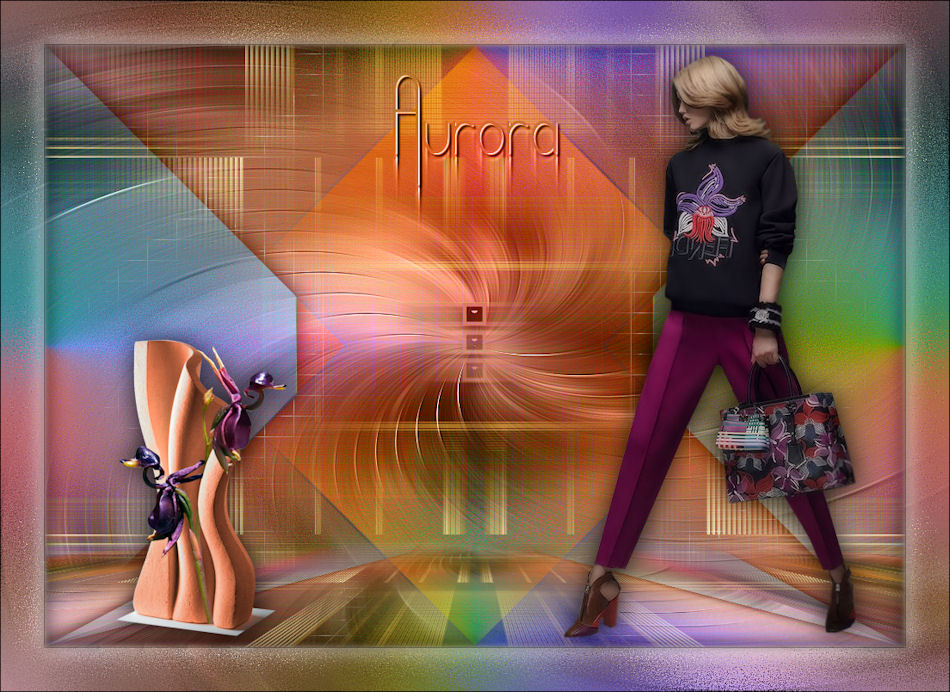
Thanks Maria José for your invitation to translate your tutorial

This tutorial has been translated with PSPX2 and PSPX3, but it can also be made using other versions of PSP.
Since version PSP X4, Image>Mirror was replaced with Image>Flip Horizontal,
and Image>Flip with Image>Flip Vertical, there are some variables.
In versions X5 and X6, the functions have been improved by making available the Objects menu.
In the latest version X7 command Image>Mirror and Image>Flip returned, but with new differences.
See my schedule here
 French translation here French translation here
 your versions ici your versions ici
For this tutorial, you will need:
Material here
For a tube thanks LisaT.
The rest of the material is by Maria José.
(you find here the links to the material authors' sites)
Plugins
consult, if necessary, my filter section here
Filters Unlimited 2.0 here
Mehdi - Sorting Tiles, Edges FX here
AP 01 [Innovations] - Distort-ShiftMesh here
Mystic Nights - Buttonize here
Mura's Meister - Perspective Tiling here
Simple - Top Left Mirror here
Toadies - Blast'em here
Mura's Seamless - Emboss at Alpha here
Filters Simple, Toadies and Mura's Seamless can be used alone or imported into Filters Unlimited.
(How do, you see here)
If a plugin supplied appears with this icon  it must necessarily be imported into Unlimited it must necessarily be imported into Unlimited

You can change Blend Modes according to your colors.
In the newest versions of PSP, you don't find the foreground/background gradient (Corel_06_029).
You can use the gradients of the older versions.
The Gradient of CorelX here
Copy the selections in the Selections Folder.
Open the mask in PSP and minimize it with the rest of the material.
1. Set your foreground color to #2c0c0d,
and your background color to #d66827.
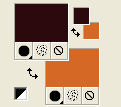
Set your foreground color to a Foreground/Background Gradient, style Linear.
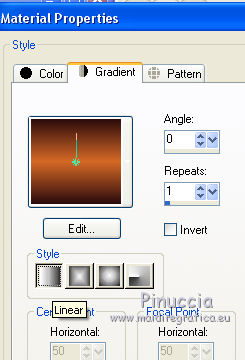
Open a new transparent image 1000 x 700 pixels.
Flood Fill  the transparent image with your light background color. the transparent image with your light background color.
2. Layers>New Mask layer>From image
Open the menu under the source window and you'll see all the files open.
Select the mask 65-mask-MJ.
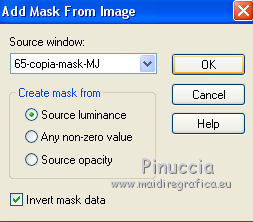
Layers>Merge>Merge Group.
3. Layers>Duplicate.
Image>Mirror.
Image>Flip.
Layers>Merge>Merge Down.
4. Effects>Plugins>Mura's Seamless - Emboss at Alpha, default settings.
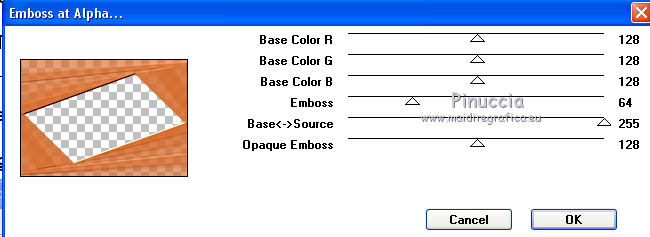
5. Selections>Load/Save Selection>Load Selection from Disk.
Look for and load the selection aurora_mj.
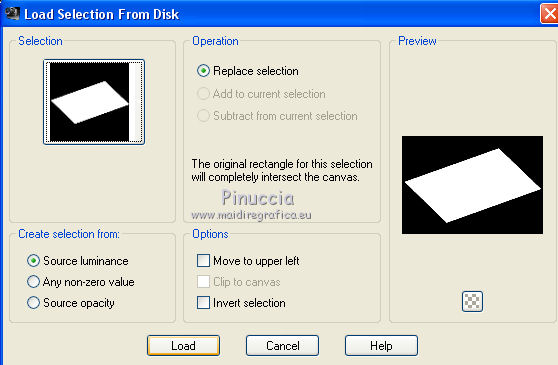
6. Open the landscape misted and go to Edit>Copy.
Go back to your work and go to Edit>Paste into Selection.
Selections>Select None.
7. Effects>Image Effects>Seamless Tiling.

8. Effects>Plugins>AP 01 [Innovations] - Distort-ShiftMesh.
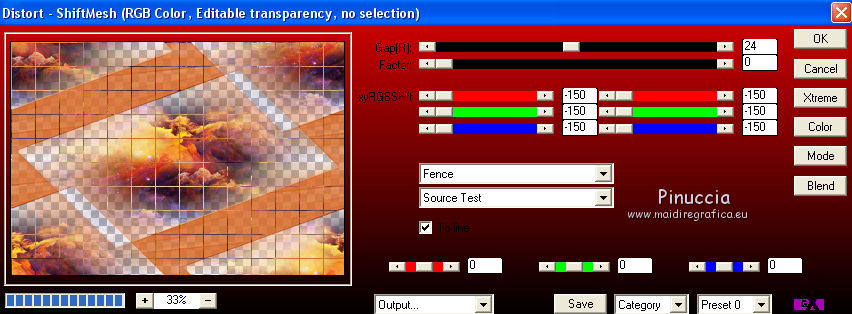
9. Adjust>Blur>Radial Blur.
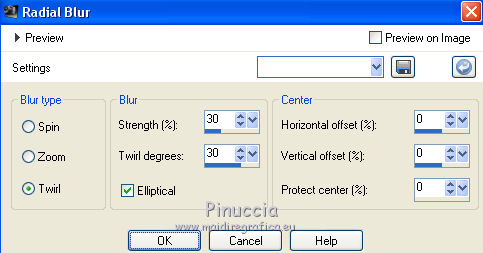
10. Effects>Edge Effects>Enhance More.
Change the Blend mode of this layer to Luminance (legacy).
11. Layers>New Raster Layer.
Flood Fill  the layer with your gradient. the layer with your gradient.
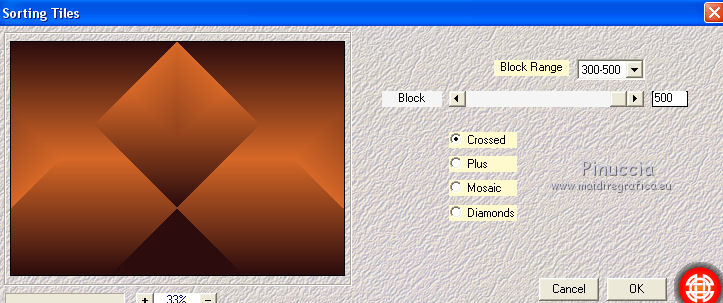
12. Effects>Plugins>Mehdi - Sorting Tiles.
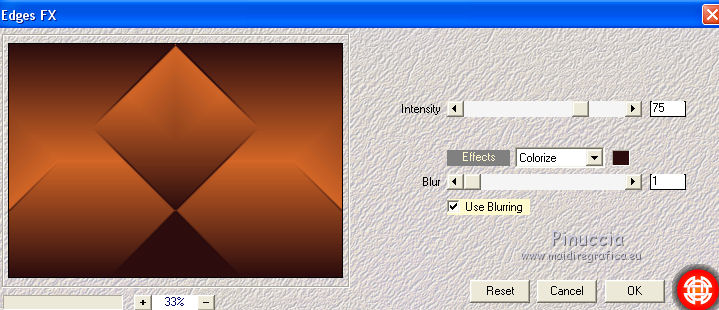
13. Effects>Plugins>Mehdi - Edges FX (dark color).
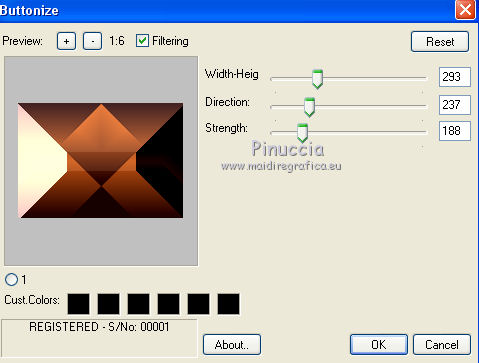
14. Effects>Plugins>Mystic Nights - Buttonize.
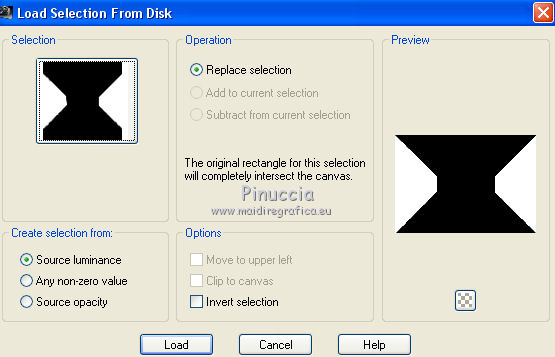
15. Selections>Load/Save Selection>Load Selection from Disk.
Look for and load the selection aurora_1_mj.
Press CANC on the keyboard 
Selections>Select None.
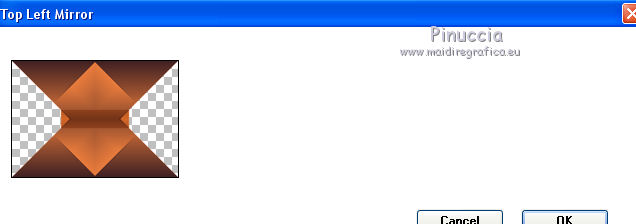
16. Effects>Plugins>Simple - Top Left Mirror.
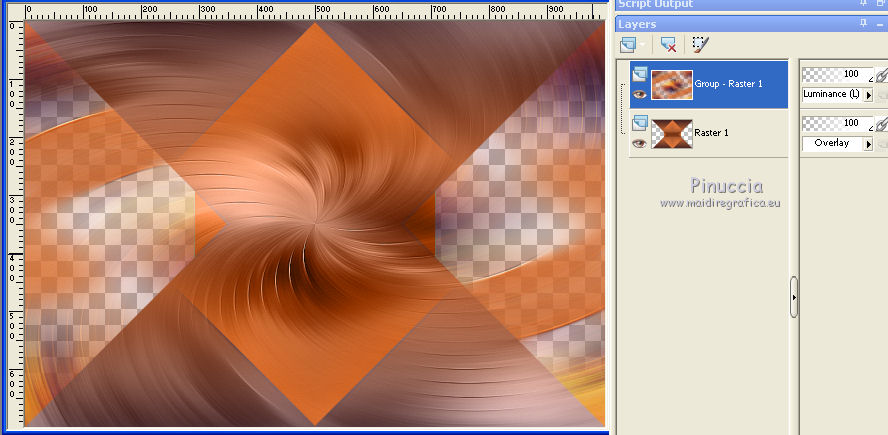
Layers>Arrange>Move Down.
Change the Blend Mode of this layer to Overlay.
Activate the top layer, Group-Raster 1.
17. Selections>Load/Save Selection>Load Selection from Disk.
Load again the selection aurora_1_mj.

18. Effects>3D Effects>Drop Shadow, color black.

Selections>Select None.
19. Open the tube back_1_mj and go to Edit>Copy.
Go back to your work and go to Edit>Paste as new layer.
Layers>Arrange>Send to Bottom.
20. Open the tube elemento_mj and go to Edit>Copy.
Go back to your work and go to Edit>Paste as new layer.
Layers>Arrange>Bring to Top.
Change the Blend Mode of this layer to Screen.
21. Open the tube elemento_1_mj and go to Edit>Copy.
Go back to your work and go to Edit>Paste as new layer.
Change the Blend Mode of this layer to Screen.
22. Open the tube elemento_2_mj and go to Edit>Copy.
Go back to your work and go to Edit>Paste as new layer.
Change the Blend Mode of this layer to Luminance (héritée).
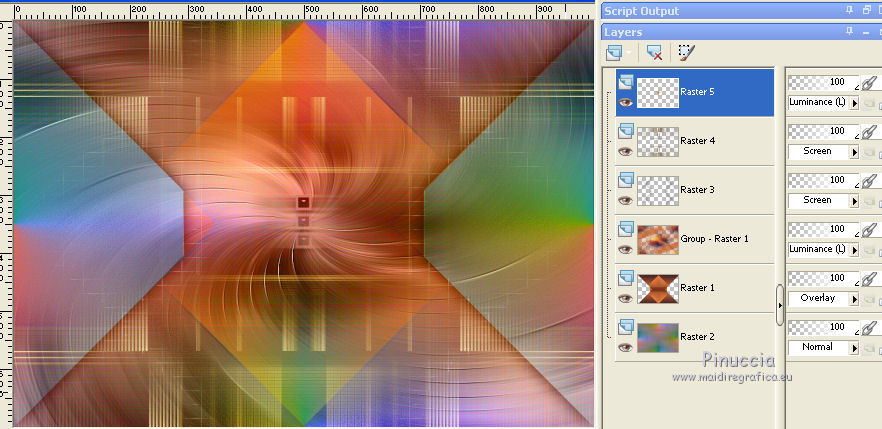
23. Edit>Copy Special>Copy Merged.
Edit>Paste as new layer.
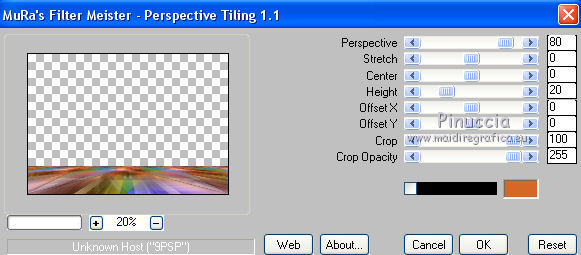
24. Effects>Plugins>Mura's Meister - Perspective Tiling.
25. Activate your Magic Wand Tool  , tolerance and feather 0, , tolerance and feather 0,
and click in the transparent part to select it.
26. Selections>Modify>Inside/Outside Feather.
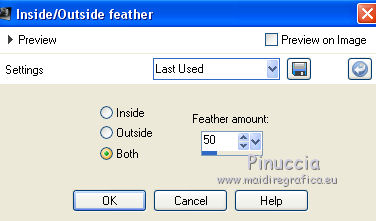
Press +/-10 time CANC on the keyboard.
Selections>Select None.
Layers>Arrange>Move Down.
Your tag and the layers - adapt Blend Modes and opacities to your liking.
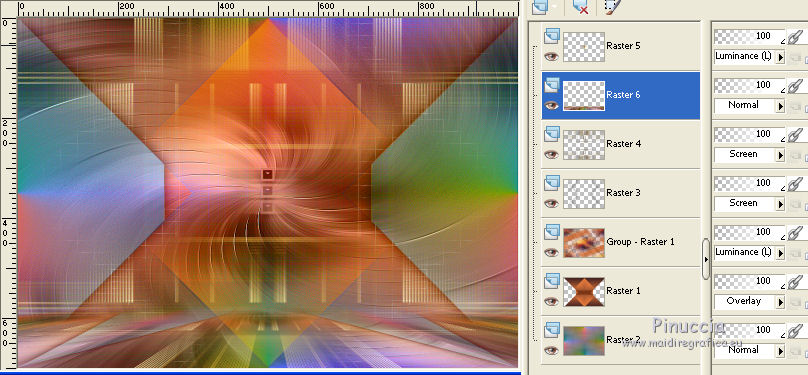
27. Activate the top layer.
Open the deco tube, erase the watermark and go to Edit>Copy.
Go back to your work and go to Edit>Paste as new layer.
Ouvrir le tube déco, effacerle watermark et Édition>Copier.
Revenir sur votre travail et Édition>Coller comme nouveau calque.
Image>Resize, to 55%, resize all layers not checked.
Move  the tube at the bottom left. the tube at the bottom left.
Effects>3D Ombre portée, to your liking.
28. Open the woman tube, erase the watermark and go to Edit>Copy.
Go back to your work and go to Edit>Paste as new layer.
Image>Resize, to 90%, resize all layers not checked.
Move  the tube to the right side. the tube to the right side.
Effects>3D Effects>Drop Shadow, to your liking.
29. Open the texte Aurora and go to Edit>Copy.
Go back to your work and go to Edit>Paste as new layer.
Move  the text up. the text up.
Change the Blend Mode to your liking; for me Luminance (legacy).
30. Image>Add borders, 1 pixel, symmetric, color black.
Edit>Copy.
Image>Add borders, 50 pixels, symmetric, color white.
31. Activate your Magic Wand Tool  , tolerance and feather 10, , tolerance and feather 10,

and click in the white border to select it.
32. Edit>Paste into Selection.
33. Adjust>Blur>Radial Blur, same settings.

34. Effects>Plugins>Toadies - Blast'em.
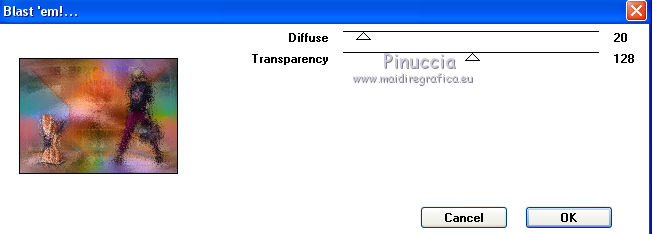
Adjust>Sharpness>Sharpen More.
Effects>3D Effects>Drop Shadow, color black.

35. Selections>Invert.
Repeat Effects>3D Effects>Drop Shadow, color white.
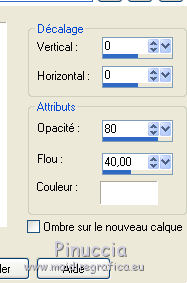
Selections>Select None.
36. Sign your work on a new layer.
Image>Add borders, 1 pixel, symmetric, color black.
37. Image>Resize, 1000 pixels width, resize all layers checked.
Salve as jpg.
Version with tubes by Beatriz
.
 Your versions here Your versions here

If you have problems or doubts, or you find a not worked link,
or only for tell me that you enjoyed this tutorial, write to me.
27 September 2021

|


