|
CALM

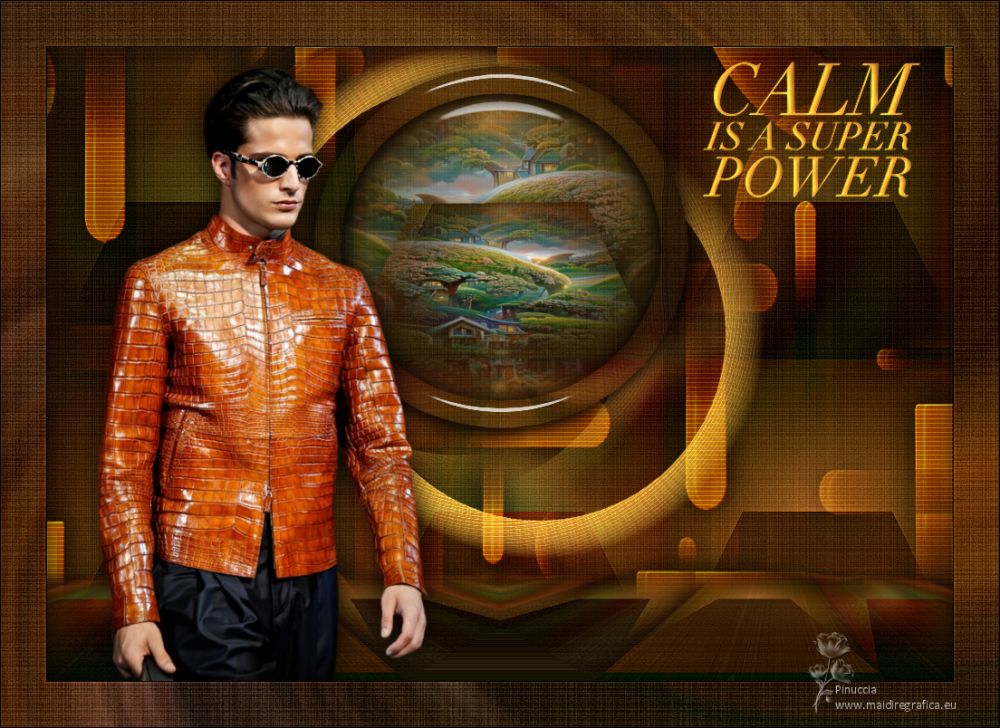
Thanks Maria José for your invitation to translate your tutorial

This tutorial has been translated with PSPX2 and PSPX3, but it can also be made using other versions of PSP.
Since version PSP X4, Image>Mirror was replaced with Image>Flip Horizontal,
and Image>Flip with Image>Flip Vertical, there are some variables.
In versions X5 and X6, the functions have been improved by making available the Objects menu.
In the latest version X7 command Image>Mirror and Image>Flip returned, but with new differences.
See my schedule here
 French translation here French translation here
 your versions ici your versions ici
For this tutorial, you will need:

Thanks for the tube Nena Silva and for the text Yoka.
The rest of the material is by Maria José.
(you find here the links to the material authors' sites)

consult, if necessary, my filter section here
Filters Unlimited 2.0 here
Mehdi - Wavy Lab 1.1. here
Mehdi - Curves here
Lotis Filter - Mosaic Toolkit plus here
Texturize - Raw Canvas (to import in Unlimited) here
Carolaine and Sensibility - CS_Texture here
Artistiques - Pastels here
Mura's Meister - Perspective Tiling here
Alien Skin Eye Candy 5 Impact - Glass here
Mura's Seamless - Emboss at Alpha here
Filters Mura's Seamless can be used alone or imported into Filters Unlimited.
(How do, you see here)
If a plugin supplied appears with this icon  it must necessarily be imported into Unlimited it must necessarily be imported into Unlimited

Copy the preset  in the folder of the plugin Alien Skin Eye Candy 5 Impact>Settings>Glass. in the folder of the plugin Alien Skin Eye Candy 5 Impact>Settings>Glass.
One or two clic on the file (it depends by your settings), automatically the preset will be copied in the right folder.
why one or two clic see here

Copy the Selections in the Selections Folder.
Open the mask in PSP and minimize it with the rest of the material.
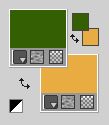
Set your foreground color to dark color #356004,
and your background color to light color #e8ac43.
1. Open a new transparent image 1000 x 700 pixels.
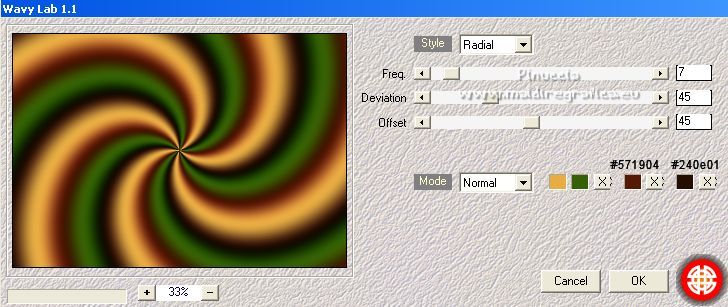
2. Effects>Plugins>Mehdi - Wavy Lab 1.1.
This filter creates gradients with the colors of your Materials palette.
The first is your background color, the second is your foreground color.
Change the last two colors created by the filtre:
the third color with #571904 and the forth color with #240e01.
3. Adjust>Blur>Radial Blur.
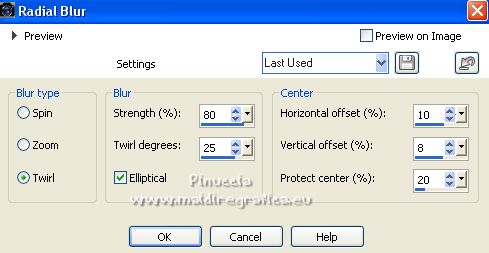
Edit>Repeat Radial Blur.
4. Effects>Plugins>Artistiques - Barbouillage, default settings
if you use the english version (the result doesn't change):
Effects>Plugins>Artistics - Paint Daubs
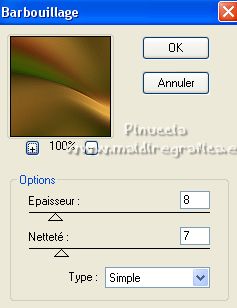 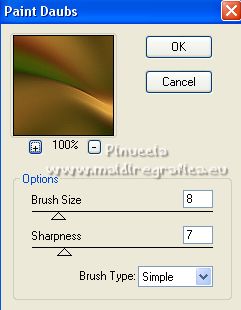
Repeat the Effect another time.
Layers>Duplicate.
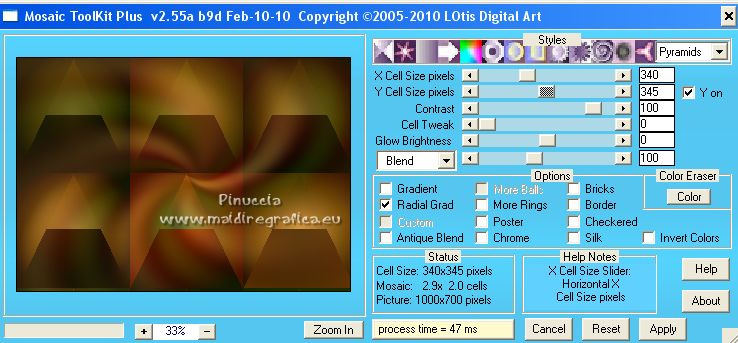
5. Effects>Plugins>Lotis Filter - Mosaic Tookit Plus.
6. Close the layer Copy of Raster 1,
and activate the layer Raster 1.
Effects>Image Effects>Seamless Tiling.

7. Effects>Reflection Effects>Rotating Mirror, default settings.

8. Open and activate the top layer, Copy of Raster 1.
Layers>Merge>Merge Down.
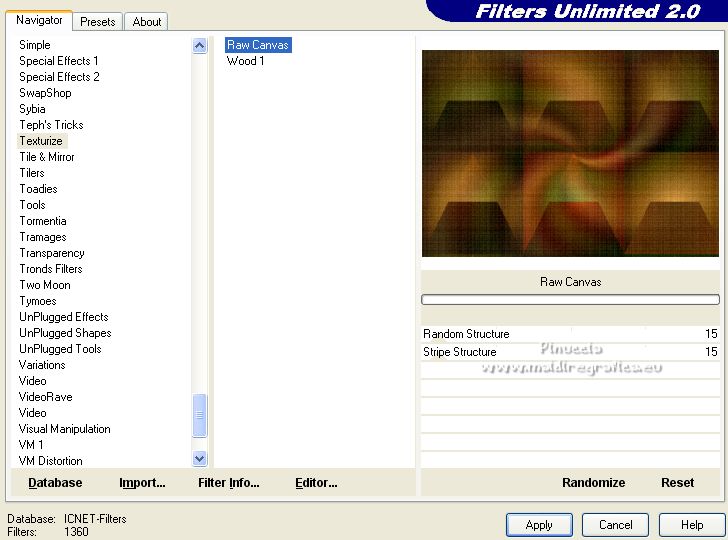
9. Effects>Plugins>Filters Unlimited 2.0 - Texturize - Raw Canvas
10. Effects>Plugins>Mehdi - Curves - optionnel.
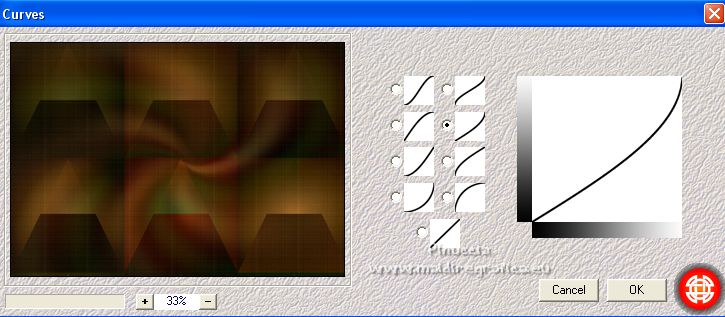
11. Adjust>Sharpness>Sharpen More.
12. Layers>New Raster Layer.
Flood Fill  the layer with your light background color #e8ac43. the layer with your light background color #e8ac43.
13. Layers>New Mask layer>From image
Open the menu under the source window and you'll see all the files open.
Select the mask maskmajo2.
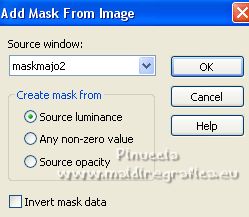
Layers>Merge>Merge Group.
14. Effects>Plugins>Mura's Seamless - Emboss at Alpha, default settings.
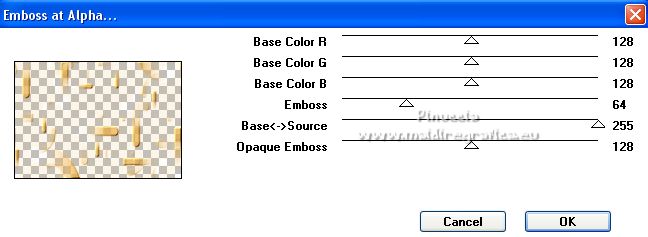
15. Effects>Plugins>Carolaine and Sensibility - CS-Texture, default settings.
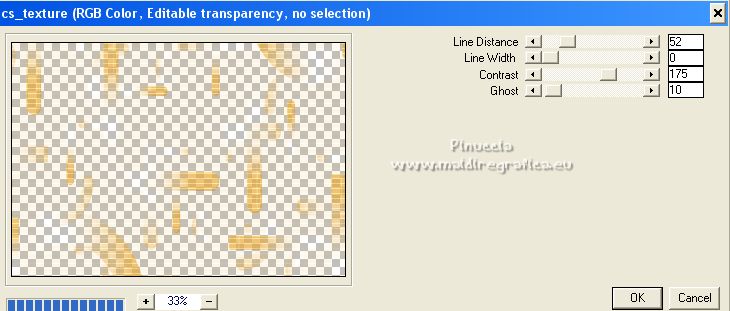
Effects>3D Effects>Drop Shadow, color black.

Change the Blend Mode of this layer Hard Light.
16. Open deco-calm-MJ 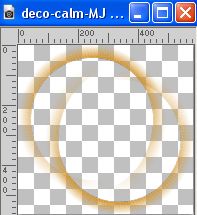
Edit>Copy.
Go back to your work and go to Edit>Paste as new layer.
Change the Blend Mode of this layer to Screen.
17. Objects>Align>Top
(or with your Pick tool  Position Y 0,00). Position Y 0,00).
Layers>Arrange>Move Down.
I skipped this step, because in the layers of the original tutorial,
this layer stays above the mask layer
18. Activate the layer Raster 1.
Selections>Load/Save Selection>Load Selection from Disk.
Look for and load the selection MJ-calm
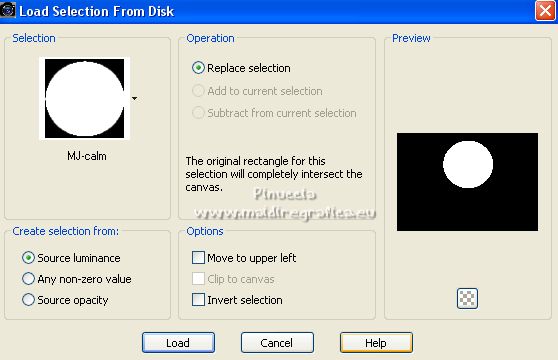
Selections>Promote Selection to layer.
Layers>Arrange>Bring to Top.
19. Open the misted misted-calm-1-MJ 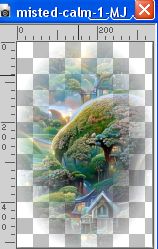
Edit>Copy.
Minimize the tube
Go back to your work and go to Edit>Paste into Selection.
Effects>3D Effects>Drop Shadow, same settings.
20. Activate again the layer Raster 1.
Selections>Load/Save Selection>Load Selection from Disk.
Look for and load the selection MJ-calm-1
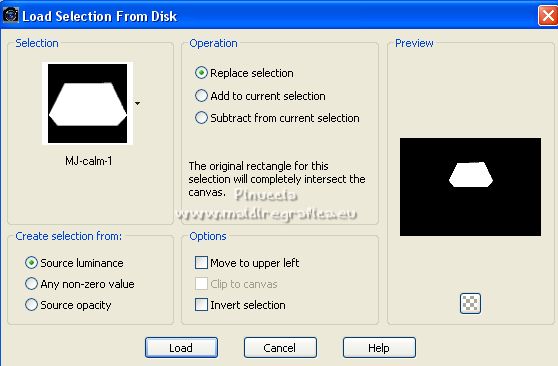
The new selection will replace the previous one.
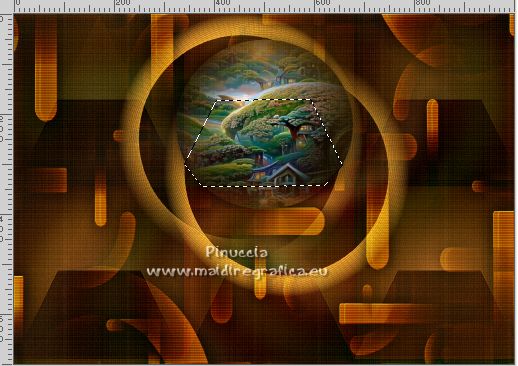
Selections>Promote Selection to layer.
Layers>Arrange>Bring to top.
21. Activate again the misted misted-calm-1-MJ
Image>Mirror.
Edit>Copy.
Go back to your work and go to Edit>Paste into Selection.
Effects>3D Effects>Drop Shadow, same settings.
Layers>Merge>Merge Down.
Selections>Select None.
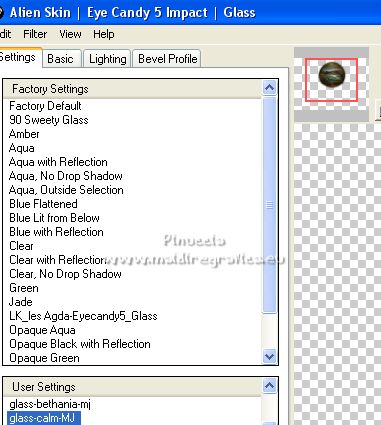
22. Effects>Plugins>Alien Skin Eye Candy 5 Impact - Glass.
Select the preset preset-glass-calm-MJ
23. Activate again the layer Raster 1.
Selections>Load/Save Selection>Load Selection from Disk.
Look for and load again the selection MJ-calm-

24. Selections>Modify>Select Selection Borders.
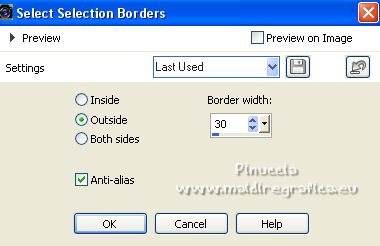
Selections>Promote Selection to layer.
Layers>Arrange>Bring to Top.
25. Effects>Plugins>Alien Skin Eye Candy 5 Impact - Glass - preset-glass-calm-MJ
Effects>3D Effects 3D>Drop Shadow, color black.

Selections>Select None.
26. Activate the layer Raster 1.
Layers>Duplicate.
Layers>Arrange>Bring to top.
Effects>Plugins>Mura's Meister - Perspective Tiling.
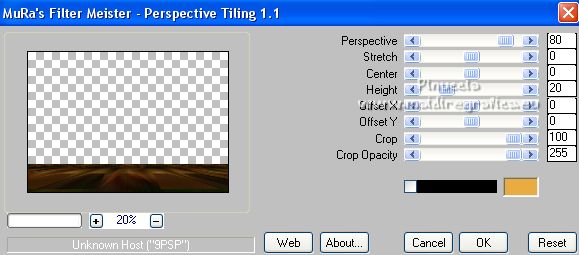
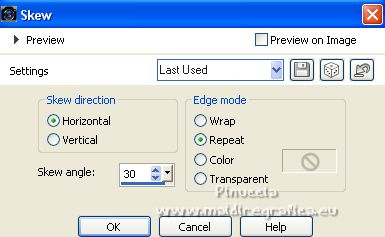
27. Effects>Geometric Effects>Skew - 3 times with these settings.
28. Effects>Reflection Effects>Rotating Mirror.

29. Selections>Load/Save Selection>Load Selection from Disk.
Look for and load the selection MJ-calm-2
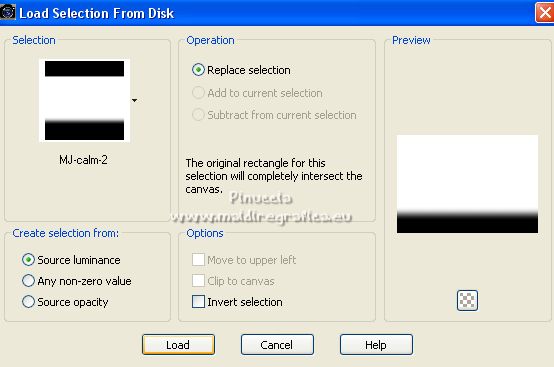
Press +/- 10 times CANC on the keyboard 
Selections>Select None.
30. Activate your top layer.
Open the tube vvshomem0508 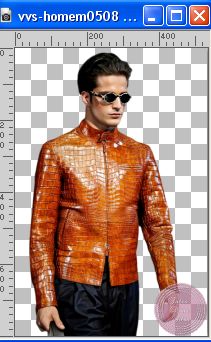
Edit>Copy.
Go back to your work and go to Edit>Paste as new layer.
Image>Resize, to 87%, resize all layers not checked.
Move  the tube to the left side. the tube to the left side.
Effects>3D Effects>Drop Shadow, at your choice.
31. Open the text Yoka-TEXT-Calm-is-011015 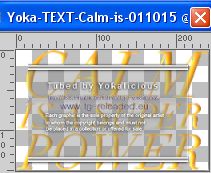
The tube as 2 layers; the central layer with the tutorial's colors;
the bottom layer has a white text, if you use other colors
Edit>Copy.
Go back to your work and go to Edit>Paste as new layer.
Move  the text at the upper right, or to your liking. the text at the upper right, or to your liking.
The tag and the layers - adapt Blend Modes and opacity to your liking.
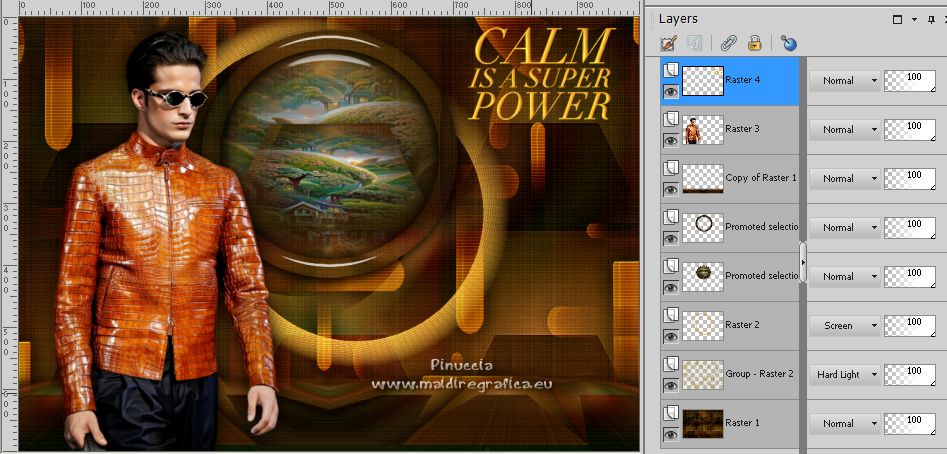
32. Image>Add borders, 1 pixel, symmetric, color black.
33. Selections>Select All.
Edit>Copy.
Image>Add borders, 50 pixels, symmetric, color white.
34. Selections>Invert.
Edit>Paste into Selection.
35. Adjust>Blur>Radial Blur, same settings.

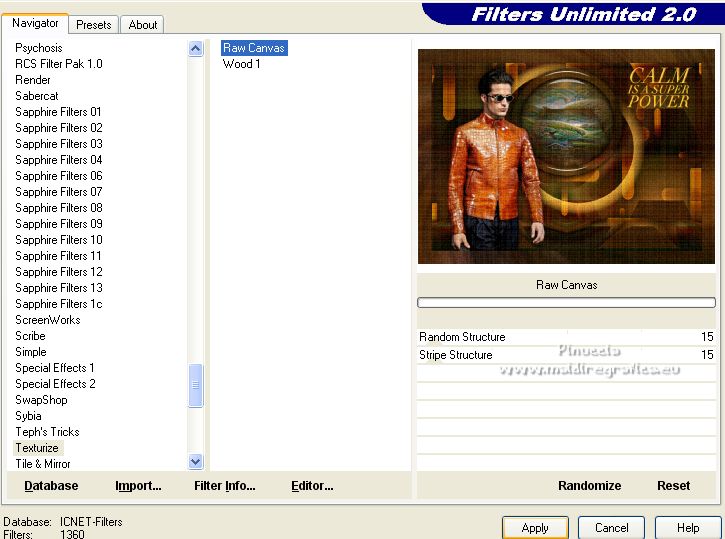
36. Effects>Plugins>Filters Unlimited 2.0 - Plugin Texturize - Raw Canvas, same settings.
You have to place the settings again because Unlimited doesn't keep them in memory.
37. Adjust>Sharpness>Sharpen More.
Effects>3D Effects>Drop Shadow, color black.

Selections>Select None.
38. Sign your work.
Image>Add borders, 1 pixel, symmetric, color black.
39. Image>Resize, 1000 pixels width, resize all layers checked.
Save as jpg.
For the tubes of this version thanks Beatriz and Silvie
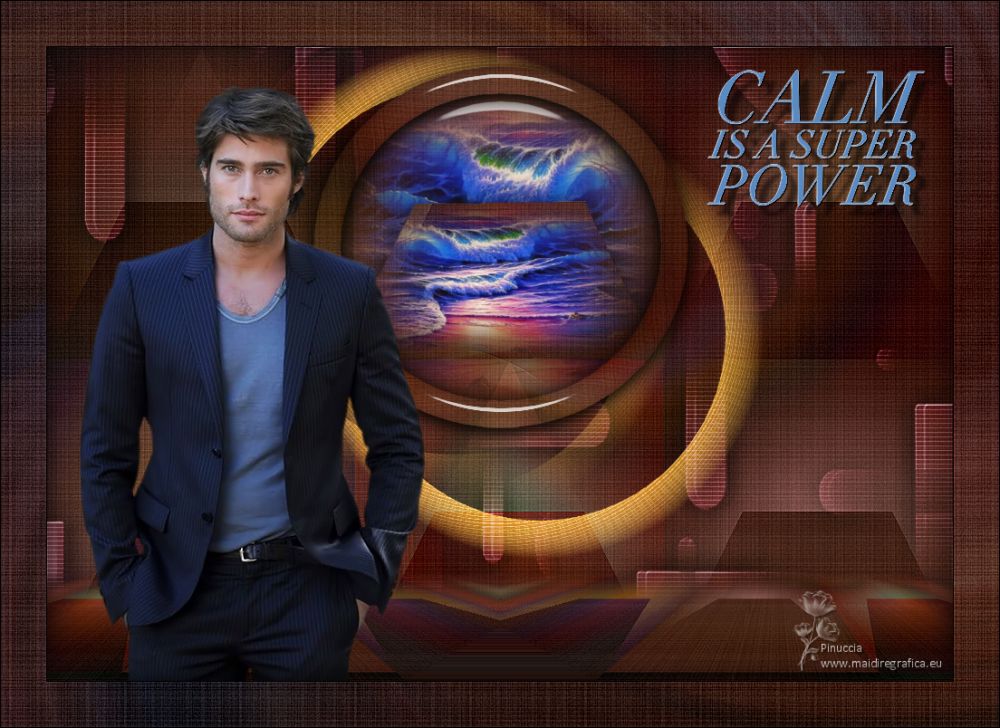
 Your versions here Your versions here

If you have problems or doubts, or you find a not worked link,
or only for tell me that you enjoyed this tutorial, write to me.
30 January 2023

|


