|
CYBIL

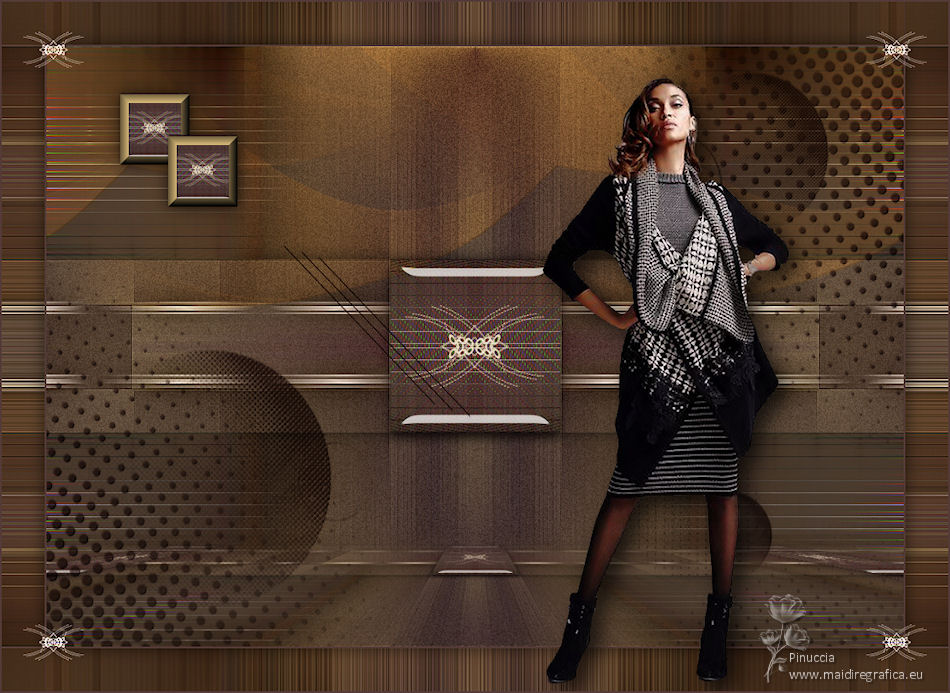
Thanks Maria José for your invitation to translate your tutorial

This tutorial has been translated with PSPX2 and PSPX3, but it can also be made using other versions of PSP.
Since version PSP X4, Image>Mirror was replaced with Image>Flip Horizontal,
and Image>Flip with Image>Flip Vertical, there are some variables.
In versions X5 and X6, the functions have been improved by making available the Objects menu.
In the latest version X7 command Image>Mirror and Image>Flip returned, but with new differences.
See my schedule here
 French translation here French translation here
 your versions ici your versions ici
For this tutorial, you will need:
Material here
For the tube thanks Nena Silva.
The rest of the material is by Maria José.
(you find here the links to the material authors' sites)
Plugins
consult, if necessary, my filter section here
Filters Unlimited 2.0 here
Optionnel Adjust - Variations here
&<Bkg Kaleidoscope> - xTile Maker 1.0, 4QFlip UpperR (to import in Unlimited) here
L&K's - L&K's Mayra here
Mura's Seamless - Emboss at Alpha here
Mehdi - Sorting Tiles, Weaver here
Filter Factory Gallery G - Double Image here
Simple - Top Left Mirror here
Alien Skin Eye Candy 5 Impact - Glass here
Toadies - Weaver here
Mura's Meister - Perspective Tiling here
Filters Kiwi and Mura's Seamless can be used alone or imported into Filters Unlimited.
(How do, you see here)
If a plugin supplied appears with this icon  it must necessarily be imported into Unlimited it must necessarily be imported into Unlimited

You can change Blend Modes according to your colors.
Copy the preset  in the folder of the plugin Alien Skin Eye Candy 5 Impact>Settings>Glass. in the folder of the plugin Alien Skin Eye Candy 5 Impact>Settings>Glass.
One or two clic on the file (it depends by your settings), automatically the preset will be copied in the right folder.
why one or two clic see here
Copy the Selections in the Selections Folder.
Open the masks in PSP and minimize them with the rest of the material.
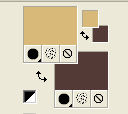
1. Set your foreground color to #d8b979
and your background color to #543b38.
Open a new transparent image 1000 x 700 pixels.
Selections>Select All.
2. Open the background image backtuto7_mj.
If you are using other colors, colorize to your liking with the plugin Adjust>Variations.
Edit>Copy.
Go back to your work and go to Edit>Paste into Selection.
Selections>Select None.
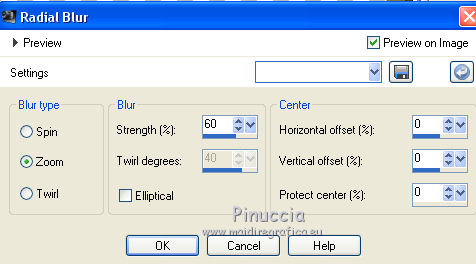
3. Adjust>Blur>Radial Blur.
4. Effects>Image Effects>Seamless Tiling.

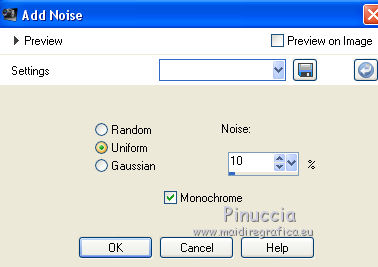
5. Adjust>Add/Remove Noise>Add Noise.
6. Effects>Plugins>Filters Unlimited 2.0 - &<Bkg Kaleidoscope - xTile Maker 1.0
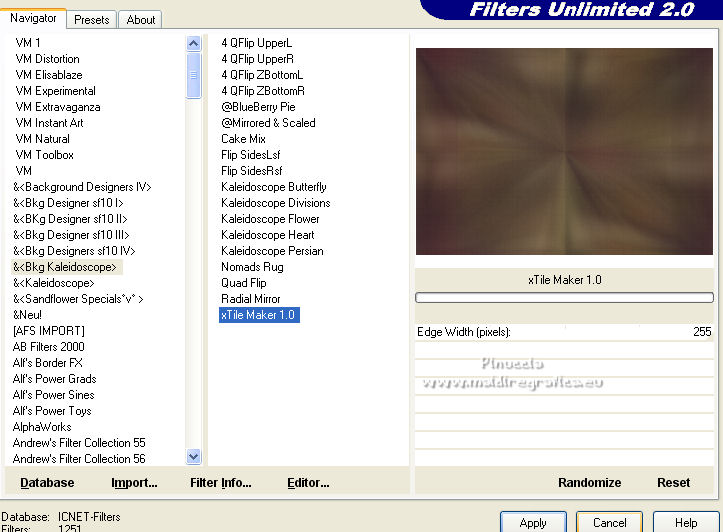
7. Effects>Plugins>Mehdi - Sorting Tiles.
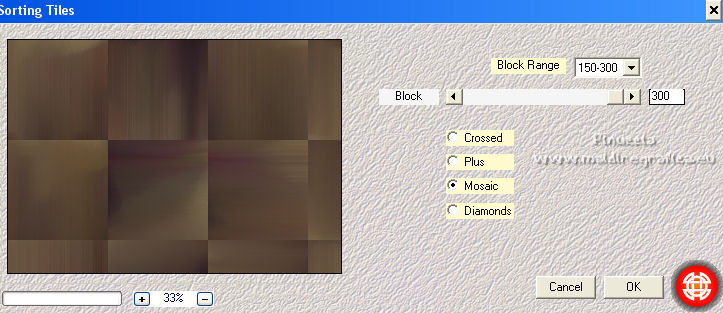
8. Effects>Image Effects>Seamless Tiling, same settings

9. Effects>Plugins>Filters Unlimited 2.0 - &<Bkg Kaleidoscope - 4QFlip UpperR
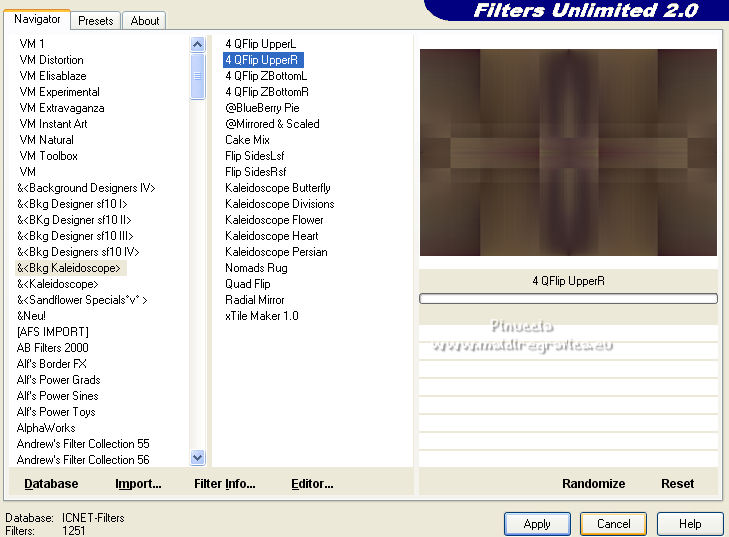
10. Effects>Edge Effects>Dilate.
Effects>Edge Effects>Enhance.
11. Selections>Load/Save Selection>Load Selection from Disk.
Look for and load the selection cybil_mj.
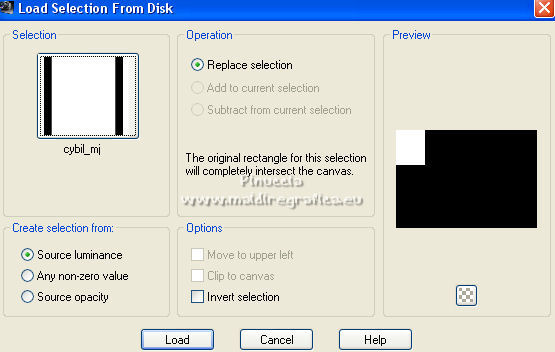
Selections>Promote Selection to Layer.
12. Effects>Plugins>L&K's - L&K's Mayra, default settings.
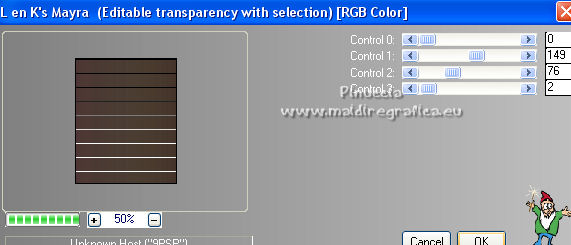
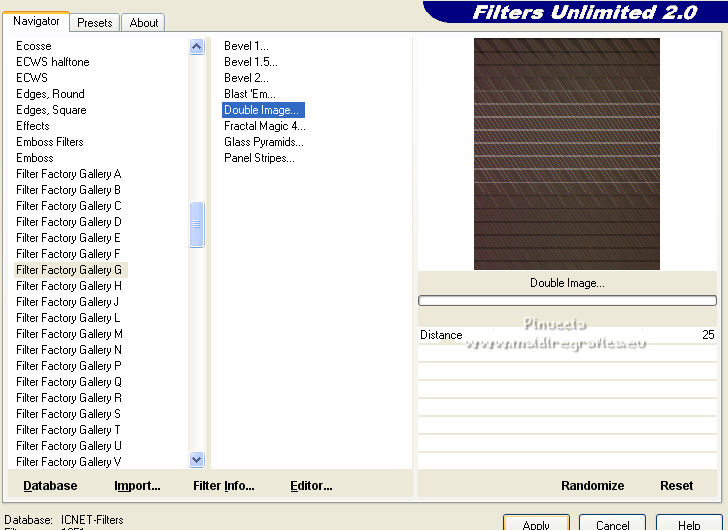
13. Effects>Plugins>Filter Factory Gallery G - Double Image
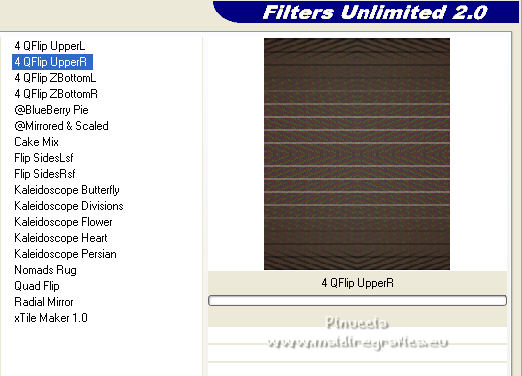
14. Effects>Plugins>Filters Unlimited 2.0 - &<Bkg Kaleidoscope - 4QFlip UpperR
Selections>Select None.
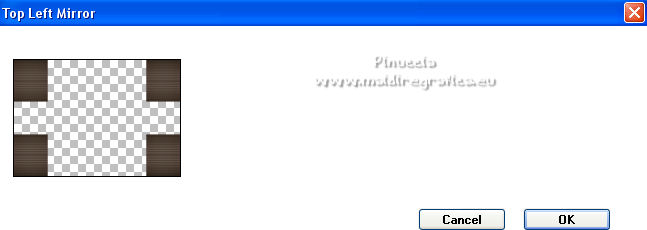
15. Effects>Plugins>Simple - Top Left Mirror.
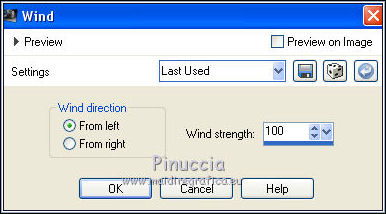
16. Effects>Distortion Effects>Wind - from left, wind strength 100.
17. Effects>Reflection Effects>Rotating Mirror.

Layers>Duplicate.
18. Effects>Plugins>Toadies - Weaver, default settings.
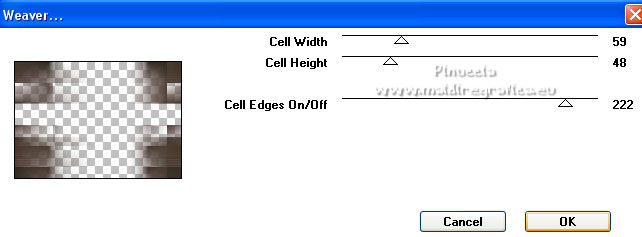
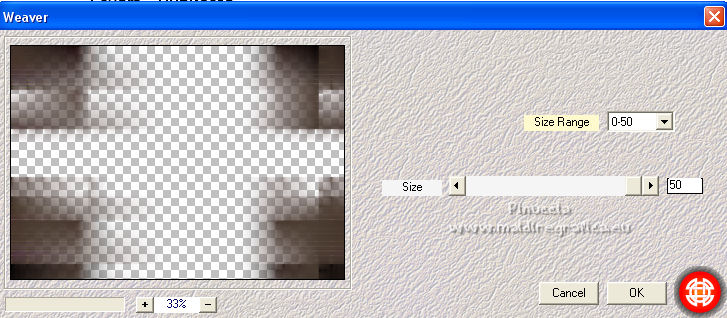
19. Effects>Plugins>Mehdi - Weaver.
20. Effects>Plugins>Simple - Top Left Mirror
Change the Blend Mode of this layer to Luminance (legacy).
21. Activate the layer Raster 1.
Adjust>Add/Remove Noise>Add Noise.

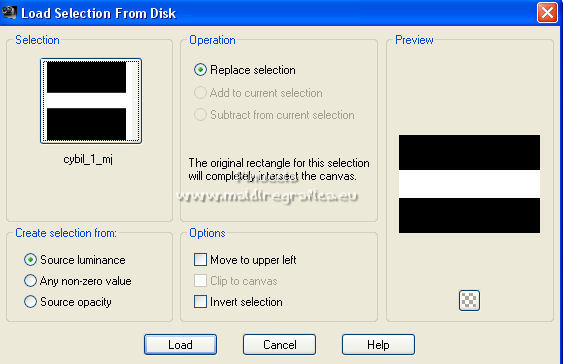
22. Selections>Load/Save Selection>Load Selection from Disk.
Look for and load the selection cybil_1_mj.
23. Effects>3D Effects>Drop Shadow, color black.

Selections>Select None.
24. Selections>Load/Save Selection>Load Selection from Disk.
Look for and load the selection cybil_2_mj.
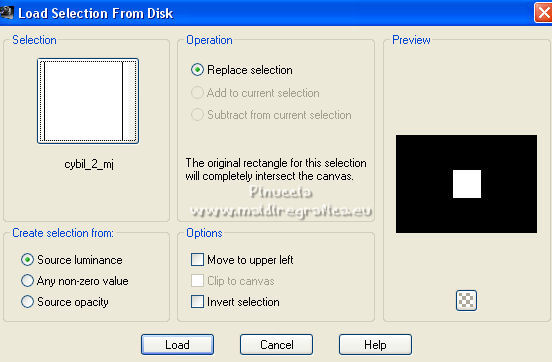
Selections>Promote Selection to Layer.
25. Effects>Plugins>L&&K's - L&K's Mayra, default settings.
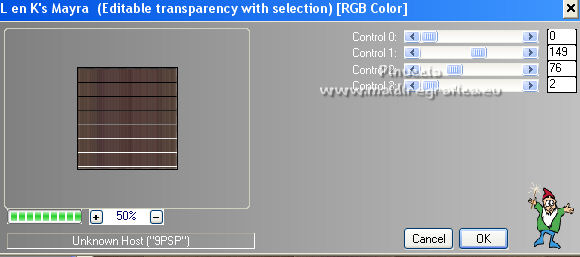
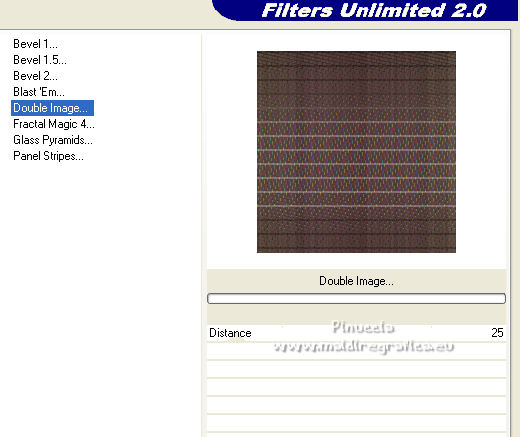
26. Effects>Plugins>Filter Factory Gallery G - Double Image, same settings
attention, please, Unlimited doesn't keep in memory the previous settings
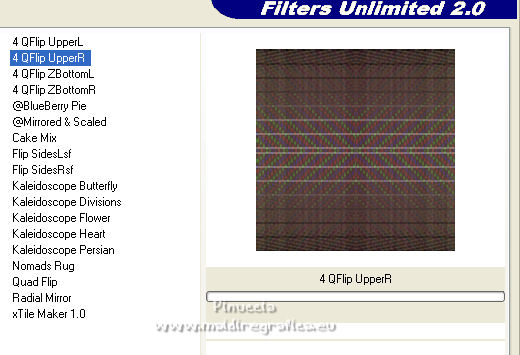
27. Effects>Plugins>Filters Unlimited 2.0 - &<Bkg Kaleidoscope - 4QFlip UpperR
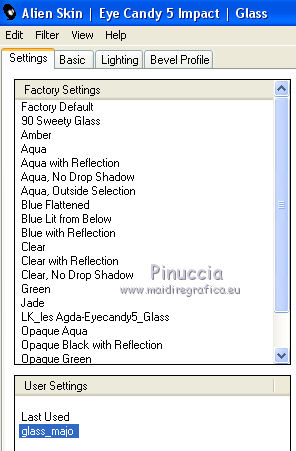
28. Effects>Plugins>Alien Skin Eye Candy 5 Impact - Glass
selectionner the preset glass-majo and ok.
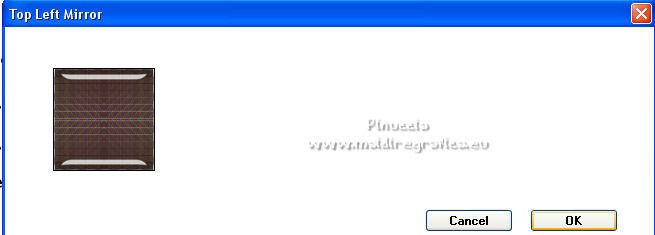
29. Effects>Plugins>Simple - Top Left Mirror.
Selections>Select None.
30. Open decocenter2_mj and go to Edit>Copy.
Go back to your work and go to Edit>Paste as new layer.
Don't move it.
Change the Blend Mode of this layer to Screen.
Layers>Merge>Merge Down.
Layers>Arrange Bring to Top.
31. Open decocentral1_mj and go to Edit>Copy.
Go back to your work and go to Edit>Paste as new layer.
Layers>Arrange>Move Down.
Change the Blend Mode of this layer to Luminance (legacy).
32. Activate your top layer, Promoted Selection 1.
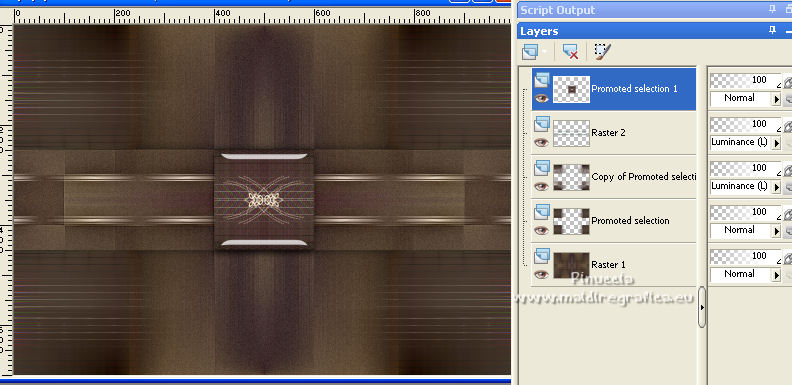
Edit>Copy Special>Copy Merged.
Edit>Paste as new layer.
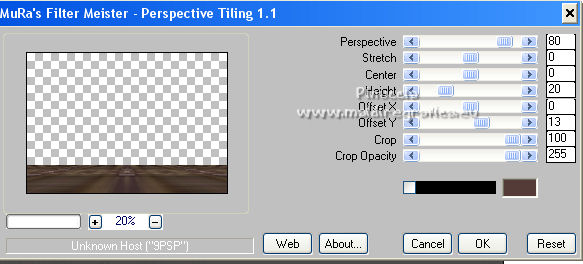
33. Effects>Plugins>Mura's Meister - Perspective Tiling.
34. Selections>Load/Save Selection>Load Selection from Disk.
Look for and load the selection cybil_3_mj.
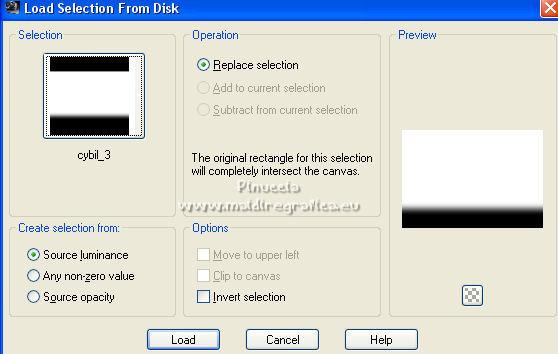
Press 7 times CANC on the keyboard 
Selections>Select None.
35. Layers>New Raster Layer.
Flood Fill  the layer with your light color. the layer with your light color.
36. Layers>New Mask layer>From image
Open the menu under the source window and you'll see all the files open.
Select the mask 112a_mask_MJ.
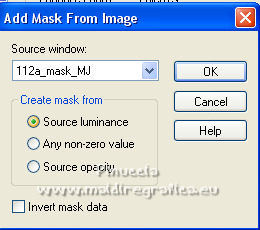
Layers>Merge>Merge Group.
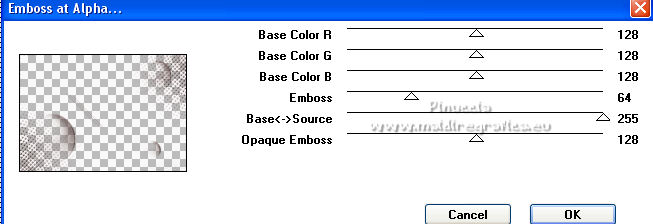
37. Effects>Plugins>Mura's Seamless - Emboss at Alpha, default settings.
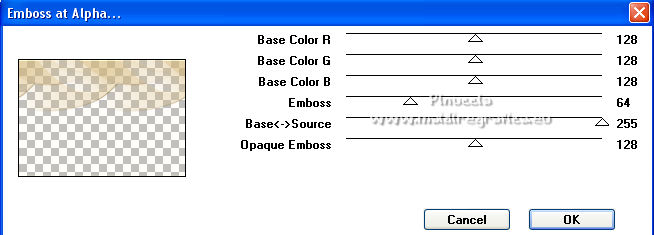
Change the Blend Mode of this layer to Overlay.
38. Layers>New Raster Layer.
Flood Fill  the layer with your dark color. the layer with your dark color.
39. Layers>New Mask layer>From image
Open the menu under the source window
and select the mask 109_mask_MJ.
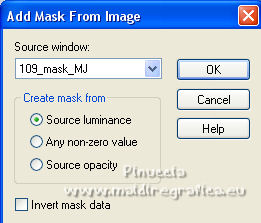
Layers>MErge>Merge Group.
40. Effects>Plugins>Mura's Seamless - Emboss at Alpha, default settings.
Change the Blend Mode of this layer to Multiply.

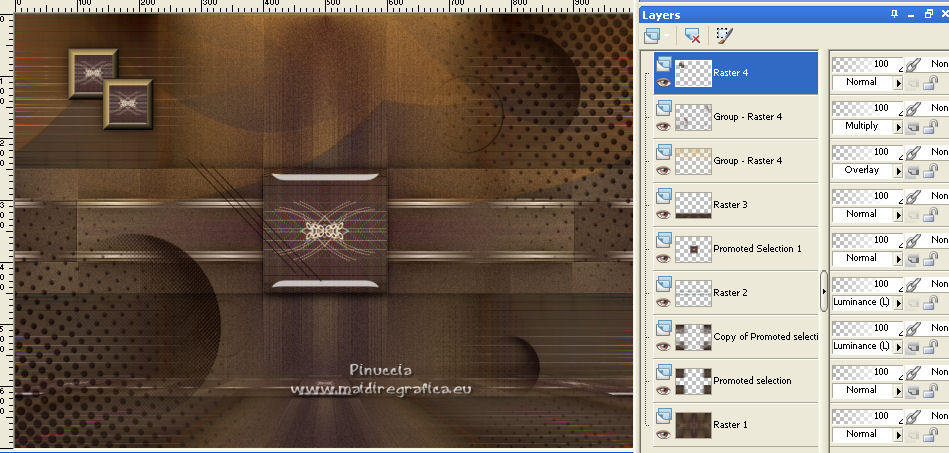
41. Open the tube decorativo1 and go to Edit>Copy.
Go back to your work and go to Edit>Paste as new layer.
K key on the keyboard to activate your Pick Tool 
and set Position X: 80,00 and Position Y: 50,00.

Effects>3D Effects>Drop Shadow, color black.

Your tag and the layers - adapt Blend Mode according to your colors.
41. Image>Add borders, 2 pixels, symmetric, dark color.
42. Selections>Select All.
Edit>Copy.
Image>Add borders, 50 pixels, symmetric, color white.
43. Selections>Invert.
Edit>Paste into Selection.
44. Adjust>Blur>Radial Blur, same settings.

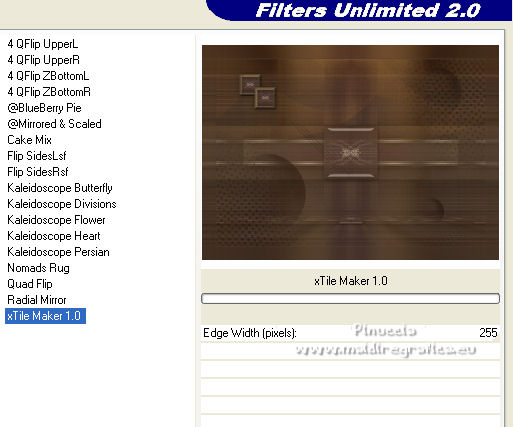
45. Effects>Plugins>Filters Unlimited 2.0 - &<Bkg Kaleidoscope> - xTile Maker 1.0.
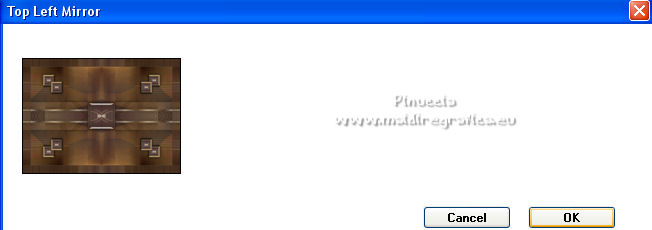
46. Effects>Plugins>Simple - Top Left Mirror.
Adjust>Sharpness>Sharpen More.
Selections>Invert.
Effects>3D Effects>Drop Shadow, same settings.

Selections>Select None.
47. Open the tube decobordas1 and go to Edit>Copy.
Go back to your work and go to Edit>Paste as new layer.
Change the Blend Mode of this layer to Luminance (legacy).
48. Open the woman tube and go to Edit>Copy.
To back to your work and go to Edit>Paste as new layer.
Image>Resize, to 95%, resize all layers not checked.
Move  the tube to the right side, or to your liking. the tube to the right side, or to your liking.
Effects>3D Effects>Drop Shadow, at your choice.
49. Sign your work on a new layer.
Image>Add borders, 2 pixels, symmetric, dark color.
50. Image>Resize, 1000 pixels width, resize all layers checked.
Save as jpg.
For the tube of this version thanks Lana.
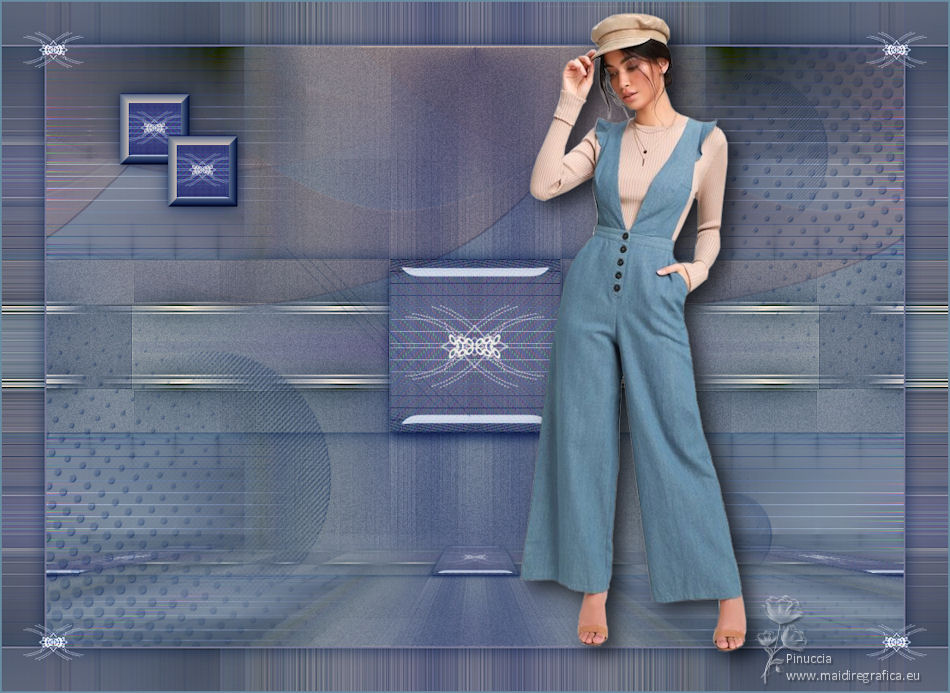
 Your versions here Your versions here

If you have problems or doubts, or you find a not worked link,
or only for tell me that you enjoyed this tutorial, write to me.
25 February 2022

|


