|
DALJI

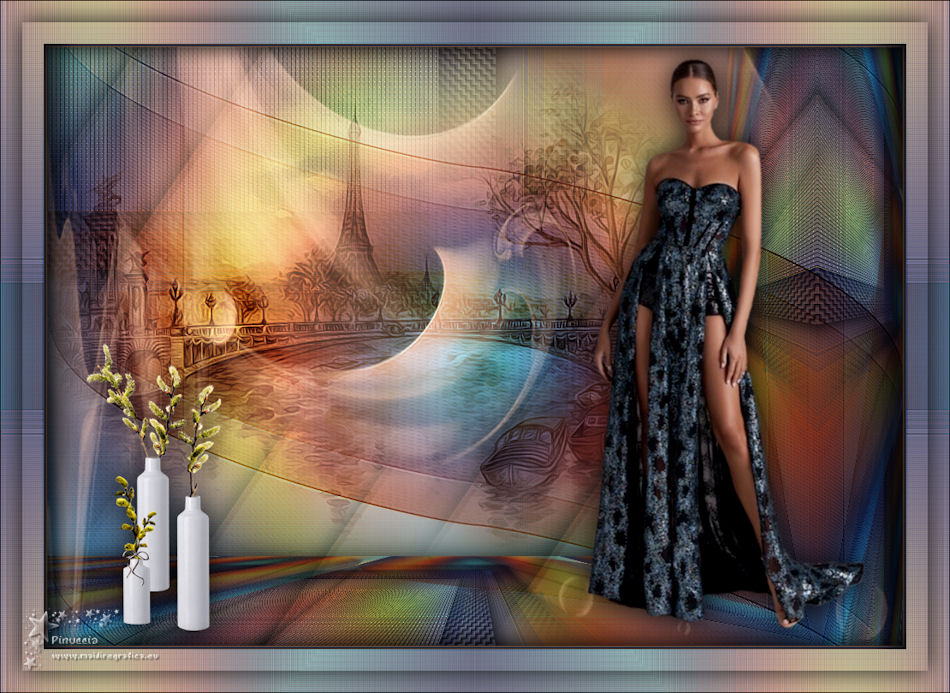
Thanks Maria José for your invitation to translate your tutorial

This tutorial has been translated with PSPX2 and PSPX3, but it can also be made using other versions of PSP.
Since version PSP X4, Image>Mirror was replaced with Image>Flip Horizontal,
and Image>Flip with Image>Flip Vertical, there are some variables.
In versions X5 and X6, the functions have been improved by making available the Objects menu.
In the latest version X7 command Image>Mirror and Image>Flip returned, but with new differences.
See my schedule here
 French translation here French translation here
 your versions ici your versions ici
For this tutorial, you will need:
Material here
Thanks for the mask thanks Mary LBDM.
Deco llegivel.
The rest of the material is by Maria José
(you find here the links to the material authors' sites)
Plugins
consult, if necessary, my filter section here
Filters Unlimited 2.0 here
Toadies - Sucking Toad Bevel I, Weaver here
Funhouse - Loom here
Graphics Plus - Weaver here
AP [Lines] - Lines SilverLining here
Carolaine and Sensibility - CS-LDots here
Mura's Seamless - Emboss at Alpha here
FM Tile Tools - Saturation Emboss here
Mura's Meister - Perspective Tiling here
Filtres Toadies, Funhouse, Graphics Plus and Mura's Seamless can be used alone or imported into Filters Unlimited.
(How do, you see here)
If a plugin supplied appears with this icon  it must necessarily be imported into Unlimited it must necessarily be imported into Unlimited

You can change Blend Modes according to your colors.
In the newest versions of PSP, you don't find the foreground/background gradient (Corel_06_029).
You can use the gradients of the older versions.
The Gradient of CorelX here
Copy the Gradient in the Gradients Folder.
Open the masks in PSP and minimize them with the rest of the material.
Set your foreground color to #ecaa82,
and your background color to #5e6b94.
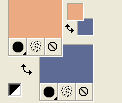
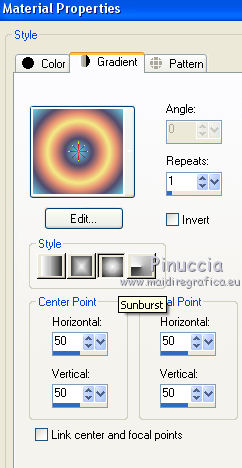
Set your foreground color to Gradient and select the gradient akgradiente66, style Sunburst.
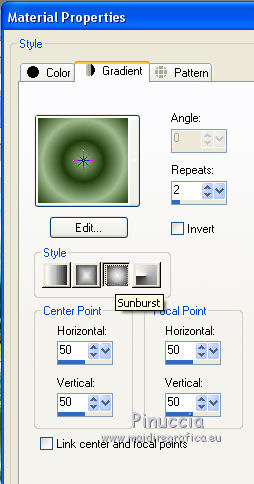
if you use other colors, set a Foreground/Background Gradient, style Sunburst, Repeats 2
1. Open alphachannel_dalji.
Window>Duplicate or, on the keyboard, shift+D to make a copy.

Close the original.
The copy, that will be the basis of your work, is not empty,
but contains the selections saved to alpha channel.
Flood Fill  the transparent image with your Gradient. the transparent image with your Gradient.
2. Adjust>Blur>Gaussian Blur - radius 30.

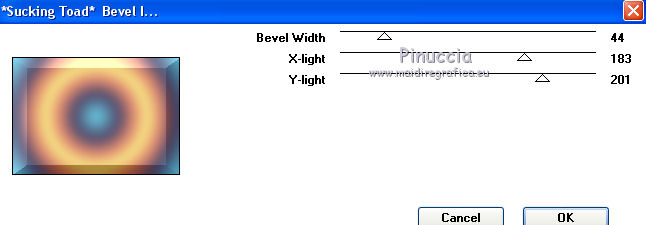
3. Effects>Plugins>Toadies - *Sucking Toad* - Bevel I, default settings.
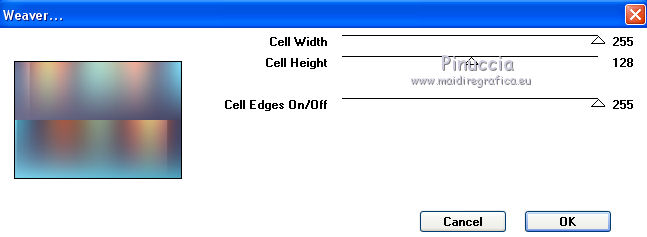
4. Effects>Plugins>Toadies - Weaver.
5. Effects>Plugins>FunHouse - Loom, default settings.
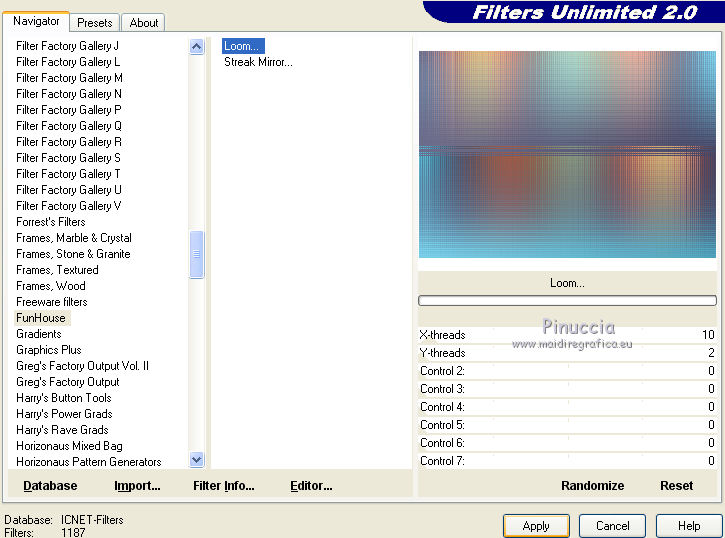
Repeat this Effect another time.
6. Adjust>Sharpness>Sharpen More.
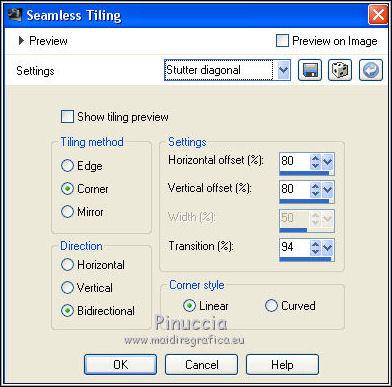
7. Effects>Image Effects>Seamless Tiling, Stutter Diagonal.
8. Effects>Reflection Effects>Rotating Mirror.

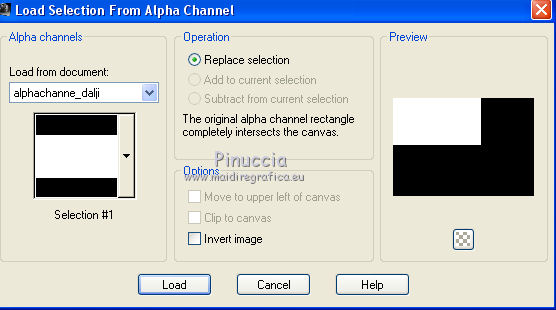
9. Selections>Load/Save Selection>Load Selection from Alpha Channel.
The selection #1 is immediately available. You just have to click Load.
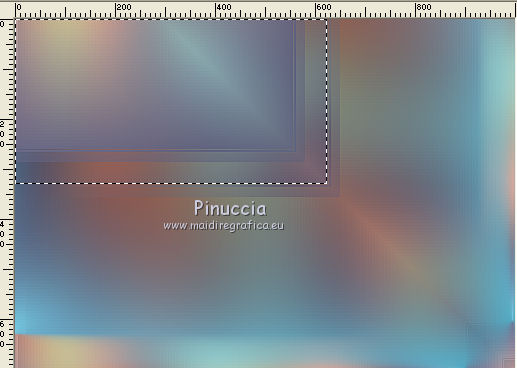
Selections>Promote Selection to Layer.
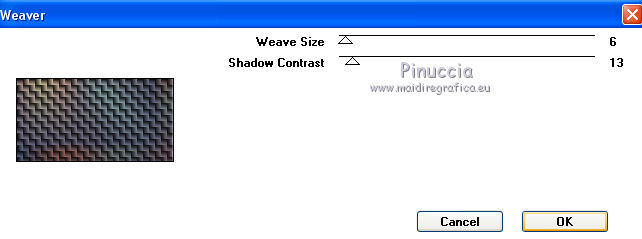
10. Effects>Plugins>Graphics Plus - Weaver
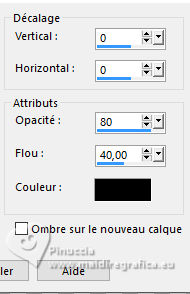
11. Effects>3D Effects>Drop Shadow, couleur #000000.
Selections>Select None.
Change the Blend Mode of this layer to Overlay.
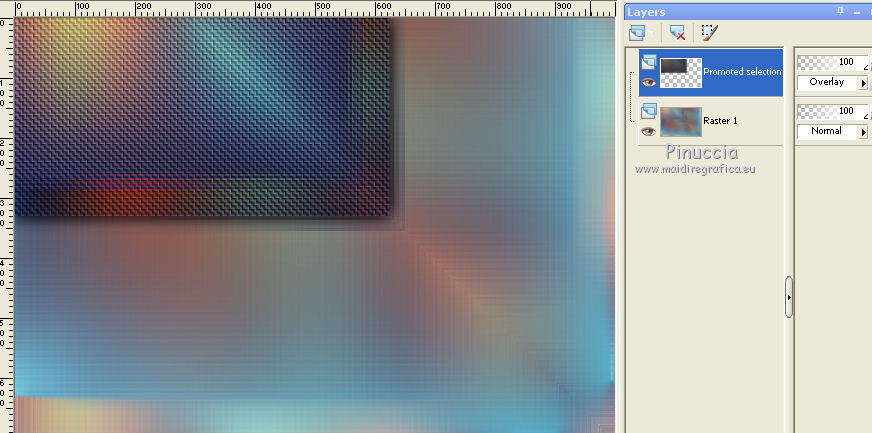
12. Activate the layer Raster 1.
Selections>Load/Save Selection>Load Selection from Alpha Channel.
Open the selections menu and load the selection #2.
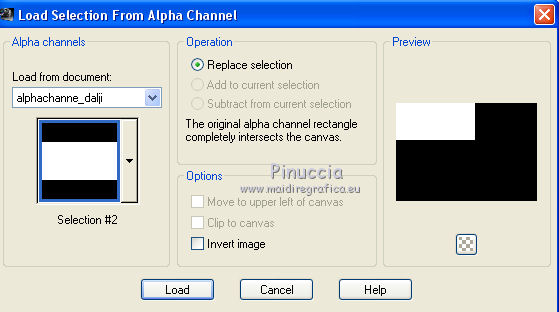
Selections>Promote Selection to Layer.
Layers>Arrange>Move Up.
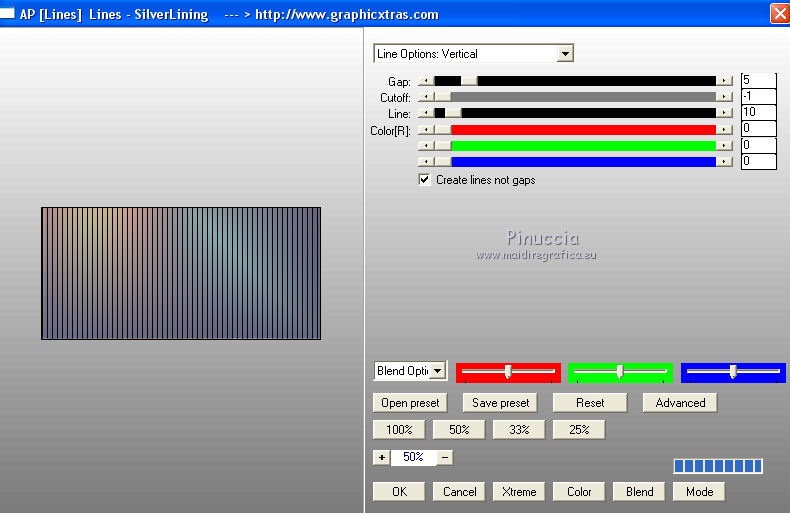
13. Effects>Plugins>AP [Lines] - Lines SilverLining.
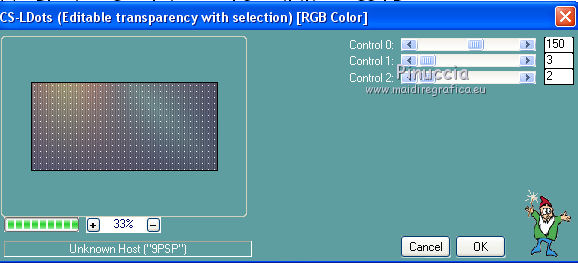
14. Effects>Plugins>Carolaine and Sensibility - CS-LDots.
Effects>3D Effects>Drop Shadow, same settings.
Selections>Select None.
Layers>Merge>Merge Down.
15. Effects>Image Effects>Seamless Tiling, Stutter diagonal.

16. Open the tube decomj1 and go to Edit>Copy.
Go back to your work and go to Edit>Paste as new layer.
Change the Blend Mode of this layer to Multiply.
17. Layers>New Raster Layer.
Flood Fill  the layer with your Gradient. the layer with your Gradient.
18. Adjust>Blur>Gaussian Blur - radius 30.

19. Layers>New Mask layer>From image
Open the menu under the source window and you'll see all the files open.
Select the mask lbdm-masque-261.
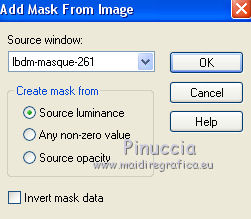
Layers>Merge>Merge Group.
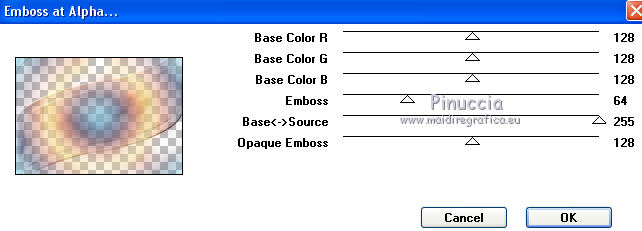
20. Effects>Plugins>Mura's Seamless - Emboss at Alpha, default settings.
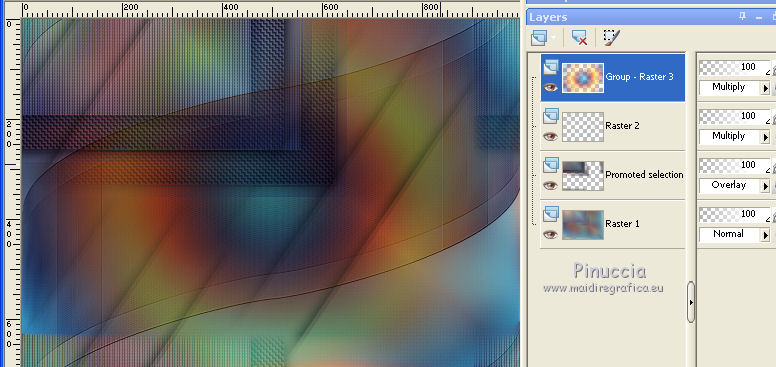
21. Effects>Plugins>FM Tile Tools - Saturation Emboss, default settings.

Change the Blend Mode of this layer to Multiply.
22. Edit>Copy special>Copy Merged.
Edit>Paste as new layer.
23. Image>Flip.
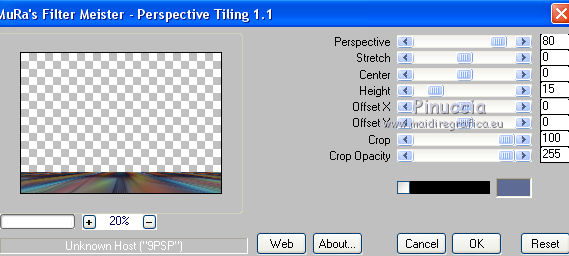
24. Effects>Plugins>MuRa's Meister - Perspective Tiling.
25. Effects>Reflection Effects>Rotating Mirror.
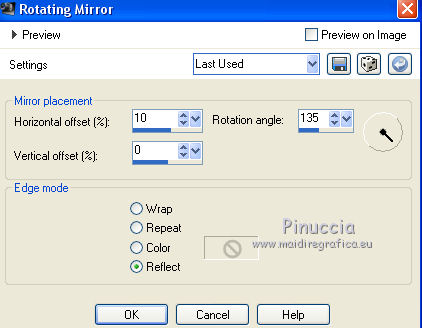
Effects>3D Effects>Drop Shadow, same settings.
Layers>Arrange>Move Down - 2 times.
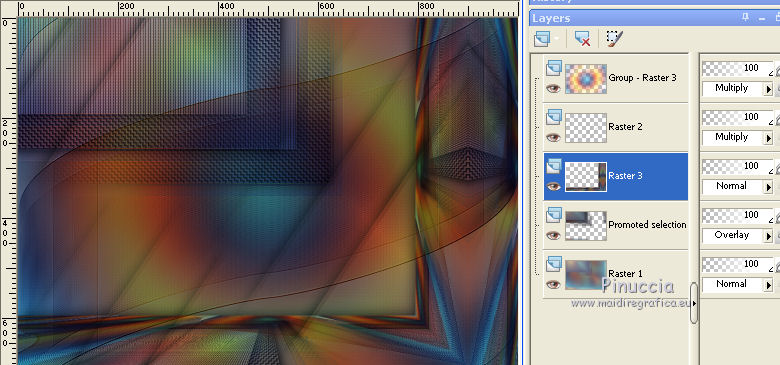
26. Activate the layer of the mask - Group-Raster 3.
Image>Flip.
27. Activate the layer Raster 2.
Layers>Arrange>Bring to Top.
Activate the layer Raster 3.
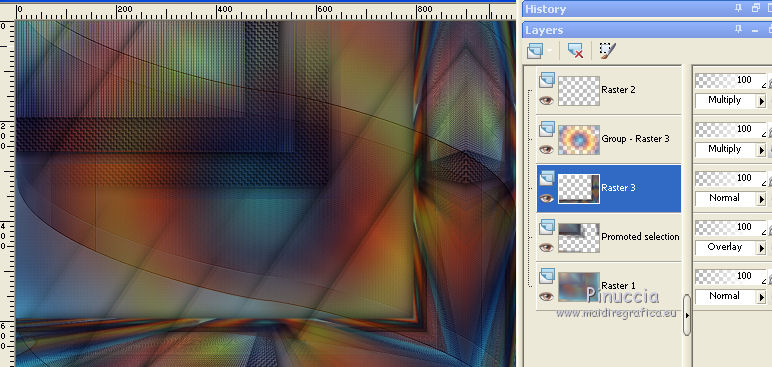
28. Selections>Load/Save Selection>Load Selection from Alpha Channel.
Open the selections menu and load the selection #3.
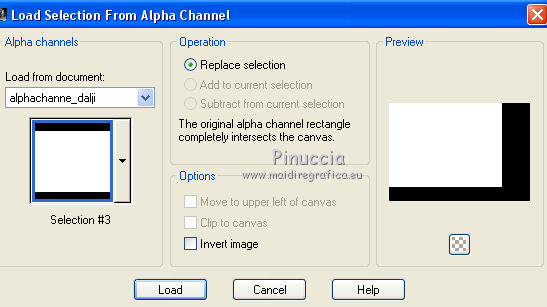
New Raster Layer.
30. Open the misted and go to Edit>Copy.
Go back to your work and go to Edit>Paste into Selection.
Change the Blend Mode of this layer to Hard Light.
Selections>Select None.
31. Layers>New Raster layer.
Layers>Arrange>Bring to Top.
Set your foreground color to Color.
Flood Fill  the layer with the color #ecaa82. the layer with the color #ecaa82.
32. Layers>New Mask layer>From image
Open the menu under the source window
and select the mask 27_maskstar_MJ.
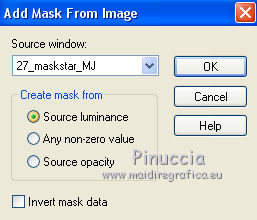
Layers>Merge>Merge Group.
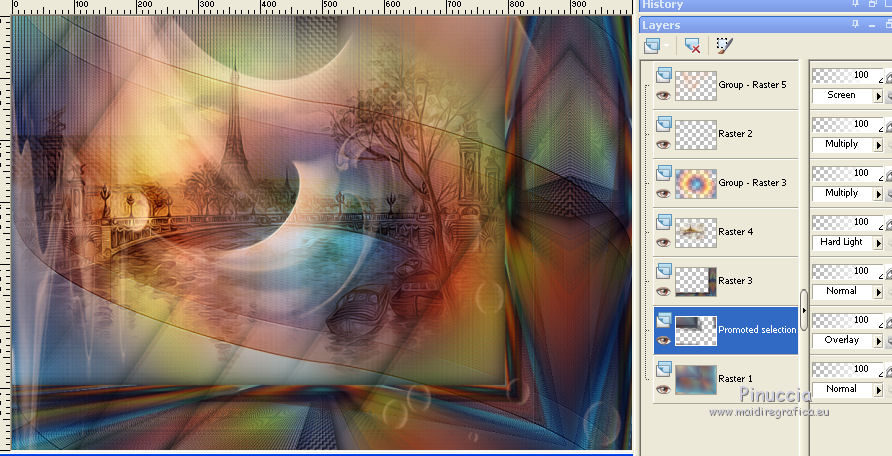
33. Effects>Plugins>Mura's Seamless - Emboss at Alpha, default settings.
Change the Blend Mode of this layer to Screen.
If necessary, reduce the opacity.
34. Open the woman tube and go to Edit>Copy.
Go back to your work and go to Edit>Paste as new layer.
Move  the tube to the right side. the tube to the right side.
Effects>3D Effects>Drop Shadow, at your choice.
35. Open the tube of the vase and go to Edit>Copy.
Go back to your work and go to Edit>Paste as new layer.
Image>Resize, to 70%, resize all layers not checked.
Move  the tube at the bottom left. the tube at the bottom left.
Effects>3D Effects>Drop Shadow, at your choice.
36. Activate the layer Raster 1.
Edit>Copy.
For caution: Edit>Paste as new image and minimize that image.
37. Go back to your work.
Image>Add borders, 1 pixels, symmetric, light foreground color.
Image>Add borders, 2 pixels, symétrique, dark background color.
Image>Add borders, 1 pixel, symétrique, light foreground color.
Selections>Select All.
Image>Add borders, 50 pixels, symmetric, color white.
38. Selections>Invert.
Edit>Paste into Selection (the image of step 36).
39. Effects>Plugins>Simple - Top Left Mirror
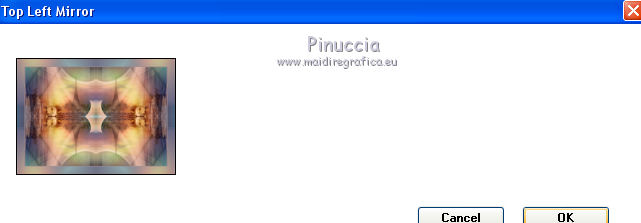
40. Adjust>Sharpness>Sharpen More.
41. Effects>3D Effects>Drop Shadow, color #000000.
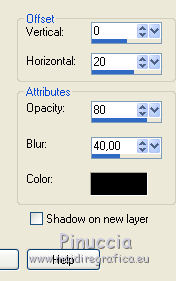
Repeat Drop Shadow, horizontal -20.
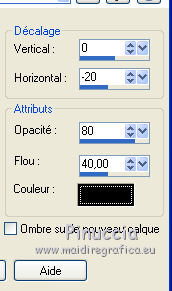
42. Selections>Select None.
Selections>Modify>Contract - 25 pixels.
43. Effects>3D Effects>Drop Shadow.

Selections>Select None.
44. Sign your work on a new layer.
Image>Add borders, 1 pixel, symmetric, color black.
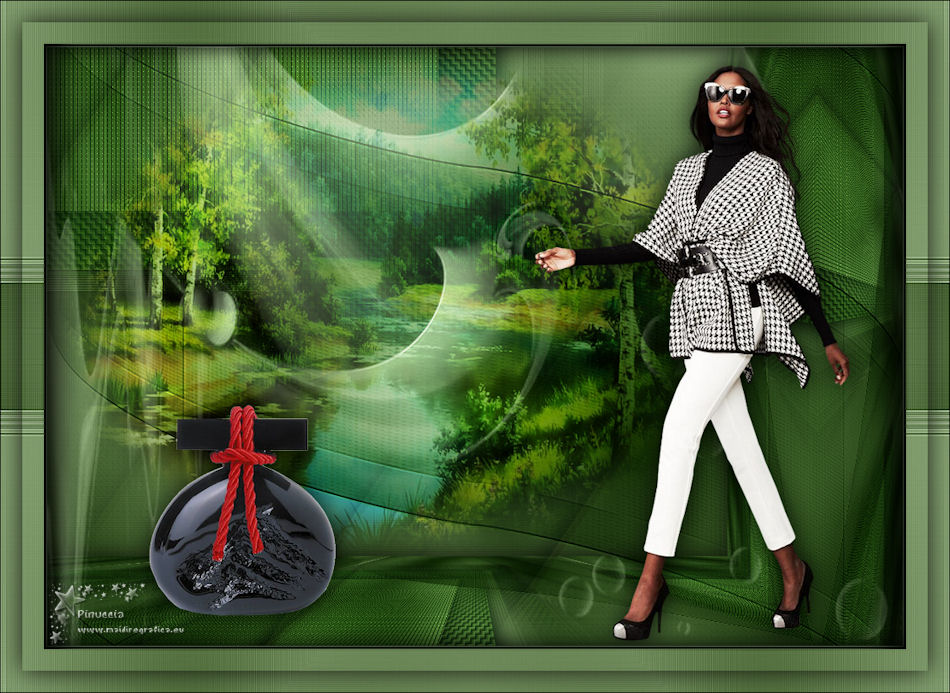
45. Image>Resize, 1000 pixels width, resize all layers checked.
Save as jpg.
Version with tubes by Jeanne, Tine and Guismo.
 Your versions here Your versions here

If you have problems or doubts, or you find a not worked link, or only for tell me that you enjoyed this tutorial, write to me.
5 Août 2021

|


