|
EMILIUTE

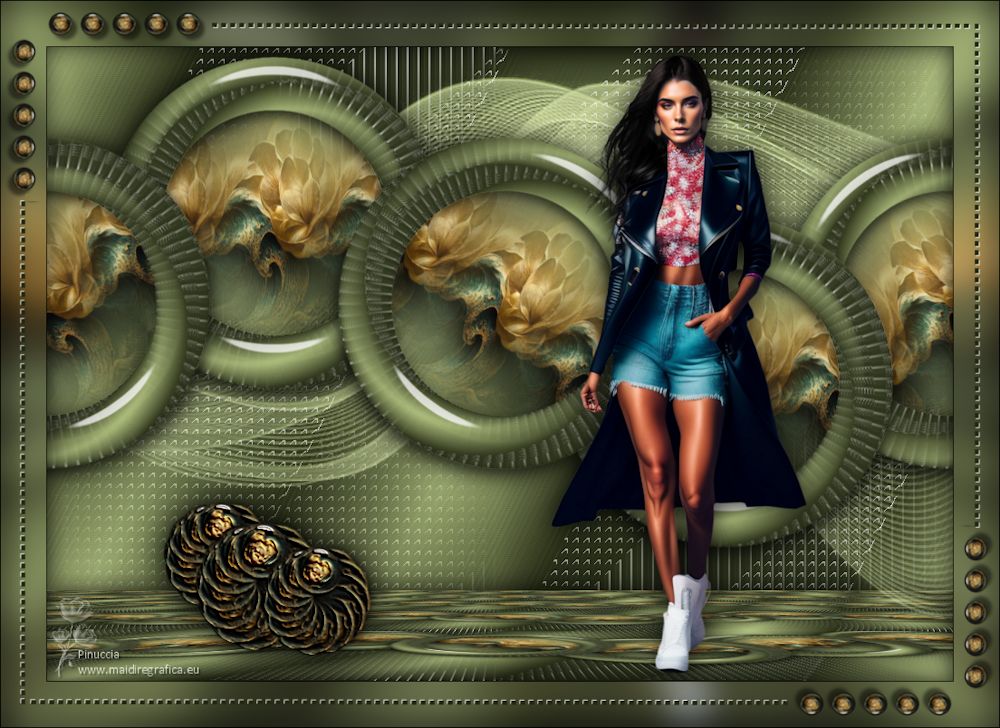
Thanks Maria José for your invitation to translate your tutorial

This tutorial has been translated with PSPX2 and PSPX3, but it can also be made using other versions of PSP.
Since version PSP X4, Image>Mirror was replaced with Image>Flip Horizontal,
and Image>Flip with Image>Flip Vertical, there are some variables.
In versions X5 and X6, the functions have been improved by making available the Objects menu.
In the latest version X7 command Image>Mirror and Image>Flip returned, but with new differences.
See my schedule here
 French translation here French translation here
 your versions ici your versions ici
For this tutorial, you will need:

For the mask thanks Silvie.
The rest of the material is by Maria José.
(you find here the links to the material authors' sites)

consult, if necessary, my filter section here
Filters Unlimited 2.0 here
Unplugged Tools - Spice Dots here
Mura's Seamless - Emboss at Alpha here
Mura's Meister - Pole Transform here
Mura's Meister - Copies here
Mura's Meister - Perspective Tiling here
Alien Skin Eye Candy 5 Impact - Glass here
Filters Unplugged Tools and Mura's Seamless can be used alone or imported into Filters Unlimited.
(How do, you see here)
If a plugin supplied appears with this icon  it must necessarily be imported into Unlimited it must necessarily be imported into Unlimited

You can change Blend Modes according to your colors.
In the newest versions of PSP, you don't find the foreground/background gradient (Corel_06_029).
You can use the gradients of the older versions.
The Gradient of CorelX here
Copy the preset  in the folder of the plugin Alien Skin Eye Candy 5 Impact>Settings>Glass. in the folder of the plugin Alien Skin Eye Candy 5 Impact>Settings>Glass.
One or two clic on the file (it depends by your settings), automatically the preset will be copied in the right folder.
why one or two clic see here

Open the mask in PSP and minimize it with the rest of the material.
1. Set your foreground color to #242914,
and your background color to #b3c282.
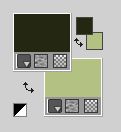
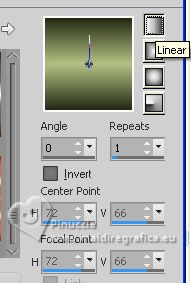
2. Set your foreground color to a Foreground/Background Gradient, style Linear.
3. Open alphachannel-emiliute
Window>Duplicate or, on the keyboard, shift+D to make a copy.

Close the original.
The copy, that will be the basis of your work, is not empty,
but contains the selections saved to alpha channel.
Flood Fill  the transparent image with your Gradient. the transparent image with your Gradient.
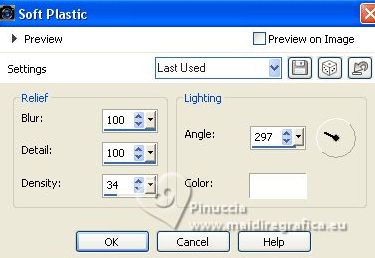
2. Effects>Texture Effects>Soft Plastic.
3. Adjust>Sharpness>Sharpen.
4. Effetcs>Geometric Effects>Skew.
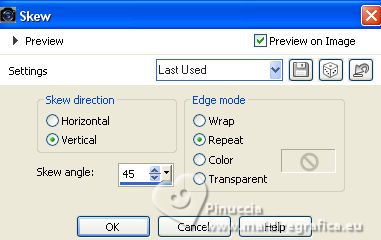
5. Selections>Load/Save Selection>Load Selection from Alpha Channel.
The selection selection #1 is immediately available. You just have to click Load.
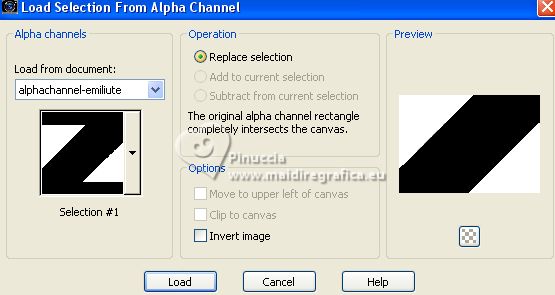
Selections>Promote Selection to Layer.
6. Effects>Plugins>Unplugged Tools - Spice Dots, default settings.
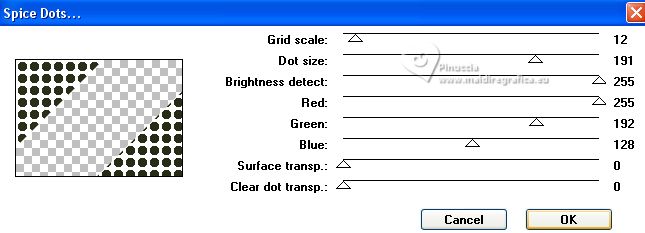
Selections>Select None.
7. Selections>Load/Save Selection>Load Selection from Alpha Channel.
Open the selections menu and load the selection selection #2
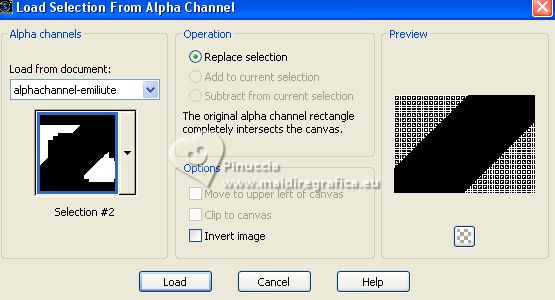
Press CANC on the keyboard 
Keep selected.
8. Effects>3D Effects>Drop Shadow, color white.
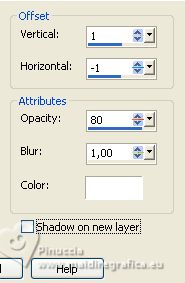
Selections>Select None.
Layers>Merge>Merge Down.
9. Effects>Geometric Effects>Skew, same settings.

10. Effects>Image Effects>Seamless Tiling.

Layers>Duplicate.
11. Effects>Plugins>Mura's Meister - Pole Transform.
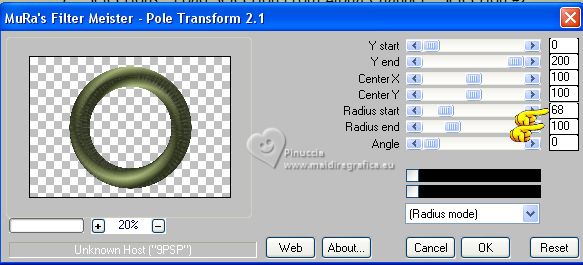
12. Image>Resize, to 60%, resize all layers not checked.
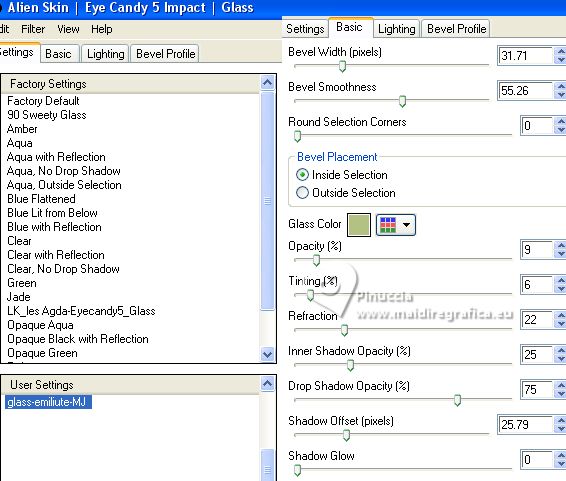
13. Effects>Plugins>Alien Skin Eye Candy 5 Impact - Glass.
Select the preset glass-emiliute-MJ
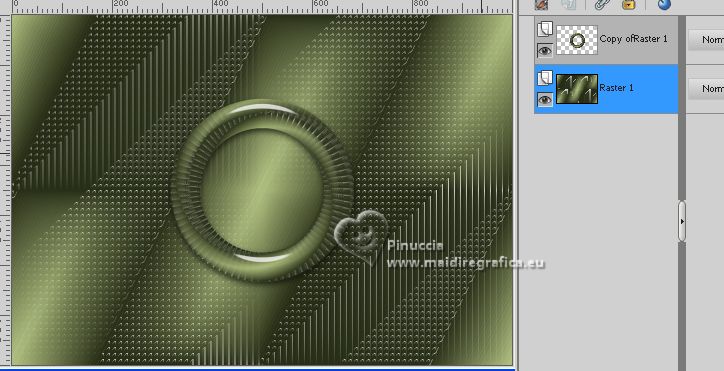
Activate the layer Layer 1.
14. Selections>Load/Save Selection>Load Selection from Alpha Channel.
Open the selections menu and load the selection selection #3
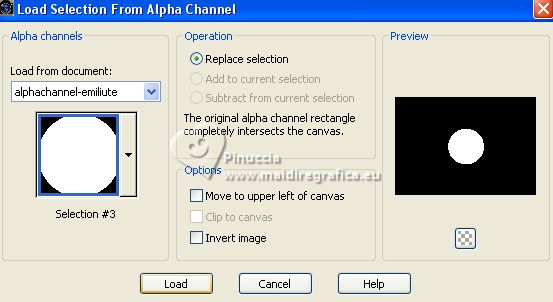
Selections>Promote Selection to Layer.
15. Adjust>Blur Gaussian Blur - radius 20.

16. Layers>New Raster Layer.
Open the misted Image11 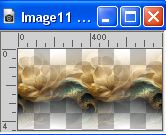
Edit>Copy.
Go back to your work and go to Edit>Paste into Selection.
17. Activate your top layer, Copy of Raster 1.
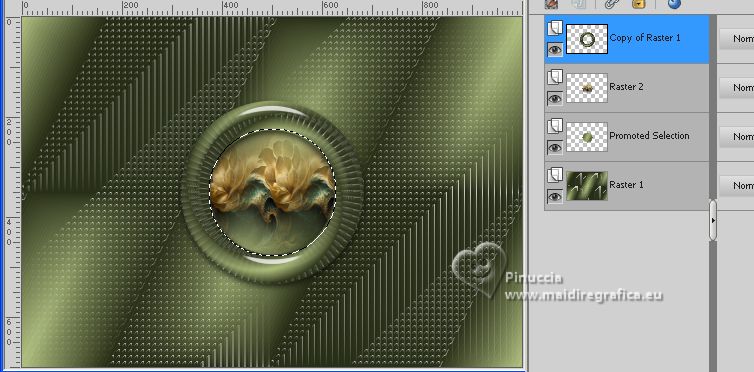
Layers>Merge>Merge Down - 2 times.
Selections>Select None.
18. Effects>Plugins>Mura's Meister - Copies.
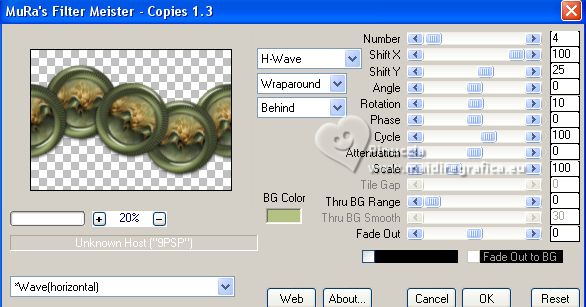
19. Effects>3D Effects>Drop shadow, color black.

20. K key to activate your Pick Tool 
keep Position X: 0,00 and set Position Y: -20,00.

M key to deselect the Tool.
21. Edit>Copy Special>Copy Merged
22. Selections>Load/Save Selection>Load Selection from Alpha Channel.
Open the selections menu and load the selection selection #4
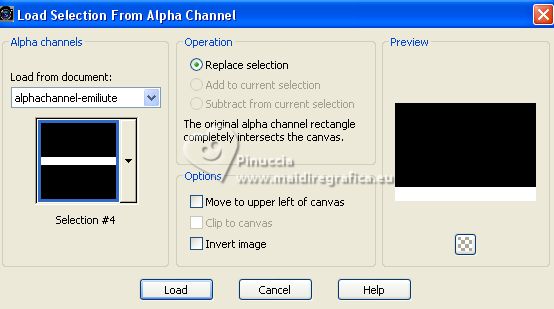
23. Layers>New Raster Layer.
Edit>Paste into Selection.
24. Effects>Plugins>Mura's Meister - Perspective Tiling, default settings.
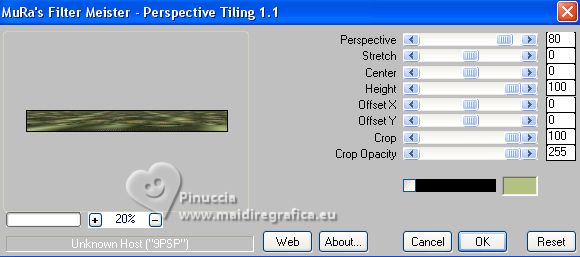
Selections>Select None.
25. Layers>Arrange>Move Down.
Effects>3D Effects>Drop Shadow, same settings.
26. Layers>New Raster Layer.
Flood Fill  the layer with your light background color. the layer with your light background color.
27. Layers>New Mask layer>From image
Open the menu under the source window and you'll see all the files open.
Select the mask Silvie_Mask_Deco21M.
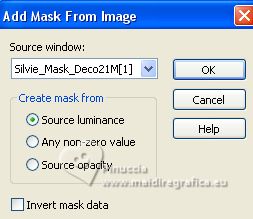
Layers>Merge>Merge Group.
28. Effects>Plugins>Mura's Seamless - Emboss at Alpha, default settings.
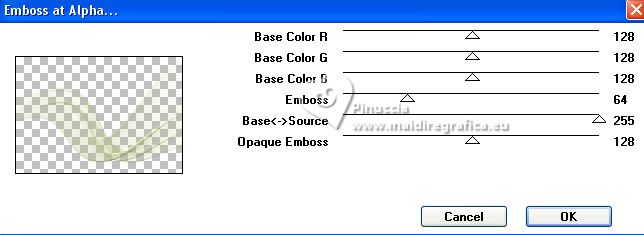
Image>Flip.
Change the Blend Mode of this layer to Screen.
29. K key to activate your Pick Tool 
keep Position X: 0,00 and set Position Y: 26,00.

M key to deselect the Tool.
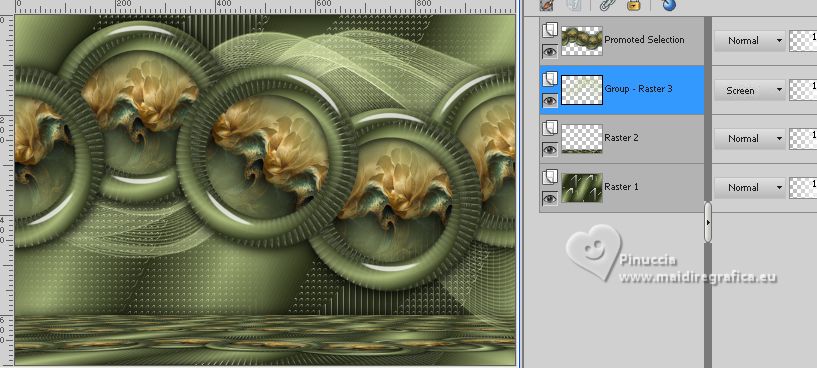
Your tag and the layers - adapt Blend Mode and opacity to your liking.
30. Activate your top layer.
Open the woman's tube mariajoseMJ-496 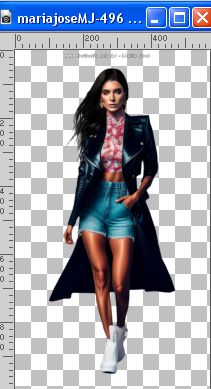
Erase the watermark and go to Edit>Copy.
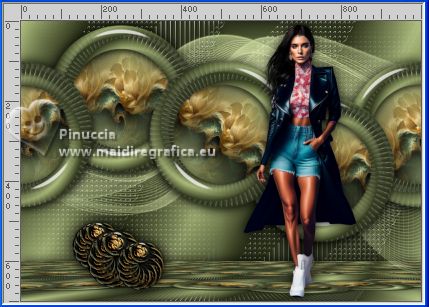
Go back to your work and go to Edit>Paste as new layer.
Image>Resize, to 76%, resize all layers not checked.
Move  the tube to the right. the tube to the right.
Effects>3D Effets>Drop Shadow, at your choice.
31. Open the tube deco 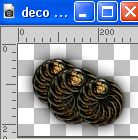
Edit>Copy.
Go back to your work and go to Edit>Paste as new layer.
Move  the tube at the bottom left. the tube at the bottom left.
32. Image>Add borders, 1 pixel, symmetric, color black.
33. Selections>Select All.
Edit>Copy
Image>Add borders, 50 pixels, symmetric, color white.
34. Selections>Invert.
Edit>Paste into Selection.
35. Adjust>Blur>Gaussian Blur - radius 20.

Effects>3D Effects 3D>Drop shadow, color black.

Selections>Select None.
36. Open borders-1-MJ 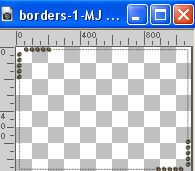
Edit>Copy.
Go back to your work and go to Edit>Paste as new layer.
37. Sign your work on a new layer.
Image>Add borders, 1 pixel, symmetric, color black.
38. Image>Resize, 1000 pixels width, resize all layers checked.
Save as jpg.
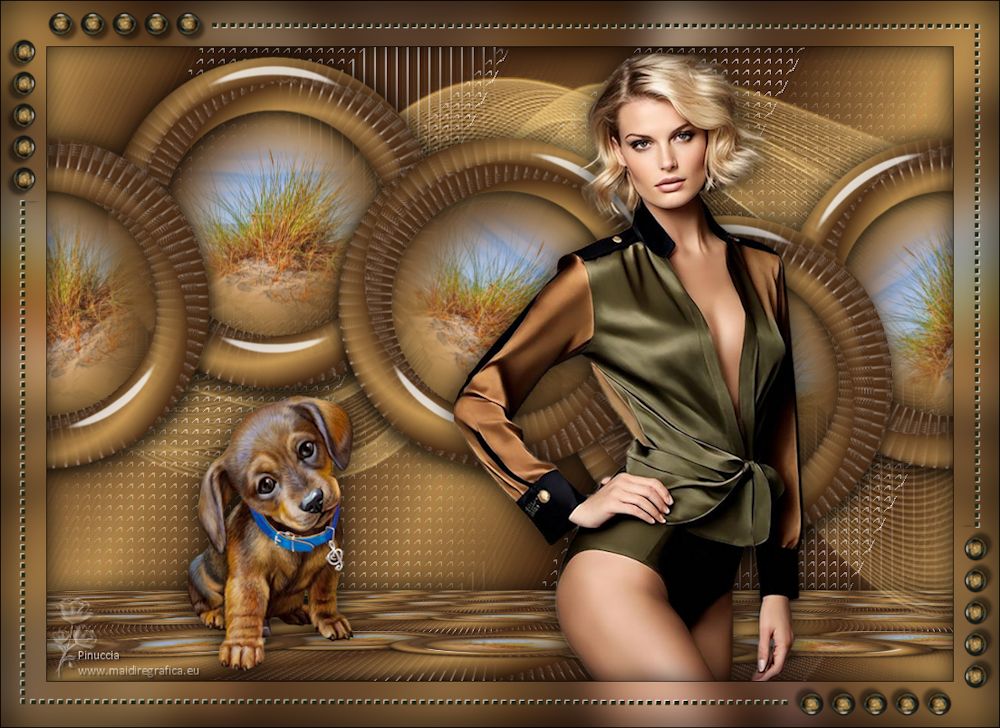
For the tubes of this version thanks Colybrix and Yvonne

If you have problems or doubts, or you find a not worked link,
or only for tell me that you enjoyed this tutorial, write to me.
21 August 2023

|


