|
ENRICA

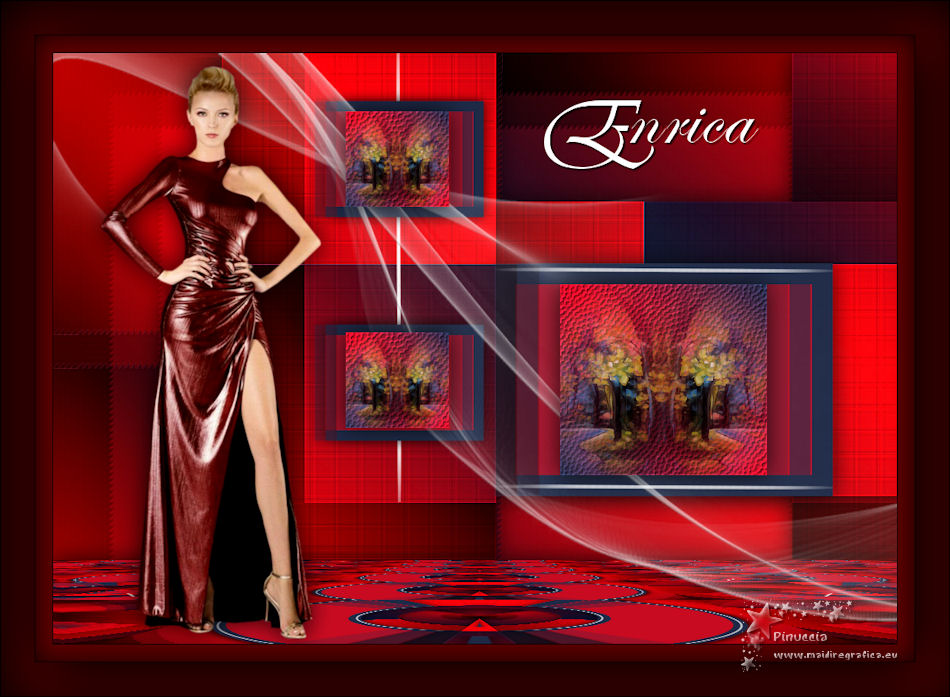
Thanks Maria José for your invitation to translate your tutorial

This tutorial has been translated with PSPX2 and PSPX3, but it can also be made using other versions of PSP.
Since version PSP X4, Image>Mirror was replaced with Image>Flip Horizontal,
and Image>Flip with Image>Flip Vertical, there are some variables.
In versions X5 and X6, the functions have been improved by making available the Objects menu.
In the latest version X7 command Image>Mirror and Image>Flip returned, but with new differences.
See my schedule here
 French translation here French translation here
 your versions ici your versions ici
For this tutorial, you will need:
Material here
For the mask thanks Noe.
The rest of the material is by Maria José
(you find here the links to the material authors' sites)
Plugins
consult, if necessary, my filter section here
Filters Unlimited 2.0 here
Filter Factory Gallery A - Weave here
Mock - Windo here
Kiwi - Zig Zack here
Italian Editors Effect - Effetto Fantasma here
Mura's Meister - Perspective Tiling here
Mura's Meister - Copies here
Mura's Meister - Pole Transform here
Mura's Seamless - Emboss at Alpha here
Filters Mock, Kiwi, Italian Editors and Mura's Seamless can be used alone or imported into Filters Unlimited.
(How do, you see here)
If a plugin supplied appears with this icon  it must necessarily be imported into Unlimited it must necessarily be imported into Unlimited

You can change Blend Modes according to your colors.
In the newest versions of PSP, you don't find the foreground/background gradient (Corel_06_029).
You can use the gradients of the older versions.
The Gradient of CorelX here
Copy the textures in the Textures Folder.
Copy the selections in the Selection Folder.
Open the mask in PSP and minimize it with the rest of the material.
Set your foreground color to #c90b21,
and your background color to #1f2a47.
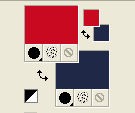
Set your foreground color to a Foreground/Background Gradient, style Linear.
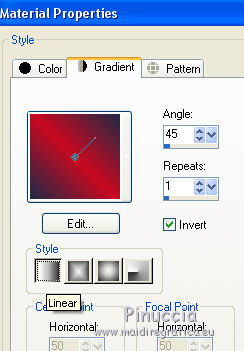
1. Open a new transparent image 1000 x 700 pixels.
Flood Fill  the transparent image with your Gradient. the transparent image with your Gradient.
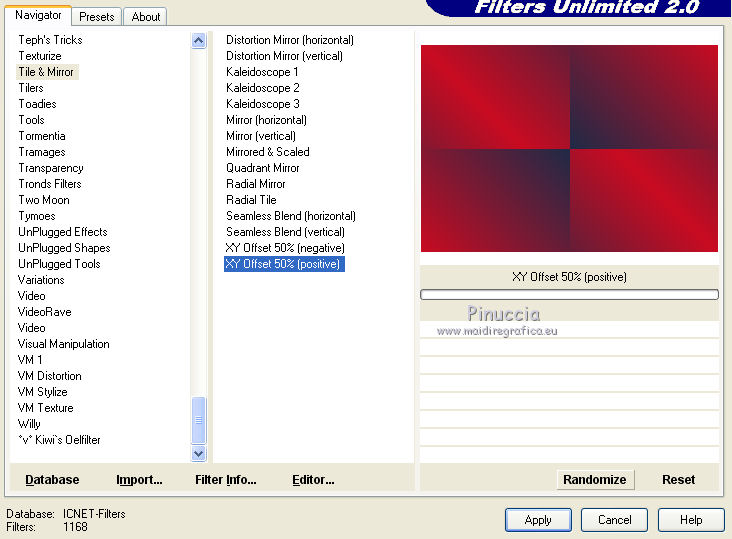
2. Effects>Plugins>Filters Unlimited 2.0 - Tile & Mirror - XY Offset 50% (positive).
3. Layers>Duplicate.
2. Effects>Plugins>Mock - Windo, default settings.
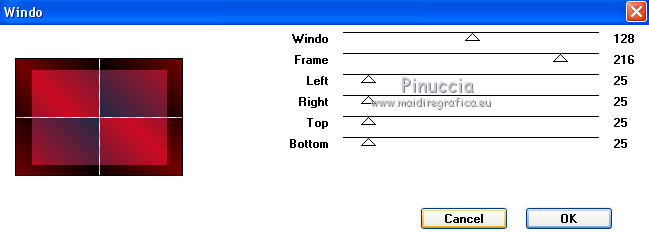
Change the Blend Mode of this layer to Overlay, or to your liking.
Layers>Merge>Merge Down.
Layers>Duplicate.
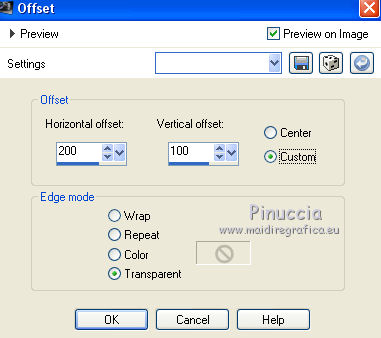
4. Effects>Image Effects>Offset.
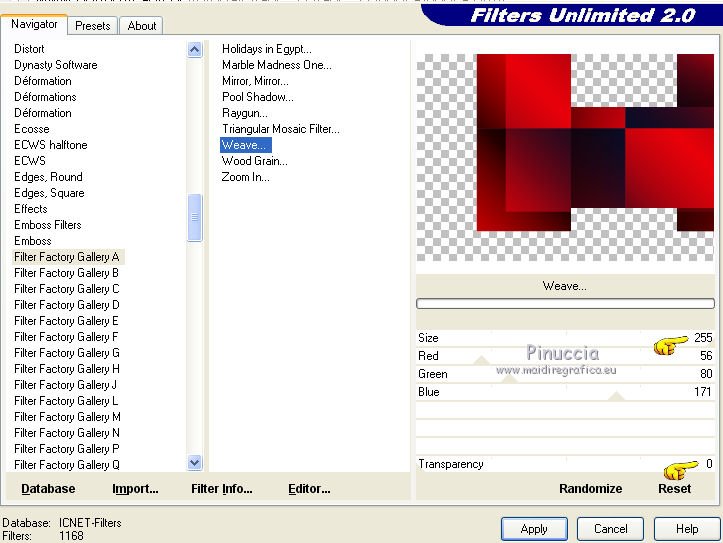
5. Effects>Plugins>Filters Unlimited 2.0 - Filter Factory Gallery A - Weave.
6. Effects>3D Effects>Drop Shadow, color black.

7. Effects>Texture Effects>Texture - select the texture 1217493633_textures
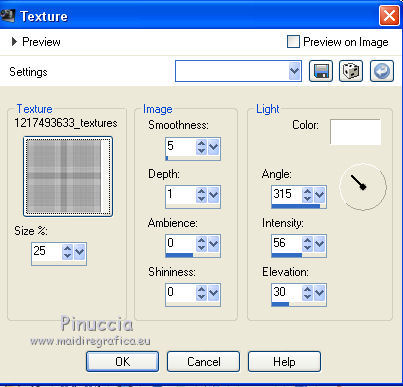
8. Adjust>Sharpness>Sharpen More.
9. Activate the layer Raster 1.
Effects>Plugins>Kiwi - Zig-Zack, default settings
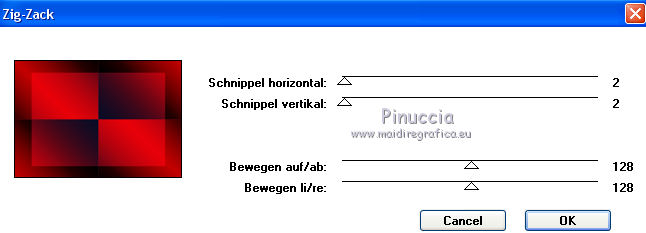
10. Effects>Plugins>Italian Editors Effect - Effetto Fantasma.
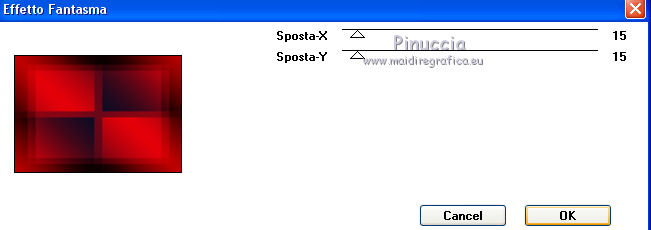
11. Adjust>Sharpness>Sharpen More.
12. Activate the layer Copy of Raster 1.
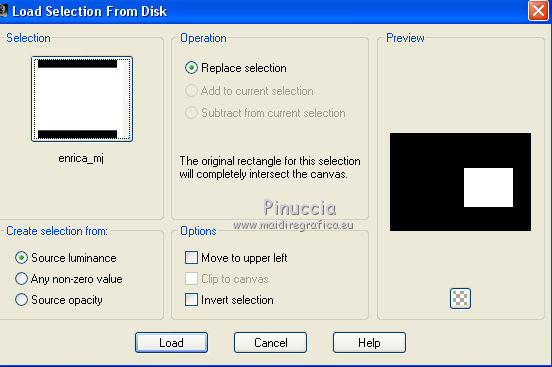
12. Selections>Load/Save Selection>Load Selection from Disk.
Look for and load the selection enrica_mj.
13. Layers>New Raster Layer.
Flood Fill  with your dark background color #1f2a47. with your dark background color #1f2a47.
14. Selections>Modify>Contract - 25 pixels.
Set your foreground color to Color.
Flood Fill  the selection with your light foreground color #c90b21. the selection with your light foreground color #c90b21.
Selections>Select None.
15. Effects>Plugins>Mura's Meister - Copies.
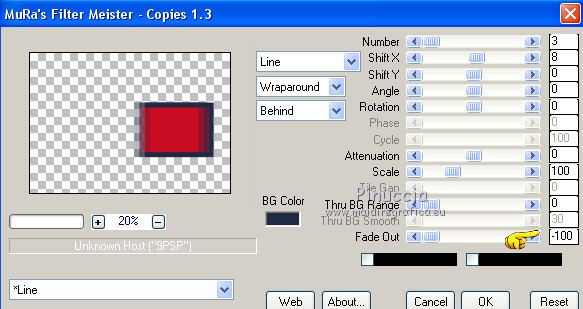
Effects>3D Effects>Drop Shadow, same settings.

16. Layers>Duplicate.
Image>Resize, to 50%, resize all layers not checked.
17. K key on the keyboard to activate your Pick Tool 
and set Position X: 297,00 and Position Y: 307,00.

18. Layers>Duplicate.
Keep Position X: 297,00 and set Position Y: 42,00.

Layers>Merge>Merge Down - 2 times.
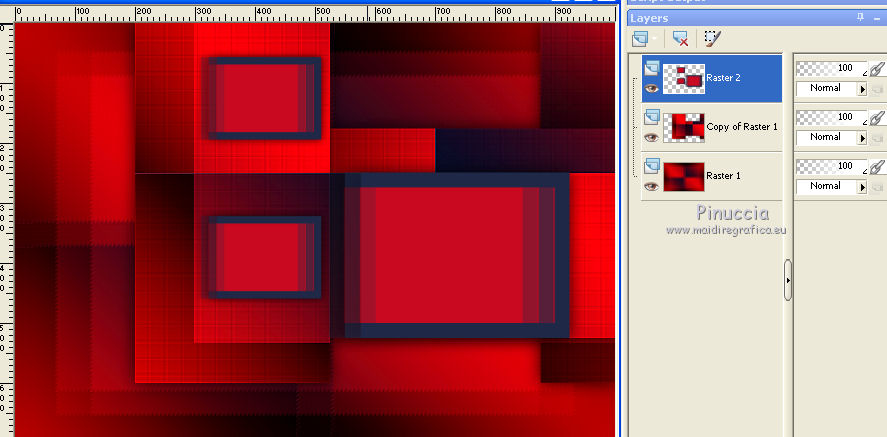
19. Open deco_mj and go to Edit>Copy.
Go back to your work and go to Edit>Paste as new layer.
Set Position X: 524,00 and Position Y: 254,00.

Change the Blend Mode of this layer to Screen.
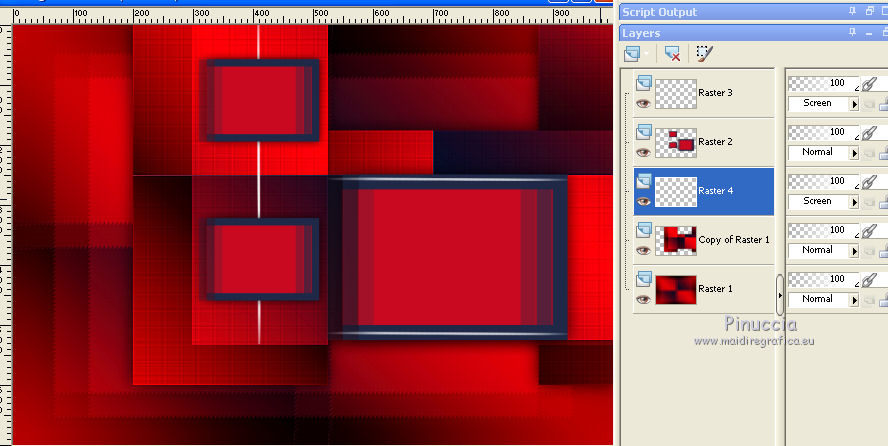
20. Open the tube deco-1-_mj and go to Edit>Copy.
Go back to your work and go to Edit>Paste as new layer.
Set Position X: 407,00 and Position Y: 0,00.

M key to deselect the tool.
Change the Blend Mode of this layer to Screen.
Layers>Arrange>Move Down - 2 times.
21. Activate the layer Raster 3.
Edit>Copy Special>Copy Merged.
Edit>Paste as new layer.
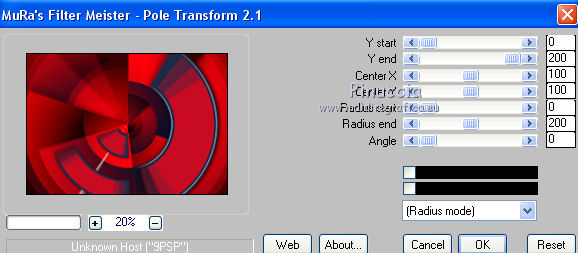
22. Effects>Plugins>Mura's Meister - Pole Transform.
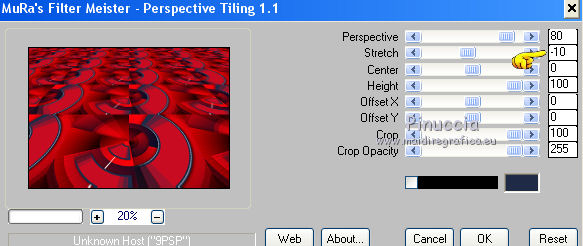
23. Effects>Plugins>Mura's Meister - Perspective Tiling.
24. Effects>Reflection Effects>Rotating Mirror.
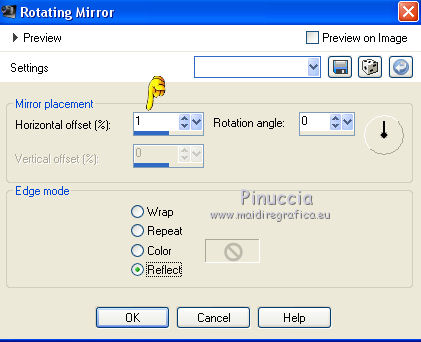
25. K key on the keyboard to activate your Pick Tool 
and set Position X: 0,00 and Position Y: 600,00

comparing the result with that of the original tutorial,
I made a second version using the Pick Tool differently;
I pushed the top node down to 600 pixels.
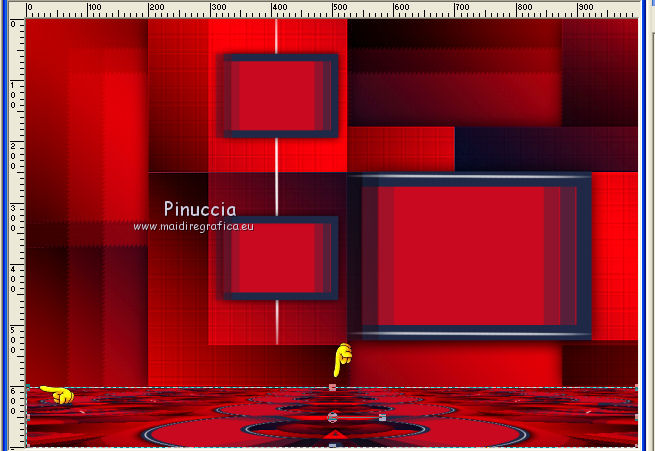
M key to deselect the Tool.
Layers>Arrange>Move Down - 3 times
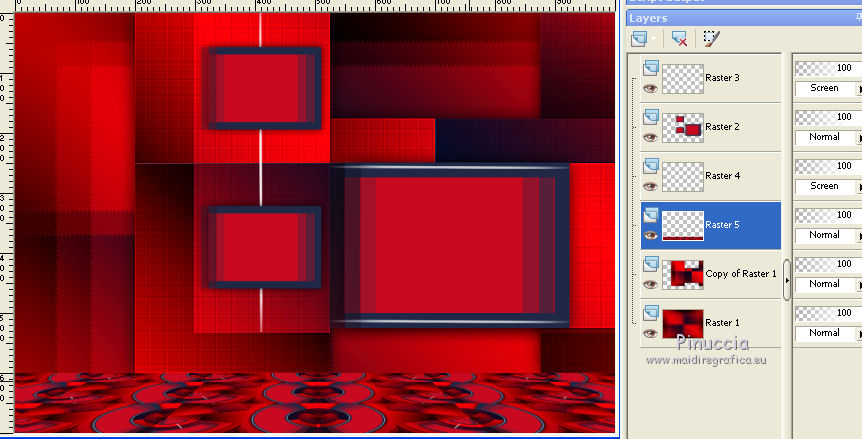
Example with my variant
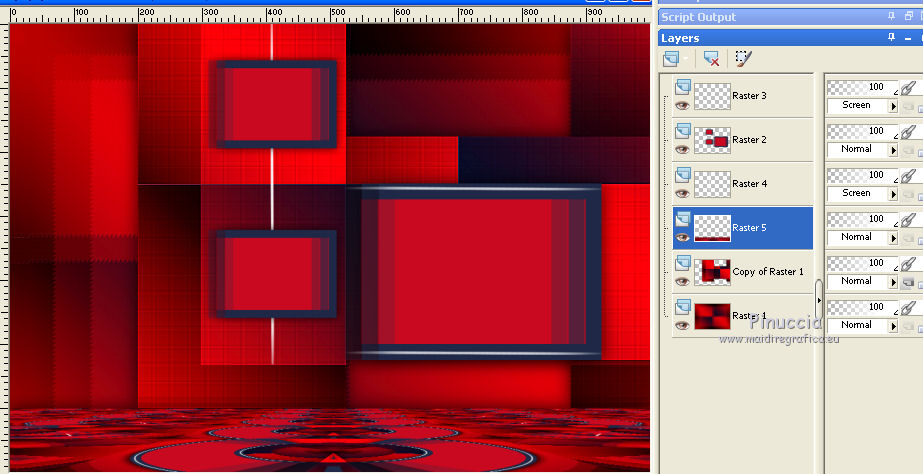
Effects>3D Effects>Drop Shadow, same settings.
26. Activate the layer Raster 2.
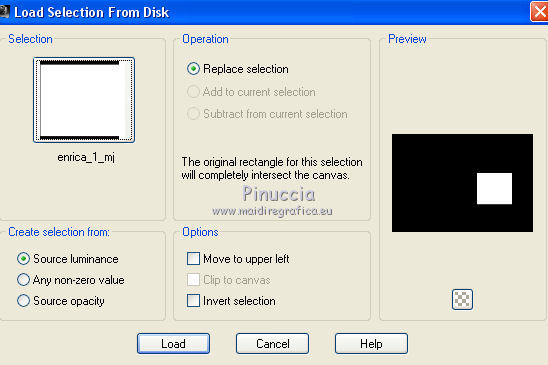
Selections>Load/Save Selection>Load Selection from Disk.
Look for and load the selection enrica_1_mj.
27. Layers>New Raster Layer.
Set again your foreground color to Gradient.
Flood Fill  the layer with your Gradient. the layer with your Gradient.
28. Effects>Texture Effects>Texture - select the texture brown172.
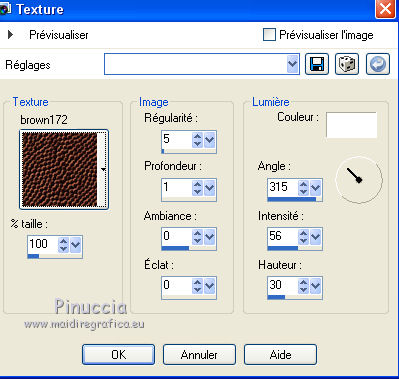
Adjust>Sharpness>Sharpen More.
29. Layers>New Raster Layer.
Open the misted and go to Edit>Copy.
Go back to your work and go to Edit>Paste into Selection.
Layers>Merge>Merge Down.
Effects>3D Effects>Drop Shadow, same settings.
Selections>Select None.
30. Activate the layer Raster 2.
Selections>Load/Save Selection>Load Selection from Disk.
Look for and load the selection enrica_2_mj.
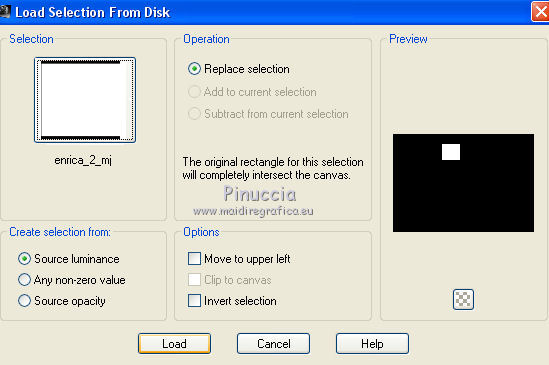
Repeat the steps 27-29
27. Layers>New Raster Layer.
Flood Fill  the layer with your Gradient the layer with your Gradient
28. Effects>Texture Effects>Texture - texture brown172.
Adjust>Sharpness>Sharpen More.
29. Layers>New Raster Layer.
Edit>Paste into Selection (the misted is still in memory).
Layers>Merge>Merge Down.
Effects>3D Effects>Drop Shadow, same settings.
Selections>Select None.
31. Layers>Duplicate.
Move  the image in the lower frame. the image in the lower frame.
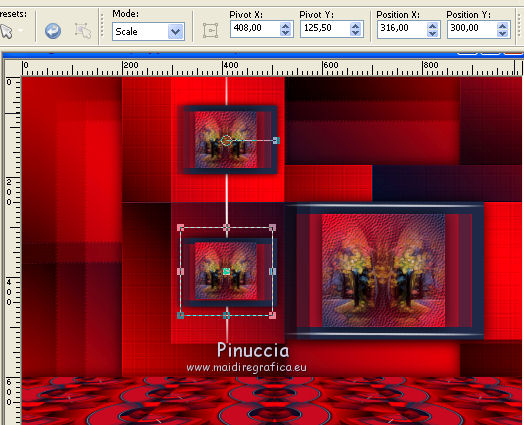
Layers>Merge>Merge Down.
32. Set your foreground color to white #ffffff.
Reduce the opacity of your Flood Fill Tool to 70%.
Flood Fill  the layers with color white. the layers with color white.
don't forget to set again the opacity of your Flood Fill Tool to 100
33. Layers>New Mask layer>From image
Open the menu under the source window and you'll see all the files open.
Select the mask maszknoe.
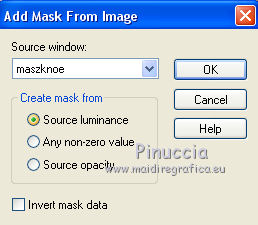
Layers>Merge>Merge Group.
34. Effects>Plugins>Mura's Seamless - Emboss at Alpha.
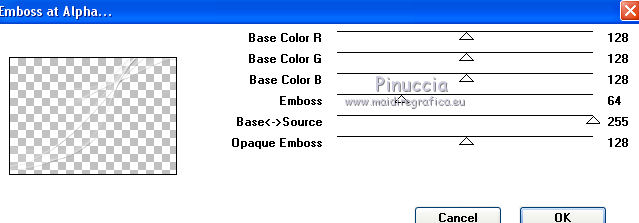
Image>Mirror.
Layers>Arrange>Move Down.
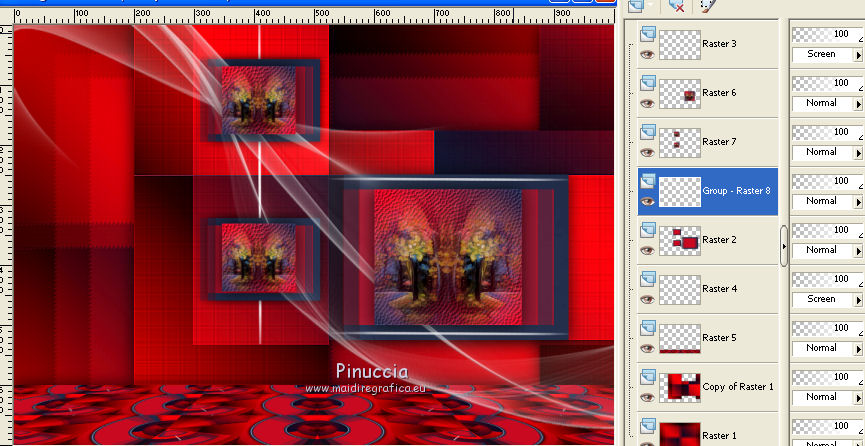
The tag and the layers - adapt Blend Modes and opacities according to your colors.
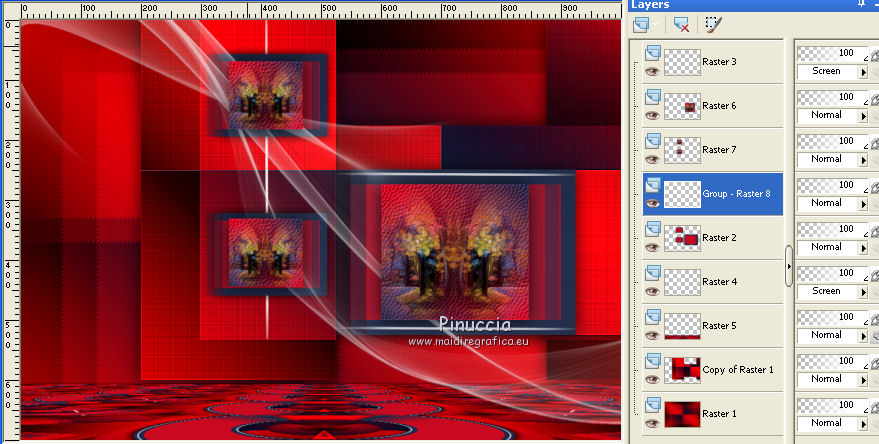
La tag with my variant at step 25.
35. Activate your top layer.
Open the tube of the woman and go to Edit>Copy.
Go back to your work and go to Edit>Paste as new layer.
Image>Resize, to 78%, resize all layers not checked.
Move  the tube to the left side. the tube to the left side.
Effects>3D Effects>Drop Shadow, to your liking.
36. Open the texte and go to Edit>Copy.
Go back to your work and go to Edit>Paste as new layer.
Revenir sur votre travail et Édition>Coller comme nouveau calque.
Move  le texte to the top right, or to your liking. le texte to the top right, or to your liking.
37. Image>Add borders, 1 pixel, symmetric, colore black.
Image>Add borders, 20 pixels, symmetric, color #5a0000.
Image>Add borders, 1 pixel, symmetric, colore black.
Image>Add borders, 40 pixels, symmetric, color #5a0000.
Image>Add borders, 1 pixel, symmetric, colore black.
38. Activate your Magic Wand Tool 
and click on the 40 pixels border to select it.
39. Effects>3D Effects>Cutout.
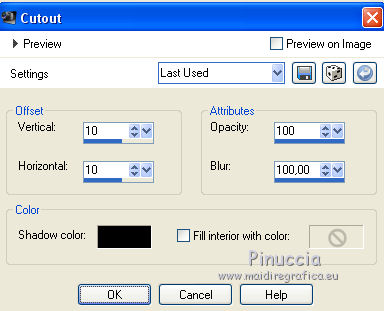
Effects>3D Effects>Drop Shadow, color black.

Selections>Select None.
40. Sign your work on a new layer.
41. Image>Resize, 1000 pixels width, resize all layers checked.
Save as jpg.
Version with tubes by Luz Cristina
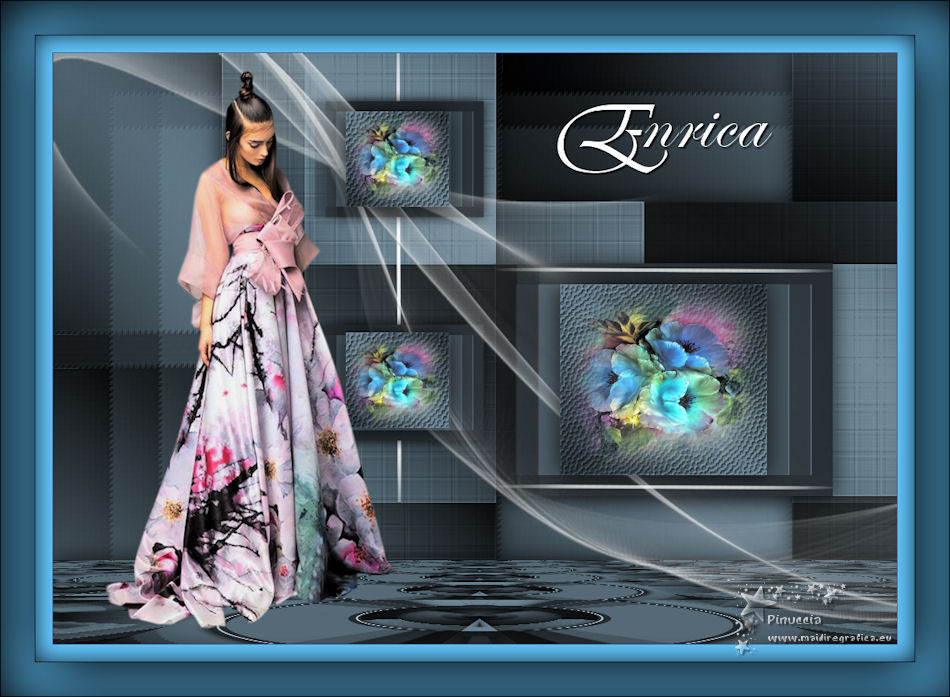
 Your versions here Your versions here

If you have problems or doubts, or you find a not worked link, or only for tell me that you enjoyed this tutorial, write to me.
24 July 2021

|


