|
FELIZ NATAL 2024


Thanks Maria José for your invitation to translate your tutorial

This tutorial has been translated with PSPX9 and PSP2020, but it can also be made using other versions of PSP.
Since version PSP X4, Image>Mirror was replaced with Image>Flip Horizontal,
and Image>Flip with Image>Flip Vertical, there are some variables.
In versions X5 and X6, the functions have been improved by making available the Objects menu.
In the latest version X7 command Image>Mirror and Image>Flip returned, but with new differences.
See my schedule here
 French translation here French translation here
 your versions here your versions here
For this tutorial, you will need:

For the mask thanks Narah.
The rest of the material is by Material by Maria José
(you find here the links to the material authors' sites)

consult, if necessary, my filter section here
Filters Unlimited 2.0 here
&<Bkg Designer sf10II> - Hinzenberg's Mirror (à importer dans Unlimited) here
Mehdi 2 - Flat Median here
Richard Rosenman - Grain Generator here
Simple - Top Left Mirror here
Alien Skin Eye Candy 5 Impact - Glass here
Mura's Meister - Perspective Tiling here
Mura's Seamless - Emboss at Alpha here
Toadies - Blast'em here
VM Natural - Sparkle here
AAA Frames - Foto Frame here
Filters Mura's Seamless, VM Natural, Simple and Toadies can be used alone or imported into Filters Unlimited.
(How do, you see here)
If a plugin supplied appears with this icon  it must necessarily be imported into Unlimited it must necessarily be imported into Unlimited
You can change Blend Modes according to your colors.
Copy the preset  in the folder of the plugin Alien Skin Eye Candy 5 Impact>Settings>Glass. in the folder of the plugin Alien Skin Eye Candy 5 Impact>Settings>Glass.
One or two clic on the file (it depends by your settings), automatically the preset will be copied in the right folder.
why one or two clic see here

Copy the selections in the Selections Folder.
Open the mask in PSP and minimize it with the rest of the material.
Choose two colors at your choice
For the example:
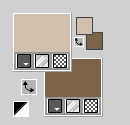
Set your foreground color to #d0c0ad
and your background color to #7c6448.
1. Open a new transparent image 1000 x 700 pixels.
2. Selections>Select All.
Open the image graficonew 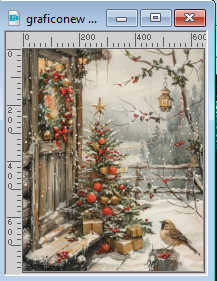
Edit>Copy.
Go back to your work and go to Edit>Paste into Selection.
Selections>Select None.
3. Effects>Plugins>Mehdi 2 - Flat Median
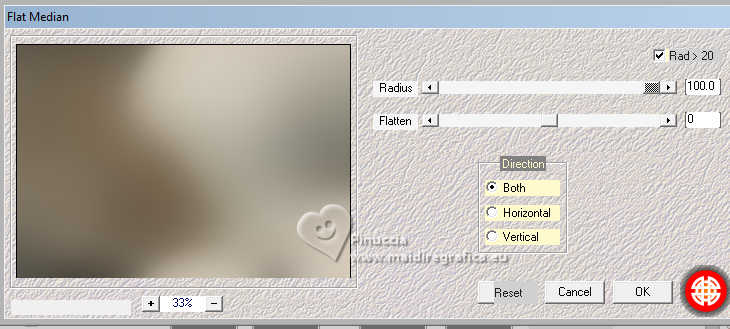
4. Effects>Plugins>Filters Unlimited 2.0 - &<Bkg Designer sf10II> - Hinzeberg's Mirror.
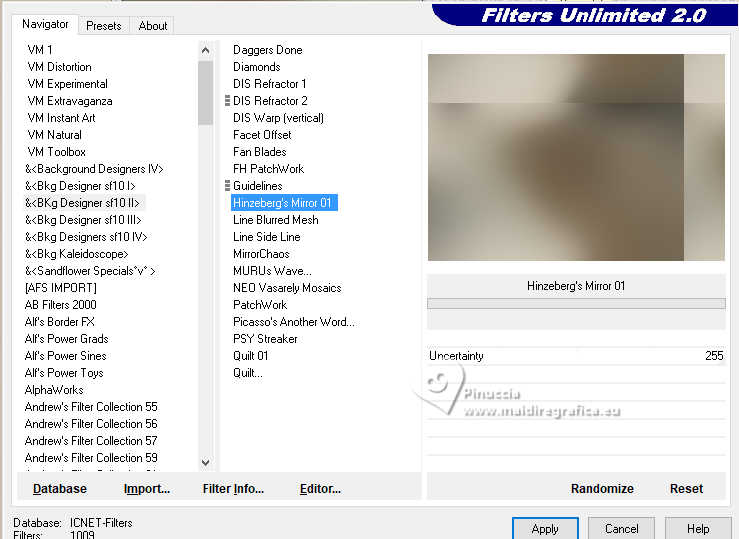
5. Effects>Image Effects>Seamless Tiling.

6. Effects>Plugins>Simple - Top Left Mirror.
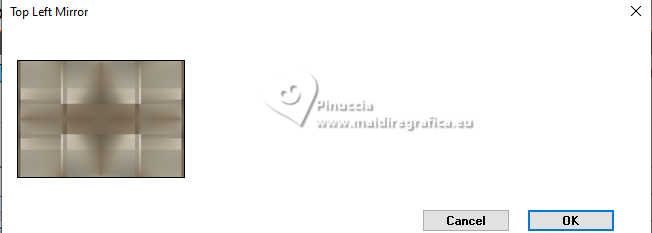
7. Effects>Plugins>Richard Rosenman - Grain Generator
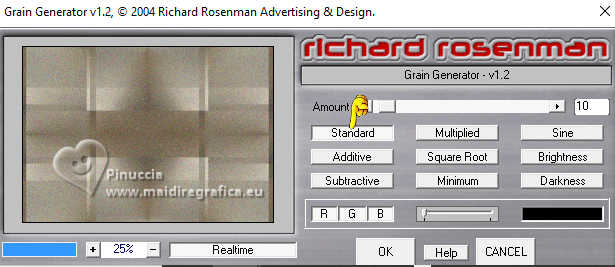
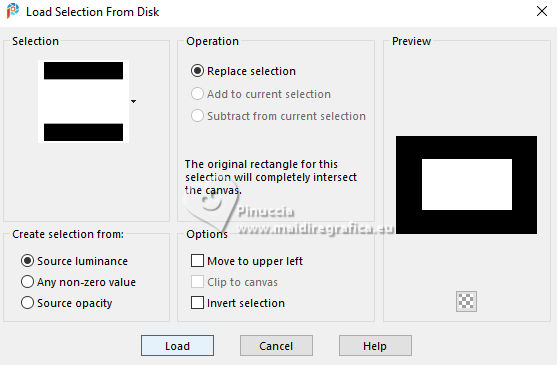
8. Selections>Load/Save Selection>Load Selection from Disk.
Look for and load the selection christmas-1-central
9. Layers>New Raster Layer.
Flood Fill  the layer with your dark background color #7c6448. the layer with your dark background color #7c6448.
10. Selections>Modify>Contract - 10 pixels.
Press CANC on the keyboard 
Selections>Select None.
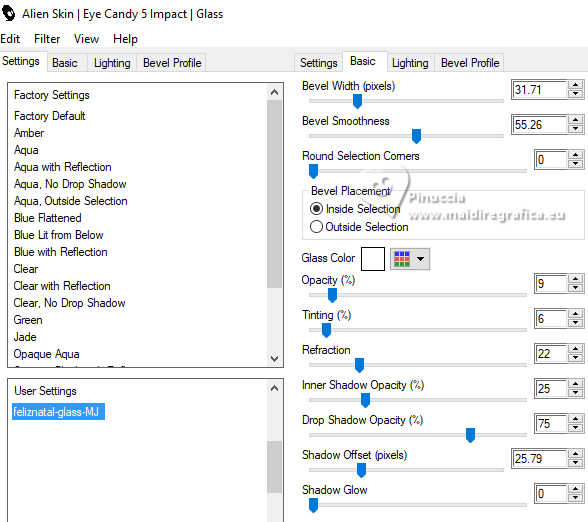
11. Effects>Plugins>Alien Skin Eye Candy 5 Impact - Glass
select the preset feliznatal-glass-MJ
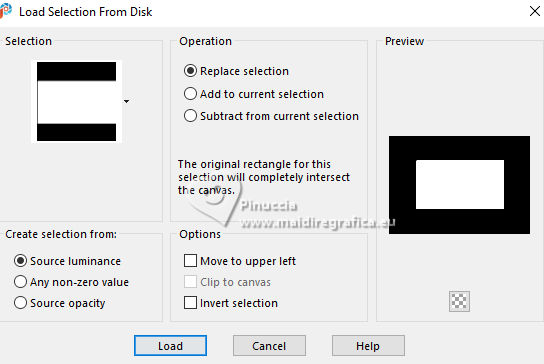
12. Selections>Load/Save Selection>Load Selection from Disk.
Look for and load the selection christmas-2-central
13. Layers>New Raster Layer.
Open the misted misted-new 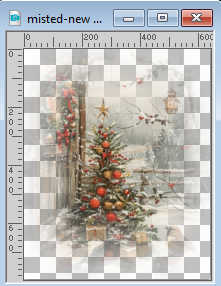
Edit>Copy.
Go back to your work and go to Edit>Paste into Selection.
14. Layers>Arrange>Move Down.
Activate the layer above, Raster 2.
Layers>Merge>Merge Down.
Selections>Select None.
15. Layers>Duplicate.
Image>Resize, to 85%, resize all layers not checked.
16. Effects>Image Effects>Seamless Tiling.

Layers>Arrange>Move Down.
Reduce the opacity +/-85%.
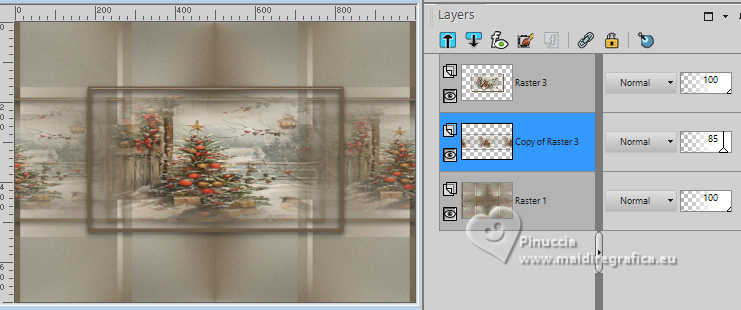
17. Open deco-natal-MJ 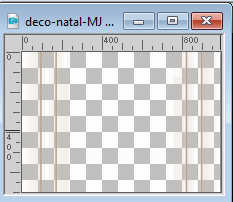
Edit>Copy.
Go back to your work and go to Edit>Paste as new layer.
Change the Blend Mode of this layer to Screen, or other.
Layers>Arrange>Bring to Top.
18. Edit>Copy Special>Copy Merged
Edit>Paste as new layer.
19. Effects>Plugins>Mura's Meister - Perspective Tiling.
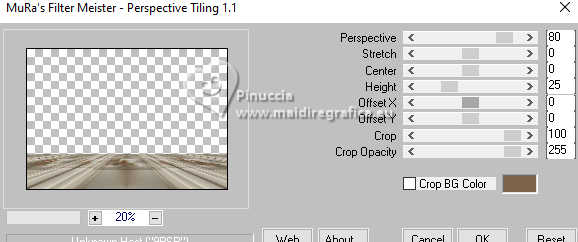
20. Activate your Magic Wand Tool  , tolerance 0, feather 90 , tolerance 0, feather 90

click on the transparent part to select it.
Press +/-10 times CANC on the keyboard 
Selections>Select None.
don't forget to set again the feather of your Magic Wand Tool to 0
21. Effects>Plugins>AAA Frames - Foto Frame.
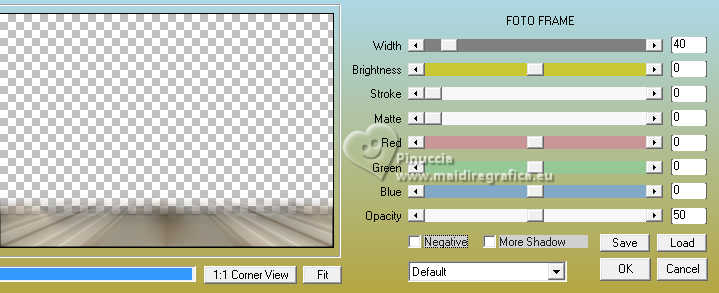
Repeat Effects>Plugins>AAA Frames - Foto Frame, width 20.
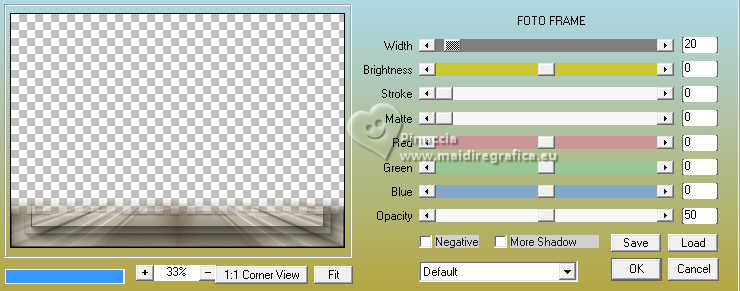
Layers>Arrange>Move Down.
22. Layers>New Raster Layer.
Flood Fill  the layer with your light foreground color #d0c0ad the layer with your light foreground color #d0c0ad
23. Layers>New Mask layer>From image
Open the menu under the source window and you'll see all the files open.
Select the mask NarahsMasks_1483.
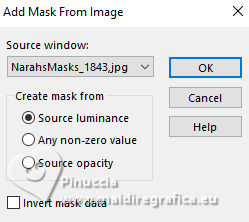
Layers>Merge>Merge Group.
24. Effects>Plugins>Mura's Seamless - Emboss at Alpha, par défaut.
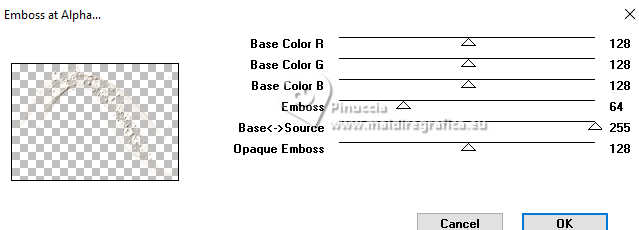
25. Activate the layer Raster 1.
Effects>Plugins>VM Natural - Sparkle
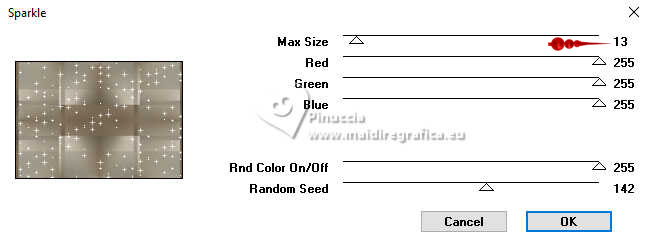
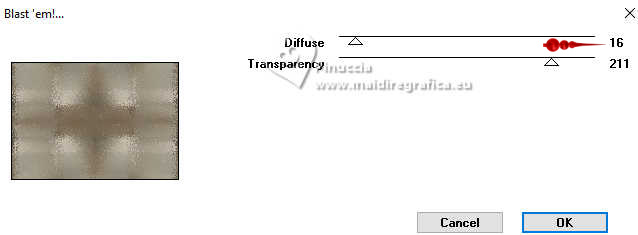
26. Effects>Plugins>Toadies - Blast'em.
Your tag and the layers - Blend Mode and opacity according to your colors.
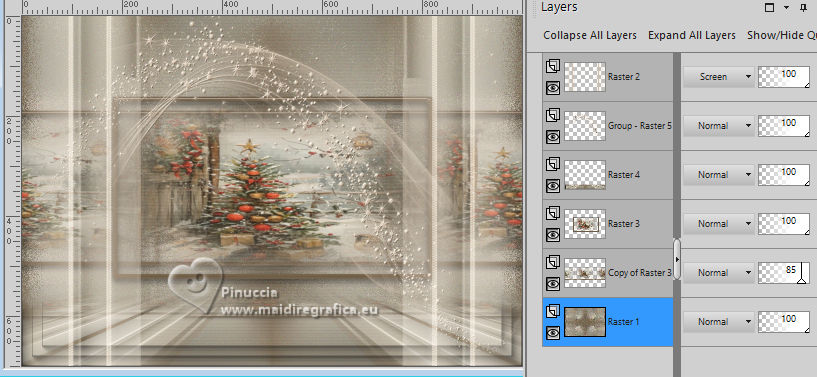
27. Activate your top layer, Raster 2.
Open the tube girl-noel-MJ 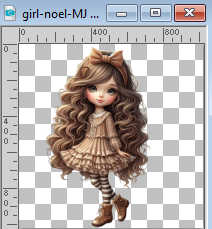
Edit>Copy.
Go back to your work and go to Edit>Paste as new layer.
Image>Resize, to 65%, resize all layers not checked.
Move  the tube to the right side. the tube to the right side.
Effects>3D Effects>Drop shadow, at your choice.
28. Open deco-natal-1-MJ 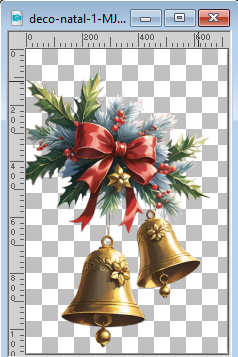
Edit>Copy.
Go back to your work and go to Edit>Paste as new layer.
Image>Resize, to 40%, resize all layers not checked.
29. Objects>Align>Top.
Objects>Align>Left.
Effects>3D Effects>Drop shadow, at your choice.
30. Open dog-noel-MJ 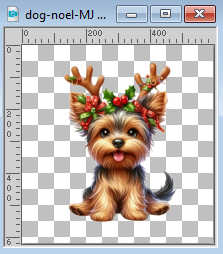
Edit>Copy.
Go back to your work and go to Edit>Paste as new layer.
Image>Resize, to 60%, resize all layers not checked.
Move  the tube at the bottom left. the tube at the bottom left.
Effects>3D Effects>Drop Shadow, at your choice.
31. Open the text texto 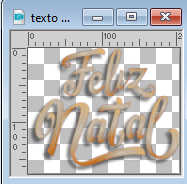
Edit>Copy.
Go back to your work and go to Edit>Paste as new layer.
Move  the text up, see my example. the text up, see my example.
Activate the layer Raster 1.
Edit>Copy
Edit>Paste as new image, and minimise this image.
Go back to your work.
32. Image>Add borders, 1 pixel, symmetric, light color.
Image>Add borders, 1 pixel, symmetric, dark color.
Image>Add borders, 1 pixel, symmetric, light color.
33. Selections>Select All.
Image>Add borders, 50 pixels, symmetric, color white.
34. Selections>Invert.
Edit>Paste into Selection - the image of step 31 is in memory.
Effects>3D Effects>Drop shadow, color black.

35. Selections>Select All.
Selections>Modify>Contract - 25 pixels.
Effects>3D Effects>Drop Shadow, same settings.
Selections>Select None.
36. Open deco-bordas-MJ 
Edit>Copy.
Go back to your work and go to Edit>Paste as new layer.
37. Sign your work on a new layer.
Image>Add borders, 1 pixel, symmetric, light color.
38. Image>Resize, 1000 pixels width, resize all layers checked.
Save as jpg.
For the tubes of these versions thanks
Felinec31 and Wieskes

Wieske, Cat and Virginia

If you have problems or doubts, or you find a not worked link,
or only for tell me that you enjoyed this tutorial, write to me.
14 December 2024

|


