|
ISADORA

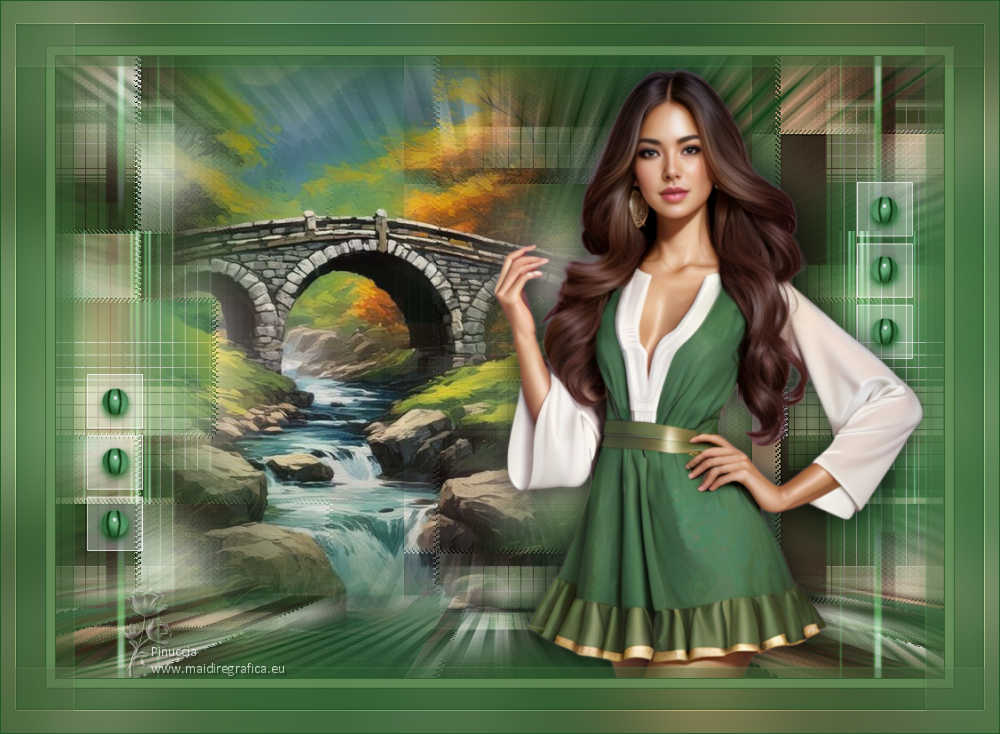
Thanks Maria José for your invitation to translate your tutorial

This tutorial has been translated with PSPX9 and PSP2020, but it can also be made using other versions of PSP.
Since version PSP X4, Image>Mirror was replaced with Image>Flip Horizontal,
and Image>Flip with Image>Flip Vertical, there are some variables.
In versions X5 and X6, the functions have been improved by making available the Objects menu.
In the latest version X7 command Image>Mirror and Image>Flip returned, but with new differences.
See my schedule here
 French translation here French translation here
 your versions ici your versions ici
For this tutorial, you will need:

The material is by Maria José.
(you find here the links to the material authors' sites)

consult, if necessary, my filter section here
Filters Unlimited 2.0 here
&<Bkg Designer sf10II> - FH Patchwork (à importer dans Unlimited) here
Mura's Seamless - Emboss at Alpha here
VM Distortion - Flipper, Tile a GoGo here
L&K's - L&K's Mayra here
Mura's Meister - Perspective Tiling here
Filter Factory Gallery J - Drink to me here
Filters Mura's Seamless, Factory Gallery and VM Distortion can be used alone or imported into Filters Unlimited.
(How do, you see here)
If a plugin supplied appears with this icon  it must necessarily be imported into Unlimited it must necessarily be imported into Unlimited

You can change Blend Modes according to your colors.
In the newest versions of PSP, you don't find the foreground/background gradient (Corel_06_029).
You can use the gradients of the older versions.
The Gradient of CorelX here

Open the mask in PSP and minimize it with the rest of the material.
Set your foreground color to #9dbd83,
and your background color to #1f5524.
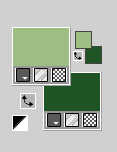
Set your foreground color to a Foreground/Background Gradient, style Linear.
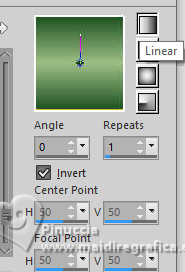
1. Open a new transparent image 1000 x 700 pixels.
Flood Fill  the transparent image with your Gradient. the transparent image with your Gradient.
2. Selections>Select All.
Open your main tube tube-AI-MJ 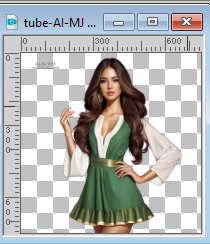
Erase the watermark.
Edit>Copy and minimize the tube.
Go back to your work and go to Edit>Paste into Selection.
Selections>Select None.
3. Effects>Image Effects>Seamless Tiling, default settings.

4. Adjust>Blur>Gaussian Blur - radius 25.

5. Effects>Plugins>VM Distortion - Flipper, default settings.
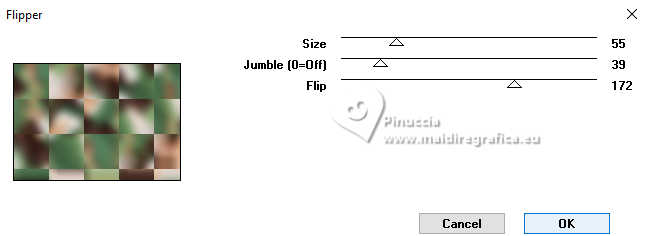
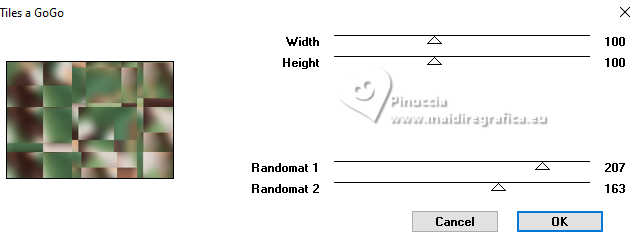
6. Effects>Plugins>VM Distortion - Tiles a GoGo.
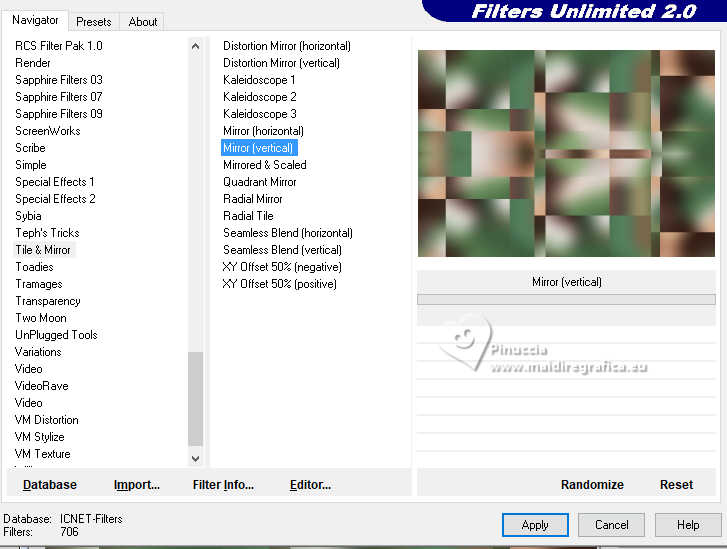
7. Effects>Plugins>Filters Unlimited 2.0 - Tile & Mirror - Mirror (vertical).
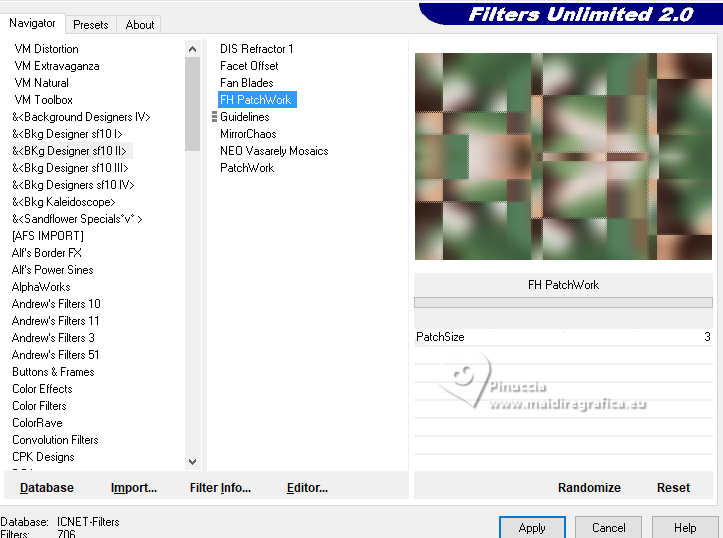
8. Effects>Plugins>Filters Unlimited 2.0 - &<Bkg Designer sf10II> - FH PatchWork.
9. Adjust>Sharpness>Sharpen More.
10. Open deco-isadora-MJ 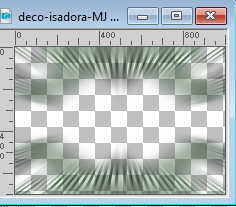
Edit>Copy.
Go back to your work and go to Edit>Paste as new layer.
11. Layers>New Raster Layer.
Set your foreground color to Color.
Flood Fill  the layer with your light foreground color. the layer with your light foreground color.
12. Layers>New Mask layer>From image
Open the menu under the source window and you'll see all the files open.
Select the mask masque(2)
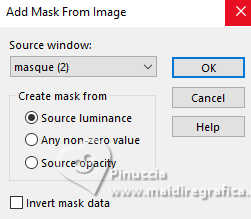
Layers>Merge>Merge Group.
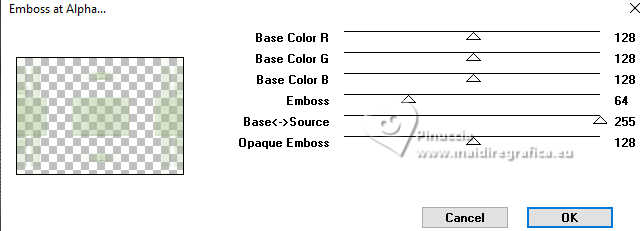
13. Effects>Plugins>Mura's Seamless - Emboss at Alpha, default settings.
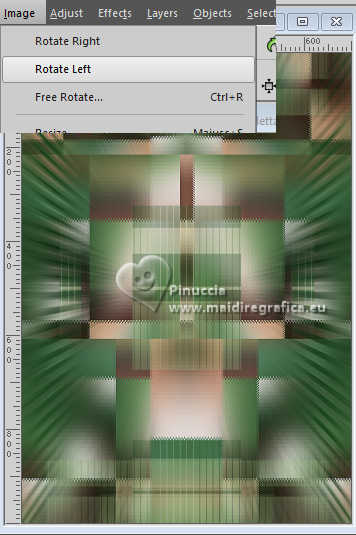
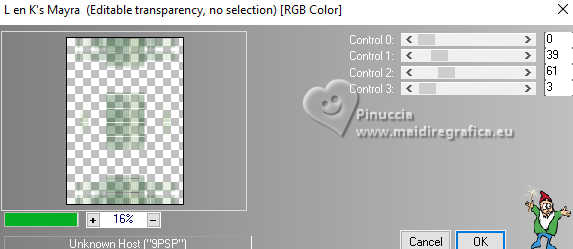
14. Effects>Plugins>L&L's - L&K's Mayra
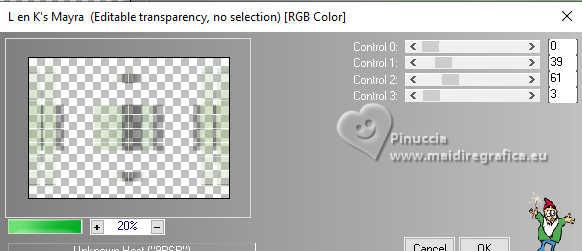
15. Image>Rotate Left.
Repeat Effects>Plugins>L&L's - L&K's Mayra
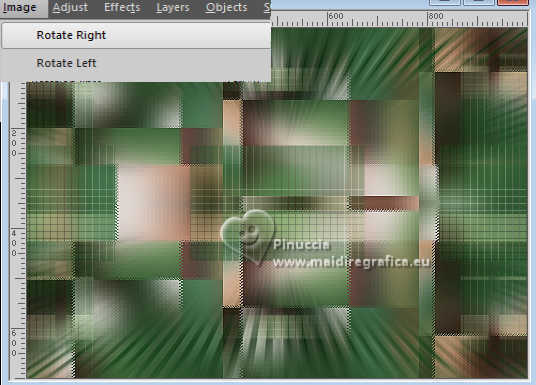
Image>Rotate right.
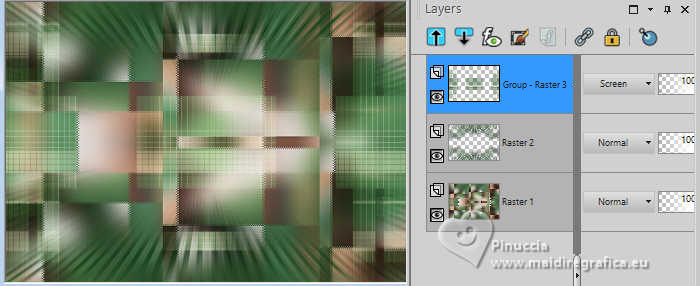
Change the Blend Mode of this layer to Screen.
16. Edit>Copy Special>Copy Merged.
Edit>Paste as new layer.
17. Effects>Plugins>Mura's Meister - Perspective Tiling.
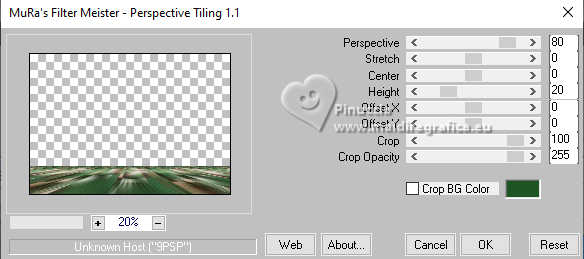
18. Activate your Magic Wand Tool  , tolerance 0 and feather 70, , tolerance 0 and feather 70,
and click in the transparent part to select it.
Press 10 times CANC on the keyboard 
Selections>Select None.
Don't forget to set again the feather to 0.
19. Open the misted misted-isadora-MJ 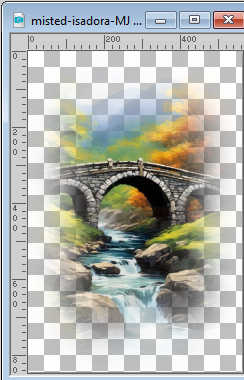
Edit>Copy.
Go back to your work and go to Edit>Paste as new layer.
Reduce the opacity of this layer +/-89%, according to your misted.
20. Open deco-1-isadora-MJ 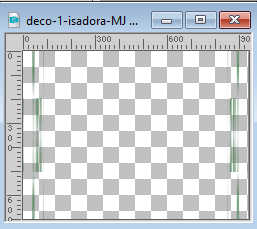
Edit>Copy.
Go back to your work and go to Edit>Paste as new layer.
Change the Blend Mode of this layer to Screen.
21. Open deco-2-verde-MJ 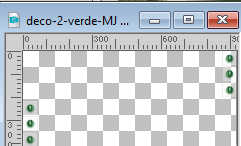
Edit>Copy.
Go back to your work and go to Edit>Paste as new layer.
22. Activate again the woman's tube tube-AI-MJ
Edit>Copy.
Go back to your work and go to Edit>Paste as new layer.
Image>Resize, to 95%, resize all layers not checked.
Effects>3D Effects>Drop Shadow, at your choice.
Your tag and the layers - adapt Blend Mode and opacity according to your colors.
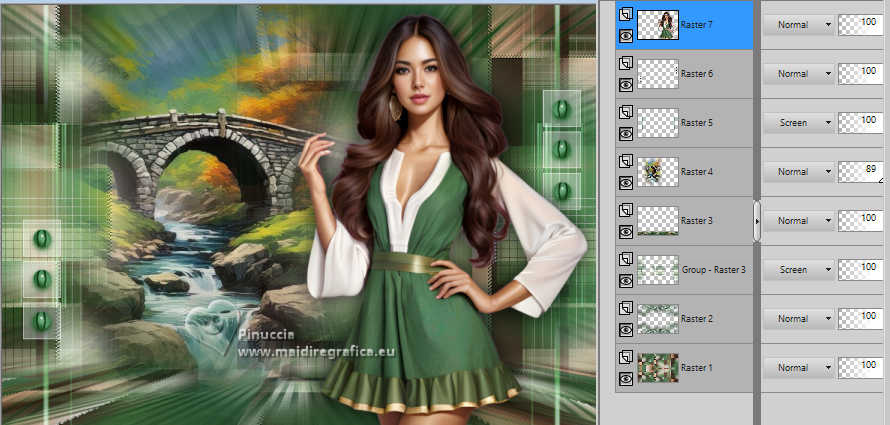
23. Image>Add borders, 1 pixel, symmetric, dark color.
Image>Add borders, 10 pixels, symmetric, light color.
Image>Add borders, 1 pixel, symmetric, dark color.
24. Selections>Select All.
Edit>Copy
Image>Add borders, 50 pixels, symmetric, color white.
Selections>Invert.
25. Edit>Paste into Selection (the image of step 24)
26. Adjust>Blur>Gaussian Blur - radius 30.

Selections>Float.
27. Effects>Plugins>Filter Factory Gallery J - Drink to Me, default settings.
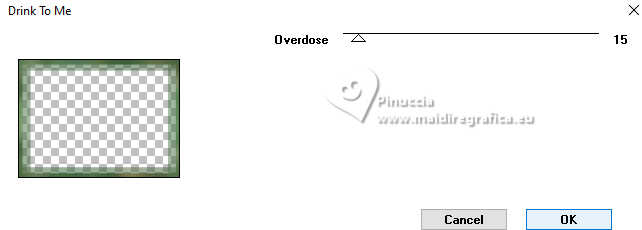
28. Effects>Edge Effects>Dilate.
Effects>Edge Effects>Enhance.
29. Effects>3D Effects>Drop Shadow, dark color.
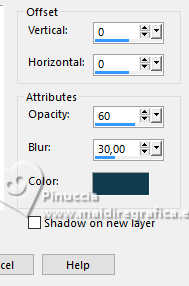
Selections>Select None.
30. Sign your work on a new layer.
Image>Add borders, 1 pixel, symmetric, dark color.
31. Image>Resize, 1000 pixels width, resize all layers checked.
Save as jpg.
For the tubes de cette version merci Nikita and Suizabella.
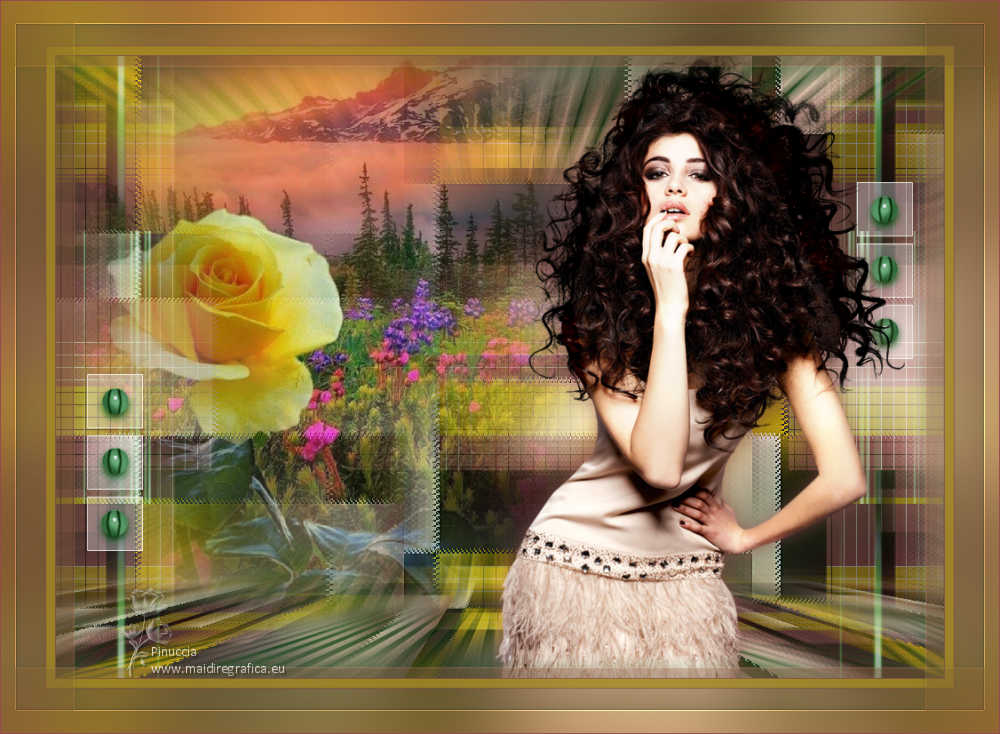

If you have problems or doubts, or you find a not worked link,
or only for tell me that you enjoyed this tutorial, write to me.
13 January 2024

|


