|
I WILL. JUST WATCH ME

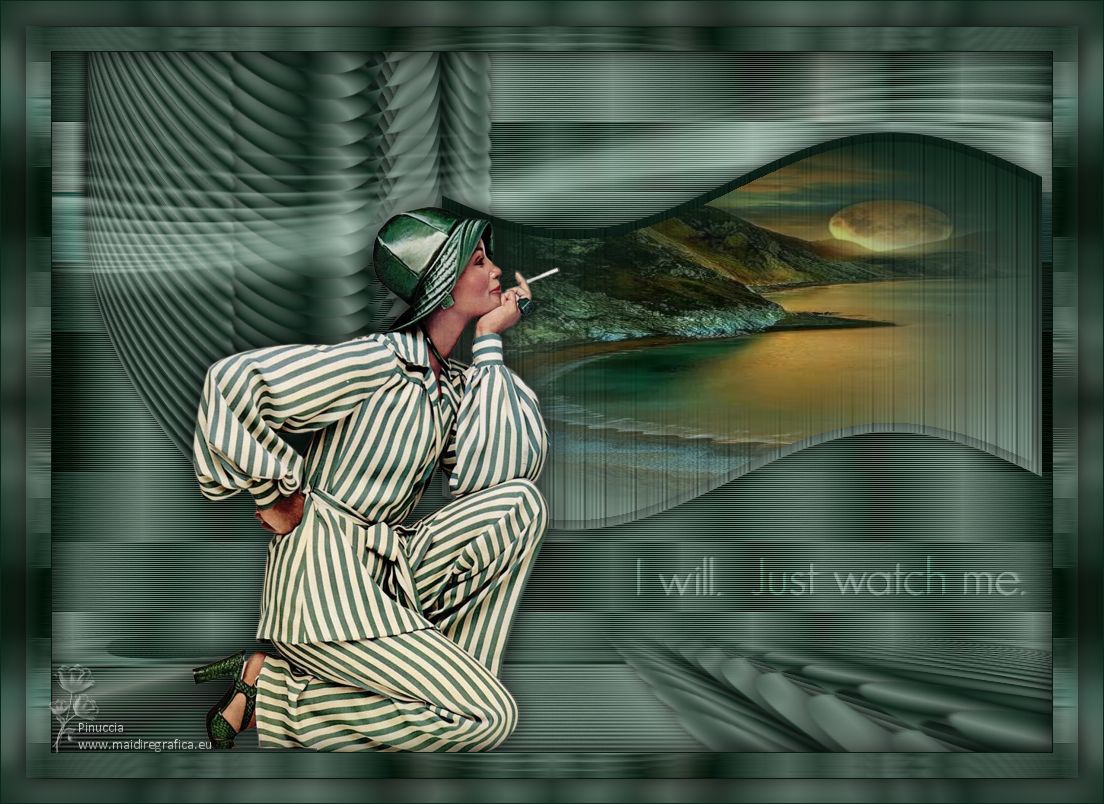
Thanks Maria José for your invitation to translate your tutorial

This tutorial has been translated with PSPX2 and PSPX3, but it can also be made using other versions of PSP.
Since version PSP X4, Image>Mirror was replaced with Image>Flip Horizontal,
and Image>Flip with Image>Flip Vertical, there are some variables.
In versions X5 and X6, the functions have been improved by making available the Objects menu.
In the latest version X7 command Image>Mirror and Image>Flip returned, but with new differences.
See my schedule here
 French translation here French translation here
 your versions ici your versions ici
For this tutorial, you will need:

Thanks for the tubes Estela Fonseca and AngelStar.
The rest of the material is by Maria José.
(you find here the links to the material authors' sites)

consult, if necessary, my filter section here
Filters Unlimited 2.0 here
Flaming Pear - Flexify 2 here
LOtis Filters - Mosaic Toolkit Plus here
Penta.com - Color Dot here
Mura's Meister - Copies here
Mura's Meister - Perspective Tiling here
Graphics Plus - Quick Tile I here
Filters Penta.com and Graphics Plus can be used alone or imported into Filters Unlimited.
(How do, you see here)
If a plugin supplied appears with this icon  it must necessarily be imported into Unlimited it must necessarily be imported into Unlimited

You can change Blend Modes according to your colors.
In the newest versions of PSP, you don't find the foreground/background gradient (Corel_06_029).
You can use the gradients of the older versions.
The Gradient of CorelX here
Place the preset for Flexify in a folder of your choice.
You'll import it from this folder when you need it.

Copy the texture in the Textures Folder.
Copy the Selection in the Selections Folder.
Set your foreground color to light color #74887d,
and your background color to dark color #0d251a.
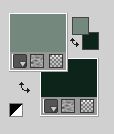
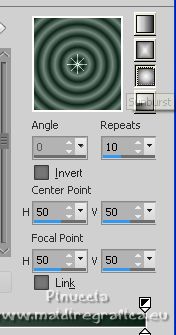
Set your foreground color to a Foreground/Background Gradient, style Sunburst.
1. Open a new transparent image 450 x 700 pixels.
Flood Fill  the transparent image with your Gradient. the transparent image with your Gradient.
2. Effects>Plugins>Flaming Pear - Flexify 2.
Click on the red button and look for the preset in the folder where you copied it.
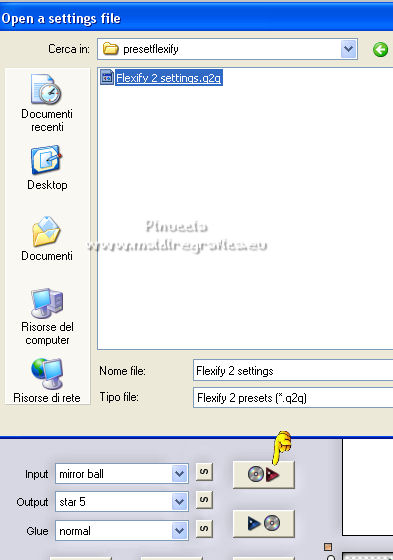
Below are the settings, in case of problems with the preset.
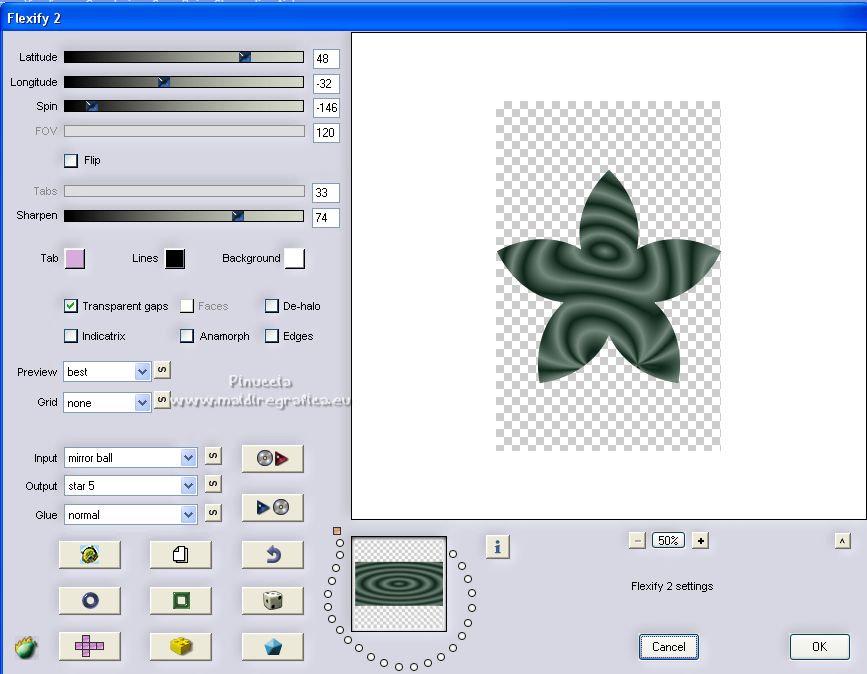
3. Effects>Distortion Effects>Polar coordinates.
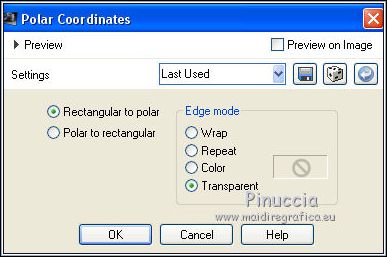
4. K key on the keyboard to activate your Pick Tool 
and set Position X: 40,00 and Position Y: 100,00.

M key to deselect the Tool.
5. Effects>3D Effects>Drop Shadow, color black.
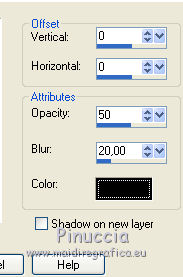
6. Effects>Plugins>Mura's Meister - Copies.
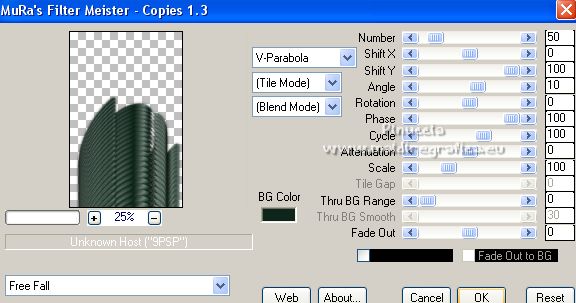
Image>Flip.
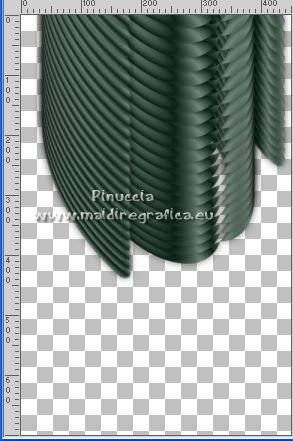
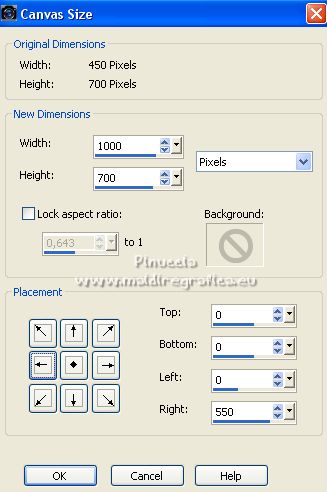
7. Image>Canvas Size - 1000 x 700 pixels.
8. Layers>New Raster Layer.
Flood Fill  the layer with your Gradient. the layer with your Gradient.
9. Effects>Plugins>LOtis Filters - Mosaic Toolkit Plus.
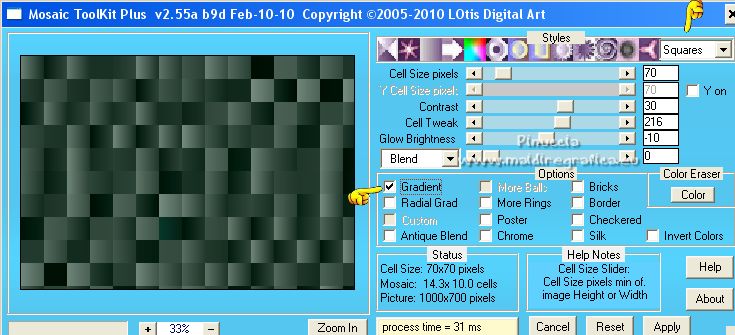
10. Adjust>Add/Remove Noise>Add Noise.
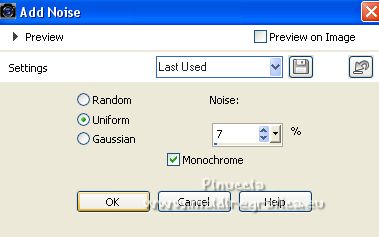
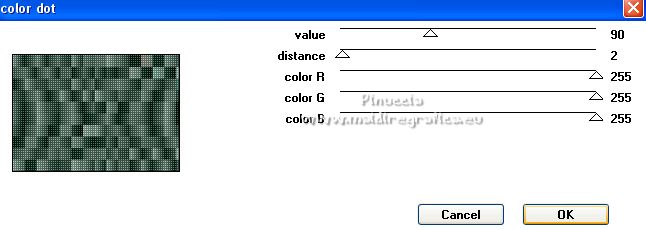
11. Effects>Plugins>Penta.com - Color dot, default settings.
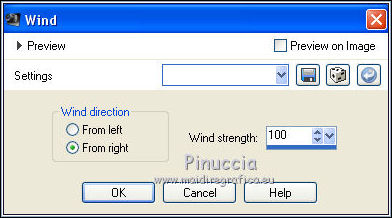
12. Effects>Distortion Effects>Wind - from right, streigth 100.
13. Effects>Reflection Effects>Rotating Mirror, default settings.

14. Adjust>Sharpness>Sharpen More.
Layers>Arrange>Move Down.
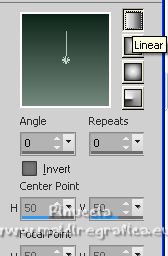
15. Change the settings of your Gradient.
16. Selection Tool 
(no matter the type of selection, because with the custom selection your always get a rectangle)
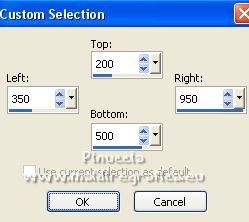
clic on the Custom Selection 
and set the following settings.
Layers>New Raster Layer.
Flood Fill  the layer with your Gradient. the layer with your Gradient.
Layers>Arrange>Bring to Top.
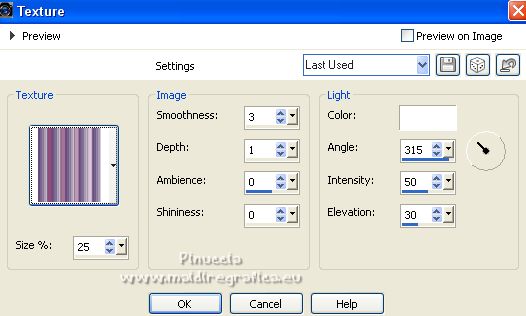
17. Effects>Textures Effects>Texture - select the texture lilas (or a texture at your choice).
Selections>Select None.
18. Effects>Distortion Effects>Wave.

19. K key to activate your Pick Tool 
and set Position X: 390,00 and Position Y: 80,00.

M key to deselect the Tool.
20. Edit>Copy Special>Copy Merged
21. Edit>Paste as new layer.
Image>Mirror.
Image>Flip.
22. Effects>Plugins>Mura's Meister - Perspective Tiling.
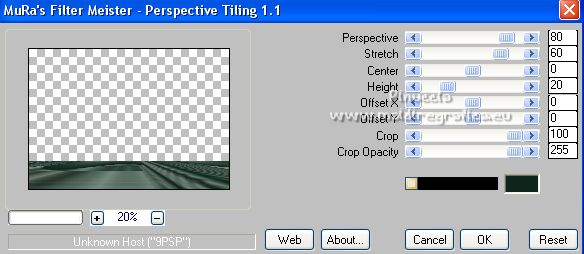
23. Activate your Magic Wand Tool  , feather 60, , feather 60,

Click in the transparent part to select it.
Press +/-10 times CANC on the keyboard 
Selections>Select None.
Layers>Arrange>Move Down - 2 times.
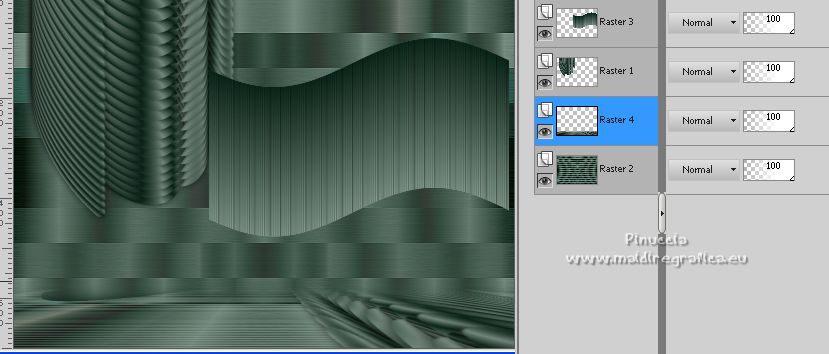
24. Activate your top layer, Raster 3.
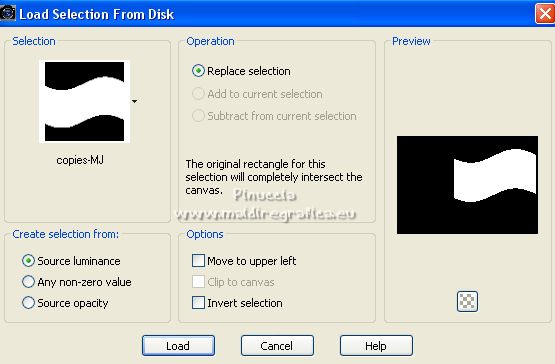
Selections>Load/Save Selection>Load Selection from Disk.
Look for and load the selection copies-MJ.
25. Layers>New Raster Layer.
Open the misted AS Tube new38 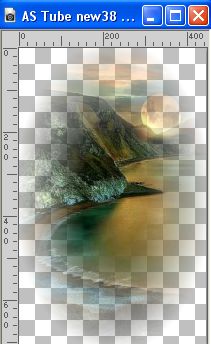
Edit>Copy.
Go back to your work and go to Edit>Paste into Selection.
Effects>3D Effects>Drop Shadow, color black.

Layers>Merge>Merge Down.
Selections>Select None.
Effects>3D Effects>Drop Shadow, comme précédemment.
26. Open deco1-MJ 
Edit>Copy.
Go back to your work and go to Edit>Paste as new layer.
27. Objects>Align>Top.
Or activate your Pick Tool 
et set Position X 0,00 (Position Y is already 0,00)

Layers>Arrange>Move Down.
Change the Blend mode of this layer to Screen.
Your tag and the layers - adapt Blend Modes and opacity to your liking.
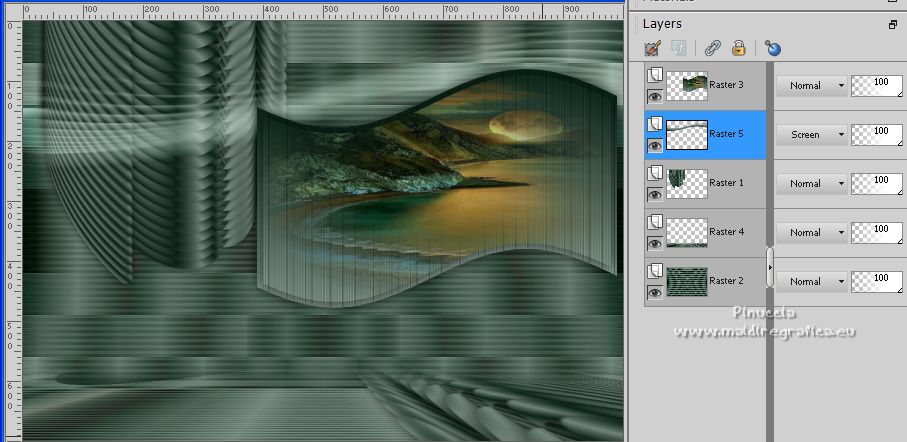
28. Open the woman tube EF-Mulher_8 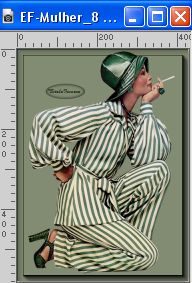
Edit>Copy.
Go back to your work and go to Edit>Paste as new layer.
Move  the tube. the tube.
Effects>3D Effects>Drop Shadow, at your choice choix.
29. Ouvrir le texte texto-iwill 
Edit>Copy.
Go back to your work and go to Edit>Paste as new layer.
Move  the text at the bottom right, or to your liking. the text at the bottom right, or to your liking.
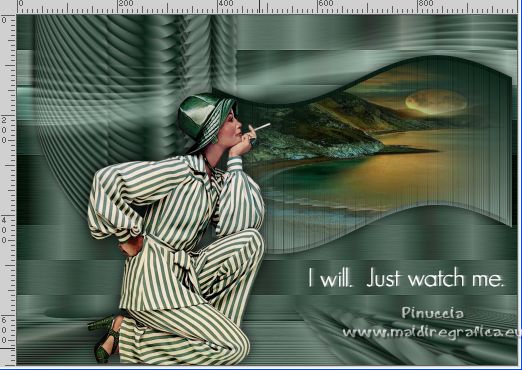
Change the Blend Mode to Soft Light, or according to your colors.
30. Image>Add borders, 1 pixel, symmetric, dark color.
Selections>Select All.
Edit>Copy
Image>Add borders, 50 pixels, symmetric, color white.
31. Selections>Invert.
Edit>Paste into Selection.
32. Adjust>Blur>Gaussian Blur - radius 20.

33. Effects>Plugins>Graphics Plus - Quick Tile I, default settings.
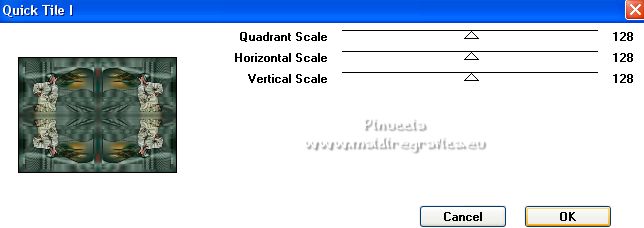
34. Effects>Distortion Effects>Wind, same settings.

35. Effects>Reflection Effects>Rotating Mirror, default settings.

Adjust>Sharpness>Sharpen.
Effects>3D Effects>Drop Shadow, color black.

36. Selections>Select All.
Selections>Modify>Contracter - 25 pixels.
Effects>3D Effects>Drop Shadow, same settings.
Selections>Select None.
37. Sign your work.
Image>Add borders, 1 pixel, symmetric, color black.
39. Image>Resize, 1000 pixels width, resize all layers not checked.
Save as jpg.
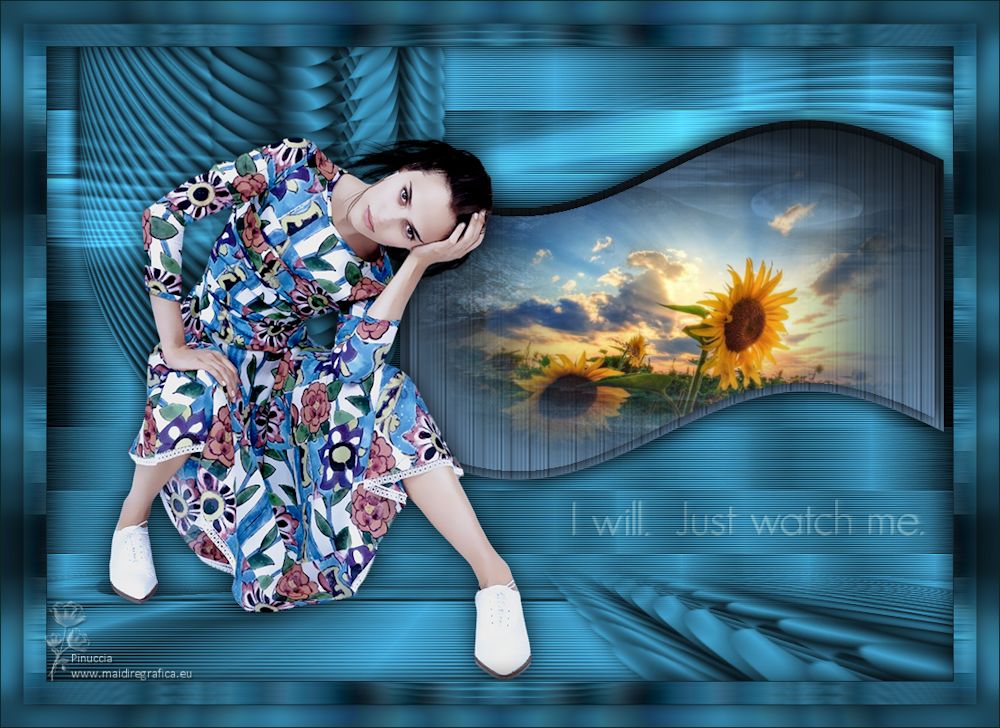
For the tube of this version thanks Suizabella; the misted is mine

If you have problems or doubts, or you find a not worked link,
or only for tell me that you enjoyed this tutorial, write to me.
21 February 2023

|


