|
JENDAYI

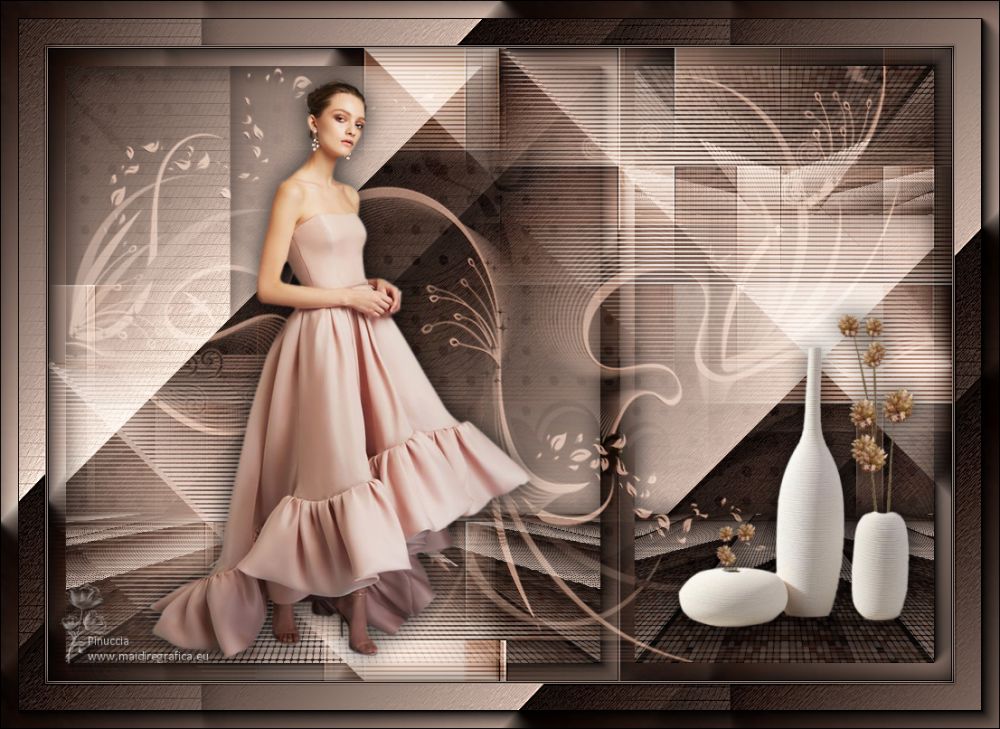
Thanks Maria José for your invitation to translate your tutorial

This tutorial has been translated with PSPX2 and PSPX3, but it can also be made using other versions of PSP.
Since version PSP X4, Image>Mirror was replaced with Image>Flip Horizontal,
and Image>Flip with Image>Flip Vertical, there are some variables.
In versions X5 and X6, the functions have been improved by making available the Objects menu.
In the latest version X7 command Image>Mirror and Image>Flip returned, but with new differences.
See my schedule here
 French translation here French translation here
 your versions ici your versions ici
For this tutorial, you will need:
Material here
For the tubes thanks Beatriz and Nena Silva.
(you find here the links to the material authors' sites)
Plugins
consult, if necessary, my filter section here
Filters Unlimited 2.0 here
Carolaine and Sensibility - CS-Linear-H here
AP 01 [Innovations] - Distort-ShiftMesh here
Artistiques - Pastels here
Toadies Weaver here
Mura's Meister - Perspective Tiling here
Richard Rosenman - Halftone here
AAA Frames - Foto Frame here
Filters Toadies can be used alone or imported into Filters Unlimited.
(How do, you see here)
If a plugin supplied appears with this icon  it must necessarily be imported into Unlimited it must necessarily be imported into Unlimited

You can change Blend Modes according to your colors.
In the newest versions of PSP, you don't find the foreground/background gradient (Corel_06_029).
You can use the gradients of the older versions.
The Gradient of CorelX here
Copy the preset in the Presets Folder.
1. Set your foreground color to #1f130f,
and your background color to #edd5c9.
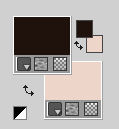
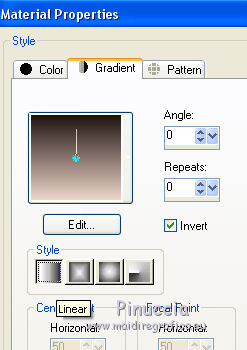
Set your foreground color to a Foreground/Background Gradient, style Linear.
Open Alphachannelendayi_MJ.
Window>Duplicate or, on the keyboard, shift+D to make a copy.

Close the original.
The copy, that will be the basis of your work, is not empty,
but contains the selections saved to alpha channel.
Flood Fill  the transparent image with your Gradient. the transparent image with your Gradient.
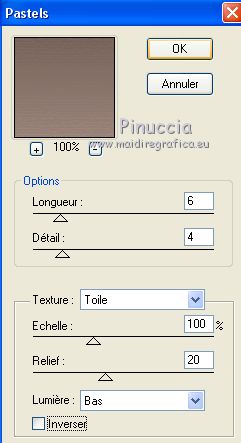
2. Effects>Plugins>Artistiques - Pastels
if you use the english version of this filter:
Effects>Plugins>Artistic - Rough Pastels)
 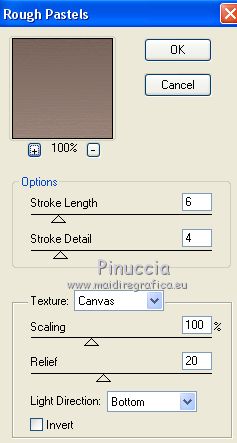
3. Effects>Plugins>AP [Innovations] - Distort-ShiftMesh.
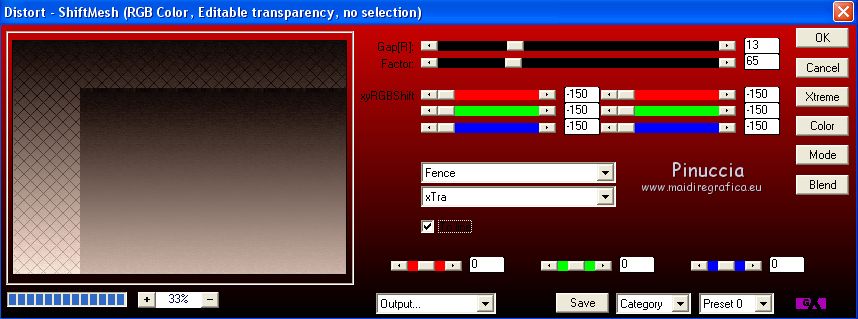
4. Selections>Load/Save Selection>Load Selection from Alpha Channel.
The selection #1 is immediately available. You just have to click Load.
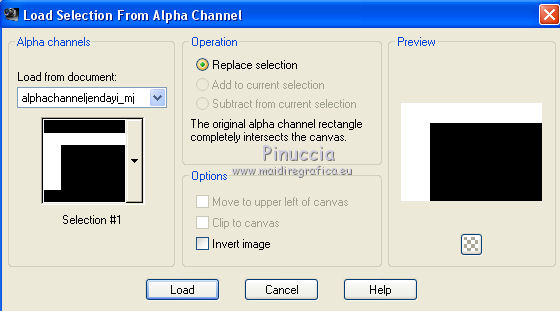
Effects>3D Effects>Drop Shadow, color black.

Selections>Select None.
5. Effects>Image Effects>Seamless Tiling, side by side.

6. Effects>Geometric Effects>Skew
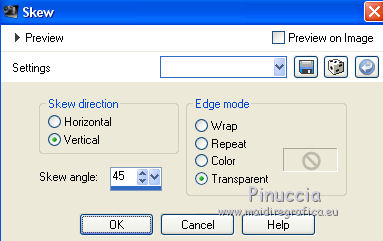
7. Selections>Load/Save Selection>Load Selection from Alpha Channel.
Open the selections menu and load the selection #2.
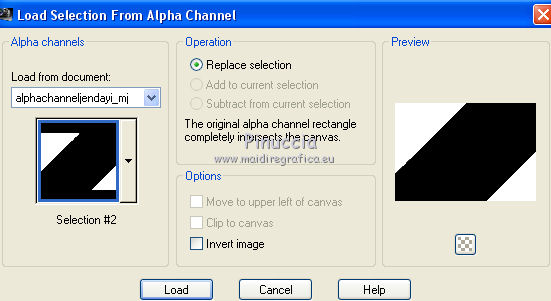
Selections>Promote Selection to Layer.
8. Effects>Plugins>Carolaine and Sensibility - CS-Linear-H.
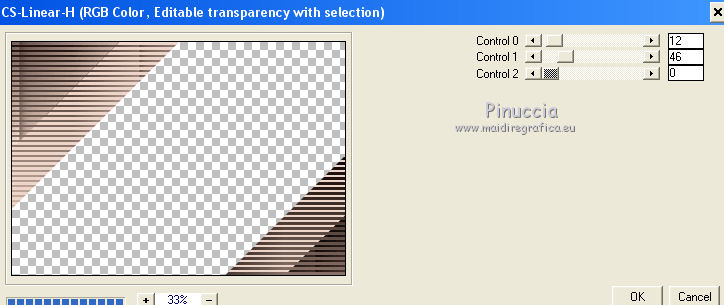
Selections>Select None.
9. Effects>Image Effects>Seamless Tiling.

Image>Mirror.
Change the Blend Mode of this layer to Screen.
Layers>Duplicate.
10. Effects>Plugins>Toadies - Weaver, default settings.
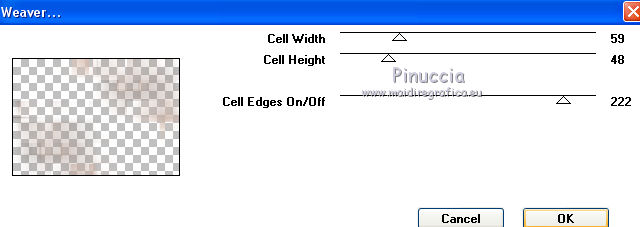
11. Adjust>Sharpness>Sharpen More.
Change the Blend Mode of this layer to Hard Light.
12. Activate the layer Raster 1.
Selections>Load/Save Selection>Load Selection from Alpha Channel.
Open the selections menu and load the selection #3.
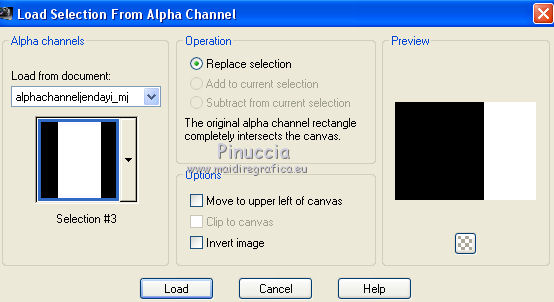
Selections>Promote Selection to Layer.
13. Effects>Plugins>AAA Frames - Foto Frame.
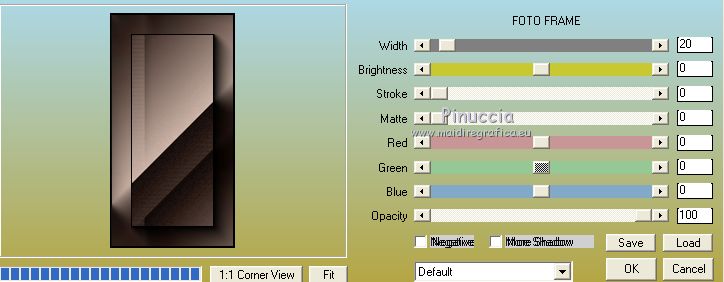
Selections>Modify>Contract - 20 pixels.
Keep selected.
14. Effects>Plugins>Richard Rosenman - Halftone, default settings.
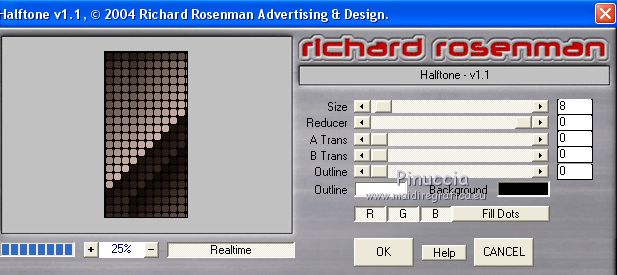
15. Effects>Plugins>Mura's Meister - Perspective Tiling.
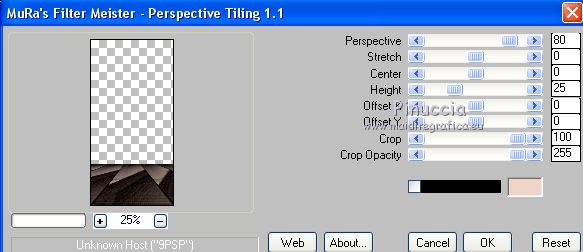
16. Effects>Reflection Effects>Rotating Mirror.

Selections>Select None.
Layers>Duplicate.
Image>Flip.
Layers>Merge>Merge Down.
17. Effects>3D Effects>Drop Shadow, color black.

18. Activate the layer Raster 1.
Layers>Duplicate.
K key on the keyboard to activate your Pick Tool 
mode Scale 
pull the central right node to the left
or open the presets menu and select the preset innovations_mj.
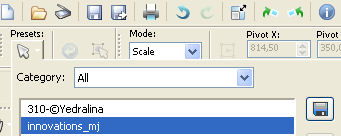
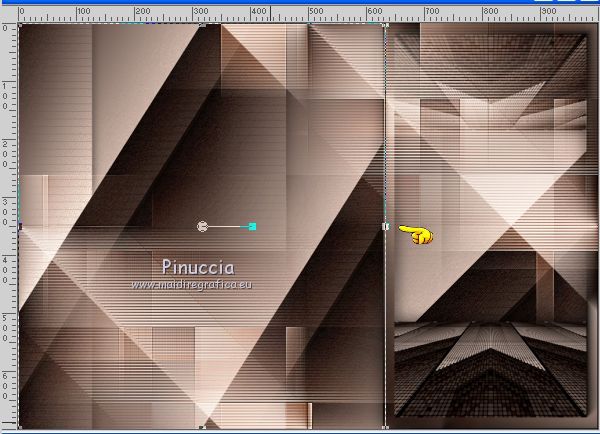
M key to deselect the tool.
19. Selections>Load/Save Selection>Load Selection from Alpha Channel.
Open the selections menu and load the selection #4.
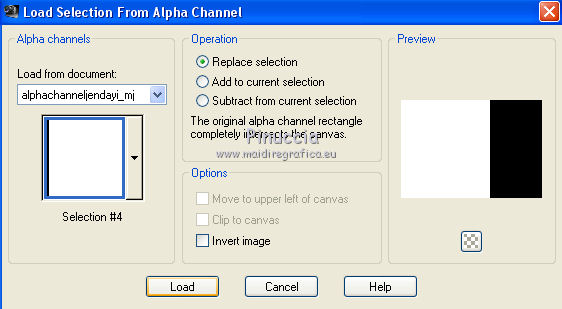
20. Effects>Plugins>AAA Frames - Foto Frame, same settings.
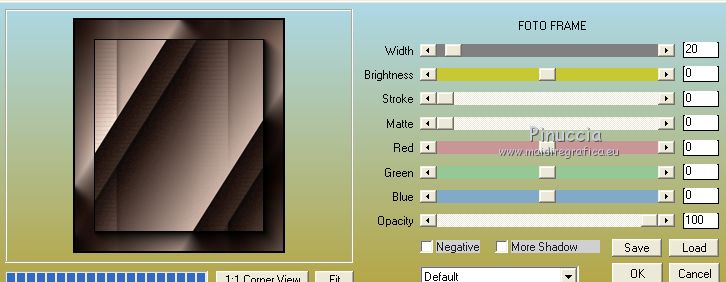
Selections>Modify>Contract - 20 pixels.
Keep selected.
21. Effects>Plugins>Richard Rosenman - Halftone, default settings.
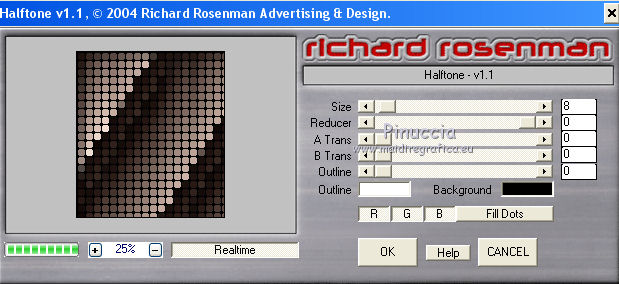
22. Effects>Plugins>Mura's Meister - Perspective Tiling.
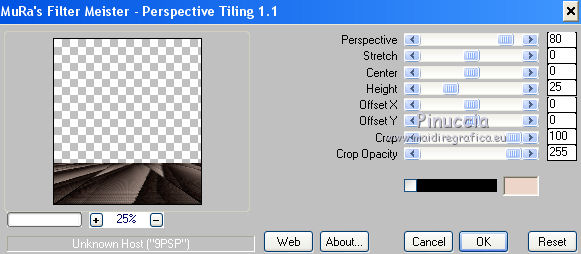
23. Effects>Reflection Effects>Rotating Mirror.

Selections>Select None.
24. Effects>3D Effects>Drop Shadow, color black.

Layers>Arrange>Move Up.

25. Open decojandayi_mj and go to Edit>Copy.
Go back to your work and go to Edit>Paste as new layer.
Change the Blend Mode of this layer to Hard Light.
Your tag and the layers, adapt Blend Modes and opacities to your liking.
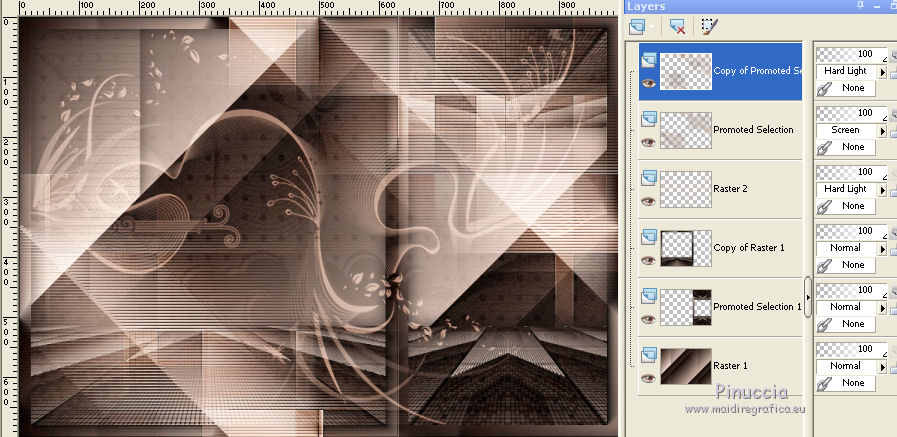
Activate the layer Raster 1.
Edit>Copy.
Edita>Paste as new image, and minimize this image.
26. Go back to your work.
Activate your top layer.
27. Open the tube of the woman and go to Edit>Copy.
Go back to your work and go to Edit>Paste as new layer.
Move  the tube to the left side. the tube to the left side.
Effects>3D Effects>Drop Shadow, to your liking.
28. Open the deco tube and go to Edit>Copy.
Go back to your work and go to Edit>Paste as new layer.
Image>Resize, to your liking (for me 2 times to 80%), resize all layers not checked.
Move  the tube to the right side. the tube to the right side.
Effects>3D Effects>Drop Shadow, to your liking.
29. Image>Add borders, 1 pixel, symmetric, light color.
Image>Add borders, 1 pixel, symmetric, dark color.
Image>Add borders, 1 pixel, symmetric, light color.
30. Selections>Select All.
Image>Add borders, 30 pixels, symmetric, color white.
31. Selections>Invert.
Activate the image minimized at step 25 and go to Edit>Copy.
Go back to your work and go to Edit>Paste into Selection.
32. Effects>3D Effects>Drop Shadow, color black.

Selections>Select None.
33. Effects>Plugins>AAA Frames - Foto Frame, same settings.
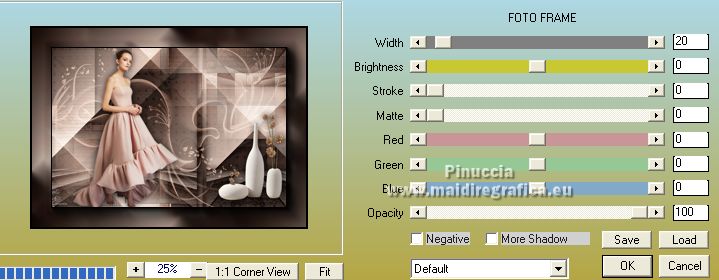
34. Sign your work on a new layer.
35. Image>Resize, 1000 pixels width, resize all layers checked.
Save as jpg.
Version with tubes by Luz Cristina
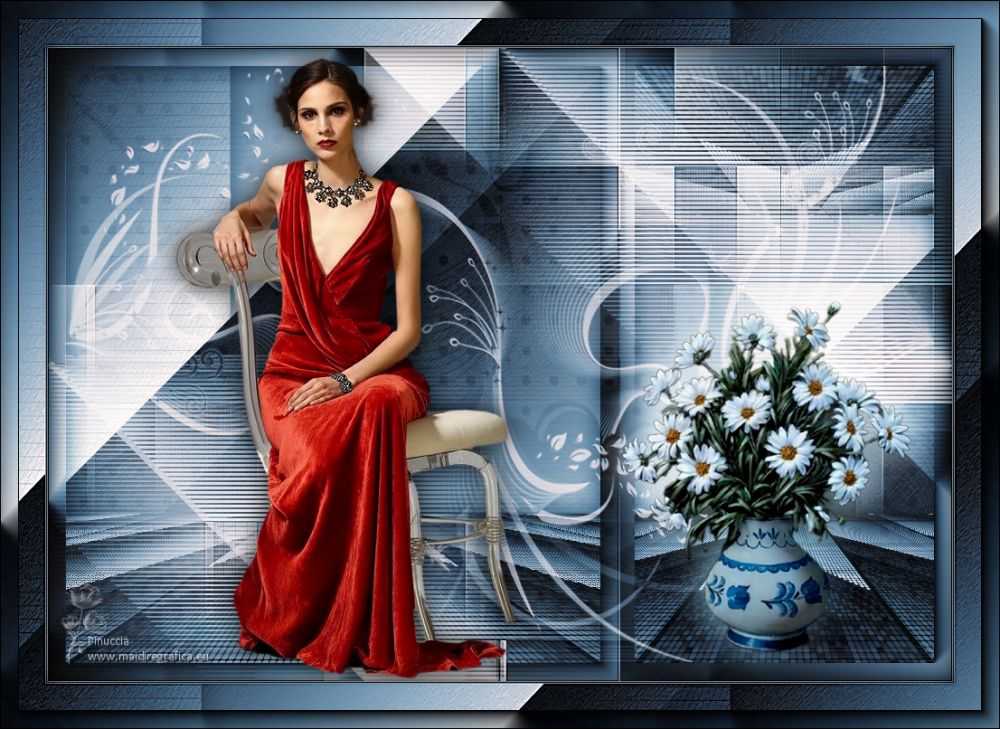
 Your versions here Your versions here

If you have problems or doubts, or you find a not worked link,
or only for tell me that you enjoyed this tutorial, write to me.
31 October 2021

|


