|
JEZABEL

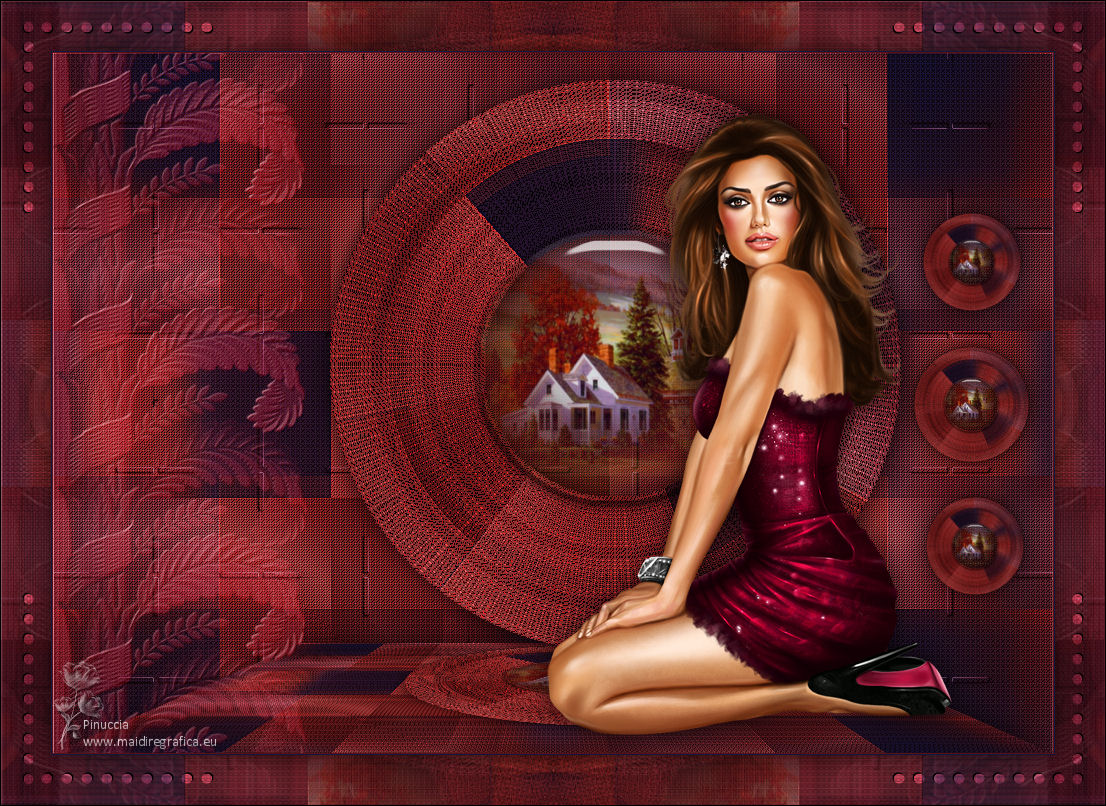
Thanks Maria José for your invitation to translate your tutorial

This tutorial has been translated with PSPX2 and PSPX3, but it can also be made using other versions of PSP.
Since version PSP X4, Image>Mirror was replaced with Image>Flip Horizontal,
and Image>Flip with Image>Flip Vertical, there are some variables.
In versions X5 and X6, the functions have been improved by making available the Objects menu.
In the latest version X7 command Image>Mirror and Image>Flip returned, but with new differences.
See my schedule here
 French translation here French translation here
 your versions ici your versions ici
For this tutorial, you will need:
Material here
The tube from the net.
The rest of the material is by Maria José.
(you find here the links to the material authors' sites)
Plugins
consult, if necessary, my filter section here
Filters Unlimited 2.0 here
VM Natural - Cross Weave here
Alien Skin Eye Candy 5 Impact - Glass here
Filter Factory Gallery N - Bulging Edge Twirl, Bulging Edge Average, Flipper, Circulator here
Mura's Seamless - Emboss at Alpha here
Filters VM Natural, Factory Gallery and Mura's Seamless can be used alone or imported into Filters Unlimited.
(How do, you see here)
If a plugin supplied appears with this icon  it must necessarily be imported into Unlimited it must necessarily be imported into Unlimited

You can change Blend Modes according to your colors.
In the newest versions of PSP, you don't find the foreground/background gradient (Corel_06_029).
You can use the gradients of the older versions.
The Gradient of CorelX here
Copy the preset  in the folder of the plugin Alien Skin Eye Candy 5 Impact>Settings>Glass. in the folder of the plugin Alien Skin Eye Candy 5 Impact>Settings>Glass.
One or two clic on the file (it depends by your settings), automatically the preset will be copied in the right folder.
why one or two clic see here
Copy the preset Pick_Jezabel_mj in the Presets Folder.
Copy the Gradient in the Gradients Folder.
Copy the Selection in the Selections Folder.
Open the mask in PSP and minimize it with the rest of the material.
1. Set your foreground color to #5b0f17,
and your background color to #10183e.
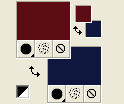
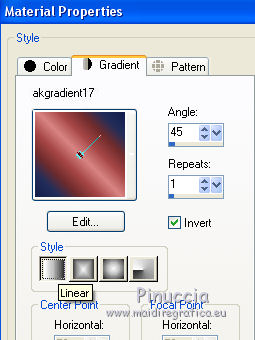
Set your foreground color to a Foreground/Background Gradient, style Linear.
1. Open a new transparent image 1000 x 700 pixels.
Flood Fill  the transparent image with your Gradient. the transparent image with your Gradient.
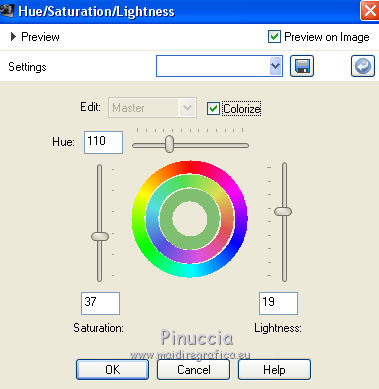
if you want, you can colorize to your liking
(Adjust>Hue and Saturation>Hue/Saturation/Lightness: the settings of my second version)
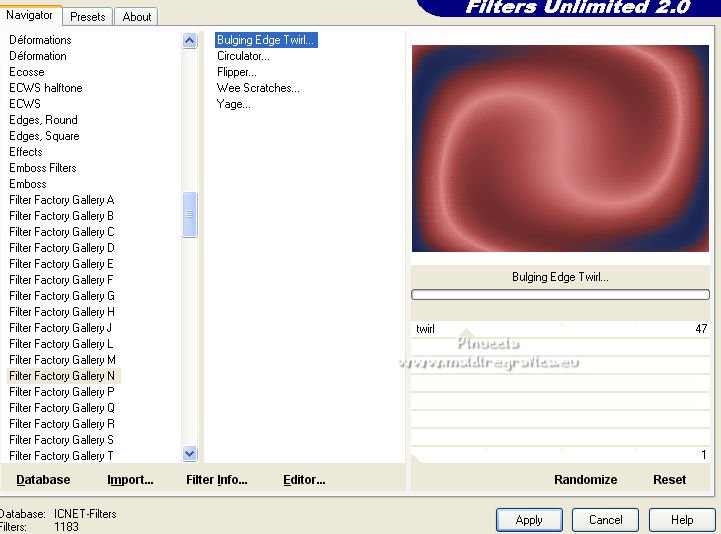
2. Effects>Plugins>Filters Unlimited 2.0 - Filter Factory Gallery N - Bulging Edge Twirl, default settings.
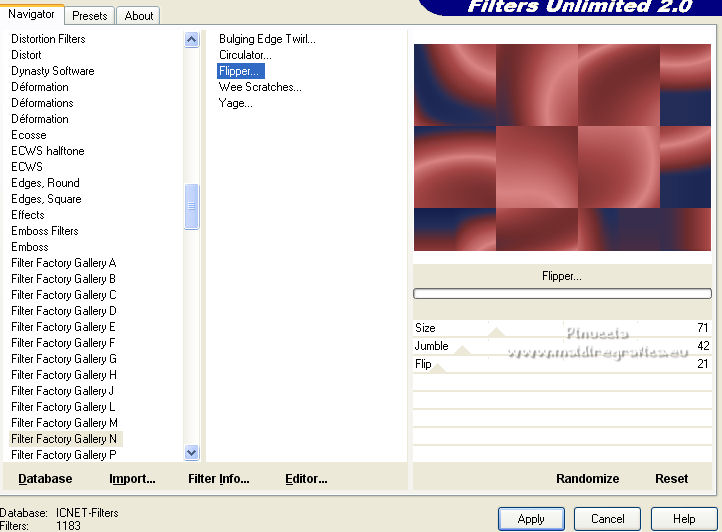
3. Effects>Plugins>Filters Unlimited 2.0 - Filter Factory Gallery N - Flipper, default settings.
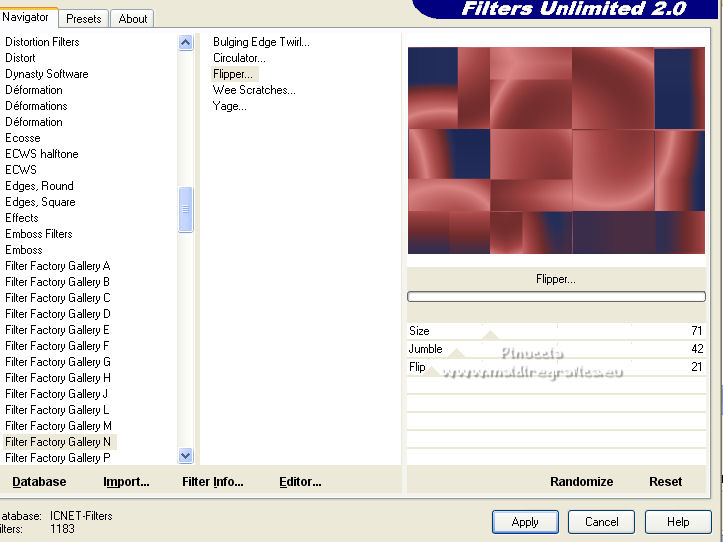
4. Effects>Reflection Effects>Rotating Mirror, default settings.

Repeat Effects>Plugins>Filters Unlimited 2.0 - Filter Factory Gallery N - Flipper, default settings.
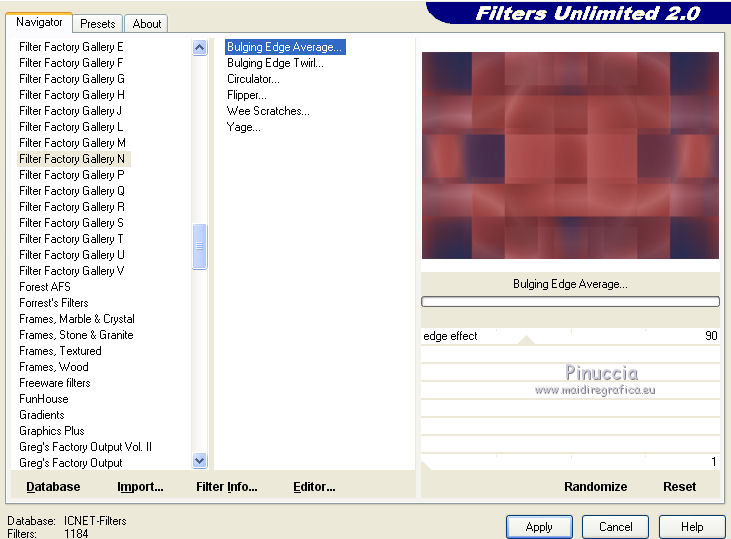
5. Effects>Plugins>Filters Unlimited 2.0 - Filter Factory Gallery N - Bulging Edge Average
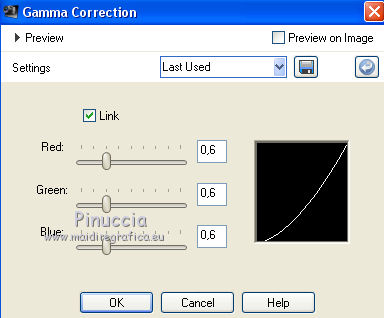
6. (optional) shift+G on the keyboard to activate Gamma Correction
here below my settings, you can adapt to your liking.
Layers>Duplicate.
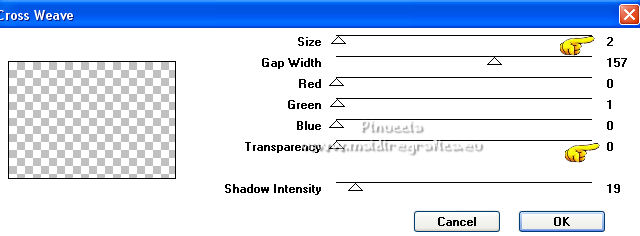
7. Effects>Plugins>VM Natural - Cross Weave.
Change the Blend Mode of this layer to Overlay.
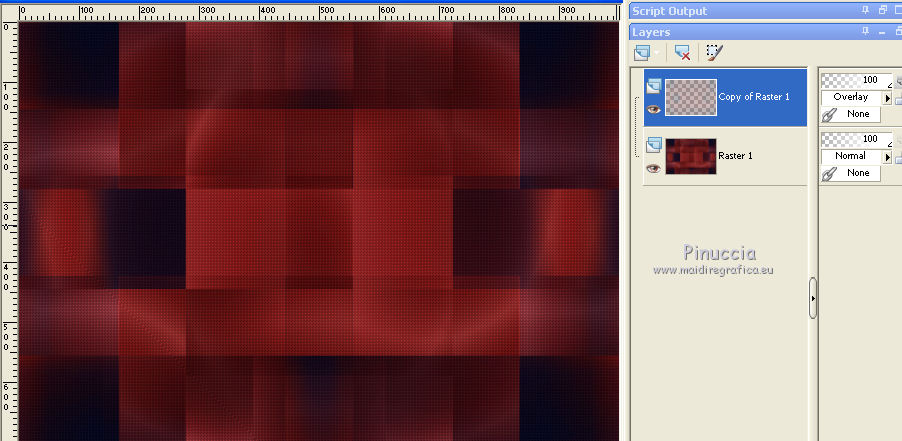
Layers>Merge>Merge Down.
8. Adjust>Sharpness>Sharpen.
Layers>Duplicate.
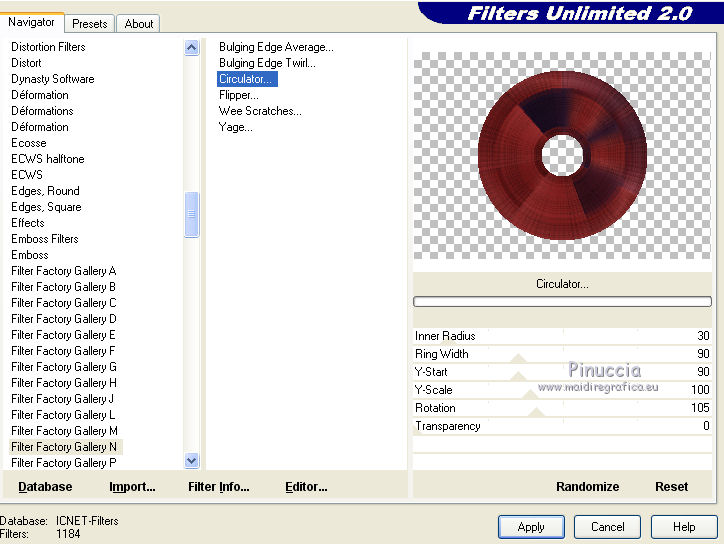
9. Effects>Plugins>Filters Unlimited 2.0 - Filter Factory Gallery N - Circulator...
10. Selections>Load/Save Selection>Load Selection from Disk.
Look for and load the selection ffgn_mj.
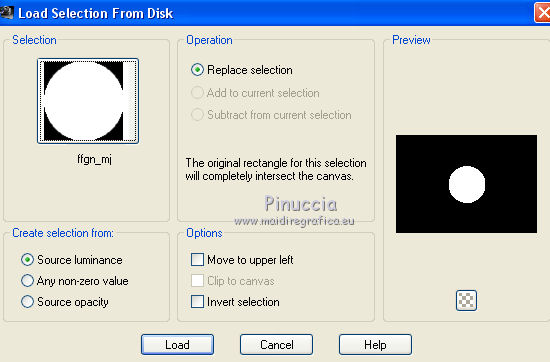
Press CANC on the keyboard 
11. Selections>Modify>Expand - 5 pixels.
Layers>New Raster Layer.
12. Open the misted and go to Edit>Copy.
Go back to your work and go to Edit>Paste into Selection.
13. Effects>Plugins>Alien Skin Eye Candy 5 Impact - Glass.
Select the preset glass_majo and ok.
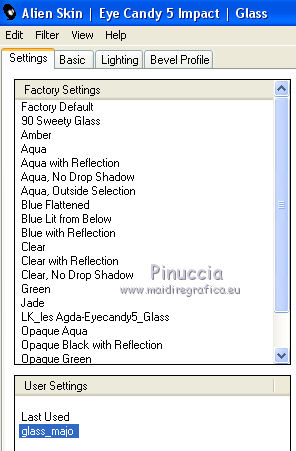
Layers>Merge>Merge Down.
Selections>Select None.
14. Effects>3D Effects>Drop Shadow, color black.
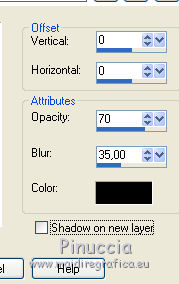
15. K key on the keyboard to activate your Pick Tool 
and set Position X: 250,00 and Position Y: 0,00.
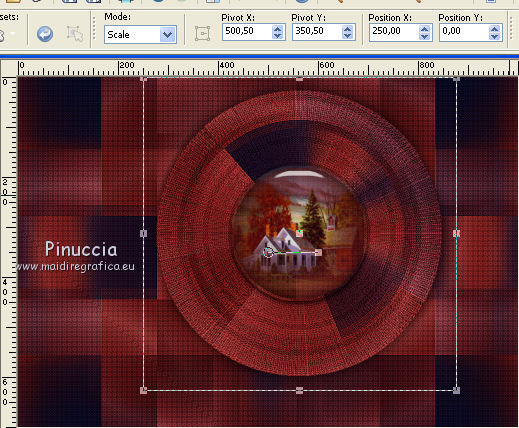
M key to deselect the Tool.
16. Edit>Copy Special>Copy Merged.
Edit>Paste as new layer.
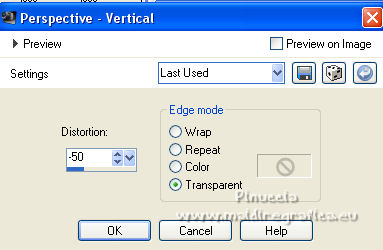
17. Effects>Geometric Effects>Perspective Vertical.
18. K key to activate your Pick Tool 
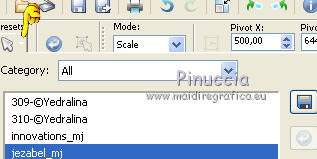
Open the presets menu and select the preset jezabel_mj.
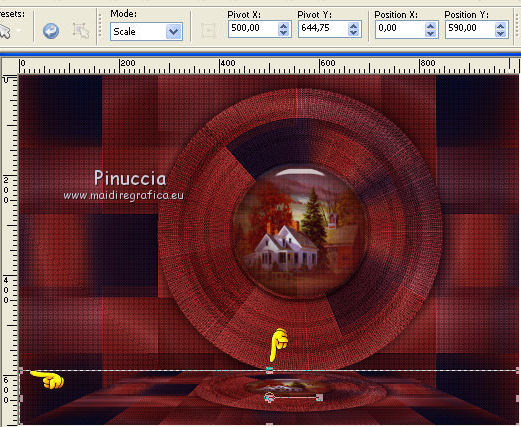
The preset lowers the level down to 950 pixels.
M key to deselect the tool.
Effects>3D Effects>Drop Shadow, same settings.
Layers>Arrange>Move Down.
19. Set your foreground color to Color
Layers>New Raster Layer.
Flood Fill  the layer with your foreground color. the layer with your foreground color.
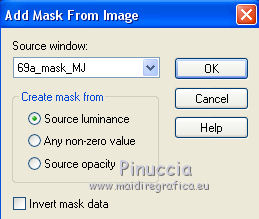
20. Layers>New Mask layer>From image
Open the menu under the source window and you'll see all the files open.
Select the mask 69a_mask_MJ.
Layers>Merge>Merge Group.
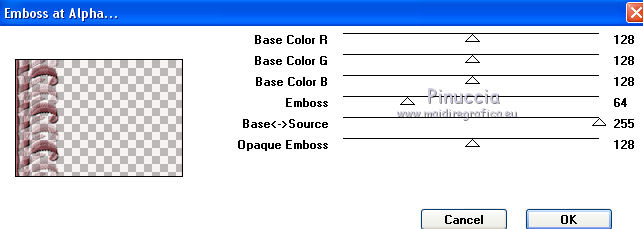
21. Effects>Plugins>Mura's Seamless - Emboss at Alpha, default settings.
Change the Blend Mode of this layer to Screen.
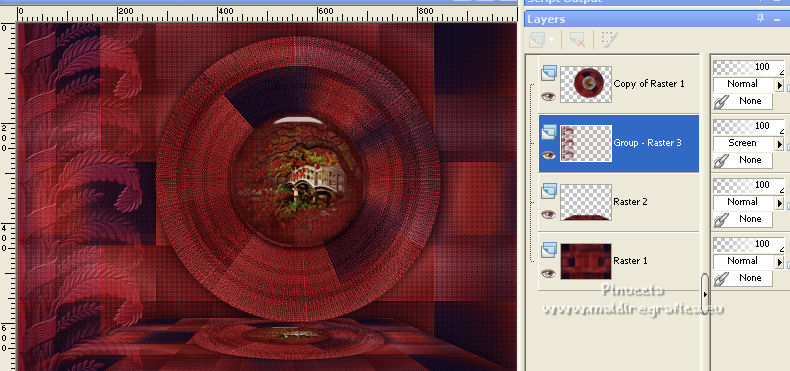
Activate the top layer, Copy of Raster 1.
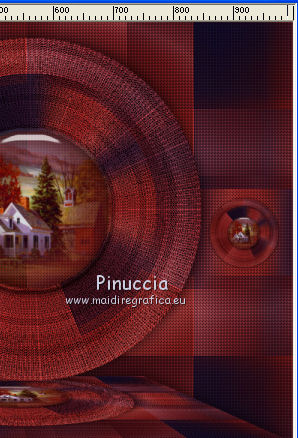
22. Layers>Duplicate.
Image>Resize, to 20%, resize all layers not checked.
Move  the image to the right, see below. the image to the right, see below.
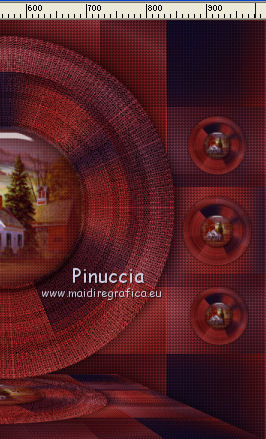
23. Layers>Duplicate.
Image>Resize, to 85%, resize all layers not checked.
Move it  over the first copy over the first copy
Layers>Duplicate.
Move it  under the first copy. under the first copy.
24. Make sure you are on the top layer.
Layers>Merge>Merge Down - 2 times.
Effects>3D Effects>Drop Shadow, same settings.
25. Activate the layer Raster 1.
Open the tube deco_04_05 and go to Edit>Copy.
Go back to your work and go to Edit>Paste as new layer.
Change the Blend Mode of this layer to Hard Light.
The tag and the layers
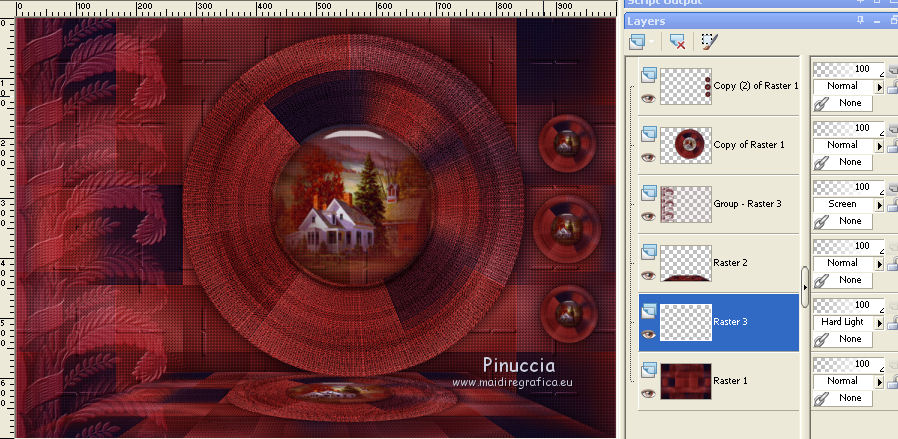
26. Layers>Merge>Merge visible.
Edit>Copy.
Edit>Paste as new image,
and work on this image.
27. Effects>Plugins>Filters Unlimited 2.0 - Filter Factory Gallery N - Flipper, default settings - 2 times.
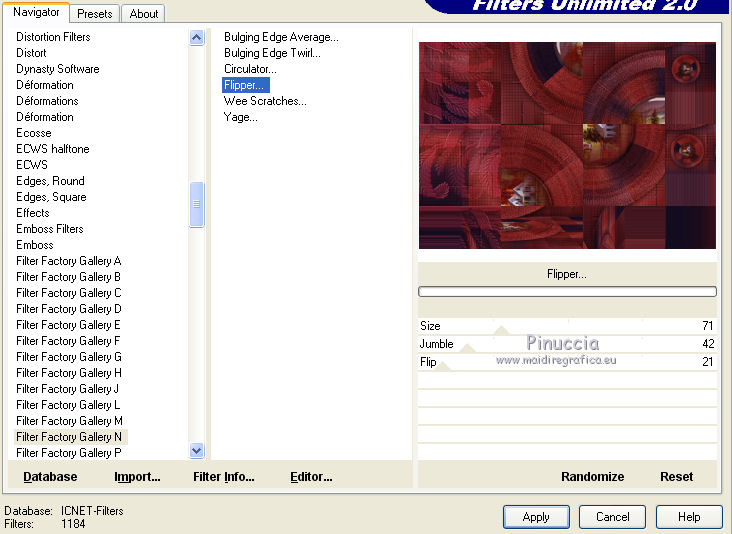
28. Effects>Plugins>Filters Unlimited 2.0 - Filter Factory Gallery N -Bulging Edge Average, default settings.
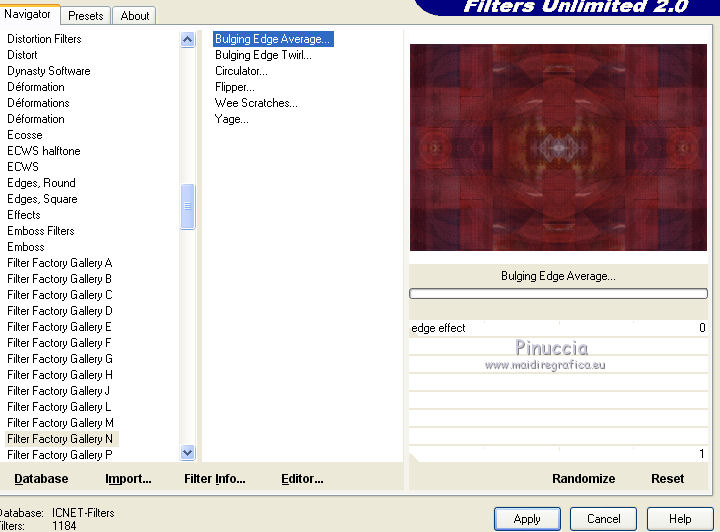
Edit>Copy and minimize this image.
29. Go back to your work.
Image>Add borders, 1 pixel, symmetric, background color.
Image>Add borders, 1 pixel, symétrique, foreground color.
Selections>Select All.
Image>Add borders, 50 pixels, symmetric, foreground color.
30. Selections>Invert.
26. Edit>Paste into Selection (the minimized image is in memory).
Selections>Invert.
Effects>3D Effects>Drop Shadow, same settings.
Selections>Select None.
31. Open the tube decobordas_mj and go to Edit>Copy.
Go back to your work and go to Edit>Paste as new layer.
Change the Blend Mode of this layer to Overlay.
32. Open the woman tube and go to Edit>Copy.
Go back to your work and go to Edit>Paste as new layer.
Move  the tube to the right side. the tube to the right side.
Effects>3D Effects>Drop Shadow, to your liking.
33. Sign your work on a new layer.
Image>Add borders, 1 pixel, symmetric, foreground color.
34. Image>Resize, 1000 pixels width, resize all layers checked.
Save as jpg.
For the tubes of this version thanks Luz Cristina and Silvie

 Your versions here Your versions here

If you have problems or doubts, or you find a not worked link,
or only for tell me that you enjoyed this tutorial, write to me.
14 November 2021

|


