|
JOICE


Thanks Maria José for your invitation to translate your tutorial

This tutorial has been translated with PSPX2 and PSPX3, but it can also be made using other versions of PSP.
Since version PSP X4, Image>Mirror was replaced with Image>Flip Horizontal,
and Image>Flip with Image>Flip Vertical, there are some variables.
In versions X5 and X6, the functions have been improved by making available the Objects menu.
In the latest version X7 command Image>Mirror and Image>Flip returned, but with new differences.
See my schedule here
 French translation here French translation here
 your versions ici your versions ici
For this tutorial, you will need:
Material here
For the tube and the mask thanks Querida and Astrid.
The rest of the material is by Maria José.
(you find here the links to the material authors' sites)
Plugins
consult, if necessary, my filter section here
Filters Unlimited 2.0 here
Photo Tools - Gradient Sky-Compliment here
Neology - Vasarely Mosaic here
Carolaine and Sensibility - CS-BRectangles, CS-LDots here
Toadies - Weaver here
Flaming Pear - Sphere Warp B, Sphere Warp A here
Unplugged Tools - Renaissance here
Mura's Seamless - Emboss at Alpha here
Filters Photo Tools, Neology, Toadies, Unplugged and Mura's Seamless can be used alone or imported into Filters Unlimited.
(How do, you see here)
If a plugin supplied appears with this icon  it must necessarily be imported into Unlimited it must necessarily be imported into Unlimited

You can change Blend Modes according to your colors.
Copy the texture Cuadros 1 in the Textures Folder.
Copy the Selections in the Selections Folder.
Open the mask in PSP and minimize it with the rest of the material.
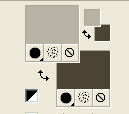
1. Set your foreground color to #b6b2a4,
and your background color to #4c4433.
2. Open a new transparent image 1000 x 700 pixels.
Selections>Select All.
3. Open the jpg image backjoice_mj and go to Edit>Copy.
Go back to your work and go to Edit>Paste into Selection.
Selections>Select None.
Colorize to your liking.
For my example, I did:
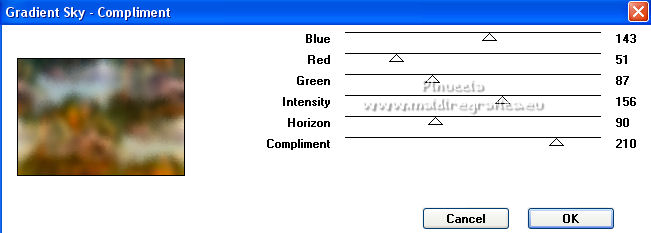
Effects>Plugins>Photo Tools - Gradient Sky-Compliment
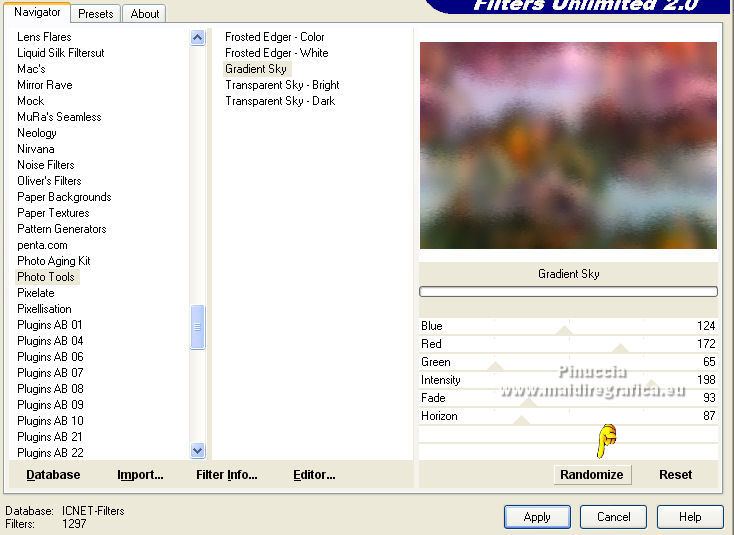
for my second version I used the filter in Unlimited,
and I clicked on Randomize until I found the result I liked the most
4. Effects>Image Effects>Seamless Tiling.

5. Layers>Duplicate.
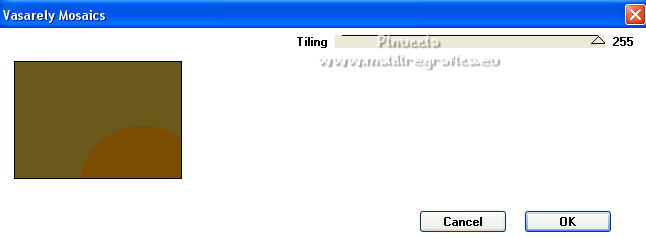
Effects>Plugins>Neology - Vasarely Mosaic.
6. Selections>Load/Save Selection>Load Selection from Disk.
Look for and load the selection joice_mj.
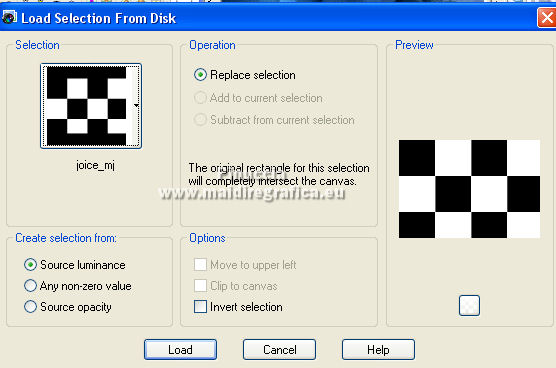
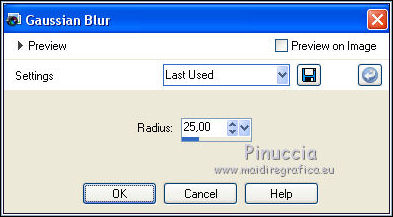
7. Adjust>Blur>Gaussian Blur - radius 25.
8. Effects>Texture Effects>Texture - select the texture Cuadros 1
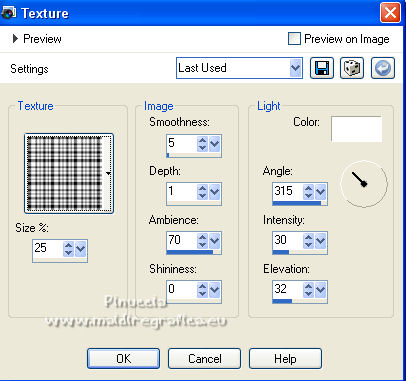
Selections>Select None.
Change the blend mode of this layer to Overlay and reduce the opacity to 85%.
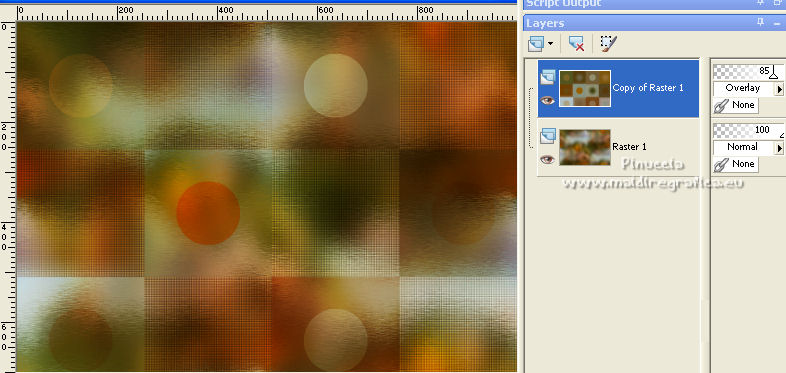
Layers>Merge>Merge Down.
9. Effects>Image Effects>Seamless Tiling.
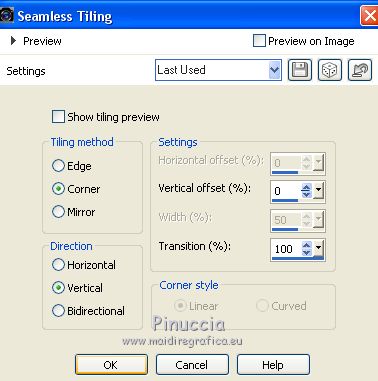
10. Selections>Load/Save Selection>Load Selection from Disk.
Look for and load the selection joice_1_mj.
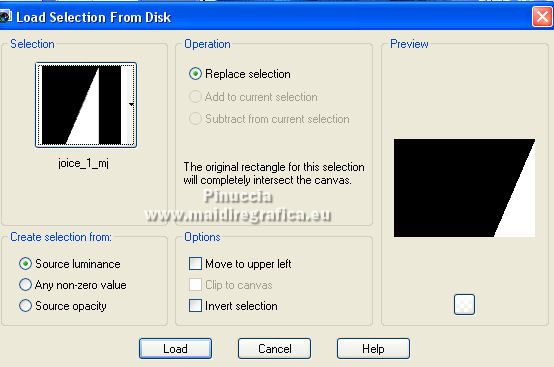
Selections>Promote Selection to Layer.
11. Adjust>Blur>Gaussian Blur - radius 25.

12. Effects>Plugins>Carolaine and Sensibility - CS-BRectangles.
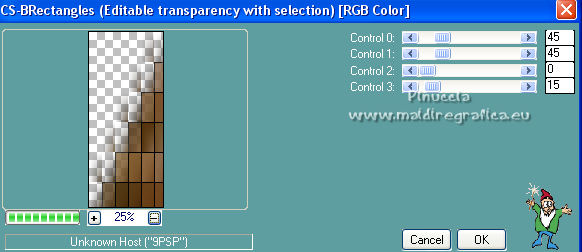
Selections>Select None.
13. Effects>Plugins>Toadies - Weaver, default settings.
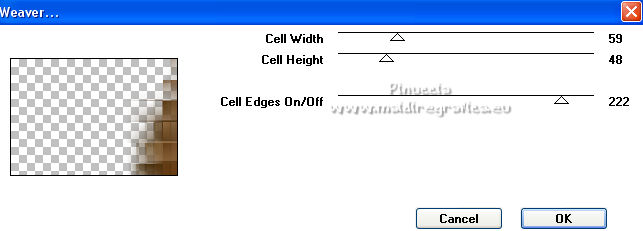
14. Effects>Plugins>Carolaine and Sensibility - CS-LDots.
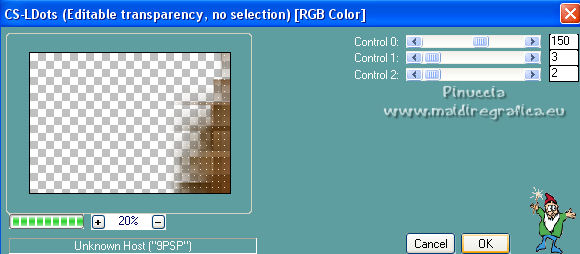
15. Layers>Duplicate.
Image>Mirror.
Image>Flip.
Layers>Merge>Merge Down.
16. Effects>Plugins>Flaming Pear - Sphere Warp B.
17. Adjust>Sharpness>Sharpen More.
18. Effects>Plugins>Unplugged Tools - Renaissance.
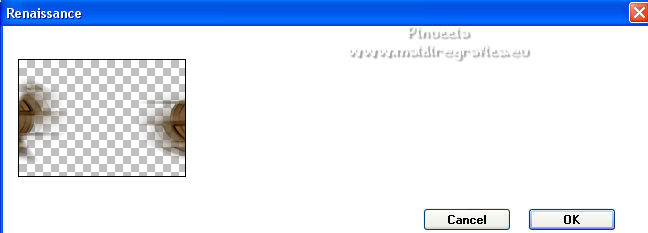
Change the Blend Mode of this layer to Screen.
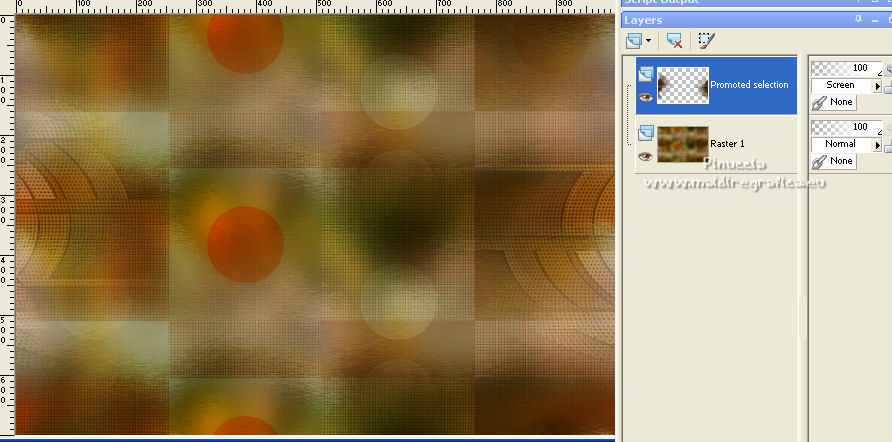
19. Open the tube decojoice_mj and go to Edit>Copy.
Go back to your work and go to Edit>Paste as new layer.
Change the Blend Mode of this layer to Luminance (legacy), or to your liking,
and reduce the opacity to 66%.
Layers>Arrange>Move Down.
20. Activate the layer Raster 1.
Effects>Plugins>Flaming Pear - Sphere Warp A.
21. Adjust>Sharpness>Sharpen more.
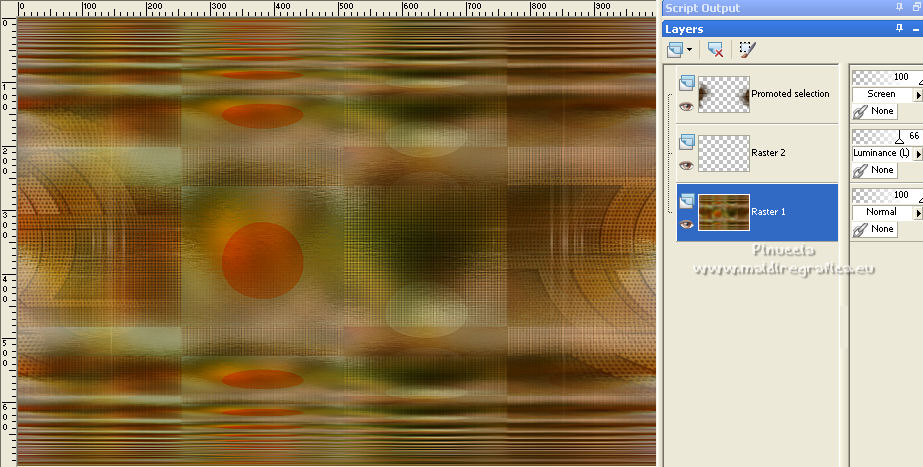
22. Open the misted and go to Edit>Copy.
Go back to your work and go to Edit>Paste as new layer.
K key on the keyboard to activate your Pick Tool 
set Position X: 300,00 and keep Position Y: 10,00.

these settings are for the supplied tube
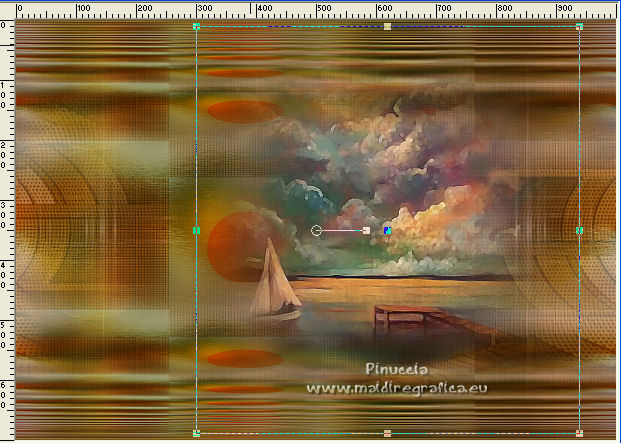
M key to deselect the Tool.
Reduce the opacity of this layer +/-81%.
23. Layers>New Raster Layer.
Layers>Arrange>Bring to Top.
Flood Fill  the layer with your foreground color #b6b2a4. the layer with your foreground color #b6b2a4.
24. Layers>New Mask layer>From image
Open the menu under the source window and you'll see all the files open.
Select the mask Astrid masker 157a.
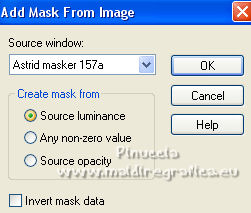
Layers>Merge>Merge Group.
25. Effects>Plugins>Mura's Seamless - Emboss at Alpha, default settings.
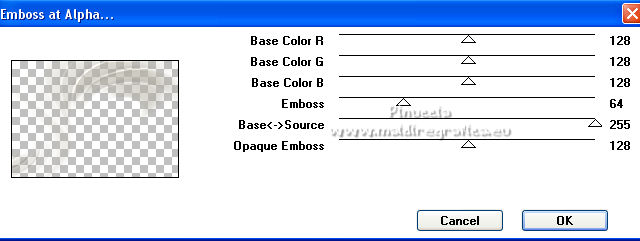
Change the Blend Mode of this layer to Screen
if necesary reduce the opacity +/-75% or to your liking.
26. Open the tube texto2 and go to Edit>Copy.
Go back to your work and go to Edit>Paste as new layer.
Move  the texte to your liking, or see my example. the texte to your liking, or see my example.
Change the Blend Mode of this layer to Soft Light or to your liking.
Your tag and the layers - adapt Blend Modes and opacities according to your colors.
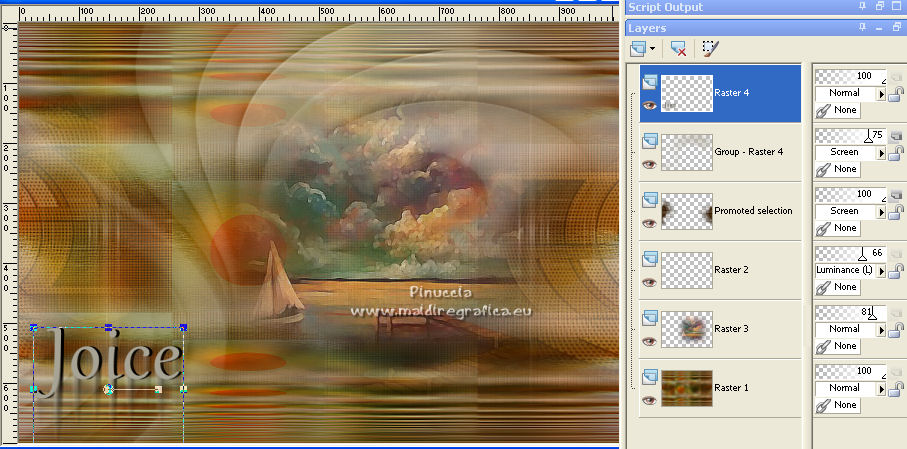
27. Image>Add borders, 1 pixel, symmetric, color black.
Image>Add borders, 10 pixels, symmetric, light foreground color #b6b2a4.
Image>Add borders, 1 pixel, symmetric, color black.
Image>Add borders, 15 pixels, symmetric, dark background color #4c4433.
Image>Add borders, 1 pixel, symmetric, color black.
Image>Add borders, 20 pixels, symmetric, light foreground color #b6b2a4.
28. Activate your Magic Wand Tool  , tolerance and feather 0, , tolerance and feather 0,
and click in the 3 borders to select them.
little note about this step:
if you click on the borders with these settings, you'll have this
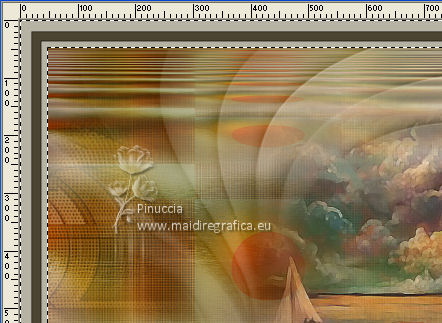
if you set your tolérance to 20-30 pixels, you'll get this
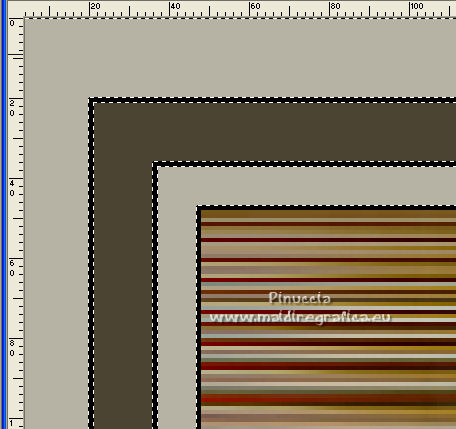
As I noted that the results don't change and they are the sames of the original tutorial,
I didn't any change in my translation.
29. Effects>3D Effects>Drop Shadow, color black.

Selections>Invert.
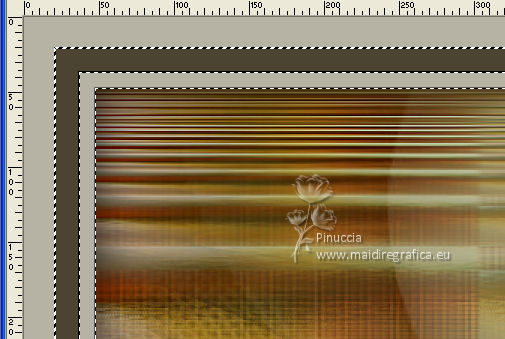
Repeat Effects>3D Effects>Drop Shadow, same settings.
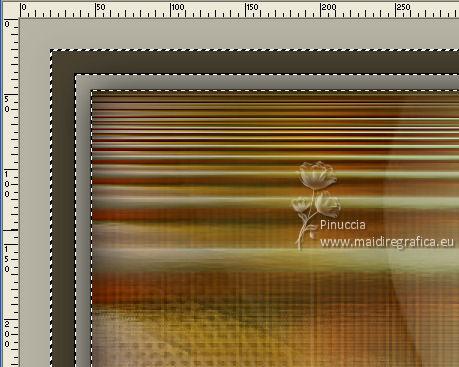
Selections>Select None.
30. Open the woman tube and go to Edit>Copy.
Go back to your work and go to Edit>Paste as new layer.
Image>Resize, to 88%, resize all layers not checked.
Move  the tube to the right side. the tube to the right side.
Effects>3D Effects>Drop Shadow, at your choice.
31. Sign your work.
Image>Add borders, 1 pixel, symmetric, color black.
32. Image>Resize, 1000 pixels width, resize all layers checked.
Save as jpg.
For the tubes of this version thanks Luz Cristina and Sonia

 Your versions here Your versions here

If you have problems or doubts, or you find a not worked link,
or only for tell me that you enjoyed this tutorial, write to me.
2 July 2022

|


