|
KIWI

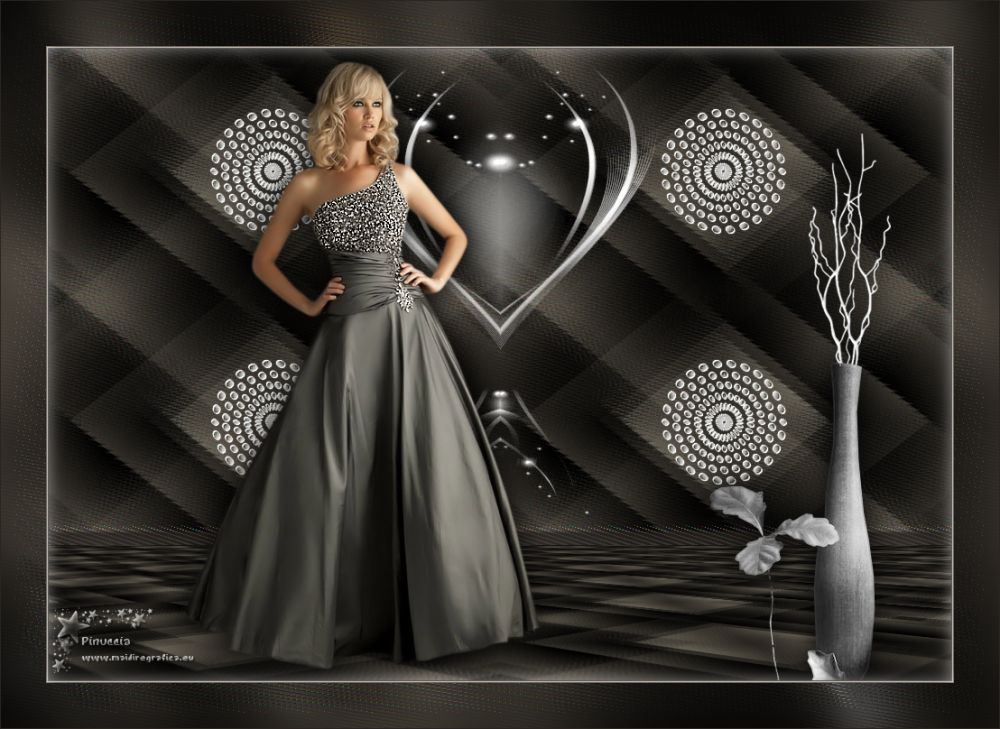
Thanks Maria José for your invitation to translate your tutorial

This tutorial has been translated with PSPX2 and PSPX3, but it can also be made using other versions of PSP.
Since version PSP X4, Image>Mirror was replaced with Image>Flip Horizontal,
and Image>Flip with Image>Flip Vertical, there are some variables.
In versions X5 and X6, the functions have been improved by making available the Objects menu.
In the latest version X7 command Image>Mirror and Image>Flip returned, but with new differences.
See my schedule here
 French translation here French translation here
 your versions ici your versions ici
For this tutorial, you will need:
Material here
For the tube thanks Beatriz.
The rest of the material is by Maria José.
(you find here the links to the material authors' sites)
Plugins
consult, if necessary, my filter section here
Filters Unlimited 2.0 here
Kiwi Oelfilter - Guck Mal, Zick-Zack, Videowand here
Filter Factory Gallery G - Double Image here
Graphics Plus - Cross Shadow here
Mura's Meister - Perspective Tiling here
Simple - 4Way Average, Zoom out and flip, Top Left Mirror here
Filters Kiwi, Factory Gallery, Graphics Plus and Simple can be used alone or imported into Filters Unlimited.
(How do, you see here)
If a plugin supplied appears with this icon  it must necessarily be imported into Unlimited it must necessarily be imported into Unlimited

You can change Blend Modes according to your colors.
In the newest versions of PSP, you don't find the foreground/background gradient (Corel_06_029).
You can use the gradients of the older versions.
The Gradient of CorelX here
Copy the preset in the Presets Folder.
1. Set your foreground color to #2a2521,
and your background color to #b0a593.
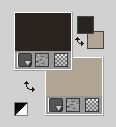
Set your foreground color to a Foreground/Background Gradient, style Linear.
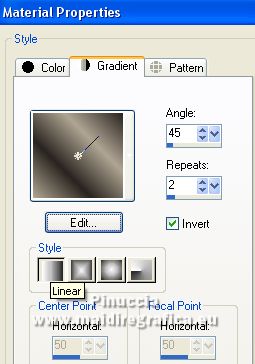
Open a new transparent image 1000 x 700 pixels.
Flood Fill  the transparent image with your Gradient. the transparent image with your Gradient.
2. Effects>Plugins>Kiwi - Videowand.
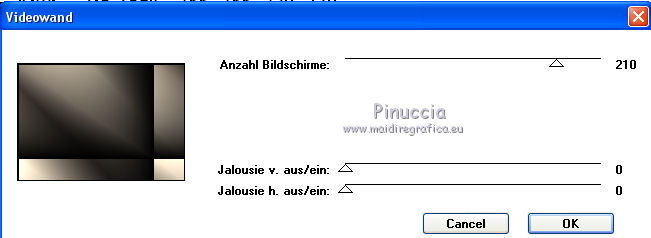
3. Effects>Plugins>Kiwi - Zig-Zack
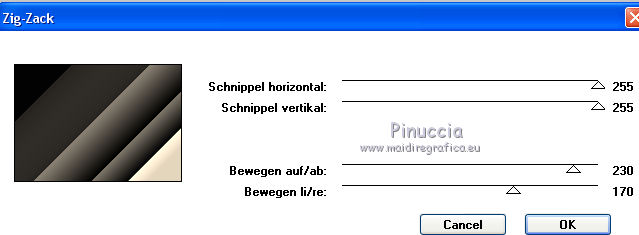
4. Effects>Image Effects>Seamless Tiling.
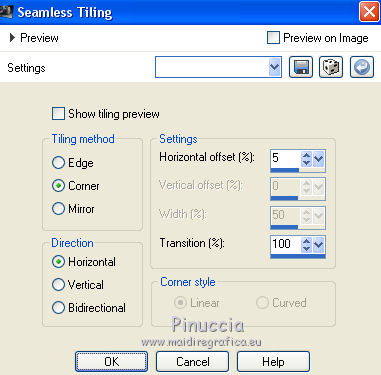
5. Effects>Plugins>Kiwi - Guck Mal, default settings.
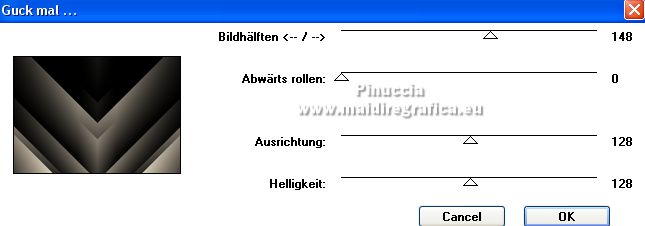
6. Effects>Plugins>Simple - 4 Way Average
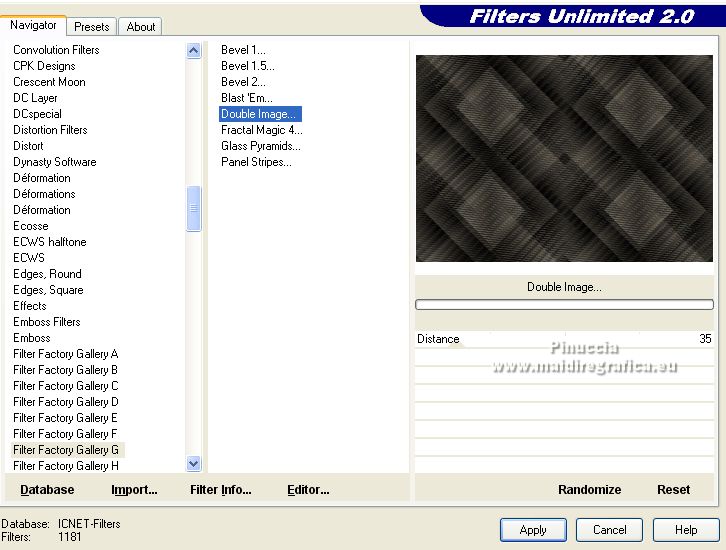
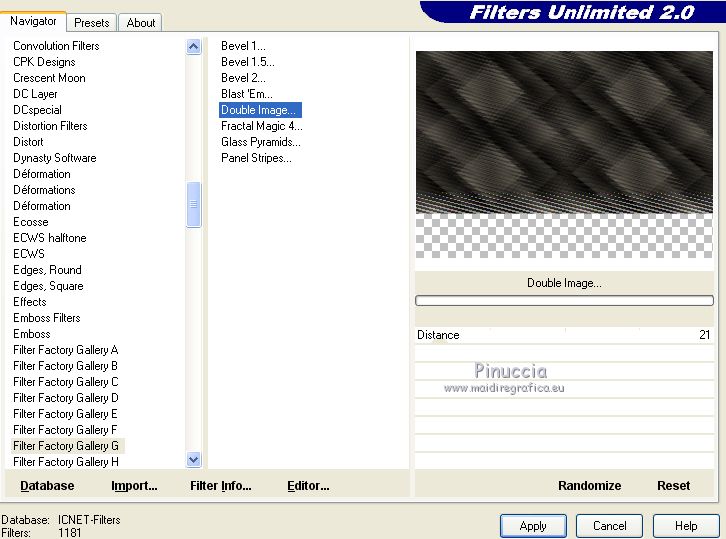
7. Effects>Plugins>Filter Factory Gallery G - Double Image
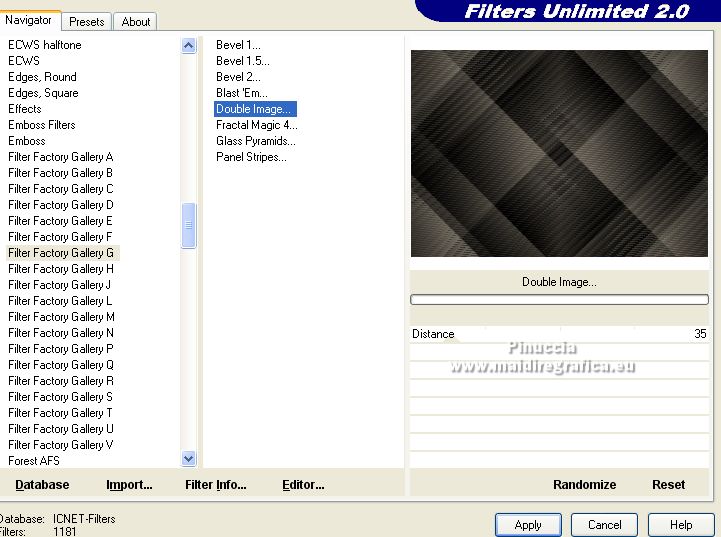
8. Adjust>Sharpness>Sharpen More.
9. Effects>Plugins>Simple - Zoom Out and Flip.
10. Effects>Reflection Effects>Rotating Mirror, default settings.

11. Effects>Plugins>Simple - Top Left Mirror.
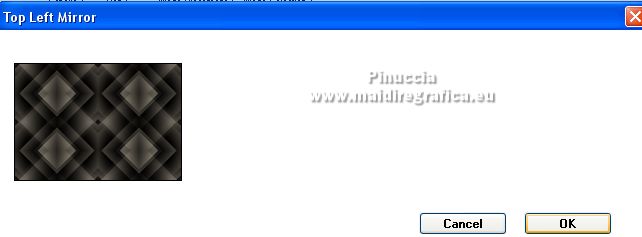
12. Effects>Plugins>Filter Factory Gallery G - Double Image, same settings
Edit>Copy.
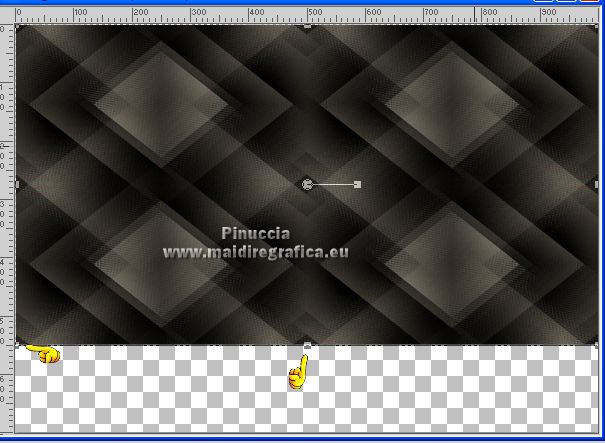
13. K key on the keyboard to activate your Pick Tool 
mode Scale 
pull the bottom central node up until 550 pixels
or open the presets menu and select the preset kiwi_mj
Result
14. Activate your Magic Wand Tool 
and click in the transparent part to select it.
Layers>New Raster Layer.
15. Edit>Paste into Selection (the image copied at step 12).
Keep selected
16. Effects>Plugins>Mura's Meister - Perspective Tiling.
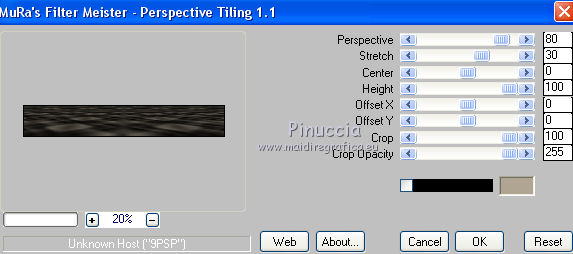
Selections>Select None.
Effects>3D Effects>Drop Shadow, dark foreground color.
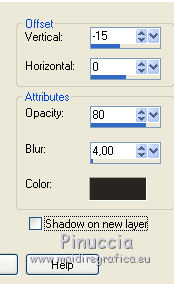
17. Activate the layer Raster 1.
Effects>Plugins>Filter Factory Gallery G - Double Image, default settings.
18. Open the tube decokiwi and go to Edit>Copy.
Go back to your work and go to Edit>Paste as new layer.
Layers>Arrange>Bring to Top.
19. Pick Tool 
and set Position X: 180,00 and Position Y: 68,00.

20. Effects>3D Effects>Drop Shadow, color white.
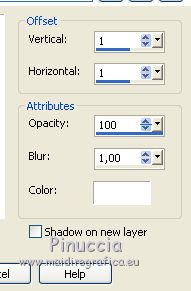
Repeat Drop Shadow, vertical and horizontal -1.
Change the Blend Mode of this layer to Screen.
21. Open the tube decokiwi1 and go to Edit>Copy.
Go back to your work and go to Edit>Paste as new layer.
Keep Position X: 0,00 and set Position Y: -80,00.

Change the Blend Mode of this layer to Screen.
Your tag and the layers
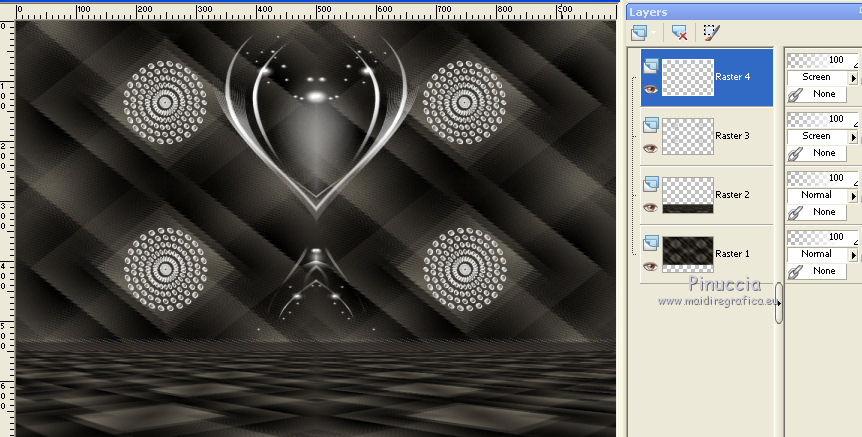
Layers>Merge>Merge visible.
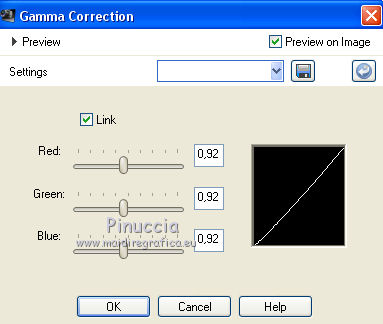
23. Optional - Correction Gamma (shift+G on the keyboard)
24. Open the the of the woman and go to Edit>Copy.
Go back to your work and go to Edit>Paste as new layer.
Move  the tube to the left side. the tube to the left side.
Effects>3D Effects>Drop Shadow, to your liking.
25. Open the deco tube and go to Edit>Copy.
Go back to your work and go to Edit>Paste as new layer.
Move  the tube to the right side. the tube to the right side.
Effects>3D Effects>Drop Shadow, to your liking.
26. Image>Add borders, 1 pixel, symmetric, dark color.
Image>Add borders, 1 pixel, symmetric, light color.
Image>Add borders, 1 pixel, symmetric, dark color.
27. Selections>Select All.
Edit>Copy.
Image>Add borders, 50 pixels, symmetric, color white.
Selections>Invert.
Edit>Paste into Selection.
28. Adjust>Blur>Gaussian Blur - radius 20.

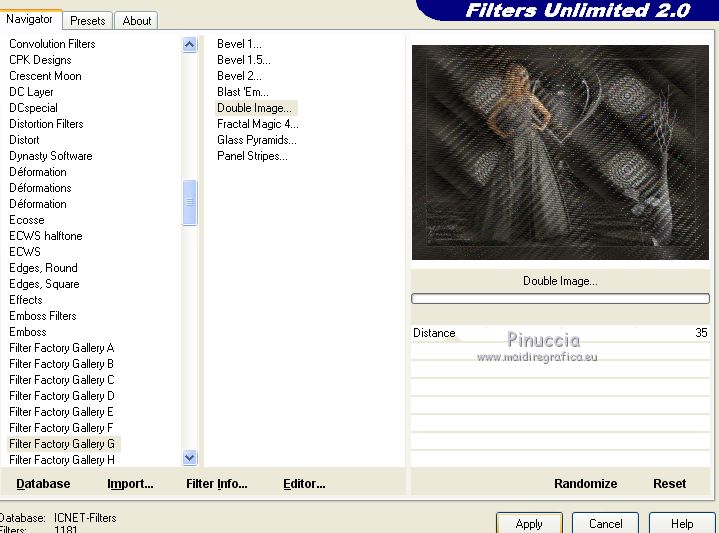
29. Effects>Plugins>Filter Factory Gallery G - Double image
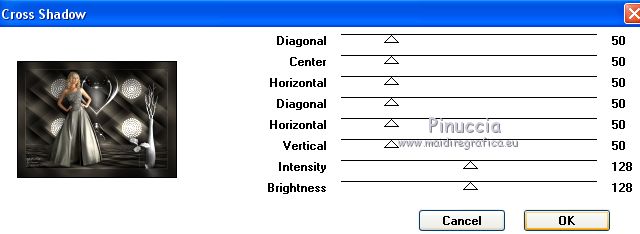
30. Effects>Plugins>Graphics Plus - Cross Shadow, default settings.
31. Effects>3D Effects>Drop Shadow, color white.
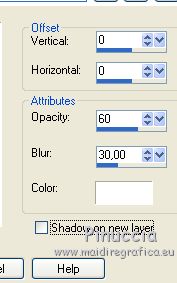
Selections>Select None.
32. Sign your work on a new layer.
Image>Add borders, 1 pixel, symmetric, dark color.
33. Image>Resize, 1000 pixels width, resize all layers checked.
Save as jpg.
Version with tubes by Luz Cristina and Azalée
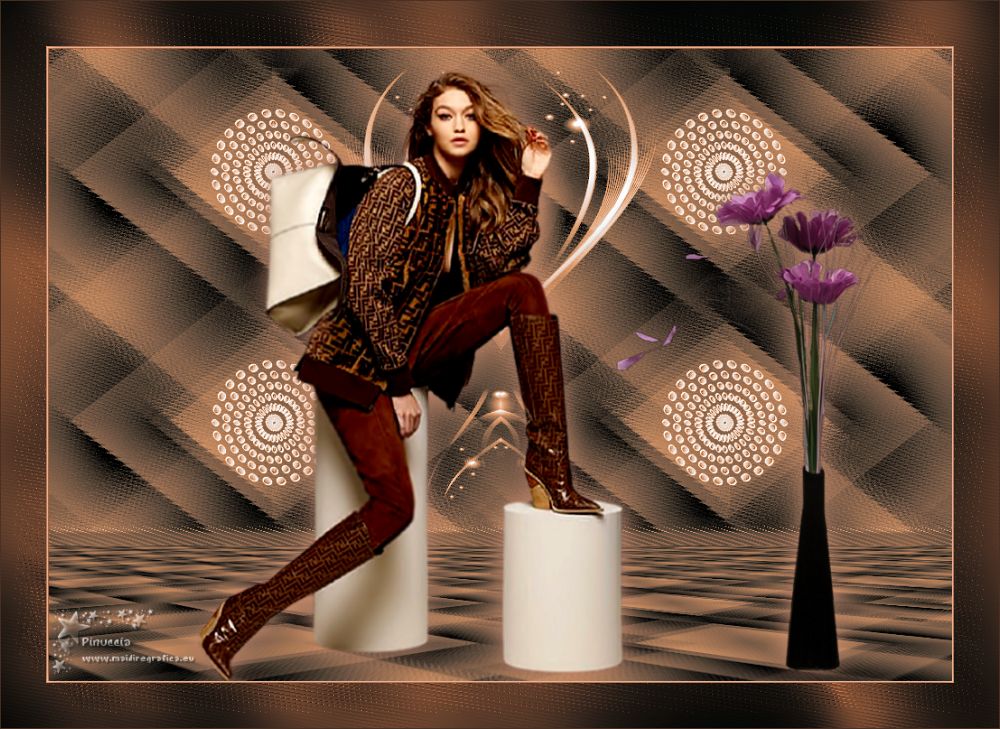
 Your versions here Your versions here

If you have problems or doubts, or you find a not worked link,
or only for tell me that you enjoyed this tutorial, write to me.
31 October 2021

|


