|
LUZ CRISTINA

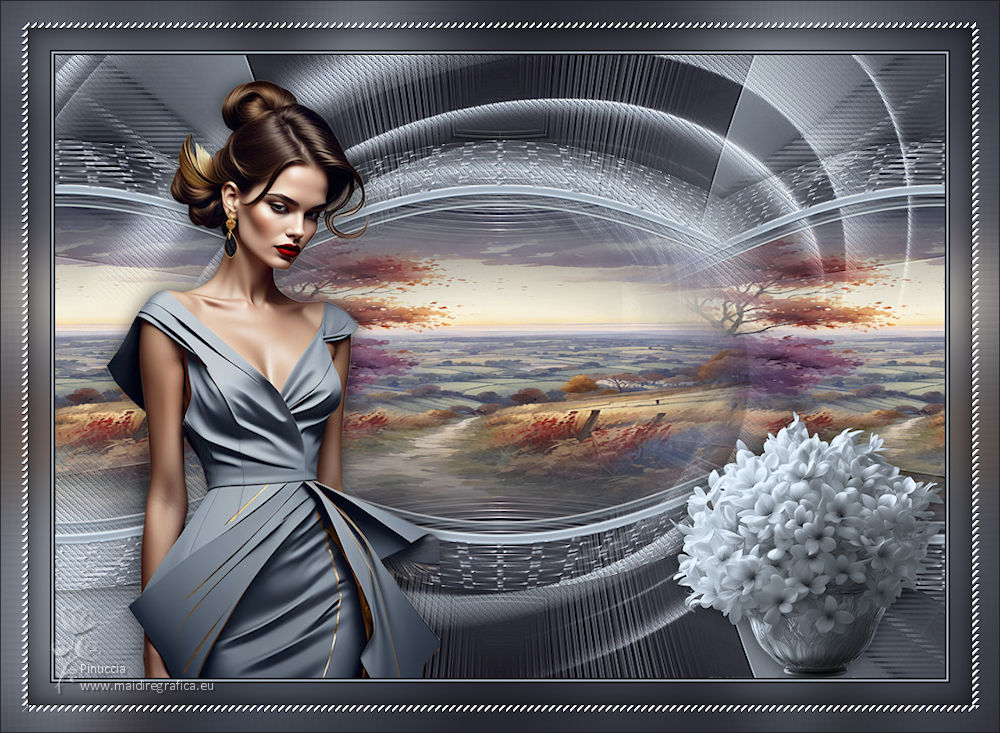
Thanks Maria José for your invitation to translate your tutorial

This tutorial has been translated with PSPX9 and PSP2019, but it can also be made using other versions of PSP.
Since version PSP X4, Image>Mirror was replaced with Image>Flip Horizontal,
and Image>Flip with Image>Flip Vertical, there are some variables.
In versions X5 and X6, the functions have been improved by making available the Objects menu.
In the latest version X7 command Image>Mirror and Image>Flip returned, but with new differences.
See my schedule here
 French translation here French translation here
 your versions here your versions here
For this tutorial, you will need:

(you find here the links to the material authors' sites)

consult, if necessary, my filter section here
Filters Unlimited 2.0 here
Mehdi - Weaver, Sorting Tiles here
Simple - Top Left Mirror here
Mura's Seamless - Emboss at Alpha here
Kiwi - ZigZack here
Filters Simple, Kiwi and Mura's Seamless can be used alone or imported into Filters Unlimited.
(How do, you see here)
If a plugin supplied appears with this icon  it must necessarily be imported into Unlimited it must necessarily be imported into Unlimited

You can change Blend Modes according to your colors.
In the newest versions of PSP, you don't find the foreground/background gradient (Corel_06_029).
You can use the gradients of the older versions.
The Gradient of CorelX here

Copy the Selections in the Selections Folder.
Open the masks in PSP and minimize them with the rest of the material.
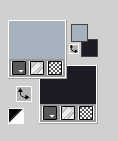
Set your foreground color to #a5b1bd
and your background color to #1e1d27.
1. Open a new transparent image 1000 x 700 pixels.
Flood Fill  the transparent image with your dark background color. the transparent image with your dark background color.
2. Layers>New Mask layer>From image
Open the menu under the source window and you'll see all the files open.
Select the mask mask-circle-MJ.
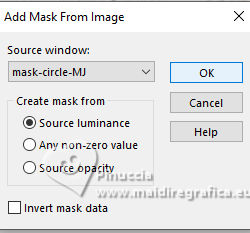
Layers>Merge>Merge Group.
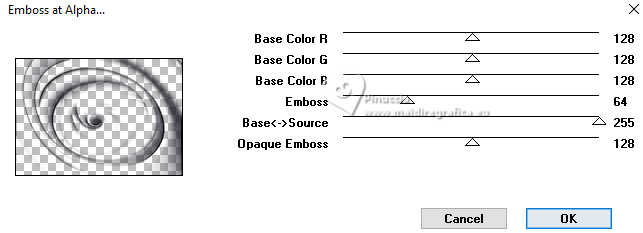
3. Effects>Plugins>Mura's Seamless - Emboss at Alpha, default settings.
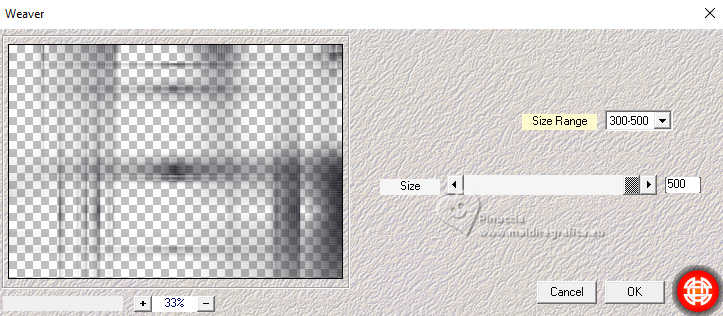
4. Effects>Plugins>Mehdi - Weaver.
5. Effects>Reflection Effects>Rotating Mirror, default settings.

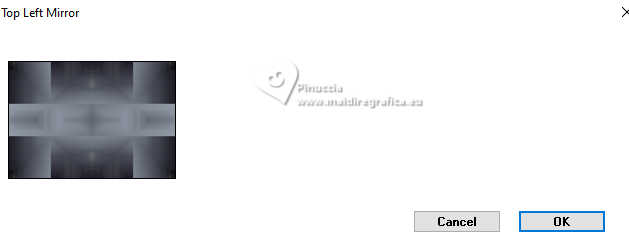
6. Effects>Plugins>Simple - Top Left Mirror.
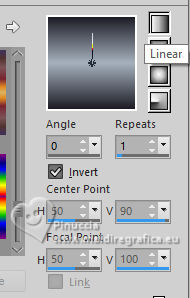
7. Set your foreground color to a Foreground/Background Gradient, style Linear.
Layers>New Raster Layer.
Flood Fill  the layer with your Gradient. the layer with your Gradient.
Layers>Arrange>Move Down.
Activate the top layer Group-Raster 1.
Layers>Merge>Merge Down.
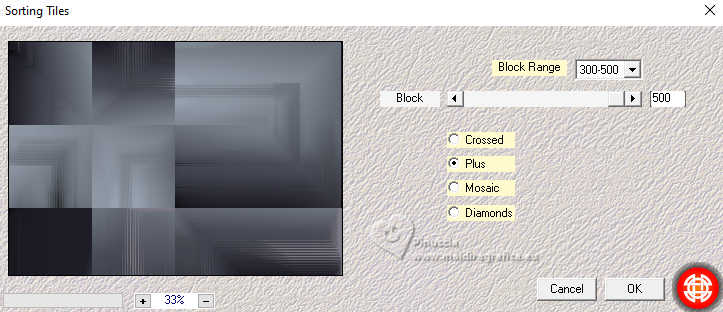
8. Effects>Plugins>Mehdi - Sorting Tiles.
9. Effects>Reflection Effects>Rotating Mirror.

10. Effects>Plugins>Simple - Top Left Mirror.
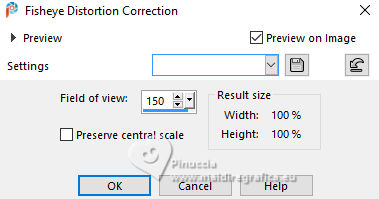
11. Adjust>Fisheye Distortion Correction.
12. Adjust>Sharpness>Sharpen More.
Minimize your work for a moment.
*****
13. Open a new transparent image 1000 x 700 pixels.
Set your foreground color to Color.
Flood Fill  the transparent image with your light foreground color. the transparent image with your light foreground color.
14 Layers>New Mask layer>From image
Open the menu under the source window
and select the mask 36a-mask-MJ.
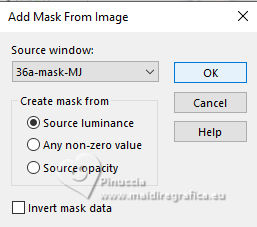
Layers>Merge>Merge Group.
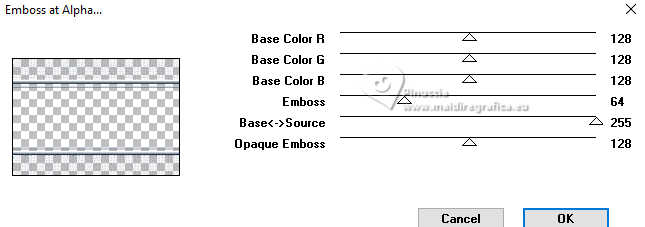
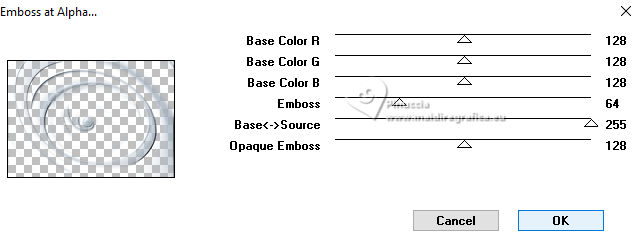
15. Effects>Plugins>Mura's Seamless - Emboss at Alpha, default settings.
*****
in the material you find the ready image déco-masque-LC-MJ,
to colorize with your colors
Choose the image to copy
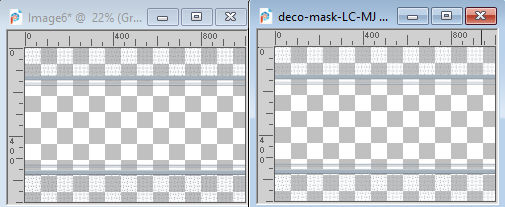
Edit>Copy.
Go back to your minimized work.
Layers>New Raster Layer.
16. Selections>Load/Save Selection>Load Selection from Disk.
Look for and load the selection luzcristina-sel-MJ
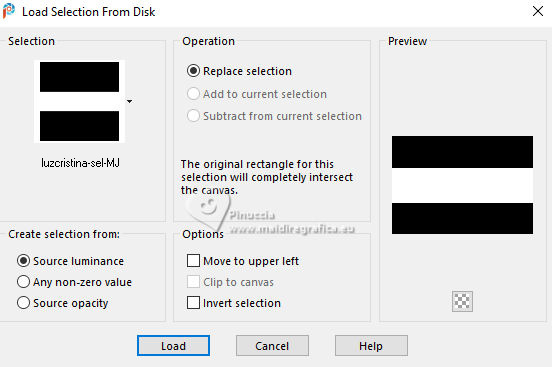
17. Edit>Paste into Selection (the mask you just created or the tube deco-mask-LC-MJ)
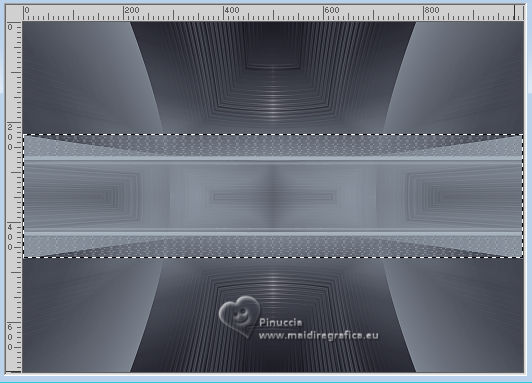
18. Adjust>Sharpness>Sharpen More.
Effects>3D Effects>Drop Shadow, color black.

Selections>Select None.
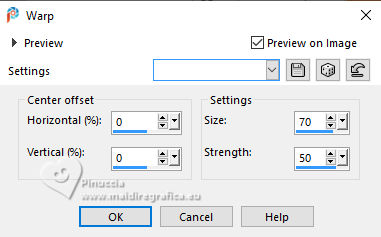
19. Effects>Distortion Effects>Warp.
20. Layers>New Raster Layer.
Selections>Load/Save Selection>Load Selection from Disk.
Look for and load the selection luzcristina-sel-1-MJ
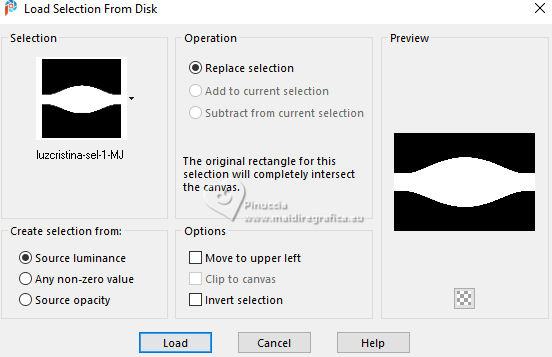
21. Open the misted misted-LC-MJ 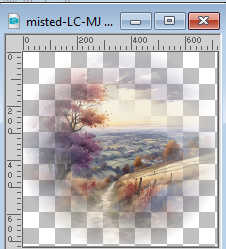
Edit>Copy.
Go back to your work and go to Edit>Paste into Selection.
Effects>3D Effects>Drop Shadow, color black.

Selections>Select None.
Layers>Arrange>Move Down.
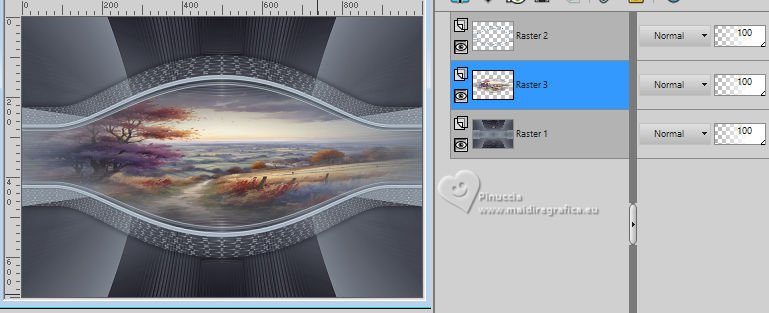
Activate your top layer.
Layers>Merge>Merge Down.
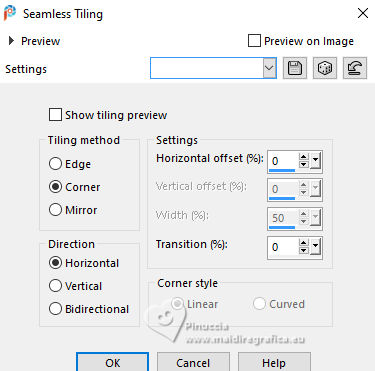
22. Effects>Image Effects>Seamless Tiling.
23. Layers>New Raster Layer.
Flood Fill  the layer with your light foreground color. the layer with your light foreground color.
24. Layers>New Mask layer>From image
Open the menu under the source window
and select again the mask mask-circle-MJ.

Layers>Merge>Merge Group.
25. Effects>Plugins>Mura's Seamless - Emboss at Alpha, default settings.
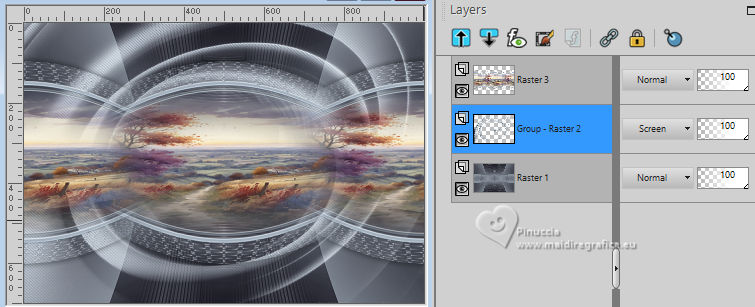
Image>Mirror>Mirror horizontal.
Change the Blend Mode of this layer to Screen.
Layers>Arrange>Move Down.
26. Open the tube deco-LC-MJ 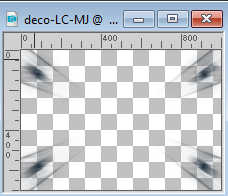
Edit>Copy.
Go back to your work and go to Edit>Paste as new layer.
Change the Blend Mode of this layer to Luminance (legacy).
Layers>Arrange>Move Down.
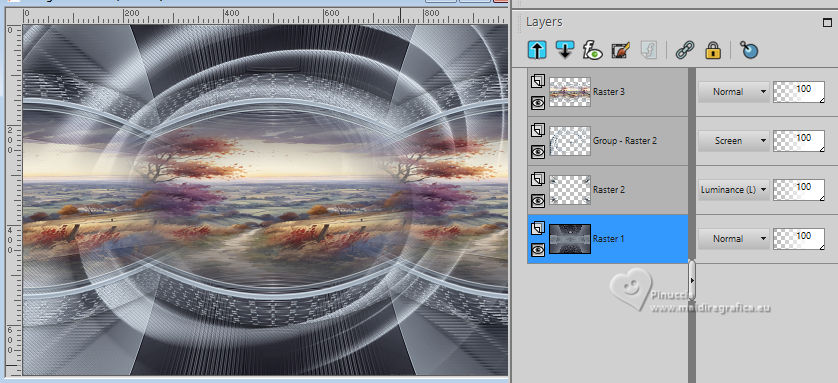
27. Activate the layer Raster 1.
Adjust>Sharpness>Sharpen More.
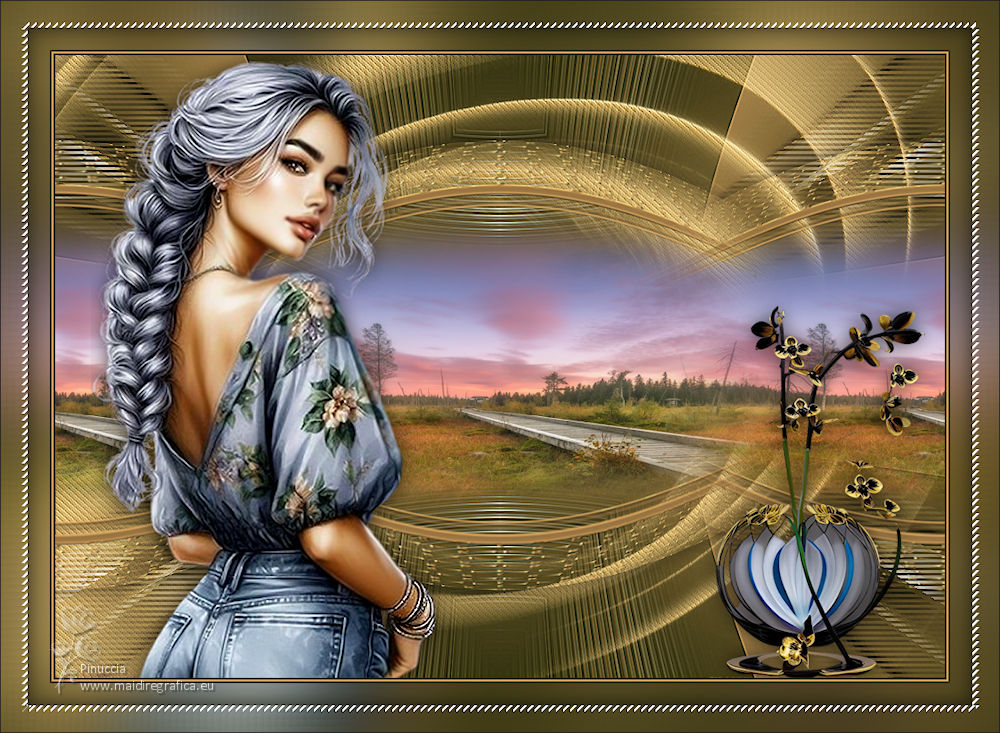
Your tag and the layers - adapt Blend Mode and opacity to your liking.
28. Activate your top layer.
Open the woman's tube image-AI-SB-tube-MJ 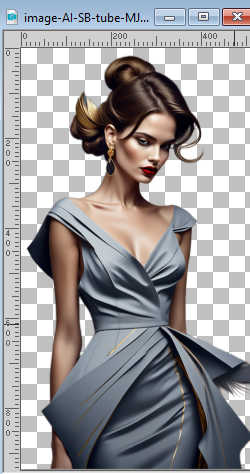
Edit>Copy.
Go back to your work and go to Edit>Paste as new layer.
Image>Resize, to 75%, resize all layers not checked.
Move  the tube to the left. the tube to the left.
Effects>3D Effects>Drop Shadow, at your choice.
29. Open the tube image-AI-tube-MJ 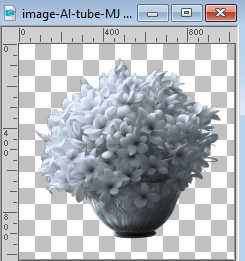
Edit>Copy.
Go back to your work and go to Edit>Paste as new layer.
Image>Resize, to 35%, resize all layers not checked.
Move  the tube at the bottom right. the tube at the bottom right.
Effects>3D Effects>Drop Shadow, at your choice.
30. Image>Add borders, 2 pixels, symmetric, dark color #1e1d27.
Image>Add borders, 2 pixels, symmetric, light color #a5b1bd.
Image>Add borders, 2 pixels, symmetric, dark color #1e1d27.
31. Selections>Select All.
Edit>Copy
Image>Add borders, 25 pixels, symmetric, color white #ffffff.
32. Selections>Invert.
Edit>Paste into Selection (the image of step 31).
33. Adjust>Blur>Gaussian Blur - radius 35.
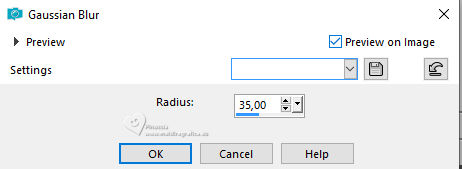
Keep selected.
Edit>Copy
34. Selections>Select All.
Image>Add borders, 30 pixels, symmetric, color white #ffffff.
35. Selections>Invert.
Edit>Paste into Selection (the border of step 33).
Keep selected.
36. Effects>Plugins>Kiwi - Zig-Zack, default settings.
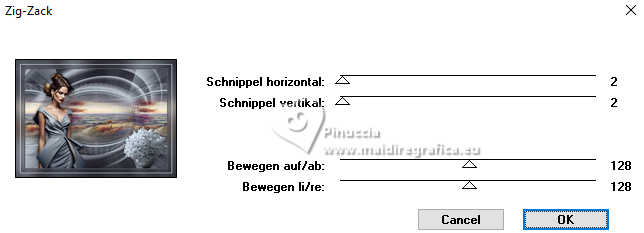
Effects>3D Effects>Drop Shadow, color black.

Selections>Select None.
37. Image>Add borders, 1 pixel, symmetric, dark color.
38. Image>Resize, 1000 pixels width, resize all layers checked.
39. Sign your work and save as jpg.
For the tube of this version thanks Luz Cristina, Mentali and NaiseM.

If you have problems or doubts, or you find a not worked link,
or only for tell me that you enjoyed this tutorial, write to me.
22 May 2024

|


