|
MAGALY

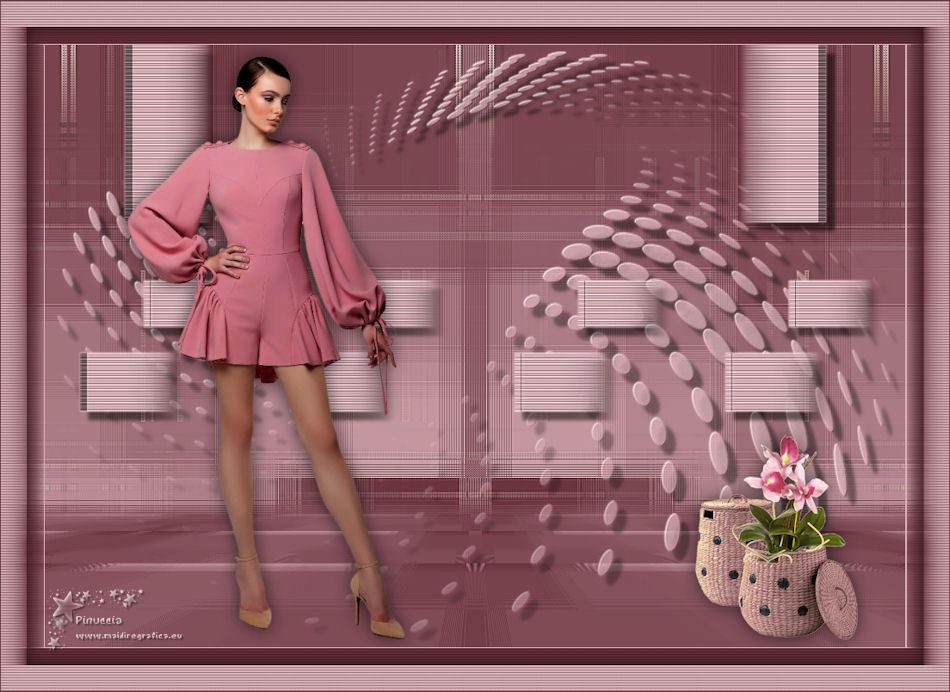
Thanks Maria José for your invitation to translate your tutorial

This tutorial was created with PSPX9 and translated with PSPX2 and PSPX3, but it can also be made using other versions of PSP.
Since version PSP X4, Image>Mirror was replaced with Image>Flip Horizontal,
and Image>Flip with Image>Flip Vertical, there are some variables.
In versions X5 and X6, the functions have been improved by making available the Objects menu.
In the latest version X7 command Image>Mirror and Image>Flip returned, but with new differences.
See my schedule here
 French translation here French translation here
 your versions ici your versions ici
For this tutorial, you will need:
Material here
Thanks for the tubes Suizabella and Beatriz, and for the mask Adita.
The rest of the material is by Maria José
(you find here the links to the material authors' sites)
Plugins
consult, if necessary, my filter section here
Filters Unlimited 2.0 here
Déformation - Alias Blur here
Carolaine and Sensibility - CS-Texture here
Funhouse - Loom here
AP [Lines] - Lines SilverLining here
Mehdi - Sorting Tiles here
Mura's Meister - Perspective Tiling here
Mura's Seamless - Emboss at Alpha here
Filters Déformation, Funhouse and Mura's Seamless can be used alone or imported into Filters Unlimited.
(How do, you see here)
If a plugin supplied appears with this icon  it must necessarily be imported into Unlimited it must necessarily be imported into Unlimited

You can change Blend Modes according to your colors.
In the newest versions of PSP, you don't find the foreground/background gradient (Corel_06_029).
You can use the gradients of the older versions.
The Gradient of CorelX here
Copy the Selections in the Selections Folder.
Open the mask in PSP and minimize it with the rest of the material.
1. Set your foreground color to #68303a,
and your background color to #dcb2ba.
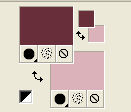
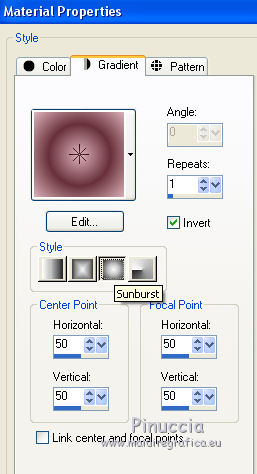
Set your foreground color to a Foreground/Background Gradient, style Sunburst
Open a new transparent image 1000 x 700 pixels.
Flood Fill  the transparent image with your Gradient. the transparent image with your Gradient.
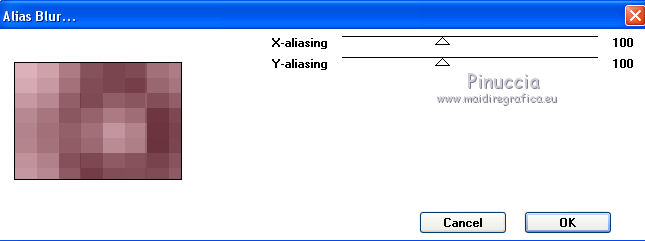
2. Effects>Plugins>Déformation - Alias Blur.
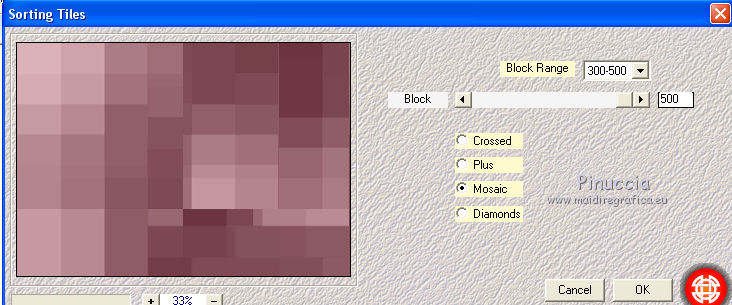
3. Effects>Plugins>Mehdi - Sorting Tiles.
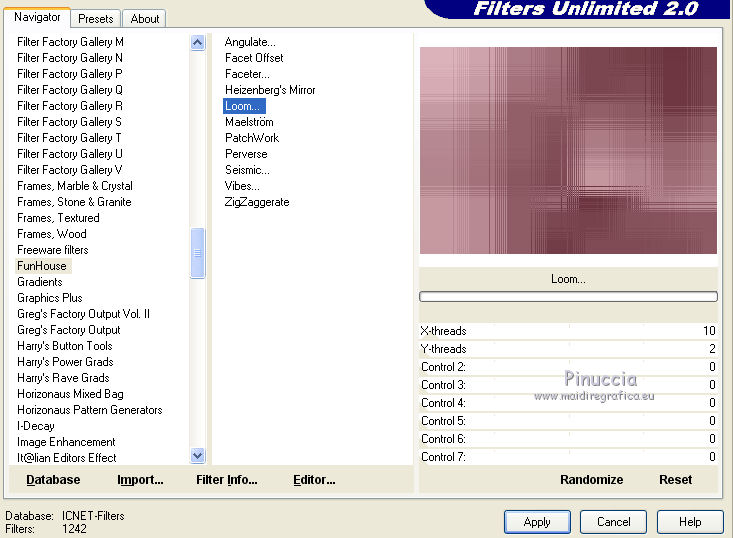
4. Effects>Plugins>Funhouse - Loom, default settings.
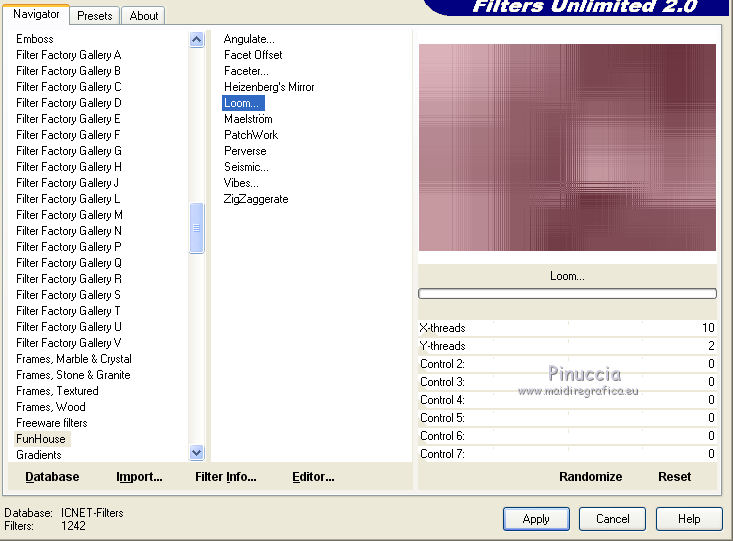
Repeat the Effect another time.
5. Effects>Reflection Effects>Rotating Mirror, default settings.

6. Adjust>Sharpness>Sharpen More.
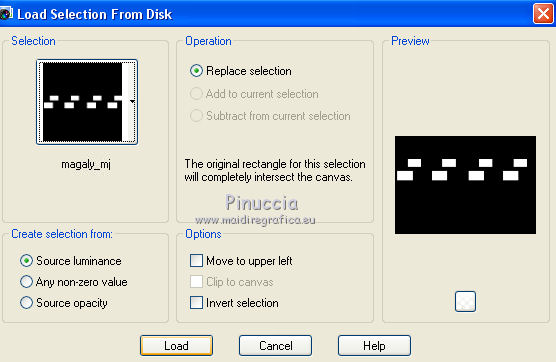
7. Selections>Load/Save Selection>Load Selection from Disk.
Look for and load the selection magaly_mj.
8. Layer>New Raster Layer.
Flood Fill  the layer with your light background color. the layer with your light background color.
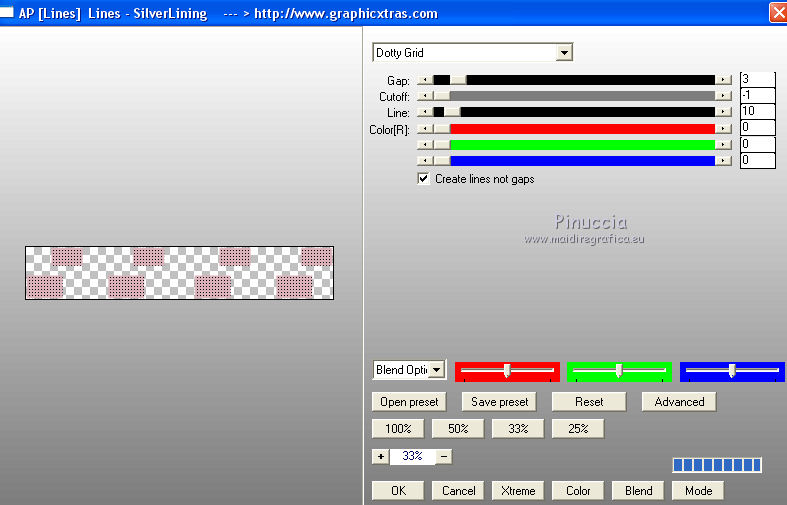
9. Effects>Plugins>AP [Lines] - Lines SilverLining.
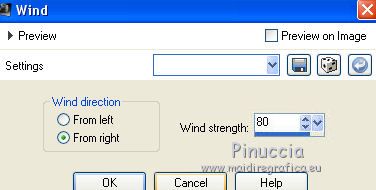
10. Effects>Distortion Effects>Vent - from right, wind strength 80.
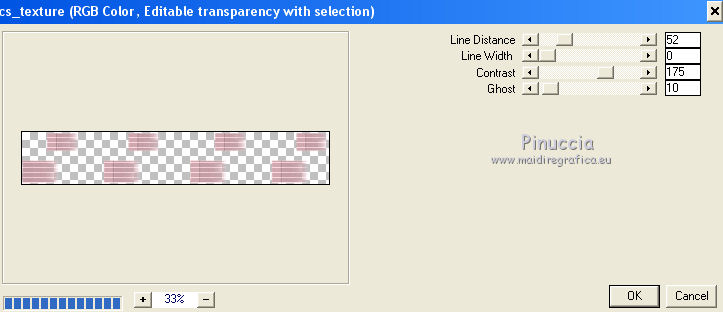
11. Effects>Plugins>Carolaine and Sensibility - CS-Texture, default settings
Selections>Select None.
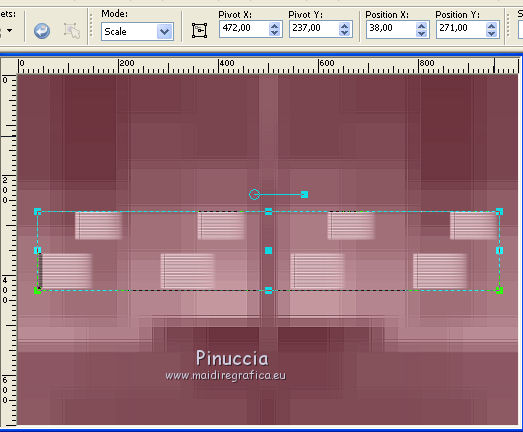
12. Objects>Align>Center in Canvas.
If you are working with a previous version that doesn't make the Object menu available,
activate your Pick Tool 
and set Position X: 38,00 and Position Y: 271,00.
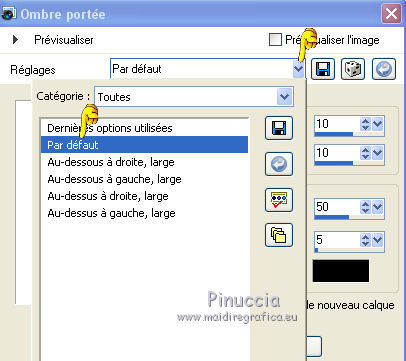
Effects>3D Effects>Drop Shadow, default settings.
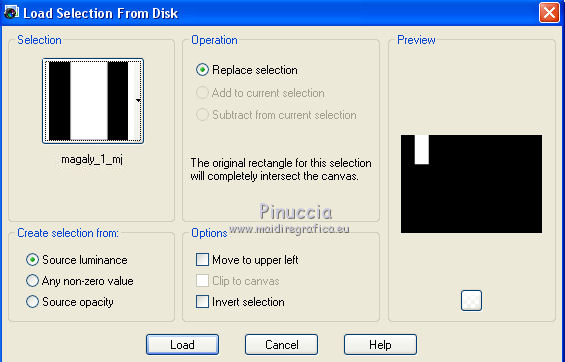
13. Selections>Load/Save Selection>Load Selection from Disk.
Look for and load the selection magaly_1_mj.
Répéter les étapes 8/11.
***
8. Layer>New Raster Layer.
Flood Fill  the layer with your light background color. the layer with your light background color.
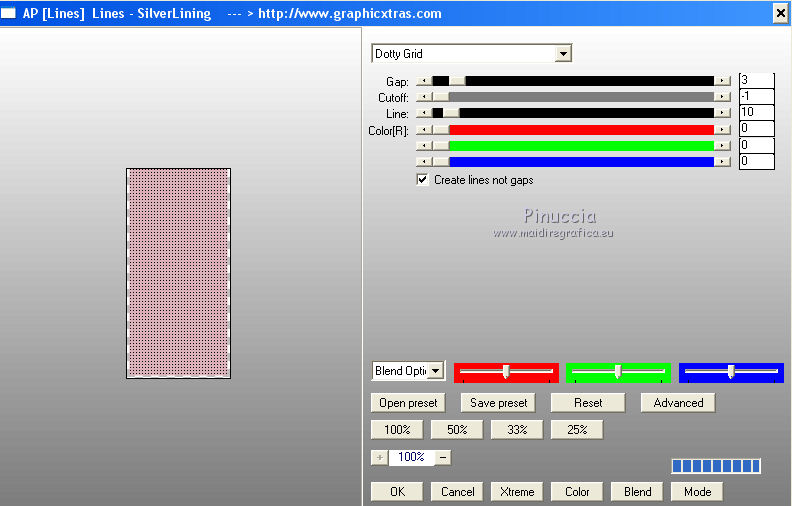
9. Effects>Plugins>AP [Lines] - Lines SilverLining.
10. Effects>Distortion Effects>Vent - from right, wind strentgh 80.

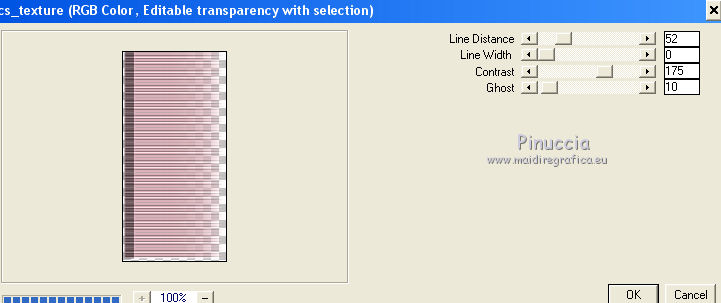
11. Effects>Plugins>Carolaine and Sensibility - CS-Texture, default settings
Selections>Select None.
***
14. Effects>Reflection Effects>Rotating Mirror.
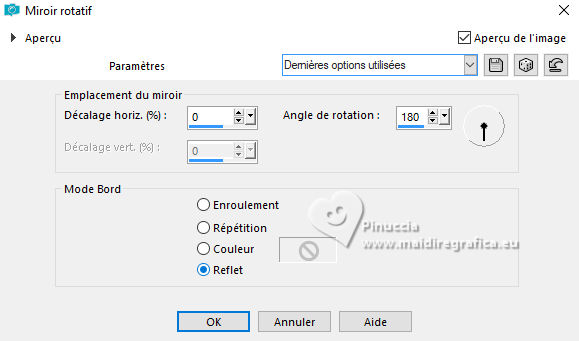
Effects>3D Effects>Drop Shadow, comme précédemment.
15. Activate the layer Raster 1.
Selections>Load/Save Selection>Load Selection from Disk.
Look for and load the selection magaly_2_mj.
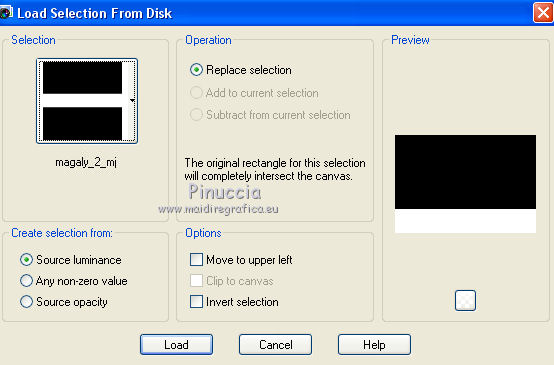
Sélections>Transformer la sélection en calque.
16. Effects>Plugins>Mura's Meister - Perspective Tiling, default settings.
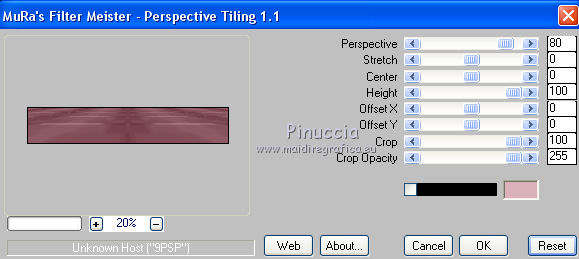
Selections>Select None.
17. Selections>Load/Save Selection>Load Selection from Disk.
Look for and load the selection magaly_3_mj.
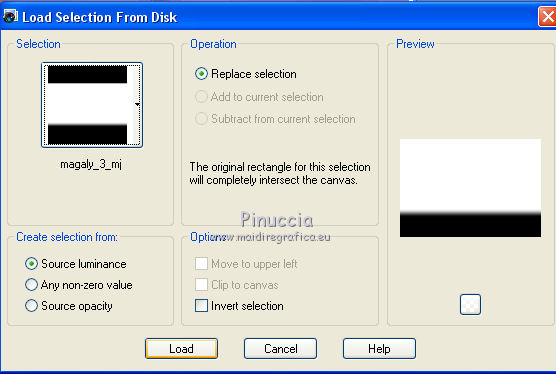
Press +/-6 times CANC on the keyboard 
Selections>Select None.

18. Layer>New Raster Layer.
Reduce the opacity of your Flood Fill Tool to 80.
Flood Fill  the layer with your light color. the layer with your light color.
(don't forget to set again the opacity to 100)
19. Layers>New Mask layer>From image
Open the menu under the source window and you'll see all the files open.
Select the mask aditacreations_mask_16.
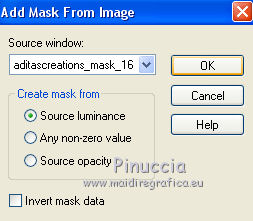
Layers>Merge>Merge Group.
20. Effects>Plugins>Mura's Seamless - Emboss at Alpha, default settings.
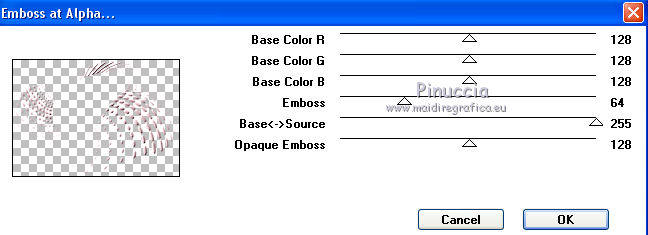
Effects>3D Effects>Drop Shadow, same settings.
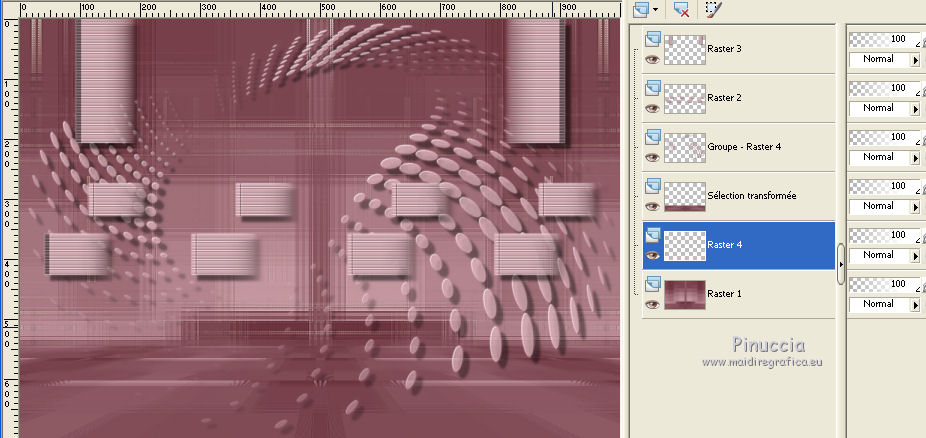
21. Activate the layer Raster 1.
Open the tube deco_magaly_mj and go to Edit>Copy.
Go back to your work and go to Edit>Paste as new layer.
You should have this
22. Activate your top layer.
Open the woman tube and go to Edit>Copy.
Go back to your work and go to Edit>Paste as new layer.
Image>Resize, to 75%, resize all layers not checked.
Image>Mirror.
Move  the tube to the left side. the tube to the left side.
Effects>3D Effects>Drop Shadow, at your choice.
23. Open the deco tube, erase the watermark and go to Edit>Copy.
Go back to your work and go to Edit>Paste as new layer.
Image>Resize, to 85%, resize all layers not checked.
Move  the tube to the right side. the tube to the right side.
Effects>3D Effects>Drop Shadow, at your choice.
24. Image>Add borders, 1 pixel, symmetric, light color #dcb2ba.
Selections>Select All.
Image>Add borders, 20 pixels, symmetric, dark color #68303a.
Selections>Invert.
26. Effects>Plugins>AP [Lines] - Lines SilverLining.
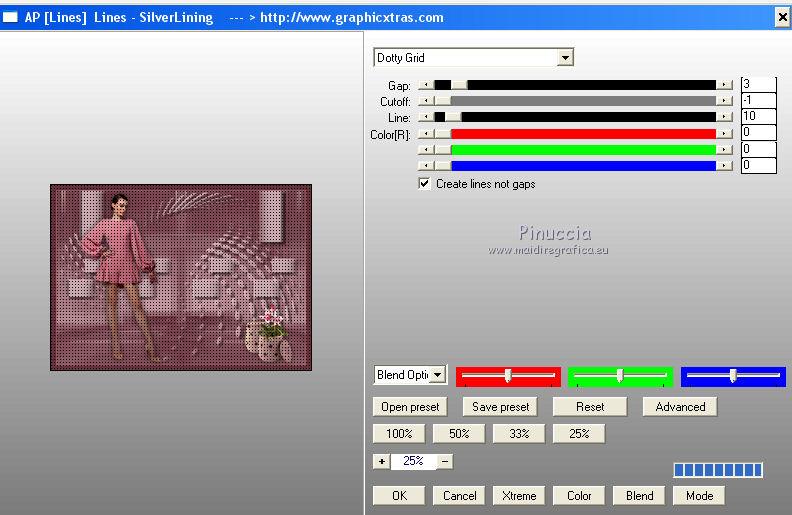
27. Effects>Distortion Effects>Vent - from right, wind strength 80

28. Effects>Reflection Effects>Rotating Mirror.

29. Selections>Select All.
Image>Add borders, 30 pixels, symmetric, light color #dcb2ba.
Selections>Invert.
Repeat the steps 26, 27 and 28
***
26. Effects>Plugins>AP [Lines] - Lines SilverLining.
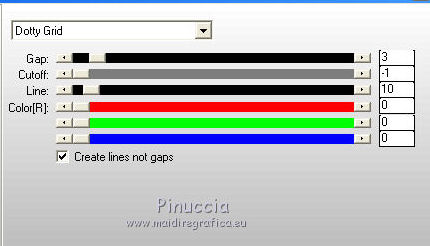
27. Effects>Distortion Effects>Wind, from right, wind strength 80.

28. Effects>Reflection Effects>Rotating Mirror.

***
30. Effects>3D Effects>Drop Shadow, color black.

Selections>Select None.
Image>Add borders, 1 pixel, symmetric, dark color.
31. Sign your work on a new layer.
Layers>Merge>Merge All.
32. Image>Resize, 1000 pixels width, resize all layers checked.
Save as jpg.
Version avec tubes de Lana and Nena Silva
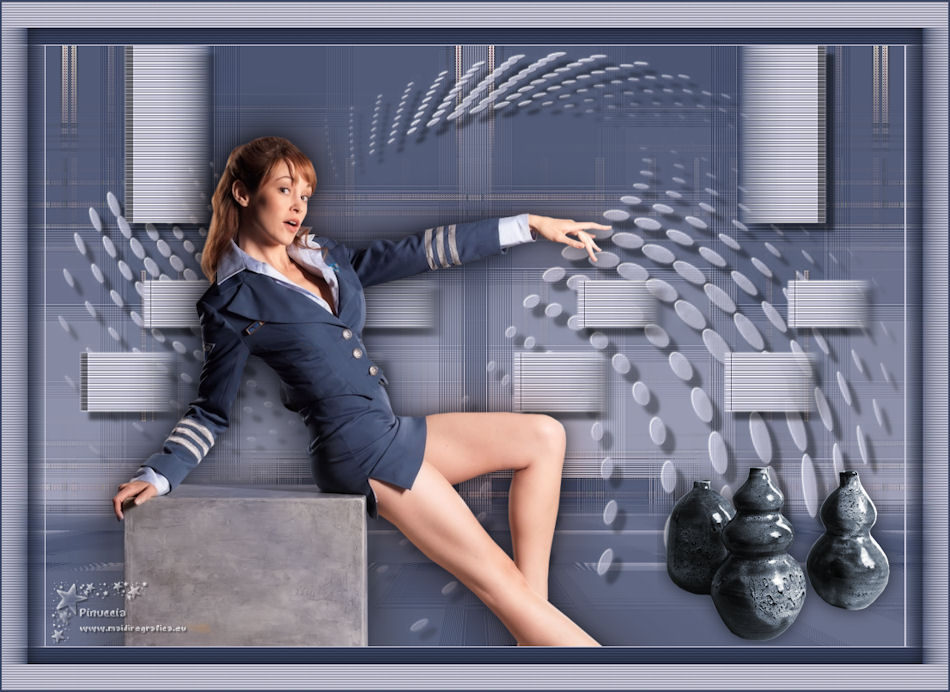
 Your versions here Your versions here

If you have problems or doubts, or you find a not worked link, or only for tell me that you enjoyed this tutorial, write to me.
2 December 2020

|


