|
MAYRA

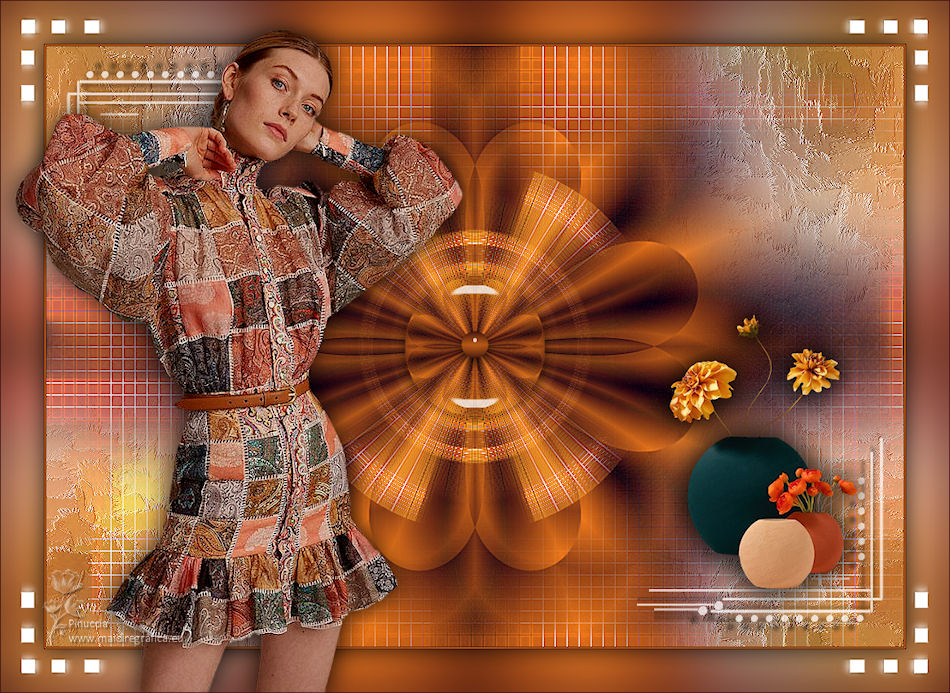
Thanks Maria José for your invitation to translate your tutorial

This tutorial has been translated with PSPX2 and PSPX3, but it can also be made using other versions of PSP.
Since version PSP X4, Image>Mirror was replaced with Image>Flip Horizontal,
and Image>Flip with Image>Flip Vertical, there are some variables.
In versions X5 and X6, the functions have been improved by making available the Objects menu.
In the latest version X7 command Image>Mirror and Image>Flip returned, but with new differences.
See my schedule here
 French translation here French translation here
 your versions ici your versions ici
For this tutorial, you will need:
Material here
For a tube and the mask thanks Nena Silva and Cre@nnie.
The rest of the material is by Maria José.
(you find here the links to the material authors' sites)
Plugins
consult, if necessary, my filter section here
Filters Unlimited 2.0 here
Andrew's Filter 51 - Straight Lines 234 here
&<Background Designers IV> - sf10 Slice N Dice (à importer dans Unlimited) here
Flaming Pear - Flexify 2 here
Simple - 4Way Average, Top Left Mirror, Half Wrap here
Mura's Meister - Pool Transform here
Mura's Seamless - Emboss at Alpha here
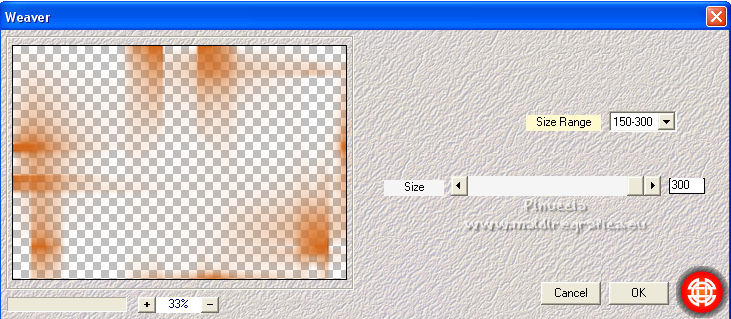
Mehdi - Weaver here
VM Stylize - Zoom Blur here
Alien Skin Eye Candy 5 Impact - Glass here
L&K's - L&K's Mayra here
Filters Andrew's, Simple, Mura's Seamless and VM Stylize can be used alone or imported into Filters Unlimited.
(How do, you see here)
If a plugin supplied appears with this icon  it must necessarily be imported into Unlimited it must necessarily be imported into Unlimited

You can change Blend Modes according to your colors.
In the newest versions of PSP, you don't find the foreground/background gradient (Corel_06_029).
You can use the gradients of the older versions.
The Gradient of CorelX here
Copy the preset  in the folder of the plugin Alien Skin Eye Candy 5 Impact>Settings>Glass. in the folder of the plugin Alien Skin Eye Candy 5 Impact>Settings>Glass.
One or two clic on the file (it depends by your settings), automatically the preset will be copied in the right folder.
why one or two clic see here
Copy the Selections in the Selection Folder.
Copy the mask in the Masks Folder.
Open the second mask in PSP and minimize it with the rest of the material.
1. Set your foreground color to #431414,
and your background color to #d2681a.
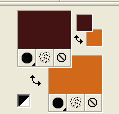
Set your foreground color to a Foreground/Background Gradient, style Linear.

Open a new transparent image 1000 x 700 pixels.
Flood Fill  the transparent image with your Gradient. the transparent image with your Gradient.
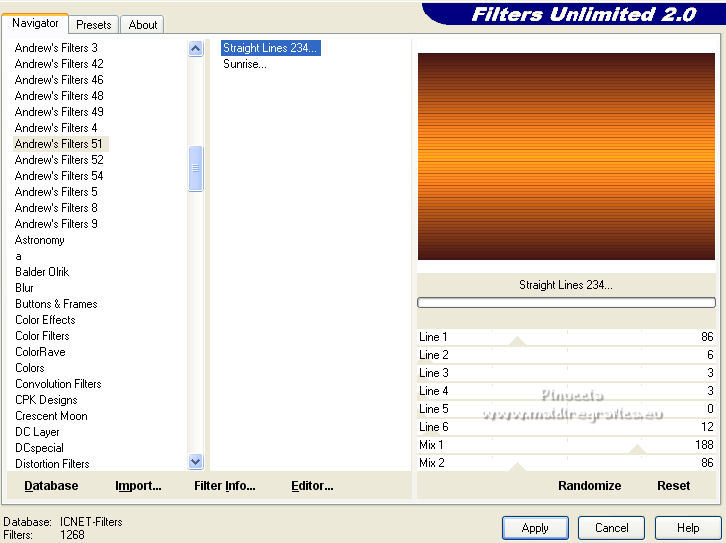
2. Effects>Plugins>Filters Unlimited 2.0 - Andrew's Filters 51 - Straight Lines 234, default settings.
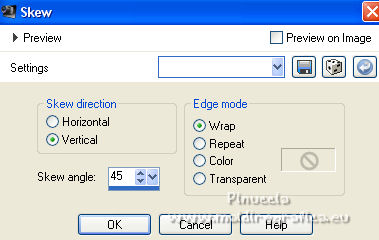
3. Effects>Geometric Effects>Skew.
4. Effects>Plugins>Simple - 4 Way Average
5. Effects>Plugins>Filters Unlimited 2.0 - &<Background Designers IV> - sf10 Slice N Dice.
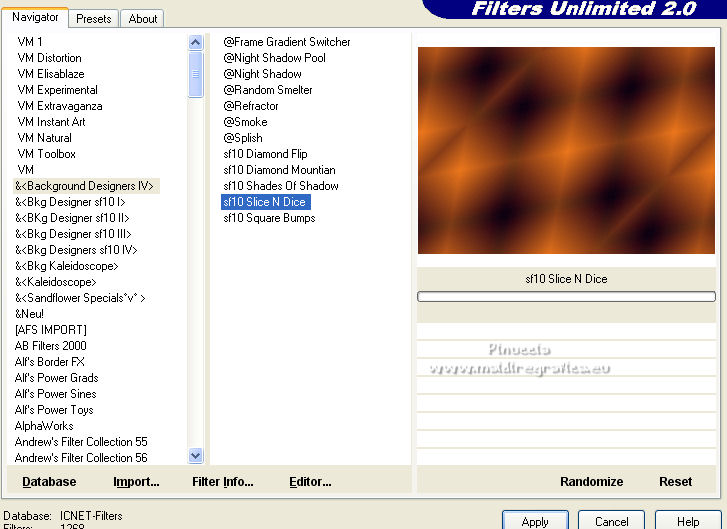
Repeat this Effect another time.
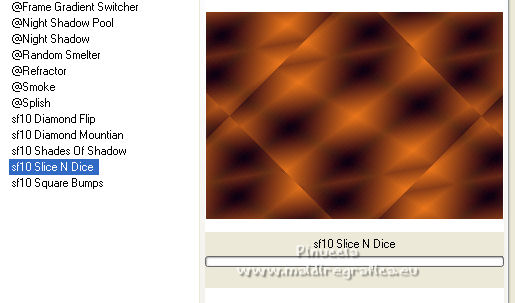
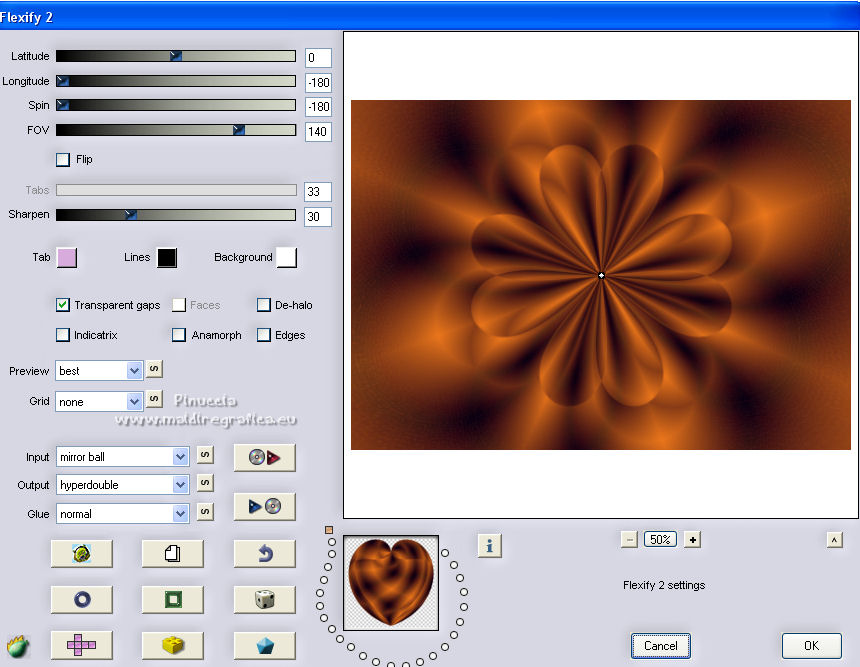
6. Effects>Plugins>Flaming Pear - Flexify 2
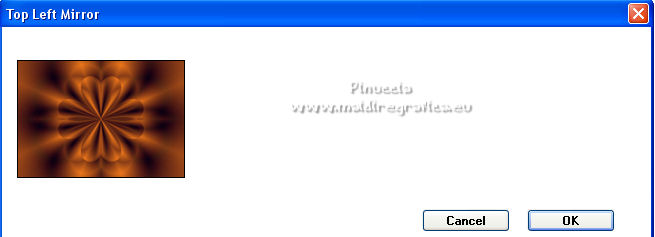
7. Effects>Plugins>Simple - Top Left Mirror
Adjust>Sharpness>Sharpen More.
8. Layers>New Raster Layer.
Flood Fill  the layer with your light background color. the layer with your light background color.
9. Layers>New Mask layer>From image
Open the menu under the source window and you'll see all the files open.
Select the mask cre@nnie-48.
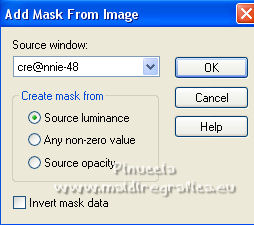
Layers>Merge>Merge Group.
10. Effects>Plugins>MuRa's Seamless - Emboss at Alpha, default settings
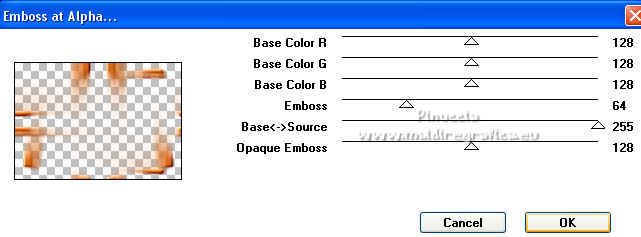
11. Effects>Plugins>Mehdi - Weaver.
12. Effects>Plugins>L&K's - L&K's Mayra, default settings
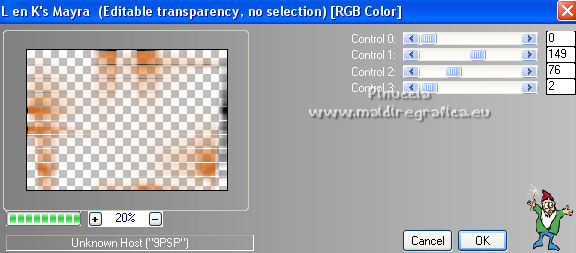
13. Image>Rotate Left.
Repeat Effects>Plugins>L&K's - L&K's Mayra, same settings.
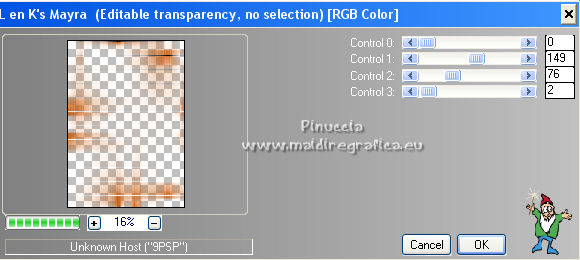
Image>Rotate Right.
14. Layers>Load/Save Mask>Load Mask from disk.
Look for and load the mask 20-20.
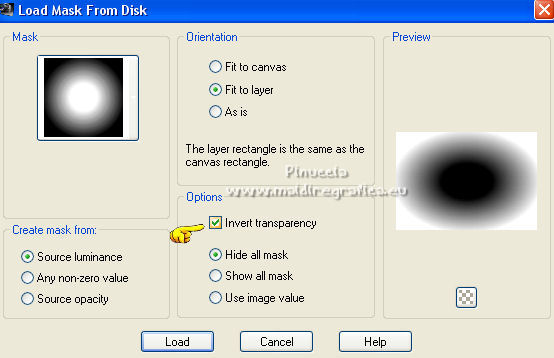
Layers>Merge>Merge Group.
Adjust>Sharpness>Sharpen More.
Change the Blend Mode of this layer to Lighten.
Layers>Duplicate.
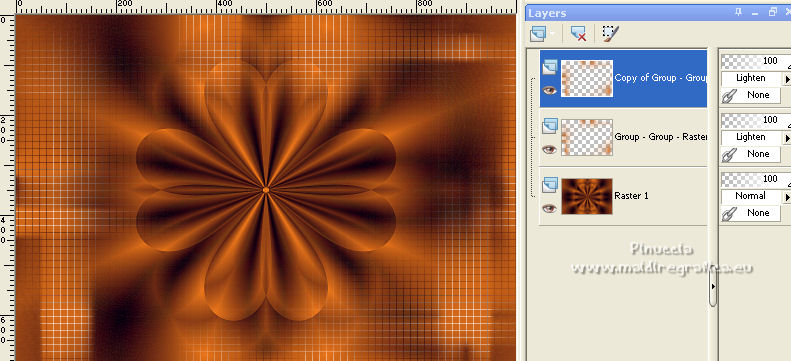
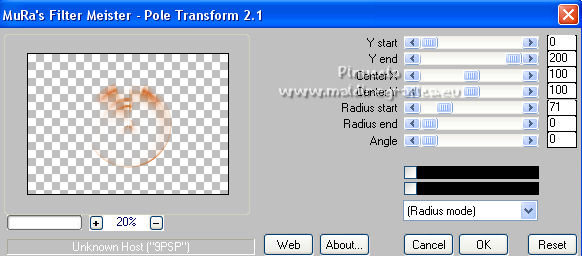
15. Effects>Plugins>MuRa's Meister - Pole Transform
16. Effects>Plugins>Simple - Top Left Mirror
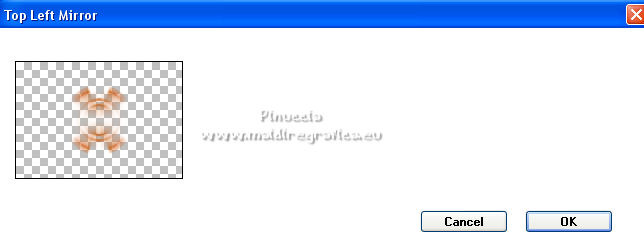
Adjust>Sharpness>Sharpen More.
Change the Blend Mode of this layer to Screen.
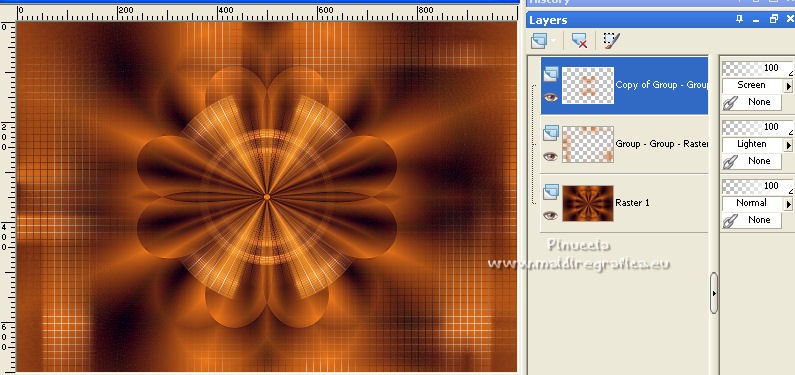
17. Open the misted and go to Edit>Copy.
Go back to your work and go to Edit>Paste as new layer.
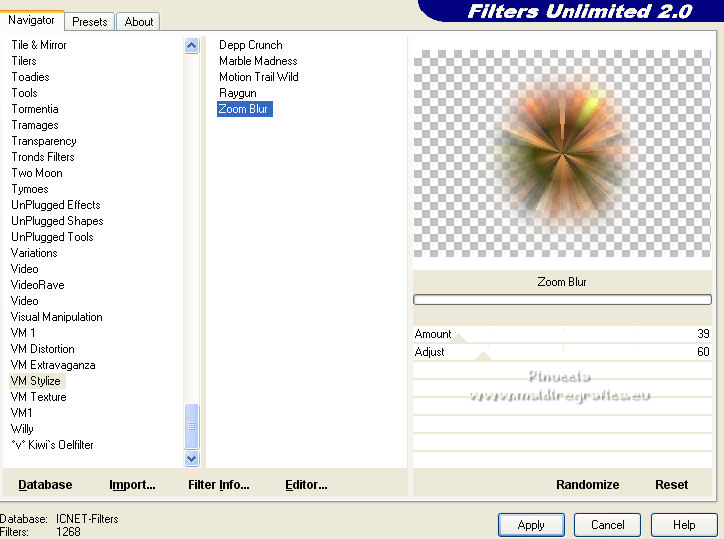
18. Effects>Plugins>Filters Unlimited 2.0 - VM Stylize - Zoom Blur, default settings
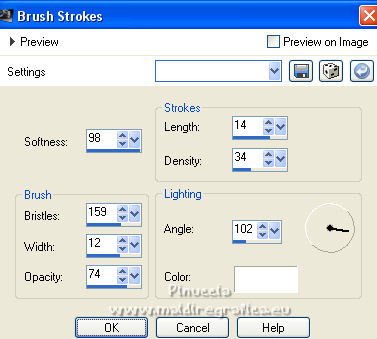
19. Effects>Art Media Effects>Brush Strokes.
20. Effects>Plugins>Simple - Half Wrap
21. Layers>Arrange>Move Down - 2 times.
Change the Blend Mode of this layer to Screen.
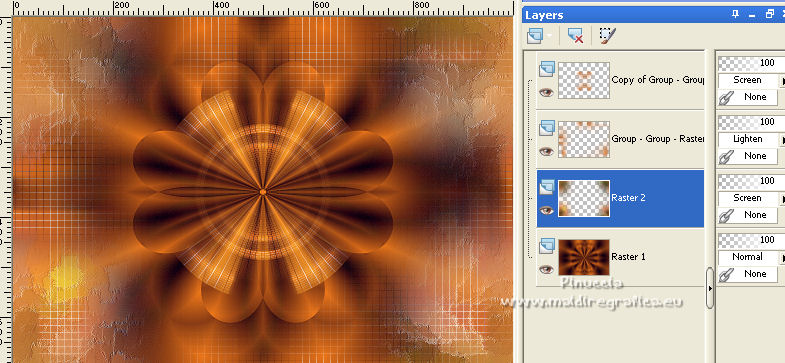
22. Activate the layer Raster 1.
Selections>Load/Save Selection>Load Selection from Disk.
Look for and load the selection mayra_mj.
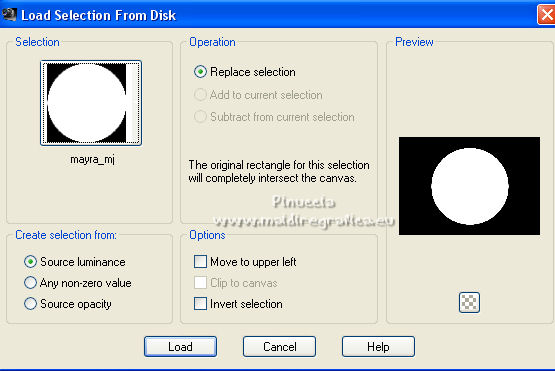
23. Selections>Promote Selection to Layer.
Layers>Arrange>Bring to Top.
Selections>Select None.
24. Image>Resize, to 30%, resize all layers not checked.
25. Selections>Load/Save Selection>Load Selection from Disk.
Look for and load the selection mayra_1_mj.
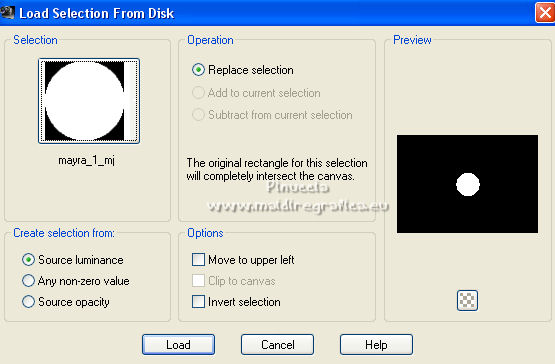
26. Effects>Plugins>Alien Skin Eye Candy 5 Impact - Glass
Select the preset glass_majo
Basic: Glass color - light background color.
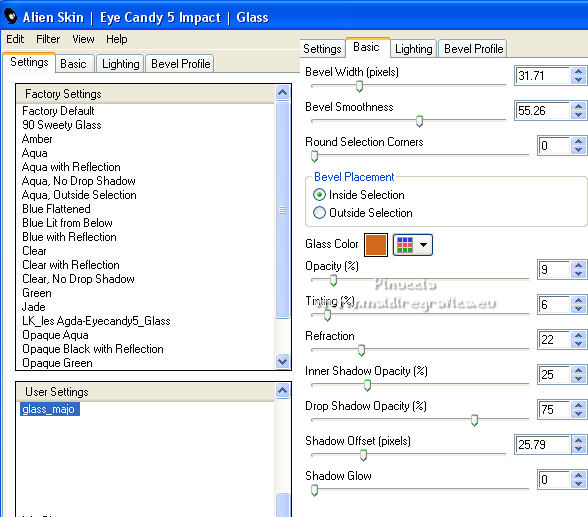
27. Effects>Plugins>Simple - Top Left Mirror
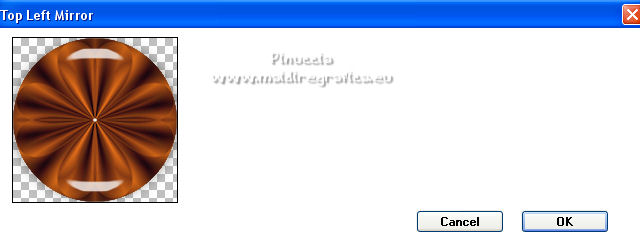
Selections>Select None.
Layers>Arrange>Move Down.
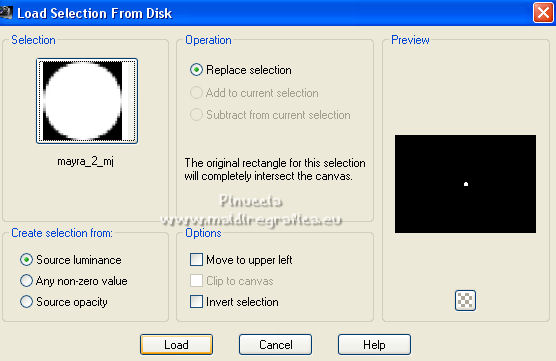
28. Selections>Load/Save Selection>Load Selection from Disk.
Look for and load the selection mayra_2_mj.
29. Layers>New Raster Layer.
Flood Fill  the layer with your Gradient. the layer with your Gradient.
30. Effects>Plugins>Alien Skin Eye Candy 5 Impact - Glass - preset glass_maio.
Layers>Arrange>Bring to Top.
Selections>Select None.
31. Open the tube decomayra and go to Edit>Copy.
Go back to your work and go to Edit>Paste as new layer.
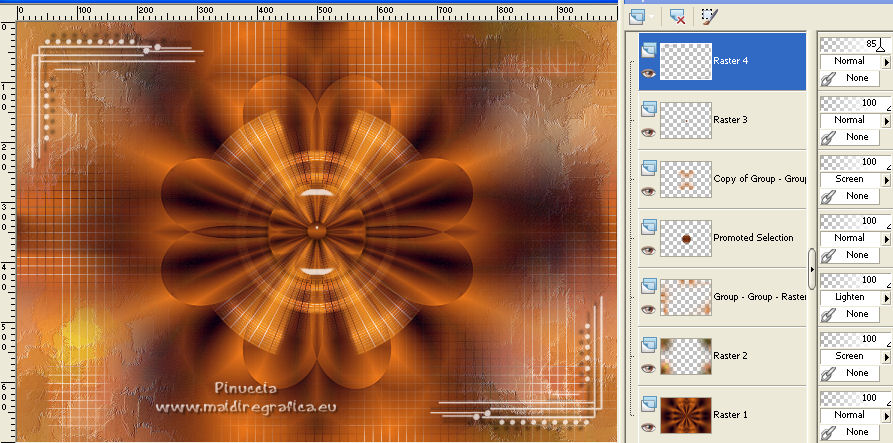
Reduce the opacity of this layer to 85%.
Your Tag and the layers - adapt according to your work.
32. Image>Add borders, 1 pixel, symmetric, dark color.
Image>Add borders, 1 pixel, symmetric, light color.
Image>Add borders, 1 pixel, symmetric, dark color.
33. Selections>Select All.
Edit>Copy.
Image>Add borders, 50 pixels, symmetric, color white.
34. Selections>Invert.
Edit>Paste into Selection.
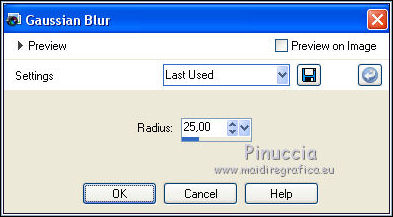
35. Adjust>Blur>Gaussian Blur - radius 25.
36. Selections>Invert.
Effects>3D Effects>Drop Shadow, color black.

Selections>Select None.
37. Open the tube deco borders and go to Edit>Copy.
Go back to your work and go to Edit>Paste as new layer.
38. Open the woman tube and go to Edit>Copy.
Go back to your work and go to Edit>Paste as new layer.
Image>Resize, to 95%, resize all layers not checked.
Move  the tube to the left side. the tube to the left side.
Effects>3D Effects>Drop Shadow, at your choice.
39. Open the deco tube déco and go to Edit>Copy.
Go back to your work and go to Edit>Paste as new layer.
Image>Resize, to 50%, resize all layers not checked.
Move  the tube to the right side. the tube to the right side.
Effects>3D Effects>Drop Shadow, at your choice.
40. Sign your work on a new layer.
41. Image>Add borders, 1 pixel, symmetric, dark color.
42. Image>Resize, 1000 pixels width, resize all layers checked.
Save as jpg.
For the tubes of this version thanks Luz Cristina
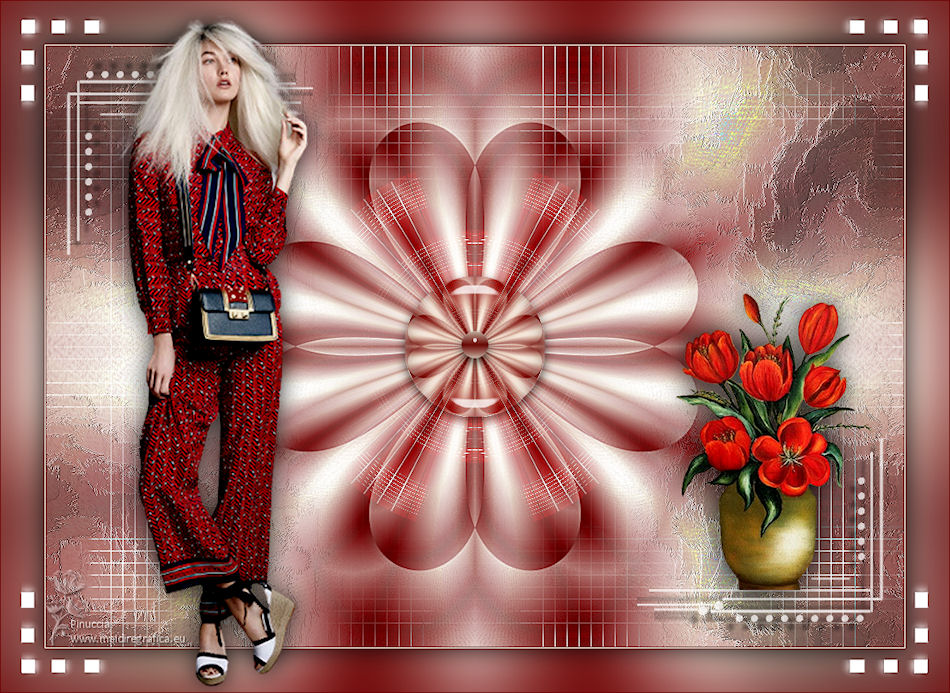
 Your versions here Your versions here

If you have problems or doubts, or you find a not worked link,
or only for tell me that you enjoyed this tutorial, write to me.
21 April 2022

|


