|
MILDRED

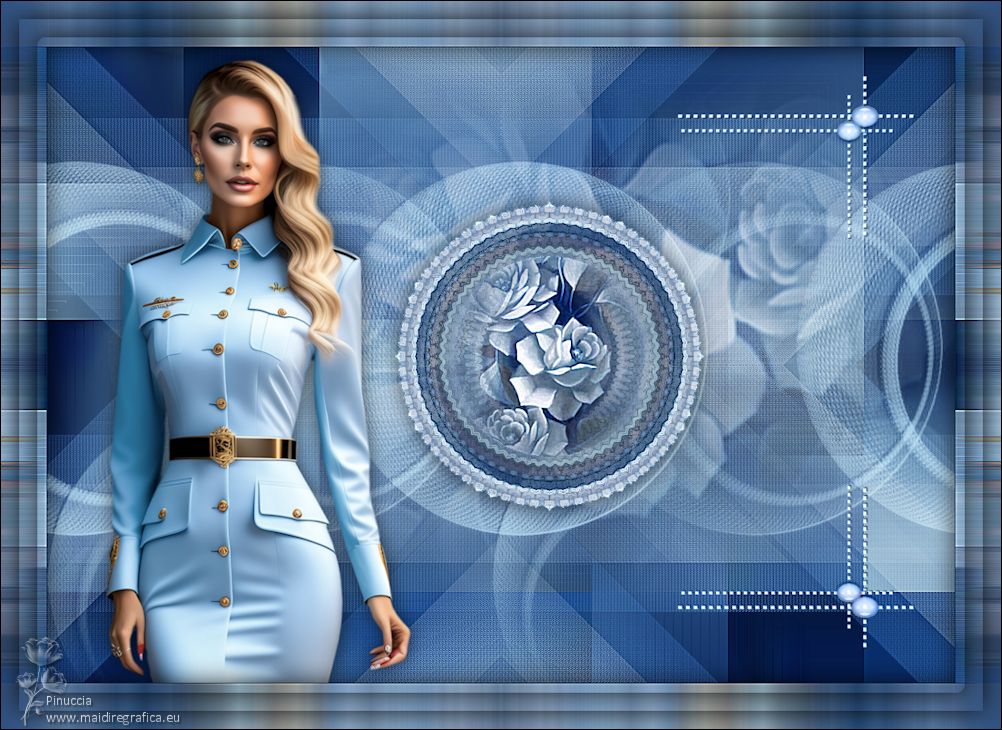
Thanks Maria José for your invitation to translate your tutorial

This tutorial has been translated with PSPX2 and PSPX3, but it can also be made using other versions of PSP.
Since version PSP X4, Image>Mirror was replaced with Image>Flip Horizontal,
and Image>Flip with Image>Flip Vertical, there are some variables.
In versions X5 and X6, the functions have been improved by making available the Objects menu.
In the latest version X7 command Image>Mirror and Image>Flip returned, but with new differences.
See my schedule here
 French translation here French translation here
 your versions ici your versions ici
For this tutorial, you will need:

Image de Pinterest.
(you find here the links to the material authors' sites)

consult, if necessary, my filter section here
Filters Unlimited 2.0 here
&<Bkg Designer Kaleidoscope> - xTile Maker 1.0 (à importer dans Unlimited) here
AP 01 Innovations - Distort-Shift Mesh here
Mehdi - Sorting Tiles here
Mehdi - Kaleidoscope 2.1 here
VM Natural - Cross Weave here
VM Distortion - Kaleidoscope here
Toadies - What are you here
Simple - Top Left Mirror here
Balder Olrik - Select Sharp here
Filters VM Natural, VM Distortion, Toadies, Simple and Balder Olrik can be used alone or imported into Filters Unlimited.
(How do, you see here)
If a plugin supplied appears with this icon  it must necessarily be imported into Unlimited it must necessarily be imported into Unlimited

You can change Blend Modes according to your colors.
In the newest versions of PSP, you don't find the foreground/background gradient (Corel_06_029).
You can use the gradients of the older versions.
The Gradient of CorelX here

Copy the preset Emboss 3 in the Presets Folder.
Open the mask in PSP and minimize it with the rest of the material.
Set your foreground color to #88acc4,
and your background color to #0c397d.

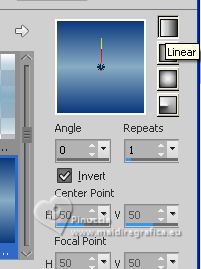
Set your foreground color to a Foreground/Background Gradient, style Linear.
Note: The result of the central drawing (circle) will depend on the graphic chosen.
1. Open a new transparent image 1000 x 700 pixels.
Flood Fill  the transparent image with your Gradient. the transparent image with your Gradient.
2. Layers>New Raster Layer.
Selections>Select All.
Open the image mistedblueMJ 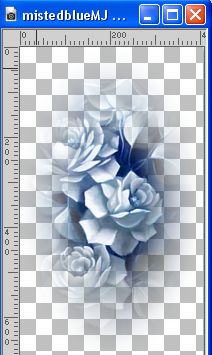
Edit>Copy.
Go back to your work and go to Edit>Paste into Selection.
Selections>Select None.
3.Effects>Image Effects>Seamless Tiling.

4. Adjust>Blur>Gaussian blur - radius 15.

Change the Blend Mode of this layer to Multiply.
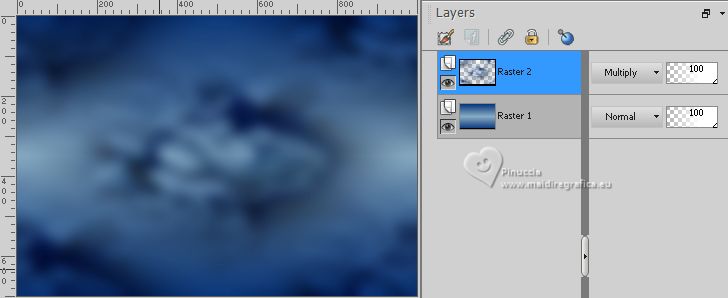
Layers>Merge>Merge Down.
5. Effects>Plugins>AP 01 [Innovations] - Distort-Shift Mesh
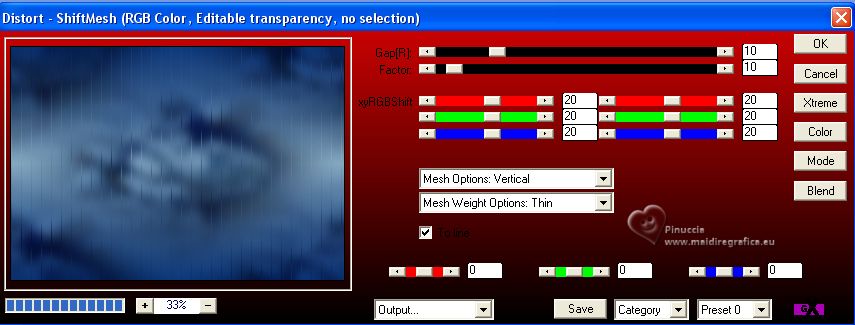
6. Effects>Plugins>Mehdi - Sorting Tiles.
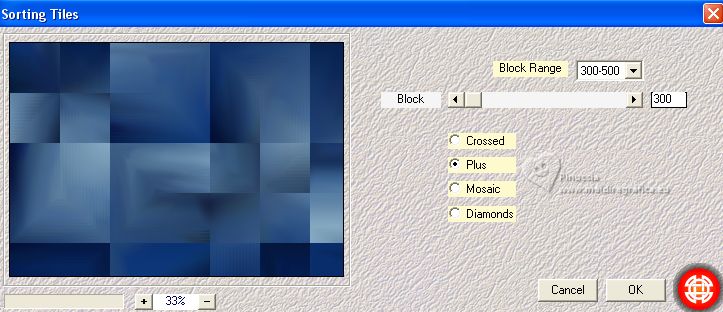
7. Adjust>Sharpness>Sharpen More.
Layers>Duplicate.
8. Effects>Plugins>VM Natural - Cross Weave.
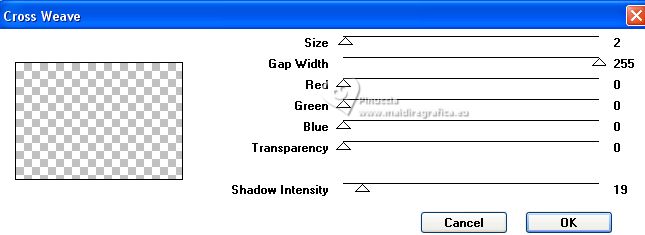
Change the Blend Mode of this layer to Overlay.
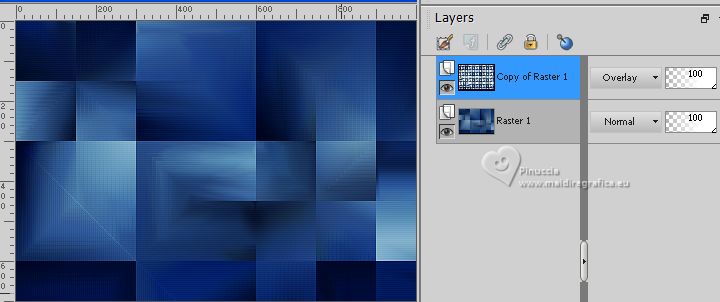
9. Image>Resize, to 70%, resize all layers not checked.
10. Effects>Plugins>Toadies - What are you, default settings.
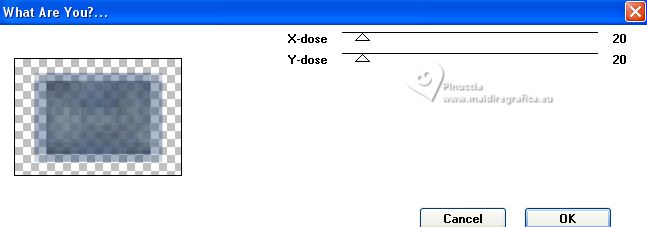
11. Effects>Image Effects>Seamless Tiling.

12. Effects>Geometric Effects>Skew.
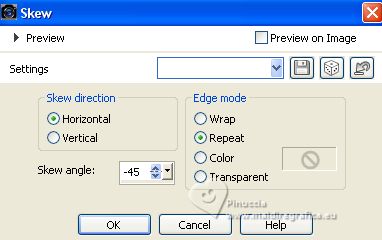
13. Effects>Plugins>Simple - Top Left Mirror.
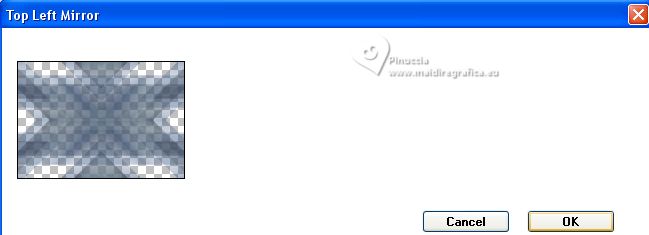
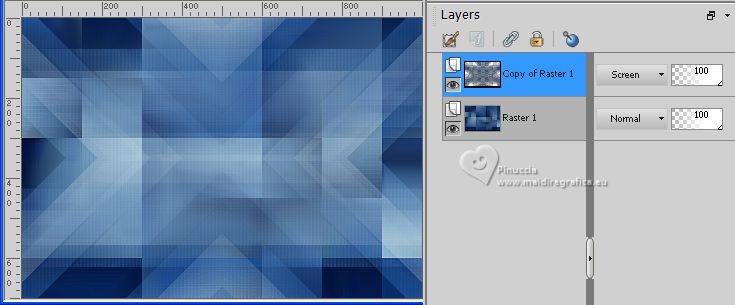
14. Adjust>Sharpness>Sharpen More.
Effects>3D Effects>Drop Shadow, color black.

Change the Blend Mode of this layer to Screen.
15. Layers>New Raster Layer.
Set your foreground color to Color.
Flood Fill  the layer with your light foreground color. the layer with your light foreground color.
16. Layers>New Mask layer>From image
Open the menu under the source window and you'll see all the files open.
Select the mask maskNarah-MJ
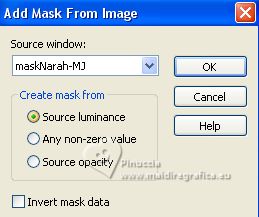
17. Effects>User Defined Filter - select the preset Emboss 3 and ok.

Layers>Merge>Merge Group.
Change the Blend Mode of this layer to Screen.
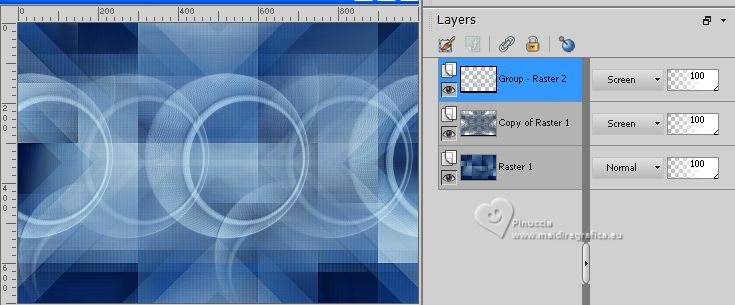
18. Layers>New Raster Layer.
Selections>Select All.
19. Open the jpg image graficoblue 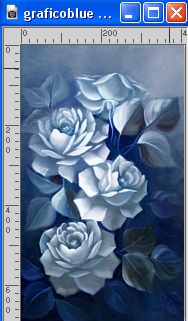
Edit>Copy
Go back to your work and go to Edit>Paste into Selection.
Selections>Select None.
20. Effects>Image Effects>Seamless Tiling.

Image>Resize, to 70%, resize all layers not checked.
21. Effects>Plugins>Mehdi - Kaleidoscope 2.1.
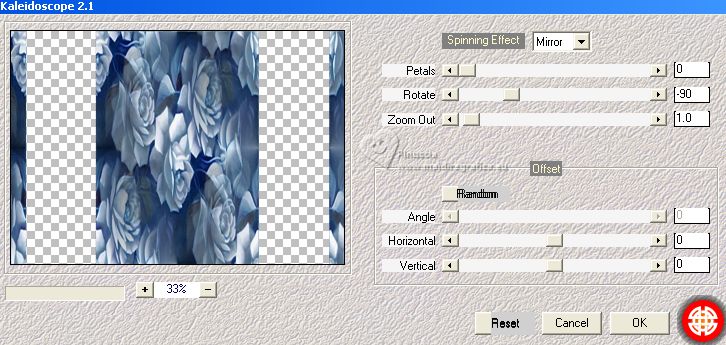
22. Effects>Plugins>VM Distortion - Kaleidoscope.
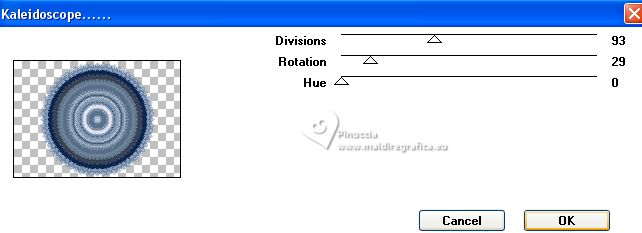
Image>Resize, to 50%, resize all layers not checked.
23. Adjust>Sharpness>Sharpen More.
24. Effects>Edge Effects>Dilate.
25. Effects>Plugins>Filters Unlimited 2.0 - Balder Olrik - Select Sharp
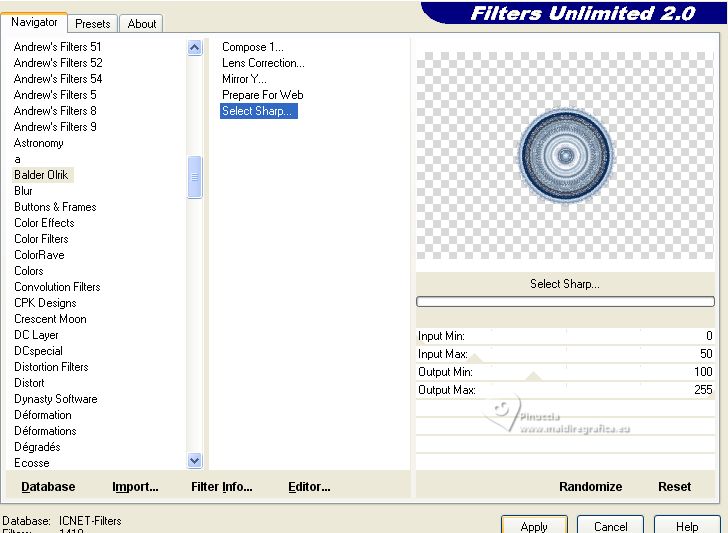
26. Activate your Magic Wand Tool  , tolerance and feather 0, , tolerance and feather 0,
and click in the layer to select it.
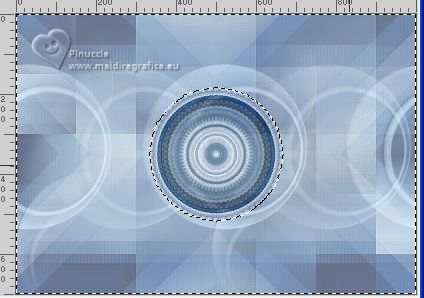
27. Press CANC on the keyboard.
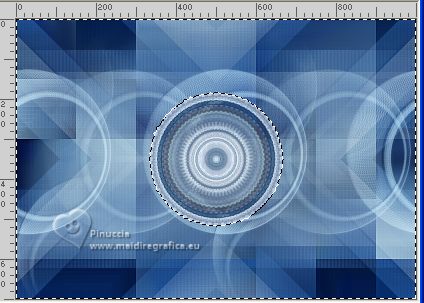
Selections>Invert.
Effects>3D Effects>Drop Shadow, color black.

28. Selections>Modify>Contract - 55 pixels.
29. Activate again the misted mistedblueMJ 
Edit>Copy.
Go back to your work and go to Edit>Paste as new layer.
Image>Resize, to 60%, resize all layers not checked.
Selections>Invert.
Press CANC on the keyboard 
30. Selections>Invert.
Adjust>Sharpness>Sharpen More.
Layers>Merge>Merge Down.
Selections>Select None.
31. K key to activate your Pick Tool 
and set Position X: 365,00 and Position Y: 152,00
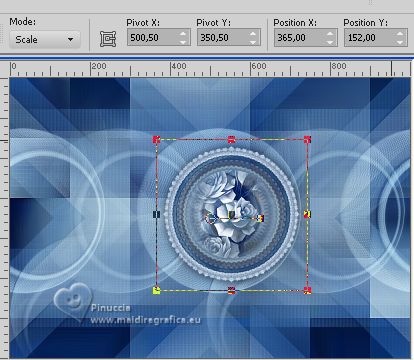
M key to deselect the Tool.
32. Layers>New Raster Layer.
Layers>Arrange>Move Down - 3 times.
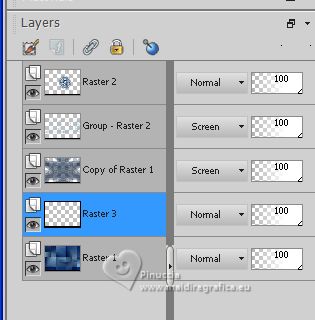
Selections>Select All.
33. Activate again the jpg image mistedblueMJ 
Image>Free rotate, 90 degrees to right, rotate all layers checked.
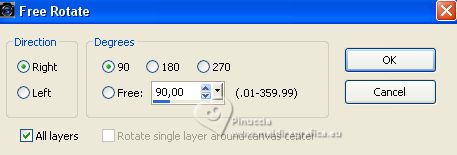
Image>Mirror.
Edit>Copy.
Go back to your work and go to Edit>Paste into Selection.
Selections>Select None.
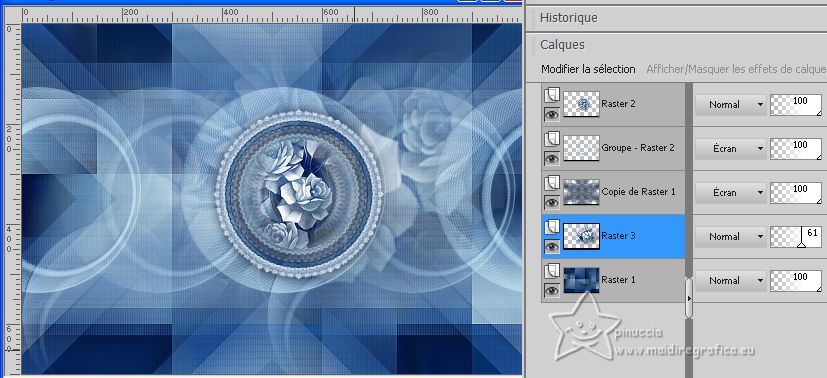
34. K key to activate your Pick Tool 
and set Position X: 120,00 and Position Y: -25,00

M key to deselect the Tool.
Reduce the opacity of this layer to +/-61%.
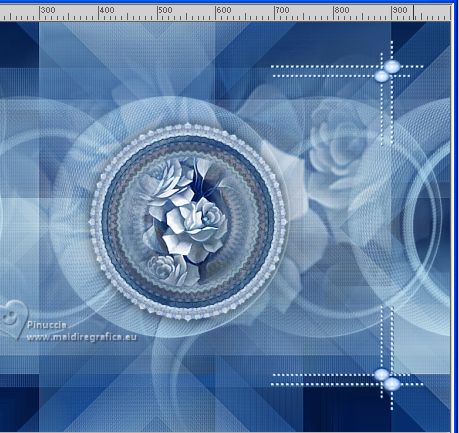
35. Open the tube deco-final 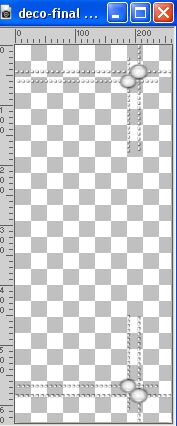
Edit>Copy.
Go back to your work and go to Edit>Paste as new layer.
Layers>Arrange>Bring to Top.
Change the Blend Mode of this layer to Luminance (legacy).
Move  the tube to the right side. the tube to the right side.
Position X: 695,00 et Position Y: 32,00

36. Open the woman's tube tube-MJ 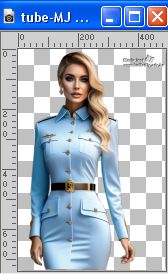
Erase the watermark and go to Edit>Copy.
Go back to your work and go to Edit>Paste as new layer.
Image>Resize, to 95%, resize all layers not checked.
Move  the tube to the left. the tube to the left.
Effects>3D Effects>Drop Shadow, at your choice.
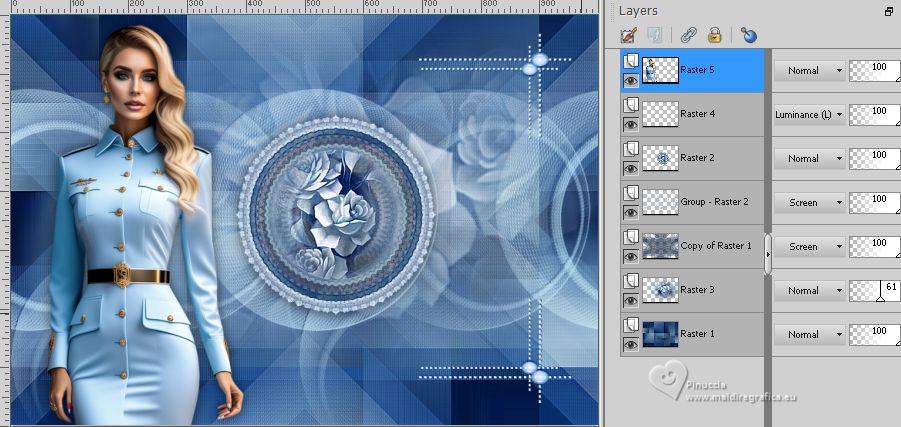
Your tag and the layers - adapt Blend Mode and opacity according to your work.
37. Image>Add borders, 1 pixel, symmetric, dark color.
38. Selections>Select All.
Edit>Copy
Image>Add borders, 50 pixels, symmetric, color white.
39. Selections>Invert.
Edit>Paste into Selection.
40. Adjust>Blur>Gaussian blur - radius 30,00.

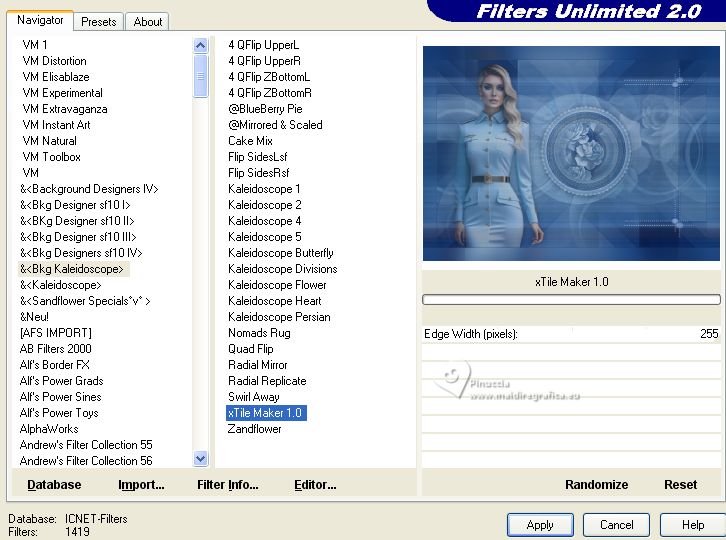
41. Effects>Plugins>Filters Unlimited 2.0 - &<Bkg Designs Kaleidoscope> - xTile Maker 1.0.
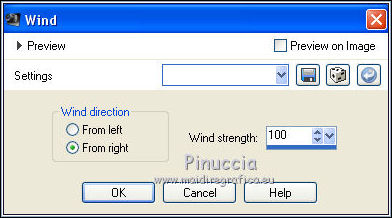
42. Effects>Distortion Effects>Wind - from right, strength 100
43. Adjust>Sharpness>Sharpen More.
44. Effects>Plugins>Simple - Top Left Mirror.
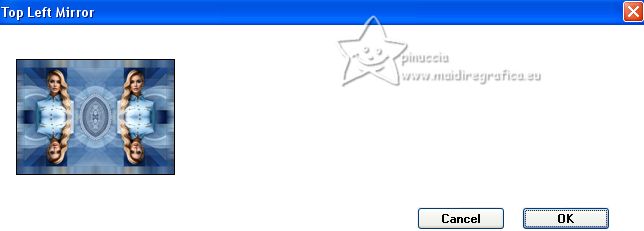
Effects>3D Effects>Drop Shadow, color black.

45. Selections>Invert.
Selections>Modify>Expand - 10 pixels.
Repeat Effects>3D Effects>Drop Shadow, same settings.
46. Selections>Select All.
Selections>Modify>Contract - 20 pixels.
Repeat Effects>3D Effects>Drop Shadow, same settings.
Selections>Select None.
47. Sign your work on a new layer.
Image>Add borders, 1 pixels, symmetric, color black.
48. Image>Resize, 1000 pixels width, resize all layers checked.
Save as jpg.
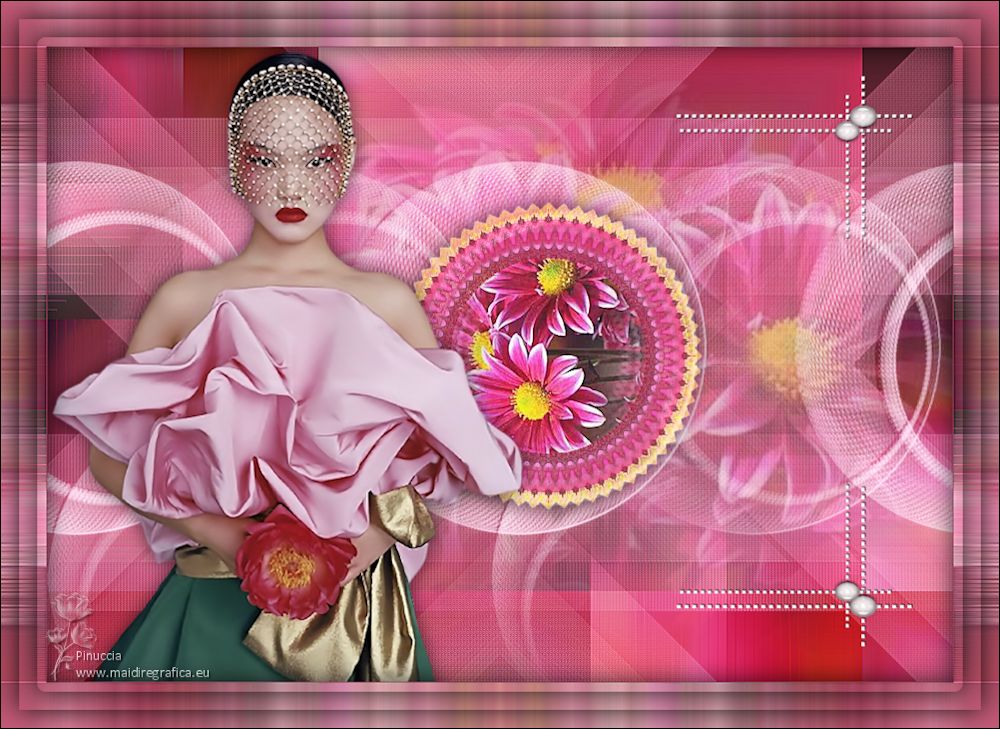
For the tube of this version thanks Suizabella

If you have problems or doubts, or you find a not worked link,
or only for tell me that you enjoyed this tutorial, write to me.
6 June 2023

|


