|
NAYELY

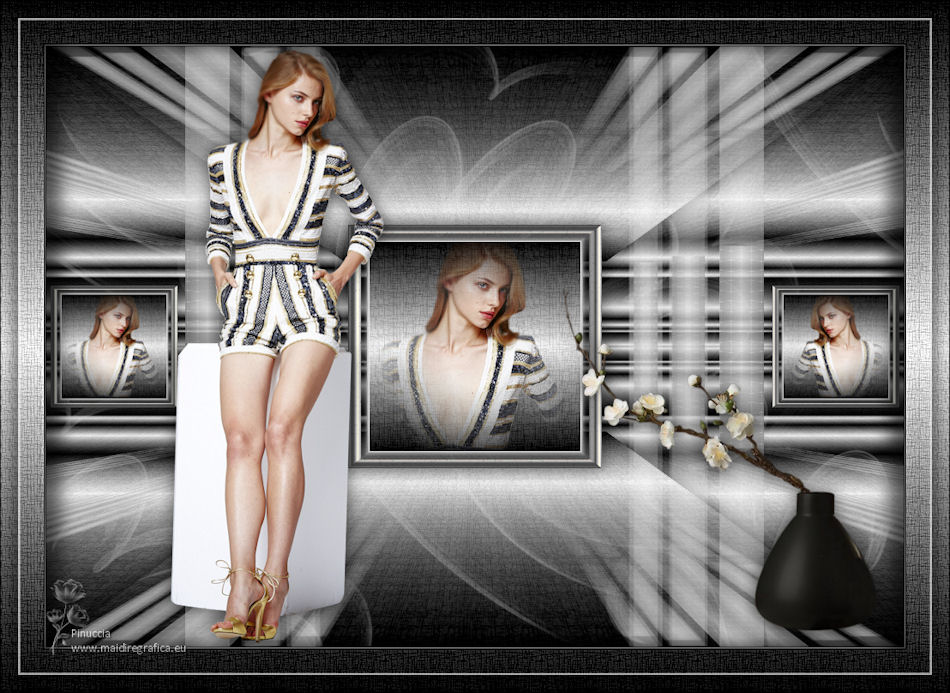
Thanks Maria José for your invitation to translate your tutorial

This tutorial has been translated with PSPX2 and PSPX3, but it can also be made using other versions of PSP.
Since version PSP X4, Image>Mirror was replaced with Image>Flip Horizontal,
and Image>Flip with Image>Flip Vertical, there are some variables.
In versions X5 and X6, the functions have been improved by making available the Objects menu.
In the latest version X7 command Image>Mirror and Image>Flip returned, but with new differences.
See my schedule here
 French translation here French translation here
 your versions ici your versions ici
For this tutorial, you will need:
Material here
Thanks for the vase Beatriz and for the mask Tine.
The rest of the material is by Maria José.
(you find here the links to the material authors' sites)
Plugins
consult, if necessary, my filter section here
Filters Unlimited 2.0 here
Filter Factory Gallery C - Versa-Tile here
Mura's Meister - Perspective Tiling here
Filters Factory Gallery can be used alone or imported into Filters Unlimited.
(How do, you see here)
If a plugin supplied appears with this icon  it must necessarily be imported into Unlimited it must necessarily be imported into Unlimited

You can change Blend Modes according to your colors.
In the newest versions of PSP, you don't find the foreground/background gradient (Corel_06_029).
You can use the gradients of the older versions.
The Gradient of CorelX here
Copy the Selections in the Selection Folder.
Copy the Presets in the Presets Folder.
Copy the mask 20-20 in the Masks Folder.
Open the mask by Tine in PSP and minimize it with the rest of the material.
1. Set your foreground color to #000000,
and your background color to #eeeeee.
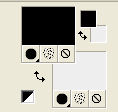
Set your foreground color to a Foreground/Background Gradient, style Linear.
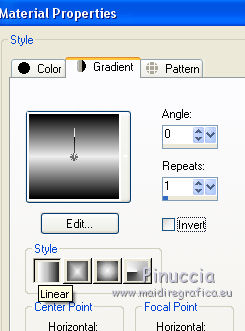
Open a new transparent image 1000 x 700 pixels.
Flood Fill  the transparent image with your Gradient. the transparent image with your Gradient.
2. Effects>Plugins>Filter Factory Gallery C - Versa-Tile, default settings.
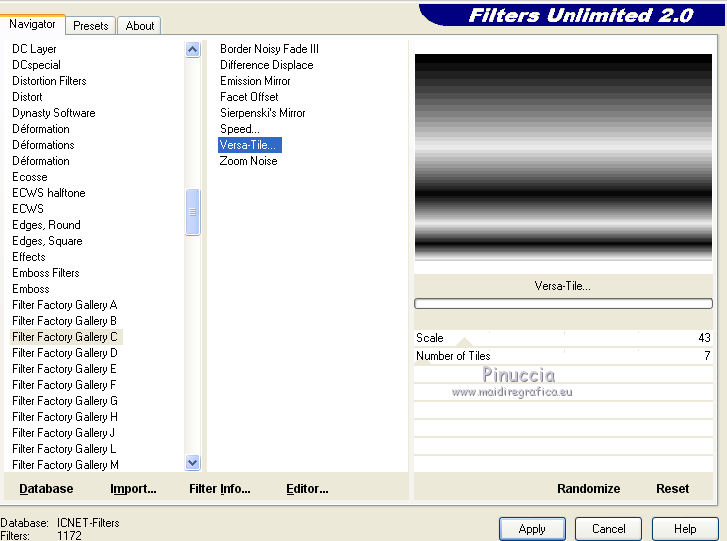
3. Effects>Plugins>Filters Unlimited 2.0 - Paper Textures - Papyrus, default settings
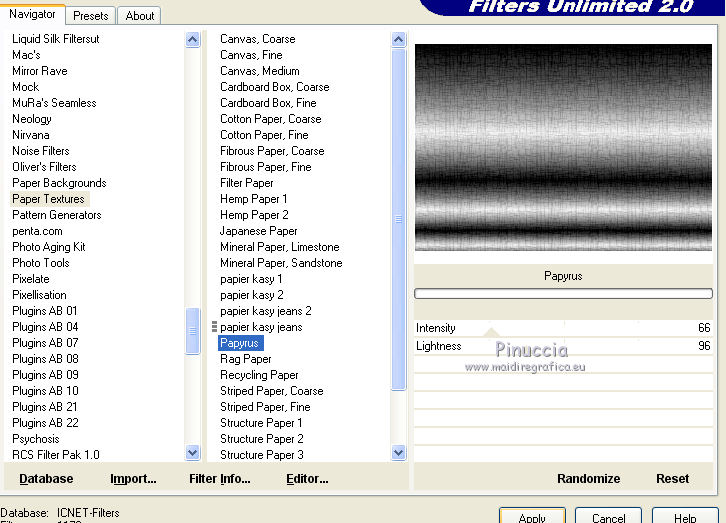
Image>Flip.
4. Effects>Plugins>Mura's Meister - Perspective Tiling.
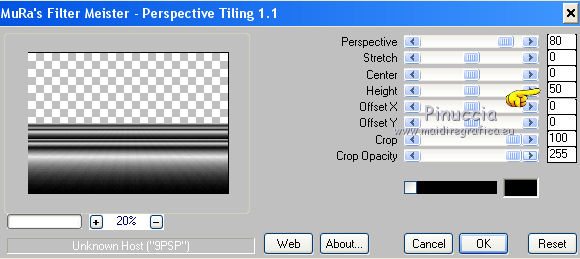
5. Layers>Duplicate.
Image>Flip.
Layers>Merge>Merge visible.
6. Layer>New Raster Layer.
Flood Fill  the layer with your Gradient. the layer with your Gradient.
7. Effects>Plugins>Filters Unlimited 2.0 - Paper Textures - Papyrus, default settings
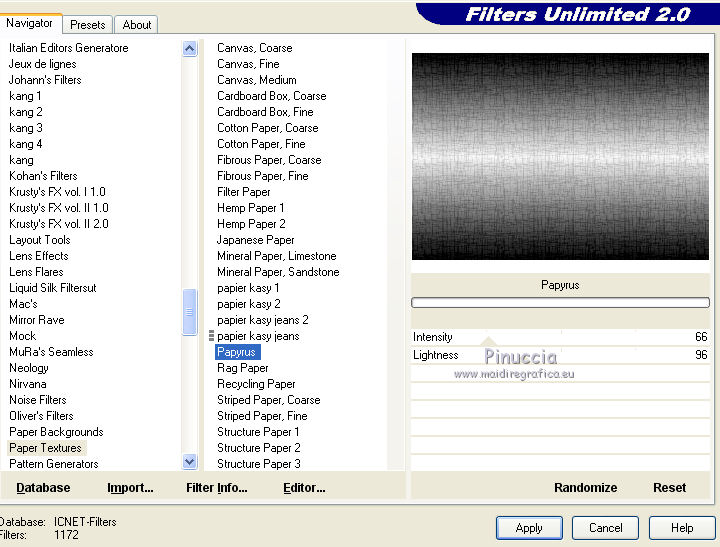
8. Effets>Effets géométriques>Perspective Verticale.
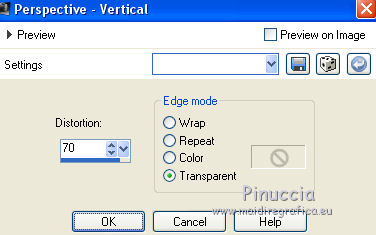
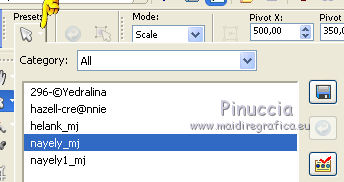
9. Activate your Pick Tool 
open the presets menu and select the preset nayely_mj
Result
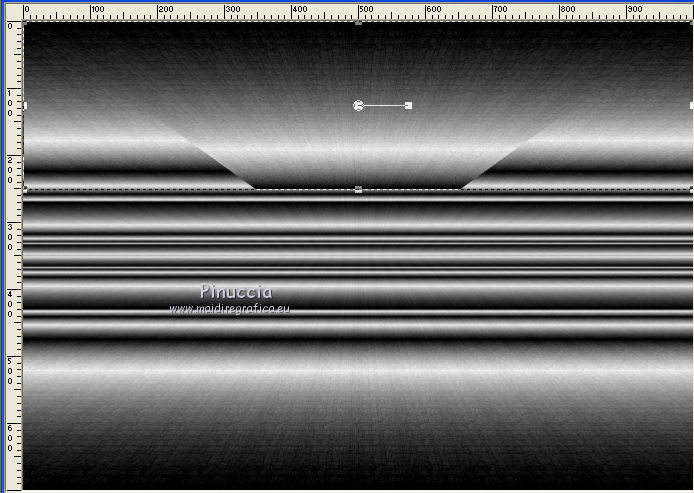
M key to deselect the tool.
****
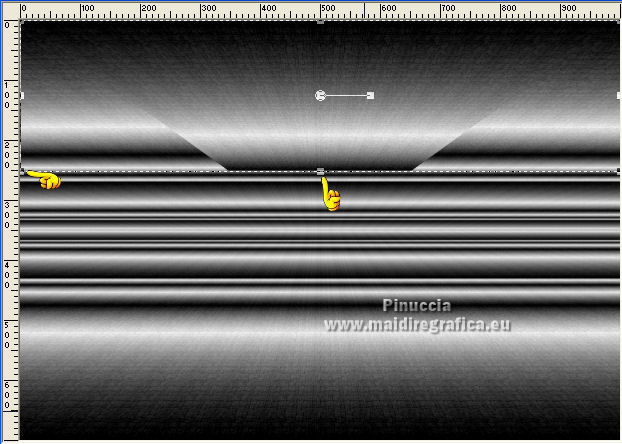
The preset doesn't work with the older versions of PSP, such as PSP9.
If you are working with PSP 9,
activate your Deformation Tool (D key on the keyboard) 
in Scale mode push the lower central node up,
until 250 pixels.
*****
10. Layers>Duplicate.
Image>Flip.
Layers>Merge>Merge Down.
Effects>3D Effects>Drop Shadow, color black.

11. Open the tube barras_mj and go to Edit>Copy.
Go back to your work and go to Edit>Paste as new layer.
Change the Blend Mode of this layer to Luminance (legacy) and reduce the opacity to 80%.
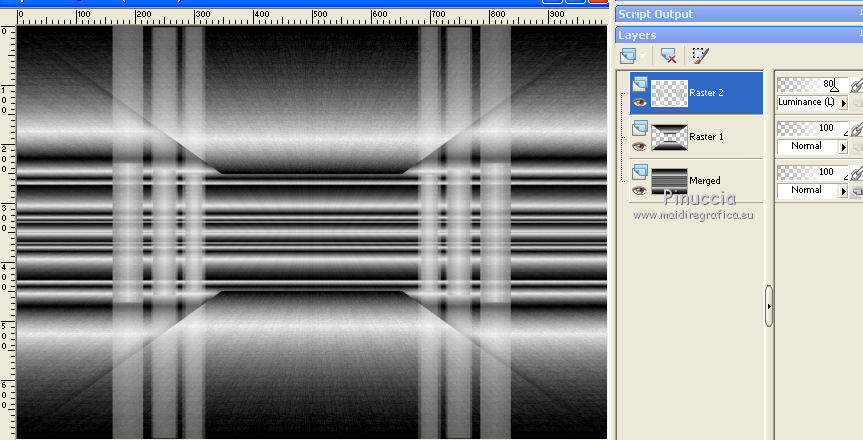
Layers>Duplicate.
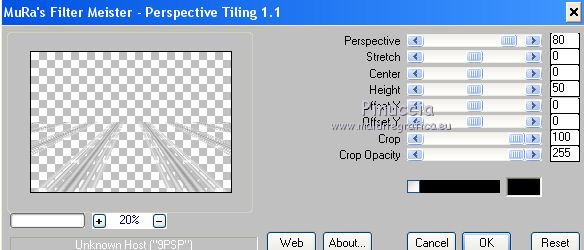
12. Effects>Plugins>Mura's Meister - Perspective Tiling, same settings.
13. Activate your Pick Tool 
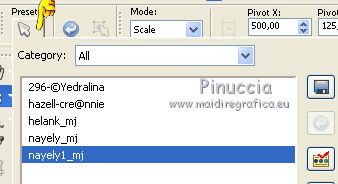
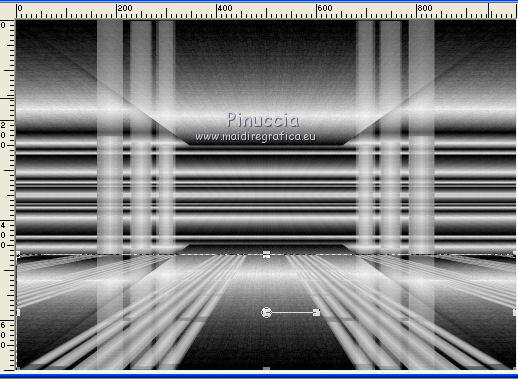
open the presets menu and select the preset nayely1_mj
Result
****
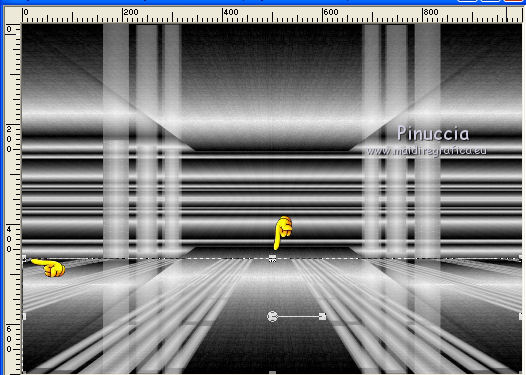
If you are working with PSP 9,
activate your Deformation Tool (D key on the keyboard) 
in Scale mode push the upper central node down, until 470 pixels.
*****
M key to deselect the tool.
14. Selections>Load/Save Selection>Load Selection from Disk.
Look for and load the selection nayely_1.
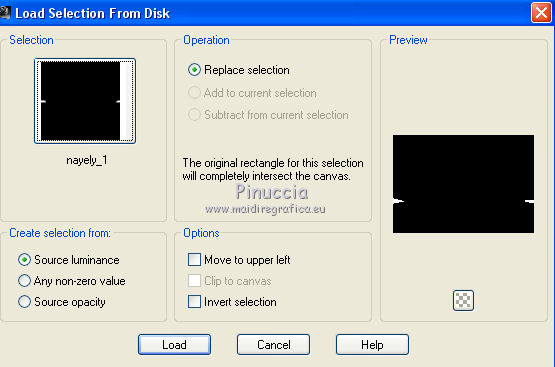
Press CANC on the keyboard 
Selections>Select None.
15. Layers>Duplicate.
Image>Flip.
Layers>Merge>Merge Down.
16. Layers>Load/Save Mask>Load Mask from Disk.
Look for and load the mask 20-20.
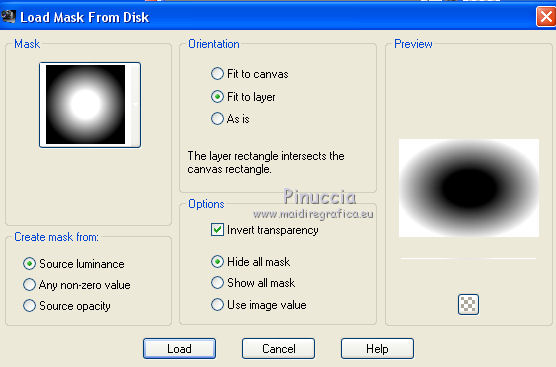
Layers>Duplicate.
Layers>Merge>Merge Group.
Layers>Arrange>Move Down.
Reduce the opacity of this layer to 80%.
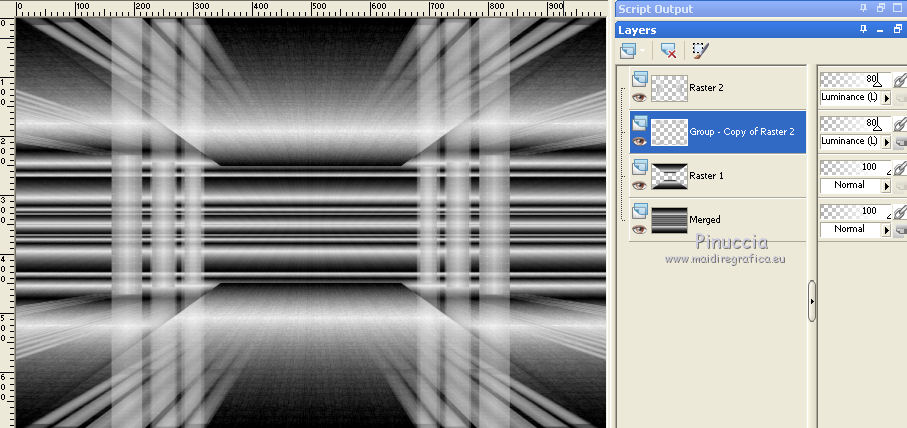
17. Activate the top layer.
Open the tube cadrenayely_mj and go to Edit>Copy.
Go back to your work and go to Edit>Paste as new layer.
Don't move it.
18. Selections>Load/Save Selection>Load Selection from Disk.
Look for and load the selection nayely.
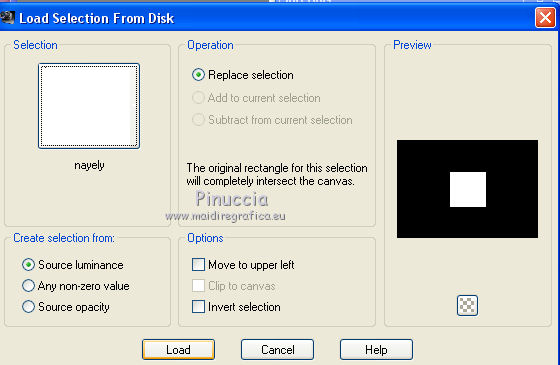
19. Layer>New Raster Layer.
Flood Fill  the layer with your Gradient. the layer with your Gradient.
20. Effects>Plugins>Filters Unlimited 2.0 - Paper Textures - Papyrus, default settings

Layers>Arrange>Move Down.
21. Open the misted or the tube and go to Edit>Copy.
Go back to your work and go to Edit>Paste as new layer.
Place  the tube to your liking. the tube to your liking.
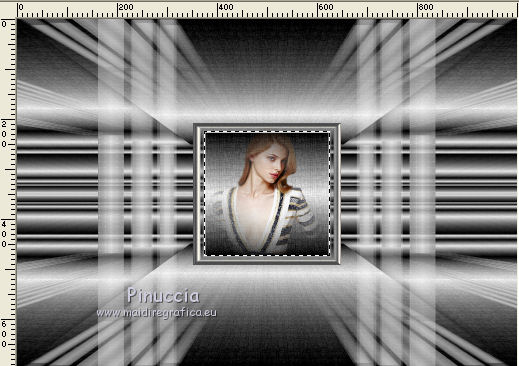
Selections>Invert.
Press CANC on the keyboard.
Selections>Select None.
22. Activate the top layer of the frame.
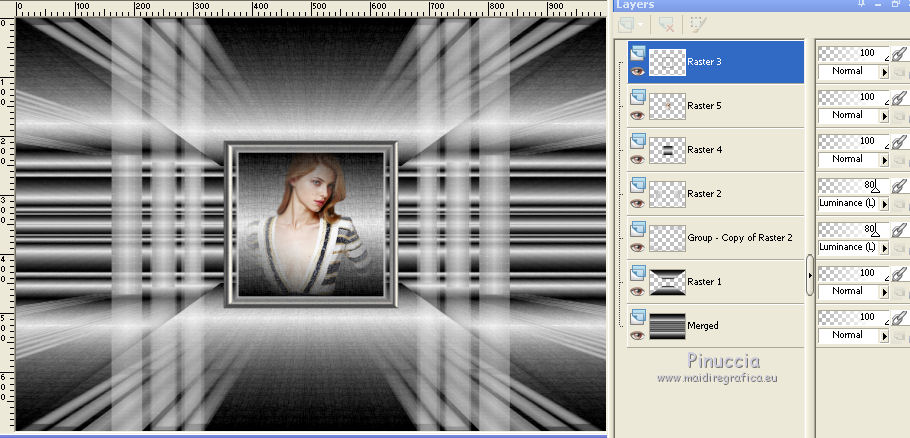
Layers>Merge>Merge Down - 2 times.
23. Layers>Duplicate.
Image>Resize, to 50%, resize all layers not checked.
24. Move  the frame to the left side. the frame to the left side.
For me: Position X: 5,00

Layers>Duplicate.
Image>Mirror.
Layers>Merge>Merge Down - 2 times.
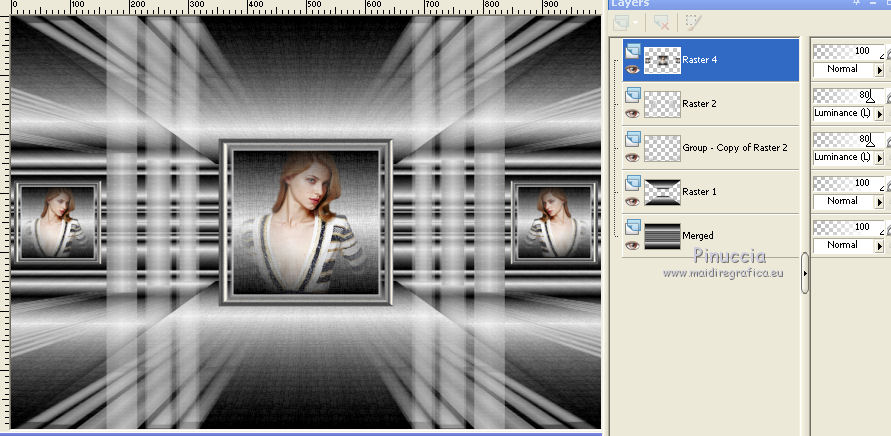
Effects>3D Effects>Drop Shadow, color black.

25. Layer>New Raster Layer.
Reduce the opacity of your Flood Fill Tool to 70%.
Flood Fill  the layer with your light color. the layer with your light color.
26. Layers>New Mask layer>From image
Open the menu under the source window and you'll see all the files open.
Select the mask creation.tine_masque202.
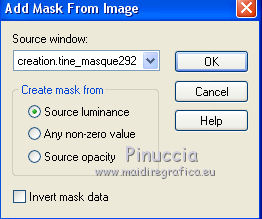
Layers>Merge>Merge Group.
Change the Blend Mode of this layer to Luminance (legacy) and reduce the opacity +/-50%.
27. Layers>Arrange>Move Down - 3 times
You should have this - adapt Blend Modes and opacities to your liking.
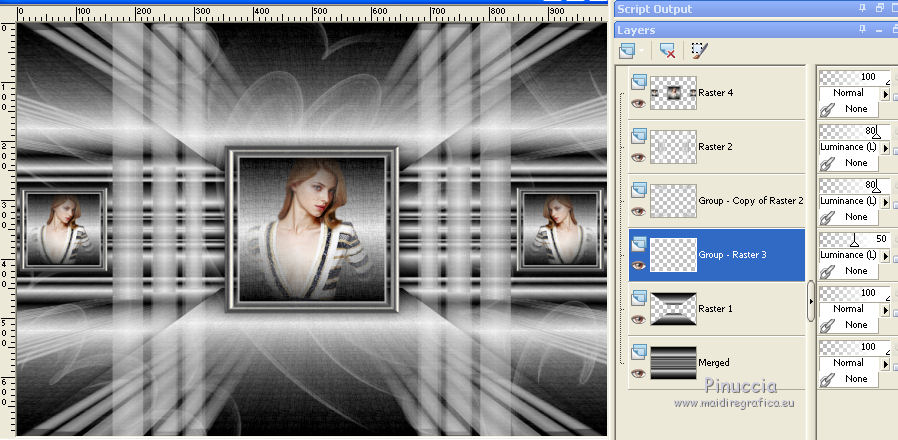
28. Activate your top layer.
Open the woman tube and go to Edit>Copy.
Go back to your work and go to Edit>Paste as new layer.
Image>Resize, to 88%, resize all layers not checked.
Move  the tube to the left side. the tube to the left side.
Effects>3D Effects>Drop Shadow, at your choice.
29. Open the deco tube and go to Edit>Copy.
Go back to your work and go to Edit>Paste as new layer.
Image>Resize, to 65%, resize all layers not checked.
Move  le tube à droite. le tube à droite.
Effects>3D Effects>Drop Shadow, to your liking.
30. Image>Add borders, 1 pixel, symmetric, dark color.
Image>Add borders, 1 pixel, symmetric, light color.
Image>Add borders, 1 pixel, symmetric, dark color.
31. Selections>Select All.
Image>Add borders, 50 pixels, symmetric, color white.
32. Selections>Invert.
Set again the opacity of your Flood Fill Tool to 100
Flood Fill  the selection with your Gradient. the selection with your Gradient.
33. Effects>Plugins>Filters Unlimited 2.0 - Paper Texture - Papyrus, default settings.
34. Adjust>Sharpness>Sharpen More.
35. Effects>3D Effects>Drop Shadow, color black.
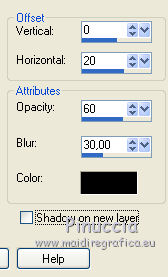
Repeat Drop Shadow, vertical and horizontal 0/-20.
Selections>Select None.
36. Selections>Select All.
Selections>Modify>Contrac - 20 pixels.
37. Selections>Modify>Select Selection Borders.
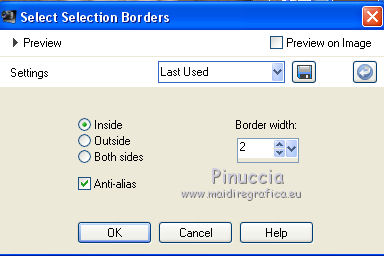
Reduce the opacity of your Flood Fill Tool to 70.
Flood Fill  the selection with your light color. the selection with your light color.
Selections>Select None.
Don't forget to set again the opacity of you Flood fill Tool to 100.
38. Selections>Select All.
Selections>Modify>Contract - 20 pixels.
Effects>3D Effects>Drop Shadow, color black.

Selections>Select None.
39. Sign your work on a new layer.
Image>Add borders, 1 pixel, symmetric, color black.
40. Image>Resize, 1000 pixels width, resize all layers checked.
Save as jpg.
Version avec tube de Luz Cristina et Maryse.

 Your versions here Your versions here

If you have problems or doubts, or you find a not worked link, or only for tell me that you enjoyed this tutorial, write to me.
31 Août 2021

|


