|
NOËL 2023

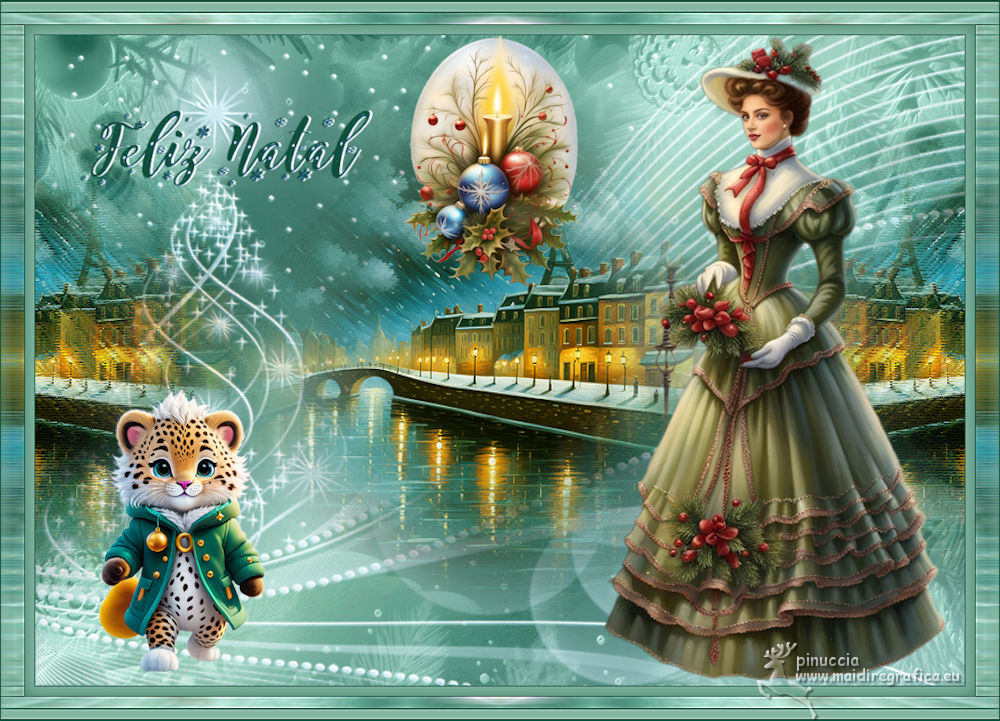
Thanks Maria José for your invitation to translate your tutorial

This tutorial has been translated with PSPX9 and PSP2020, but it can also be made using other versions of PSP.
Since version PSP X4, Image>Mirror was replaced with Image>Flip Horizontal,
and Image>Flip with Image>Flip Vertical, there are some variables.
In versions X5 and X6, the functions have been improved by making available the Objects menu.
In the latest version X7 command Image>Mirror and Image>Flip returned, but with new differences.
See my schedule here
 French translation here French translation here
 your versions ici your versions ici

For this tutorial, you will need:

The material is by Maria José.
(you find here the links to the material authors' sites)

consult, if necessary, my filter section here
Filters Unlimited 2.0 here
Artistic - Rough Pastels here
Mura's Seamless - Emboss at Alpha here
Simple - Top Left Mirror here
Filters Mura's Seamless and Simple can be used alone or imported into Filters Unlimited.
(How do, you see here)
If a plugin supplied appears with this icon  it must necessarily be imported into Unlimited it must necessarily be imported into Unlimited
You can change Blend Modes according to your colors.
In the newest versions of PSP, you don't find the foreground/background gradient (Corel_06_029).
You can use the gradients of the older versions.
The Gradient of CorelX here

Open the mask in PSP and minimize it with the rest of the material.
Set your foreground color to #85b6a3
and your background color to #115540.
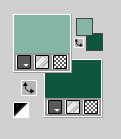
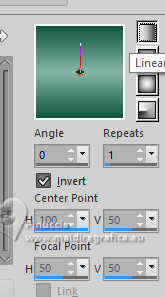
Set your foreground color to a Foreground/Background Gradient, style Linear.
1. Open a new transparent image 1000 x 700 pixels.
Flood Fill  the transparent image with your Gradient. the transparent image with your Gradient.
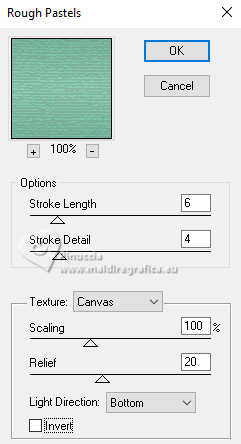
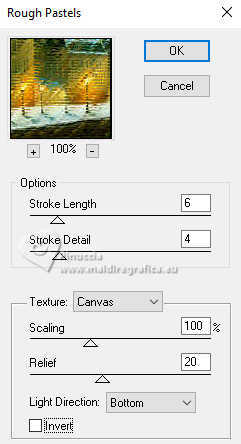
2. Effects>Plugins>Artistics - Rough Pastels
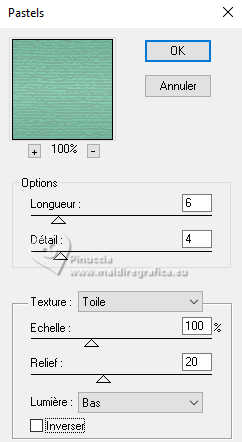
is you use the french version of this filter the result doesn't change:
Effets>Modules Externes>Artistiques - Pastels
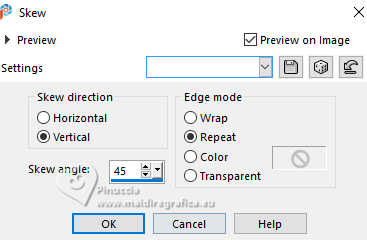
3. Effects>Geometric Effects>Skew.
4. Layers>New Raster Layer.
Set your foreground color to Color.
Flood Fill  the layer with your light foreground color. the layer with your light foreground color.
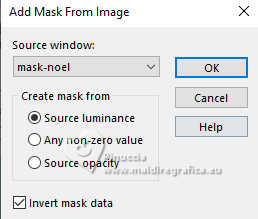
5. Layers>New Mask layer>From image
Open the menu under the source window and you'll see all the files open.
Select the mask mask-noel, Inverser les données du masque coché.
Layers>Merge>Merge Group.
6. Effects>Plugins>Mura's Seamless - Emboss at Alpha, default settings.
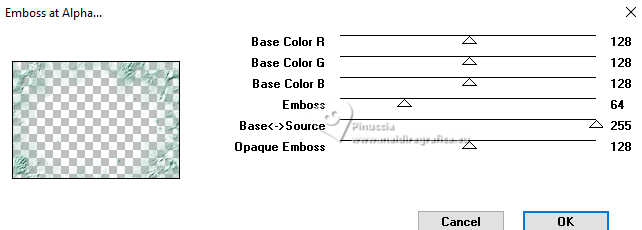
Change the Blend Mode of this layer to Screen.
7. Open the misted mistedverde-mj 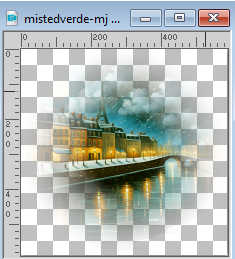
Edit>Copy.
Go back to your work and go to Edit>Paste as new layer.
8. Effects>Plugins>Artistics - Rough Pastels, same settings.
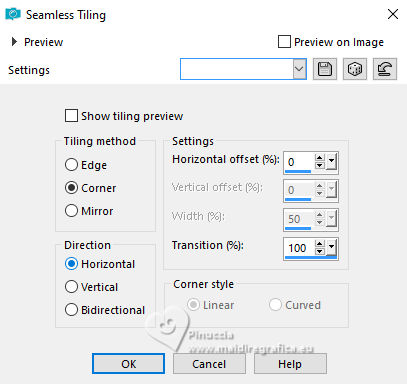
9. Effects>Image Effects>Seamless Tiling.
10. Effects>Reflection Effects>Rotating Mirror, default settings.

11. Edit>Paste as new layer - the misted is still in memory.
Image>Mirror.
12. Open deco-1-MJ 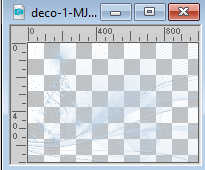
Edit>Copy.
Go back to your work and go to Edit>Paste as new layer.
Change the Blend Mode of this layer to Screen or to your liking.
Move this layer over your background layer.
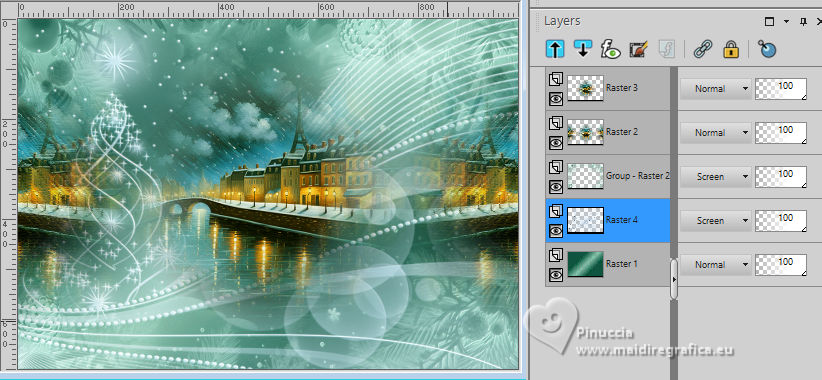
13. Activate again your top layer.
Open deconoel-mj 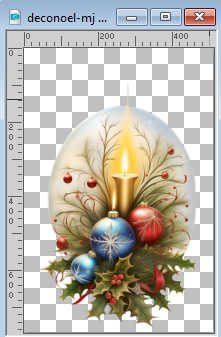
Edit>Copy.
Go back to your work and go to Edit>Paste as new layer.
Image>Resize, to 45%, resize all layers not checked.
K key to activate your Pick Tool 
and set Position X: 393,00 and Position Y: -45,00

14. Open your main tube image-AI-tube-MJ 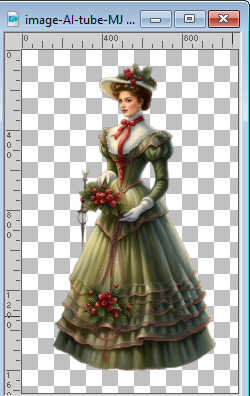
Edit>Copy.
Go back to your work and go to Edit>Paste as new layer.
Image>Resize, 1 time to 60% and 1 time to 75%, resize all layers not checked.
Move  the tube to the right, or to your liking. the tube to the right, or to your liking.
15. Open the deco tube tube-MJ-image-AI 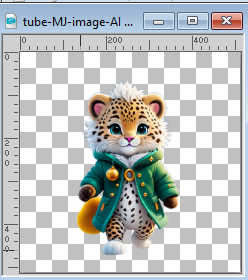
Edit>Copy.
Go back to your work and go to Edit>Paste as new layer.
Image>Resize, to 75%, resize all layers not checked.
Move  the tube at the bottom left, or to your liking. the tube at the bottom left, or to your liking.
16. Open the text texto 
Edit>Copy.
Go back to your work and go to Edit>Paste as new layer.
Move  the text at the upper left, or to your liking. the text at the upper left, or to your liking.
We don't use Drop Shadow, but if you lik, don't hesitate.
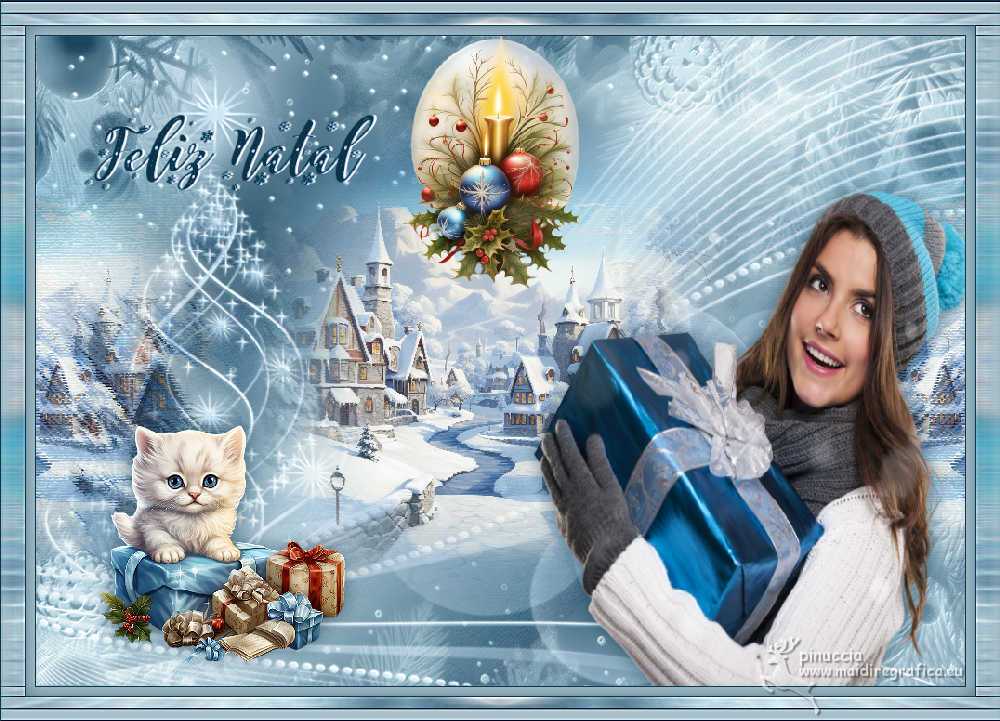
Your tag and the layers - adapt Blend Modes according to your work.
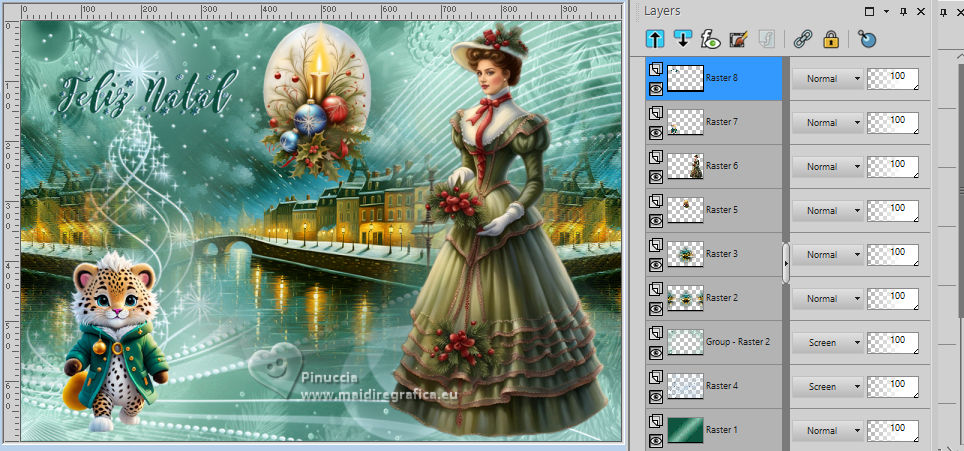
17. Image>Add borders, 1 pixel, symmetric, dark color.
Image>Add borders, 10 pixels, symmetric, light color.
Image>Add borders, 1 pixel, symmetric, dark color.
18. Selections>Select All.
Edit>Copy
Image>Add borders, 25 pixels, symmetric, color white.
19. Selections>Invert.
Edit>Paste into Selection
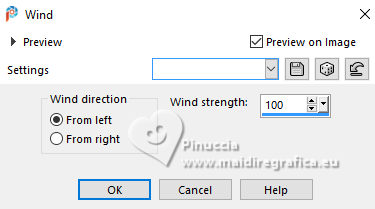
20. Effects>Distortion Effects>Wind - from left, strenght 100
21. Effects>Reflection Effects>Rotating Mirror, default settings.

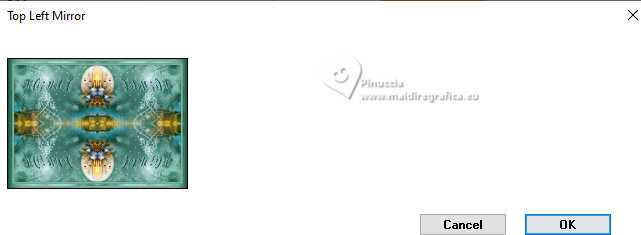
22. Effects>Plugins>Simple - Top Left Mirror.
23. Adjust>Sharpness>Sharpen More.
24. Effects>3D Effects>Drop Shadow, dark color.
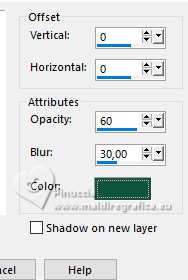
Selections>Select None.
25. Sign your work.
Image>Add borders, 1 pixel, symmetric, dark color.
26. Image>Resize, 1000 pixels width, resize all layers checked.
Save as jpg.
For the tubes of this version thanks Elaine and Adrienne .

If you have problems or doubts, or you find a not worked link,
or only for tell me that you enjoyed this tutorial, write to me.
5 December 2023

|


