|
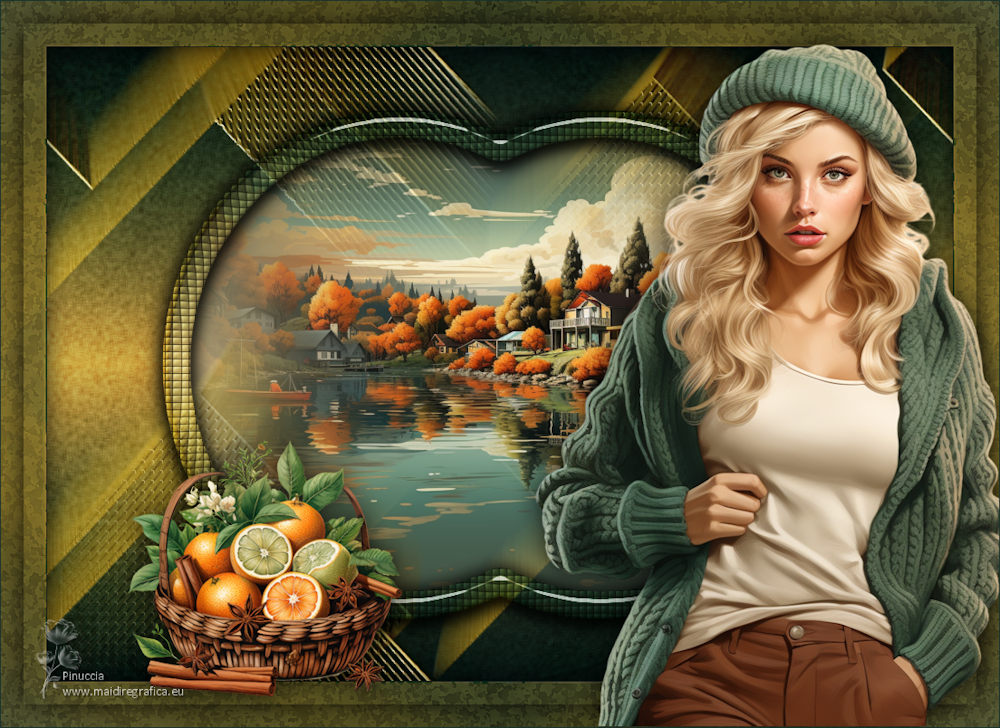
NÙBIA

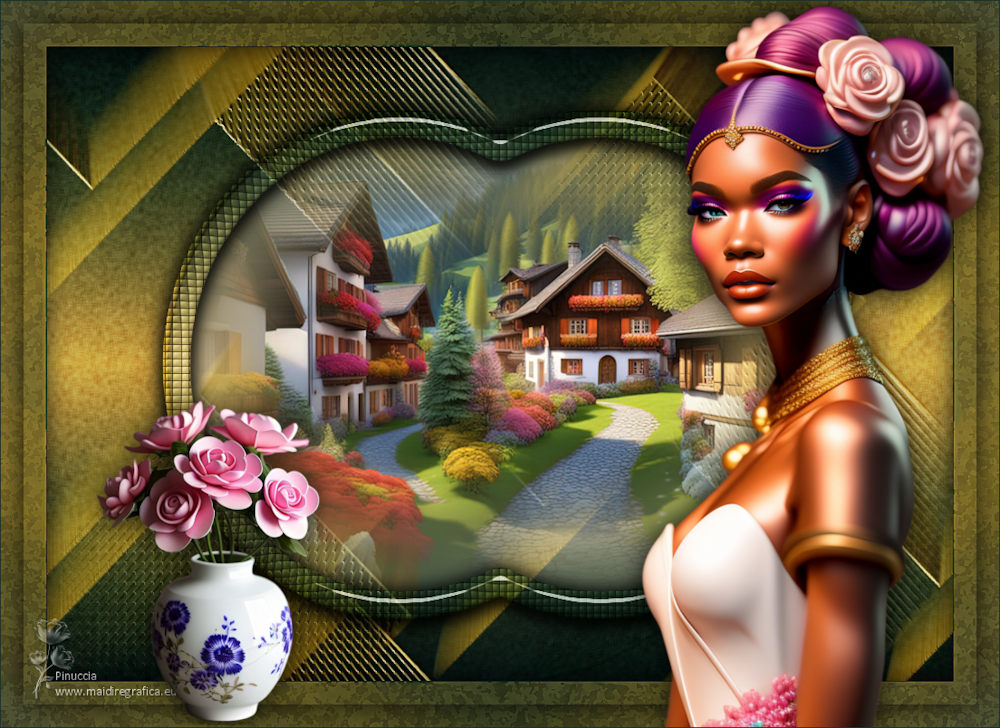
Thanks Maria José for your invitation to translate your tutorial

This tutorial has been translated with PSPX9 and PSP2020, but it can also be made using other versions of PSP.
Since version PSP X4, Image>Mirror was replaced with Image>Flip Horizontal,
and Image>Flip with Image>Flip Vertical, there are some variables.
In versions X5 and X6, the functions have been improved by making available the Objects menu.
In the latest version X7 command Image>Mirror and Image>Flip returned, but with new differences.
See my schedule here
 French translation here French translation here
 your versions ici your versions ici
For this tutorial, you will need:

For the misted thanks Kamil.
The rest of the material is by Maria José.
(you find here the links to the material authors' sites)

consult, if necessary, my filter section here
Filters Unlimited 2.0 here
Mura's Seamless - Emboss at Alpha here
Eye Candy 4000 - Motion Trail here
Alien Skin Eye Candy 5 Impact - Glass here
Artistiques - Eponge here
Simple - Top Left Mirror here
Filters Funhouse and Simple can be used alone or imported into Filters Unlimited.
(How do, you see here)
If a plugin supplied appears with this icon  it must necessarily be imported into Unlimited it must necessarily be imported into Unlimited

You can change Blend Modes according to your colors.
In the newest versions of PSP, you don't find the foreground/background gradient (Corel_06_029).
You can use the gradients of the older versions.
The Gradient of CorelX here
Copy the preset  in the folder of the plugin Alien Skin Eye Candy 5 Impact>Settings>Glass. in the folder of the plugin Alien Skin Eye Candy 5 Impact>Settings>Glass.
One or two clic on the file (it depends by your settings), automatically the preset will be copied in the right folder.
why one or two clic see here

Copy the selection in the Selections Folder.
Open the mask in PSP and minimize it with the rest of the material.
Set your foreground color to #17342d,
and your background color to #c2ae82.
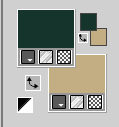
Set your foreground color to a Foreground/Background Gradient, style Linear.
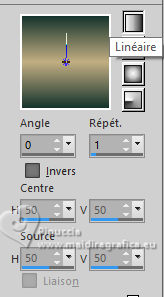
1. Open a new transparent image 1000 x 700 pixels.
Flood Fill  the transparent image with your Gradient. the transparent image with your Gradient.
2. Layers>New Raster Layer.
Flood Fill  the layer with your light background color. the layer with your light background color.
3. Layers>New Mask layer>From image
Open the menu under the source window and you'll see all the files open.
Select the mask 212amask_MJ.
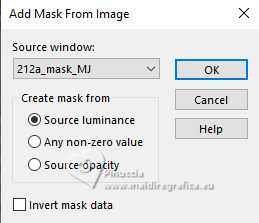
Layers>Merge>Merge Group.
4. Effects>Plugins>Mura's Seamless - Emboss at Alpha, default settings.
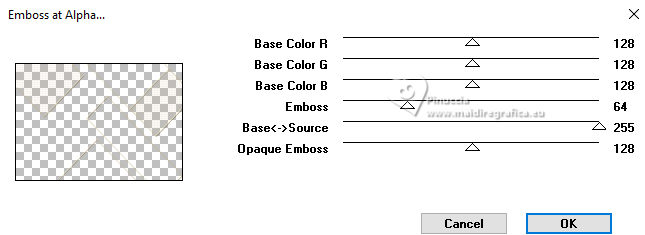
Change the Blend Mode of this layer to Hard Light.
5. Effects>Plugins>Eye Candy 4000 - Motion Trail.
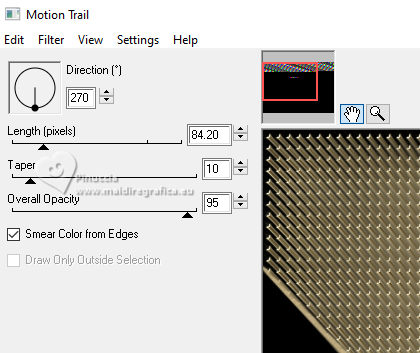
6. Effects>Image Effects>Seamless Tiling.

Image>Flip.
7. Open deco-1-mj 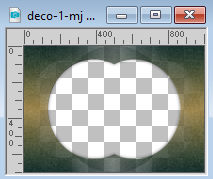
Edit>Copy.
Go back to your work and go to Edit>Paste as new layer.
you can colorize to your liking with the Adjust-Variations Plugin
Layers>Arrange>Move Down.
Change the Blend Mode of this layer to Hard Light.
8. Adjust>Sharpness>Sharpen.
9. Layers>New Raster Layer.
Layers>Arrange>Bring to Top.
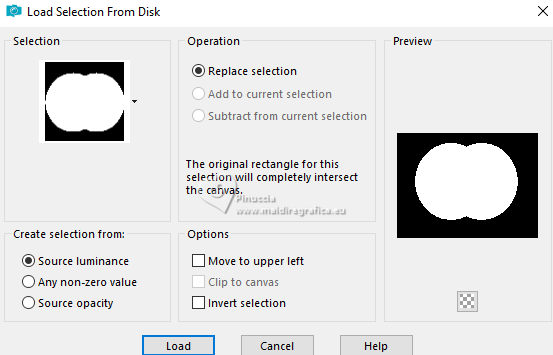
10. Selections>Load/Save Selection>Load Selection from Disk.
Look for and load the selection nubia-MJ
11. Open the misted KamilTube-1150-Landscape(1) 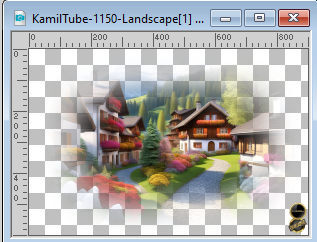
Erase the watermark et Edit>Copy.
Go back to your work and go to Edit>Paste into Selection.
12. Selections>Modify>Select Selection Borders.
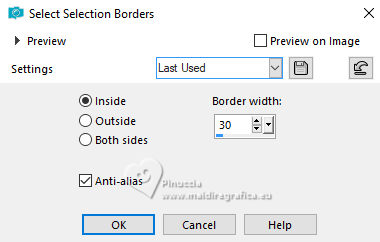
Layers>New Raster Layer.
Flood Fill  the selection with your Gradient. the selection with your Gradient.
13. Effects>Texture Effects>Tiles.
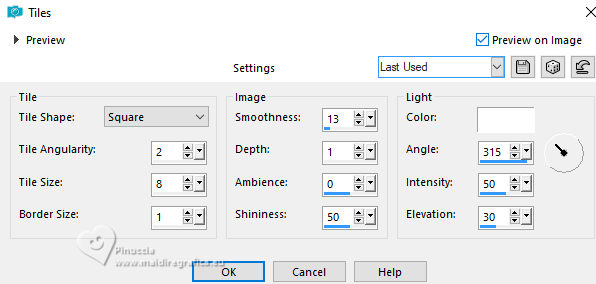
14. Effects>Plugins>Alien Skin Eye Candy 5 Impact - Glass.
Select the preset glass-nubia-MJ
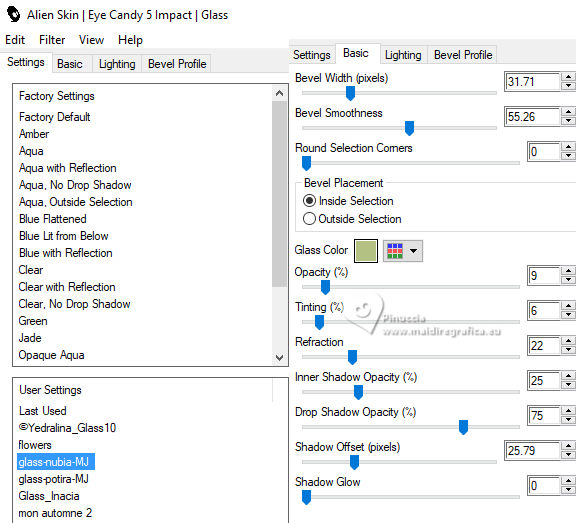
Selections>Select None.
15. Change the Blend Mode of this layer to Hard Light, or to your liking.
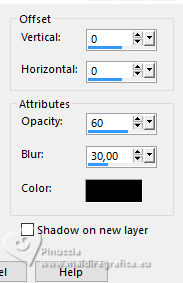
16. Effects>3D Effects>Drop Shadow, color black.
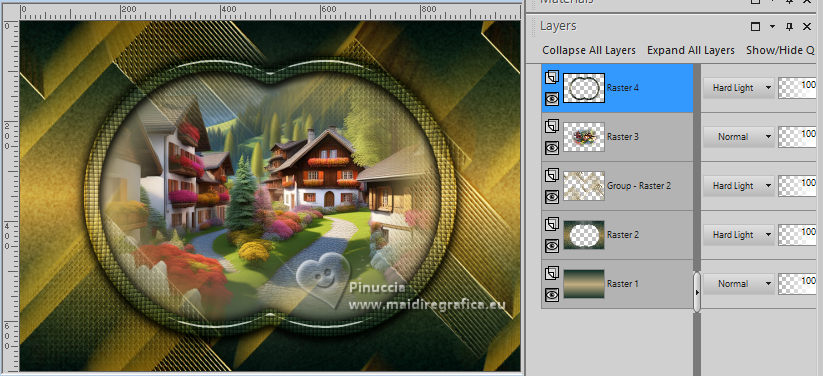
Your tag and the layers: adapt Blend Mode and opacity according to your colors
17. Image>Add borders, 1 pixel, symmetric, dark color.
18. Selections>Select All.
Edit>Copy
Image>Add borders, 50 pixels, symmetric, color white.
19. Selections>Invert.
Edit>Paste into Selection
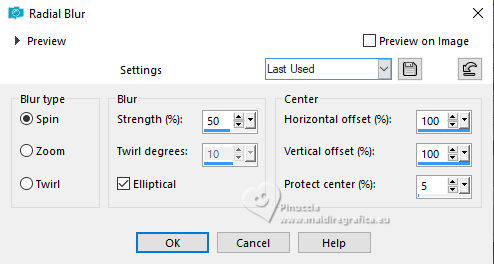
20. Adjust>Blur>Radial Blur.
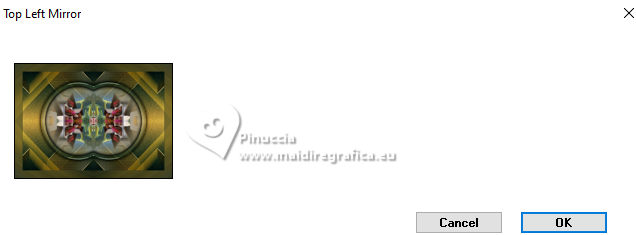
21. Effects>Plugins>Simple - Top Left Mirror
22. Effects>Plugins>Artistiques - Eponge
if you use the english version of this filter (the result doesn't change):
Effects>Plugins>Artistic - Sponge
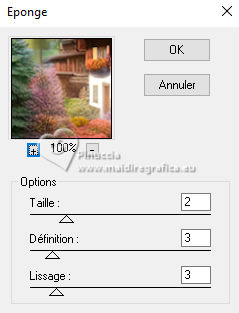 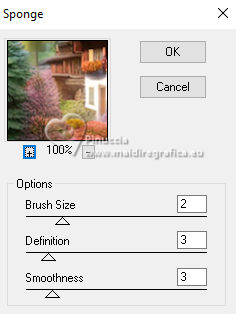
23. Adjust>Sharpness>Sharpen More.
Effects>3D Effects>Drop shadow, color black.

24. Selections>Select None.
Selections>Modify>Contract - 25 pixels.
Repeat Effects>3D Effects>Drop Shadow, same settings.
Selections>Select None.
25. Open the woman's tube tube-AI-MariaJose 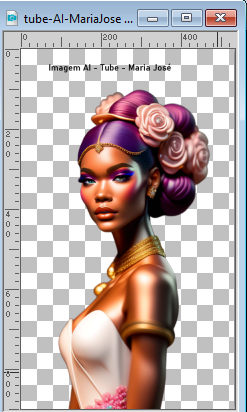
Erase the watermark and go to Edit>Copy
Go back to your work and go to Edit>Paste as new layer.
Move  the tube to the right side. the tube to the right side.
Effects>3D Effects>Drop Shadow, at your choice.
26. Open the deco deco-AI-tube-MJ 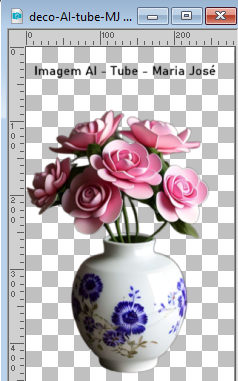
Erase the watermark and go to Edit>Copy
Go back to your work and go to Edit>Paste as new layer.
Move  the tube at the bottom left. the tube at the bottom left.
Effects>3D Effects>Drop Shadow, at your choice.
27. Sign your work.
Image>Add borders, 1 pixel, symmetric, dark color.
28. Image>Resize, 1000 pixels width, resize all layers not checked.
Save as jpg.
For the tubes of this version thanks Adrienne

If you have problems or doubts, or you find a not worked link,
or only for tell me that you enjoyed this tutorial, write to me.
7 November 2023

|


