|
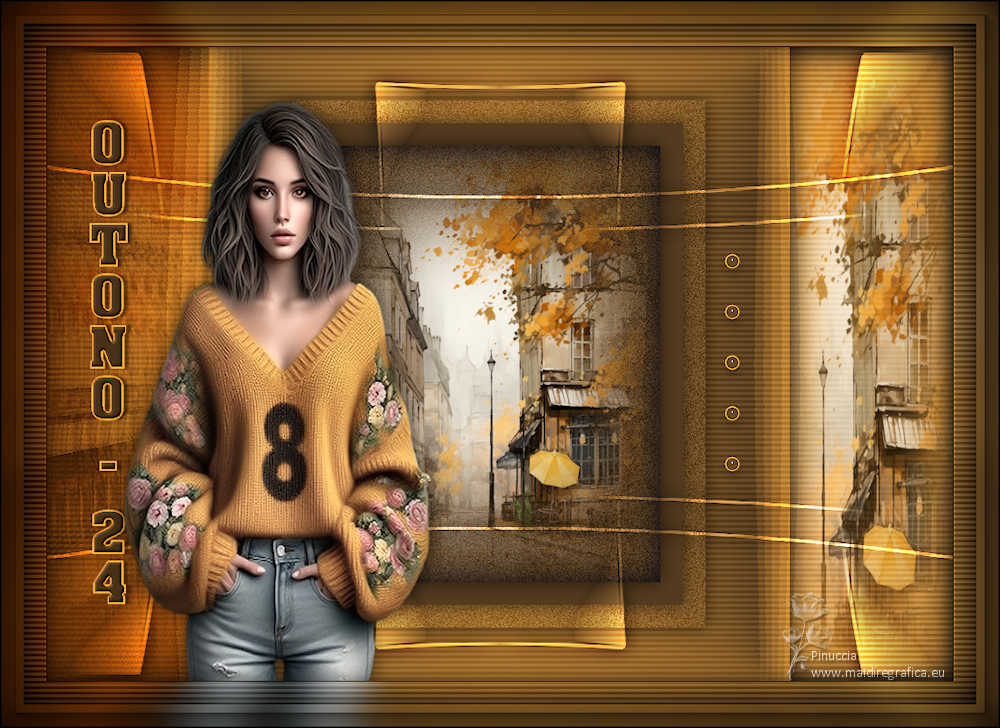
OUTONO 24

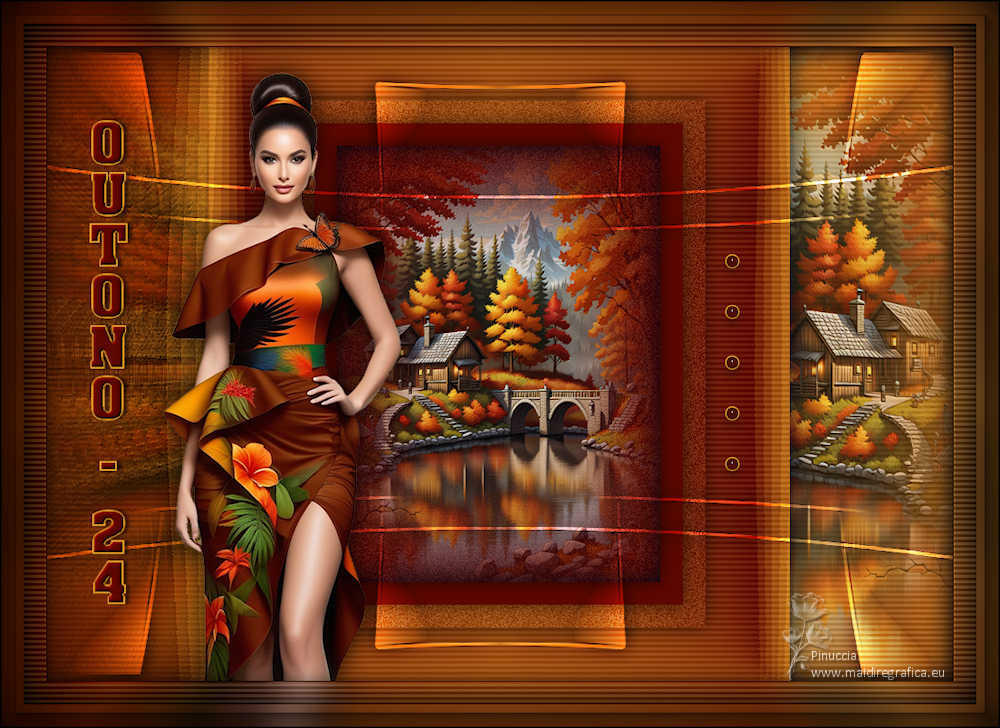
Thanks Maria José for your invitation to translate your tutorial

This tutorial has been translated with PSPX9 and PSP2019, but it can also be made using other versions of PSP.
Since version PSP X4, Image>Mirror was replaced with Image>Flip Horizontal,
and Image>Flip with Image>Flip Vertical, there are some variables.
In versions X5 and X6, the functions have been improved by making available the Objects menu.
In the latest version X7 command Image>Mirror and Image>Flip returned, but with new differences.
See my schedule here
 French translation here French translation here
 your versions here your versions here
For this tutorial, you will need:

The material is by Maria José.
(you find here the links to the material authors' sites)

consult, if necessary, my filter section here
Filters Unlimited 2.0 here
Carolaine and Sensibility - CS-HLines here
Simple - 4Way Average here
Simple - Left Right Wrap (bonus) here
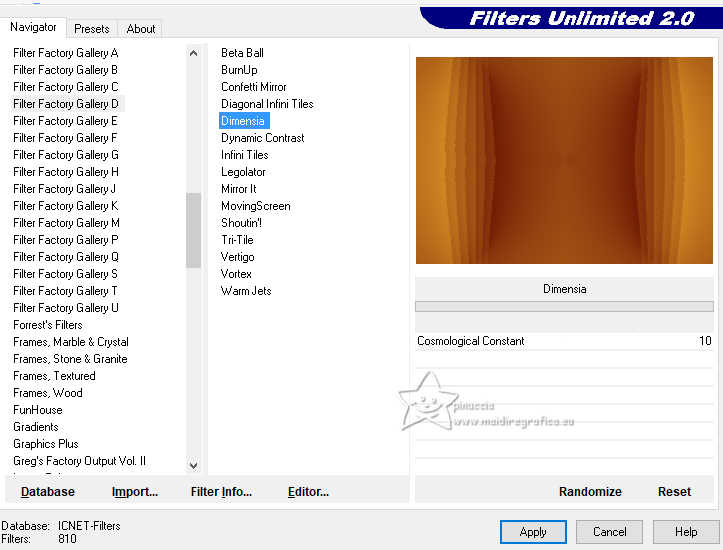
Filter Factory Gallery D - Dimensia here
AAA Frames - Foto Frame here
Filters Simple and Factory Gallery can be used alone or imported into Filters Unlimited.
(How do, you see here)
If a plugin supplied appears with this icon  it must necessarily be imported into Unlimited it must necessarily be imported into Unlimited

You can change Blend Modes according to your colors.
In the newest versions of PSP, you don't find the foreground/background gradient (Corel_06_029).
You can use the gradients of the older versions.
The Gradient of CorelX here

Copy the Selections in the Selections Folder.
Set your foreground color to #5c0700
and your background color to #e79f29.
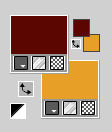
Set your foreground color to a Foreground/Background Gradient, style Radial.
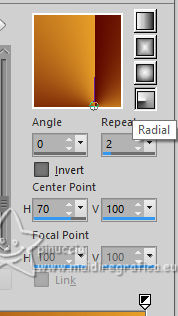
1. Open a new transparent image 1000 x 700 pixels.
Flood Fill  the transparent image with your Gradient. the transparent image with your Gradient.
2. Effects>Reflection Effects>Rotating Mirror, default settings.

3. Effects>Plugins>Simple - 4 Way Average
This Effect works without window; result
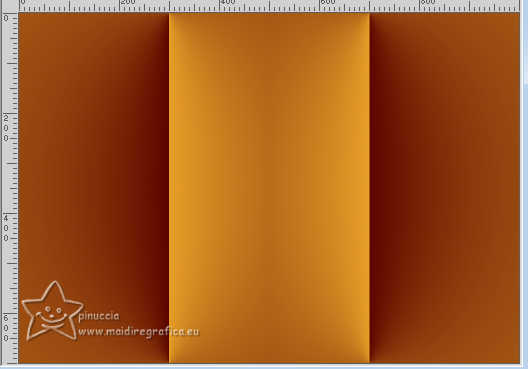
4. Effets>Module Externes>Simple - Left Right Wrap.
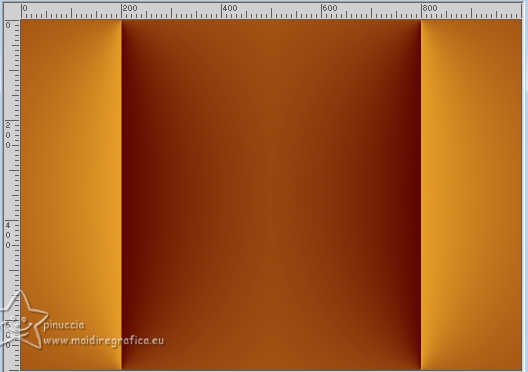
5. Effects>Plugins>Filter Factory Gallery D - Dimensia.
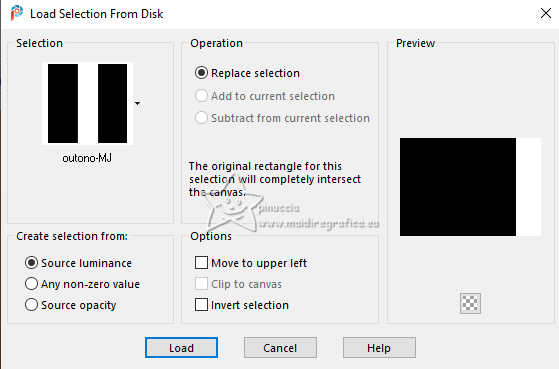
6. Selections>Load/Save Selection>Load Selection from Disk.
Look for and load the selection outono-MJ
Selections>Promote Selection to Layer.
7. Effects>Plugins>Carolaine and Sensibility - CS-HLines.
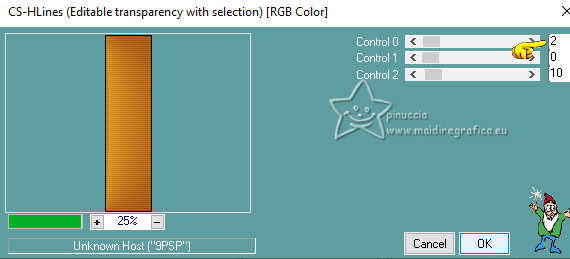
8. Adjust>Sharpness>Sharpen More.
Layers>New Raster Layer.
9. Open the misted misted-2-mj 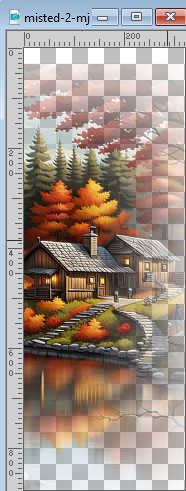
Edit>Copy.
Go back to your work and go to Edit>Paste into Selection.
Reduce the opacity of this layer +/-85% (if necessary).
Layers>New Raster Layer.
10. Effects>3D Effects>Cutout, color black.
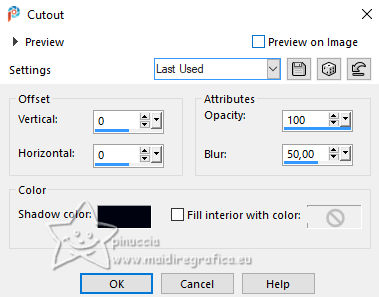
Layers>Merge>Merge Down - 2 times.
Selections>Select None.
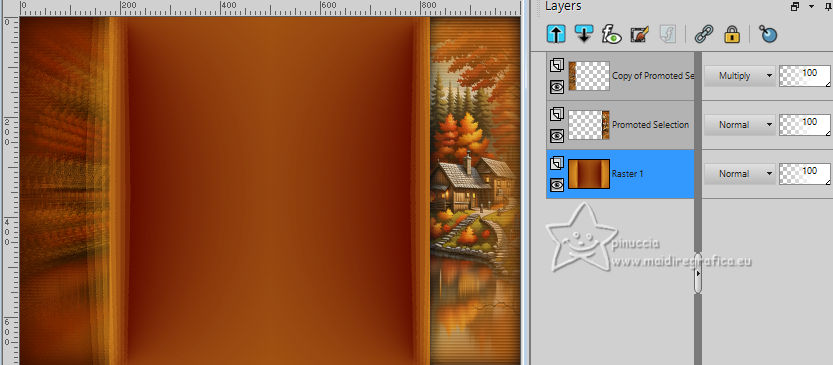
11. Layers>Duplicate.
Image>Mirror>Mirror Horizontal.
12. Effects>Plugins>Filter Factory Gallery D - Dimensia, default settings.
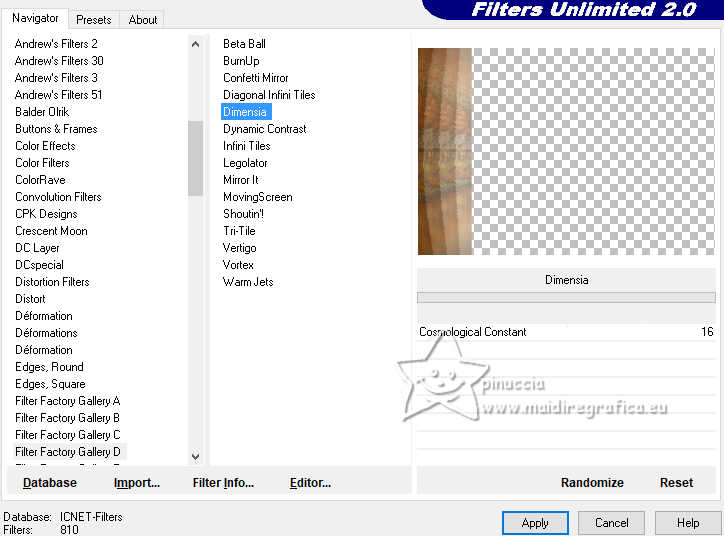
Adjust>Sharpness>Sharpen More.
Change the Blend Mode of this layer to Multiply.
Activate the layer Raster 1.
13. Selections>Load/Save Selection>Load Selection from Disk.
Look for and load the selection outono-1-MJ
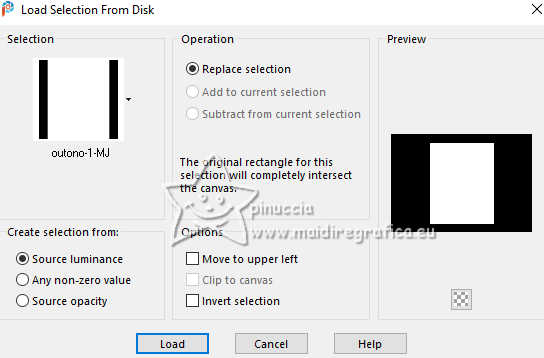
Selections>Promote Selection to Layer.
14. Adjust>Add/Remove Noise>Add Noise.
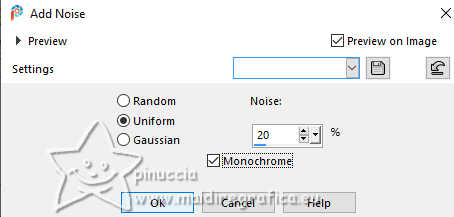
15. Effects>3D Effects>Drop Shadow, color black.

16. Selections>Modify>Contract - 25 pixels.
Set your foreground color to Color.
Flood Fill  the selection with your foreground color. the selection with your foreground color.
17. Effects>3D Effects>Drop Shadow, same settings.

18. Selections>Modify>Contract - 25 pixels.
19. Adjust>Add/Remove Noise>Add Noise, same settings.

Repeat Effects>3D Effects>Drop Shadow, same settings.
20. Layers>New Raster Layer.
Open the misted misted-outono24-mj 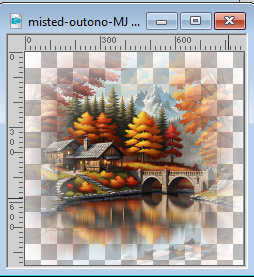
Edit>Copy.
Go back to your work and go to Edit>Paste into Selection.
Layers>New Raster Layer.
21. Effects>3D Effects>Cutout, same settings.

Layers>Merge>Merge Down - 2 times.
Selections>Select None.
22. Layers>Arrange>Bring to top.
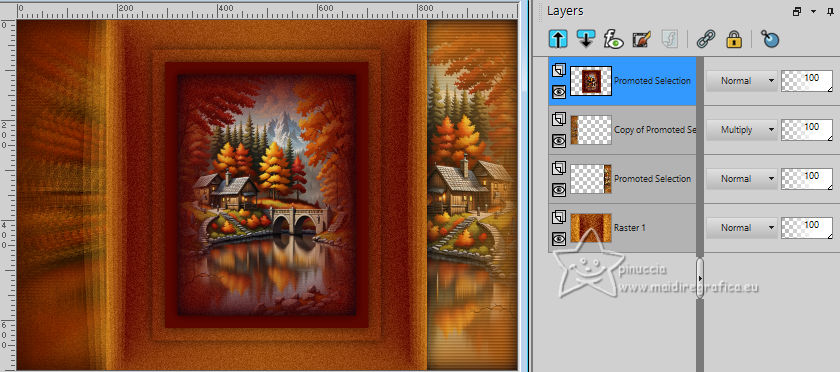
23. Open deco-outono-MJ 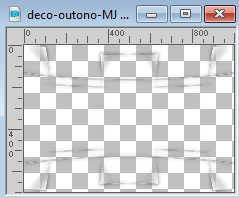
Edit>Copy.
Go back to your work and go to Edit>Paste as new layer.
Change the Blend Mode of this layer to Overlay.
24. Open texto-MJ 
Edit>Copy.
Go back to your work and go to Edit>Paste as new layer.
Move  the tube to the left. the tube to the left.
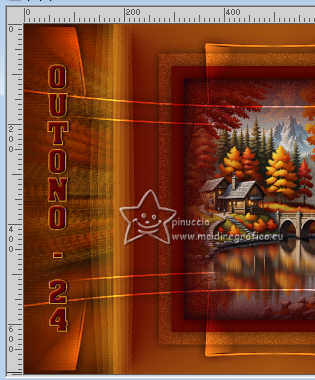
25. Open deco-ball-MJ 
Edit>Copy.
Go back to your work and go to Edit>Paste as new layer.
Move  the tube to the right or to the left. the tube to the right or to the left.
26. Layers>Duplicate.
Image>Mirror>Mirror Horizontal.
Layers>Merge>Merge Down.
Activate the layer Raster 1.
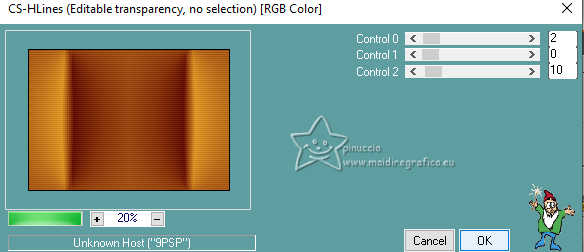
27. Effects>Plugins>Carolaine and Sensibility - CS-HLines
Your tag and the layers - adapt Blend Mode and opacity to your liking.
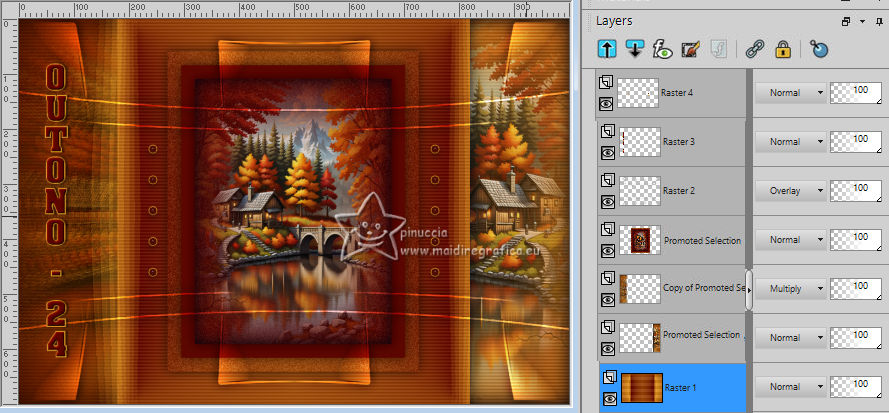
28. Activate your top layer.
Open the tube image-AI-tube-by-MJ 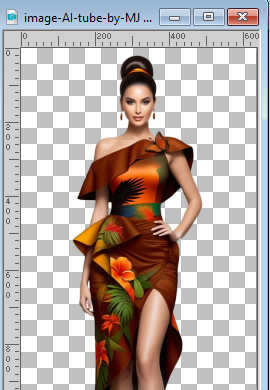
Edit>Copy.
Go back to your work and go to Edit>Paste as new layer.
Image>Resize, to 75%, resize all layers not checked.
Move  the tube to the left side. the tube to the left side.
Effects>3D Effects>Drop Shadow, at your choice.
29. Image>Add borders, 1 pixel, symmetric, color black.
30. Selections>Select All.
Edit>Copy
Image>Add borders, 25 pixels, symmetric, color white.
31. Selections>Invert.
Edit>Paste into Selection
32. Adjust>Blur>Gaussian Blur - radius 20

33. Effects>Plugins>Carolaine and Sensibility - CS-HLines, same settings.
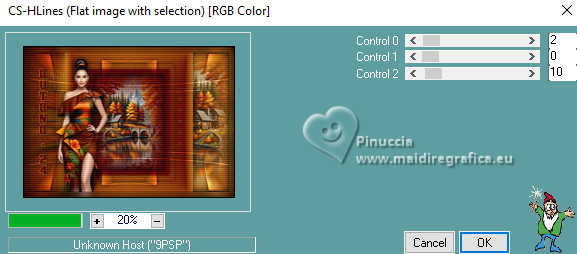
Adjust>Sharpness>Sharpen More.
Repeat Effects>3D Effects>Drop Shadow, same settings.

34. Selections>Select All.
Image>Add borders, 25 pixels, symmetric, color white.
35. Selections>Invert.
Edit>Paste into Selection - the image of step 30 is still in memory.
36. Adjust>Blur>Gaussian Blur - radius 20.

37. Effects>Plugins>AAA Frames - Foto Frame.
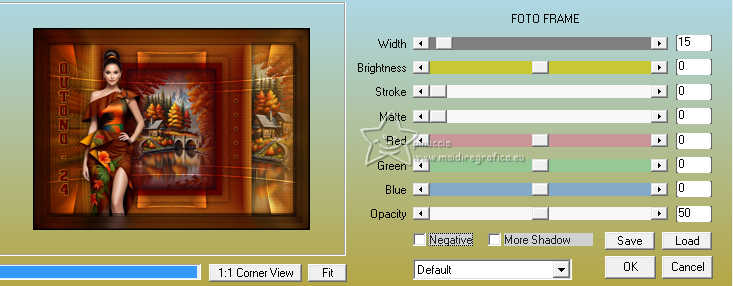
Repeat Effects>3D Effects>Drop Shadow, same settings.
Selections>Select None.
38. Sign your work on a new layer.
Layers>Merge>Merge All.
39. Image>Resize, 1000 pixels width, resize all layers checked.
Save as jpg.
For the tubes of these versions thanks
Colybrix and Jewel.
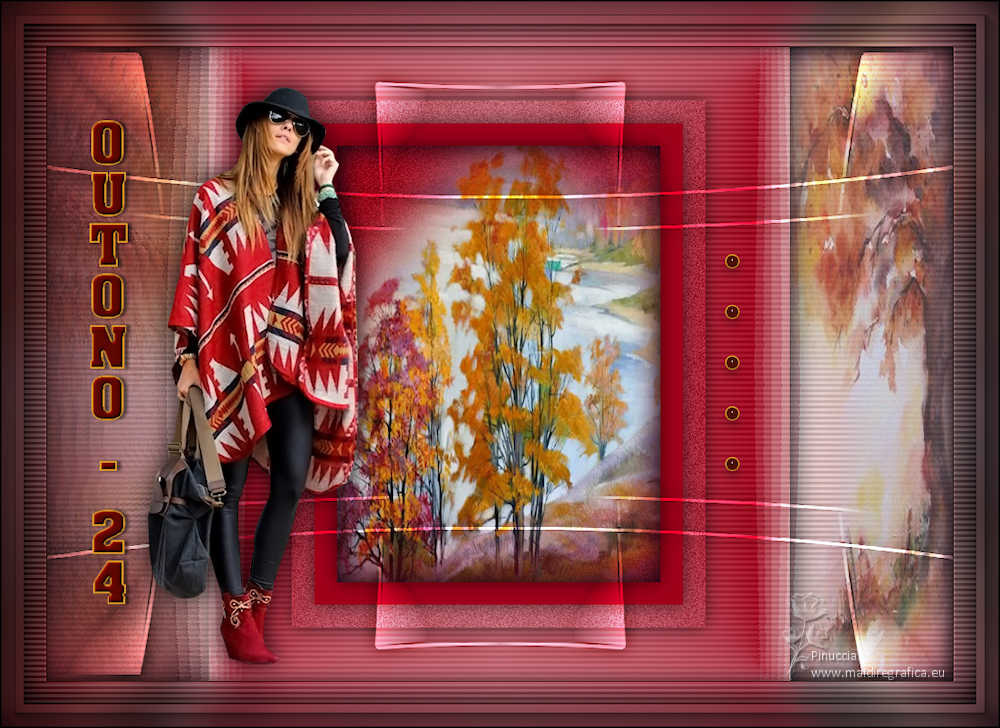
Luz Cristina and Adrienne

If you have problems or doubts, or you find a not worked link,
or only for tell me that you enjoyed this tutorial, write to me.
22 April 2024

|


