|
PANDORA


Thanks Maria José for your invitation to translate your tutorial

This tutorial has been translated with PSPX9 and PSP2020, but it can also be made using other versions of PSP.
Since version PSP X4, Image>Mirror was replaced with Image>Flip Horizontal,
and Image>Flip with Image>Flip Vertical, there are some variables.
In versions X5 and X6, the functions have been improved by making available the Objects menu.
In the latest version X7 command Image>Mirror and Image>Flip returned, but with new differences.
See my schedule here
 French translation here French translation here
 your versions here your versions here
For this tutorial, you will need:

Material by Maria José
(you find here the links to the material authors' sites)

consult, if necessary, my filter section here
Filters Unlimited 2.0 here
RCS Filter Pak 1.0 - Un-Earthly Vortex here
Mehdi - Curves, Edges FX here
Simple - Zoom Out and Flip, Top Left Mirror here
Mura's Seamless - Emboss at Alpha here
Carolaine and Sensibility - CS-DLines here
Alien Skin Eye Candy 5 Impact - Glass here
Mura's Meister - Perspective Tiling here
Andrew's Filters 15 - Many Ways To Do The Same here
Filters RCS, Simple, Mura's Seamless and Andrew's can be used alone or imported into Filters Unlimited.
(How do, you see here)
If a plugin supplied appears with this icon  it must necessarily be imported into Unlimited it must necessarily be imported into Unlimited

You can change Blend Modes according to your colors.
In the newest versions of PSP, you don't find the foreground/background gradient (Corel_06_029).
You can use the gradients of the older versions.
The Gradient of CorelX here
Copy the preset  in the folder of the plugin Alien Skin Eye Candy 5 Impact>Settings>Glass. in the folder of the plugin Alien Skin Eye Candy 5 Impact>Settings>Glass.
One or two clic on the file (it depends by your settings), automatically the preset will be copied in the right folder.
why one or two clic see here

Copy the Selections in the Selections Folder.
Open the mask in PSP and minimize it with the rest of the material.
Choose two colors at your choice
For the example:
Set your foreground color to #d9bde7
and your background color to #442569.
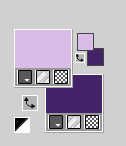
Set your foreground color to a Foreground/Background Gradient, style Rectangular.
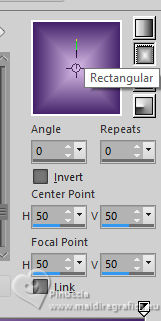
1. Open a new transparent image 950 x 700 pixels.
Flood Fill  the transparent image with your Gradient. the transparent image with your Gradient.
2. Effects>Reflection Effects>Rotating Mirror.
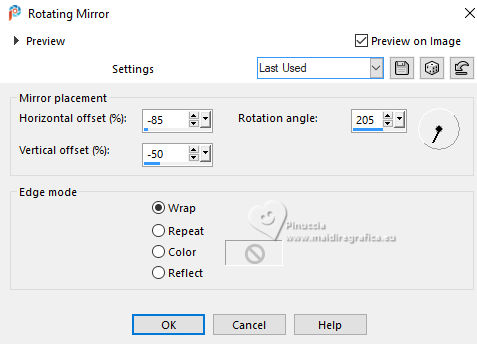
3. Effects>Plugins>RCS Filter Pak 1.0 - Un-Earthly Vortex
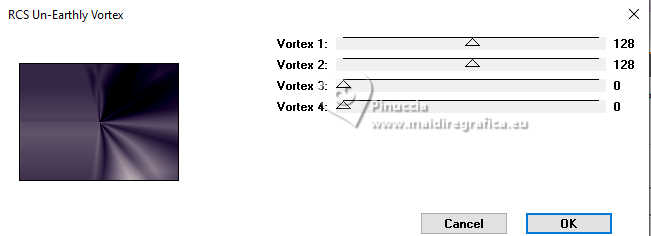
4. Effects>Reflection Effects>Rotating Mirror, same settings.

5. Effets>Effets d'image>Mosaïque sans jointures.
6. Effects>Plugins>Simple - Zoom Out and Flip.
This Effect works without window; result

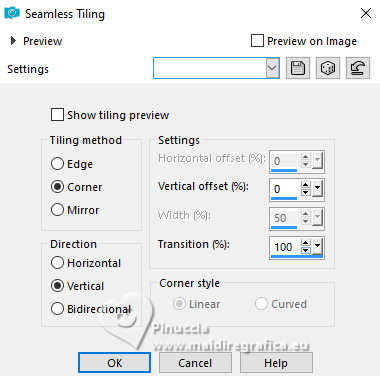
7. Effects>Image Effects>Seamless Tiling

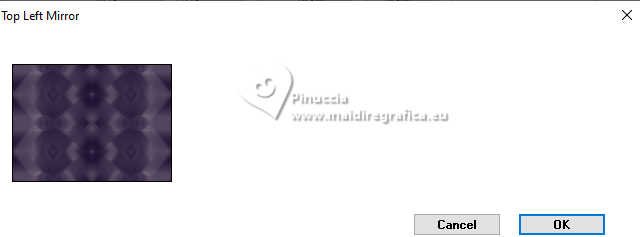
8. Effects>Plugins>Simple - Top Left Mirror.
9. Effects>Plugins>Mehdi - Curves (in case your image is very dark)

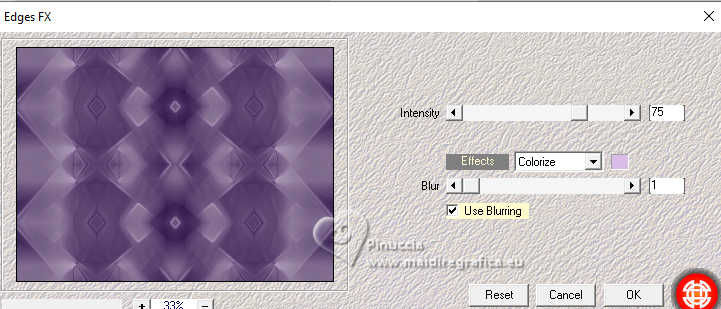
10. Effects>Plugins>Mehdi - Edges FX - light color or white (here I used the light color)
11. Adjust>Sharpness>Sharpen More.
12. Open deco-pandora 
Edit>Copy.
Go back to your work and go to Edit>Paste as new layer.
Change the Blend Mode of this layer to Screen.
13. Layers>New Raster Layer.
Set your foreground color to Color.
Flood Fill  the layer with your light foreground color. the layer with your light foreground color.
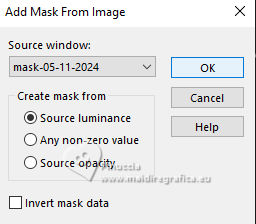
14. Layers>New Mask layer>From image
Open the menu under the source window and you'll see all the files open.
Select the mask mask05-11-2024.
Layers>Merge>Merge Group.
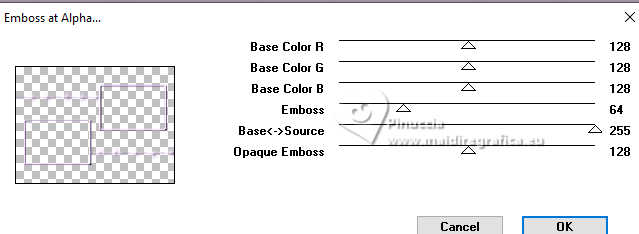
15. Effects>Plugins>Mura's Seamless - Emboss at Alpha, default settings.
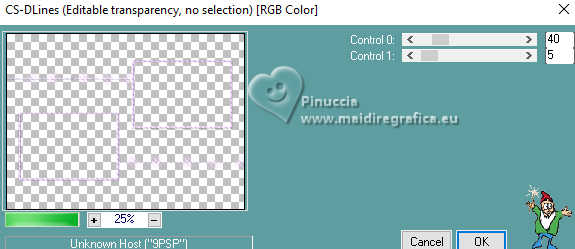
16. Effects>Plugins>Carolaine and Sensibility - CS-DLines, default settings.
17. Selections>Load/Save Selection>Load Selection from Disk.
Look for and load the selection pandora-MJ

Layers>New Raster Layer.
18. Open the tube misted-lilas-MJ 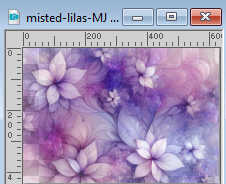
Edit>Copy.
Go back to your work and go to Edit>Paste into Selection.
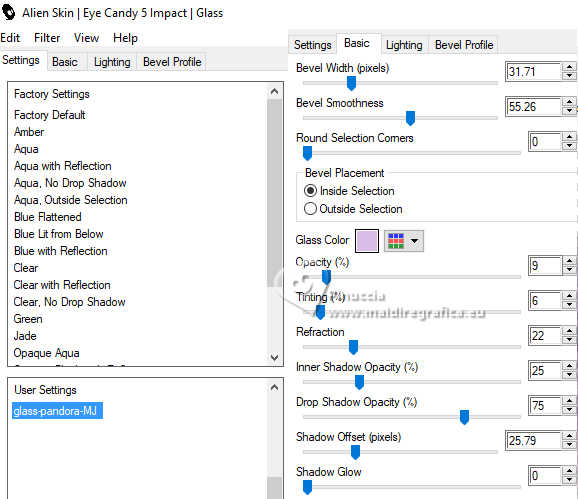
19. Effects>Plugins>Alien Skin Eye Candy 5 Impact - Glass.
Select the preset glass-pandora-MJ
Selections>Select None.
Layers>Duplicate.
20. K key to activate your Pick Tool 
Position X: 32,00 - Position Y: 305,00.

M key to deselect the Tool.
21. Layers>Merge>Merge Down.
Layers>Arrange>Move Down.
22. Activate the layer Group-Raster 3.
Layers>Merge>Merge Down.
Effects>3D Effects>Drop Shadow, dark color.

23.Edit>Copy Special>Copy Merged
24. Selections>Load/Save Selection>Load Selection from Disk.
Look for and load the selection pandora-1-MJ
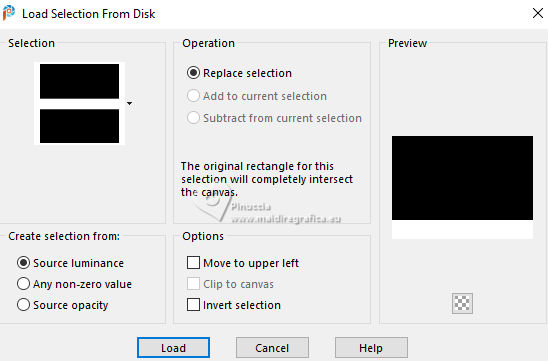
25. Layers>New Raster Layer.
Edit>Paste into Selection - the image of step 23.
26. Effects>Plugins>Mura's Meister - Perspective Tiling, default settings.
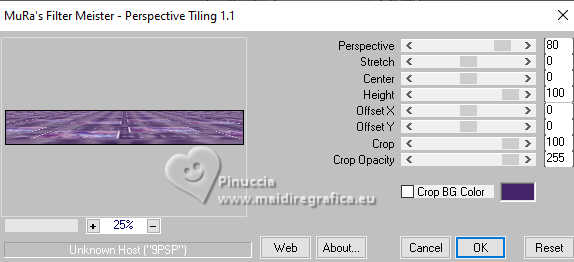
Selections>Select None.
27. Activate your Magic Wand Tool  , tolerance 0 and feather 80 , tolerance 0 and feather 80
click on the transparent part to select it.
Press +/-10 times CANC on the keyboard 
Selections>Select None.
don't forget to set again the feather to 0
28. Effects>Reflection Effects>Rotating Mirror, default settings.

Layers>Arrange>Move Down - 2 times.
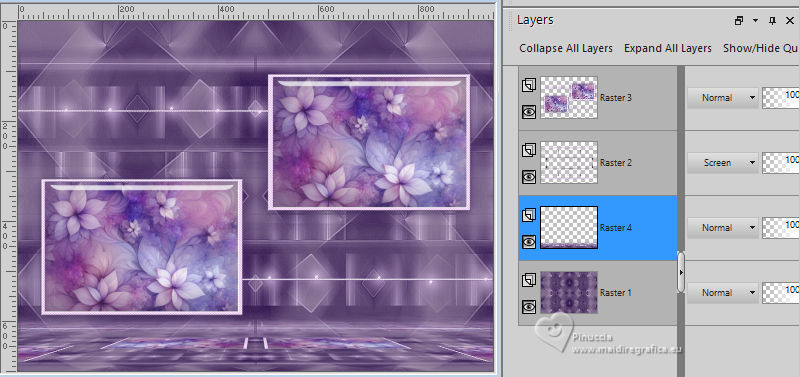
29. Activate your top layer, Raster 3.
Layers>Duplicate.
Image>Resize, to 30%, resize all layers not checked.
30. K key to activate your Pick Tool 
Position X: 0,00 - Position Y: 30,00.

M key to deselect the Tool.
Your tag and the layers - adapt Blend Mode and opacity according to your work

31. Open image-AI-tube-MJ 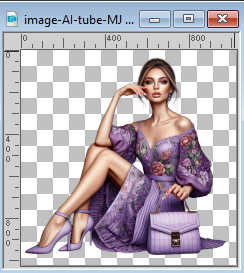
Edit>Copy.
Go back to your work and go to Edit>Paste as new layer.
Image>Resize, to 68%, resize all layers not checked.
Place  the tube to your liking. the tube to your liking.
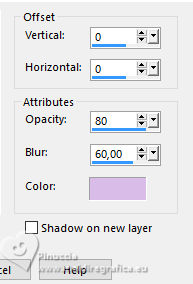
Effects>3D Effects>Drop Shadow, at your choice;
I did with these settings, light color:
32. Image>Add borders, 1 pixel, symmetric, couleur foncée.
33. Selections>Select All.
Edit>Copy
Image>Add borders, 50 pixels, symmetric, color white.
34. Selections>Invert.
Edit>Paste into Selection - the image copied at step 33.
35. Adjust>Blur>Gaussian Blur - radius 20.

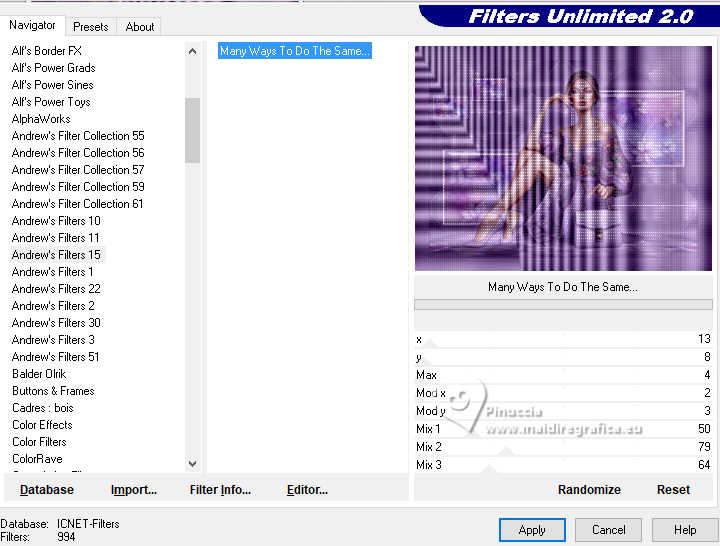
36. Effects>Plugins>Filters Unlimited 2.0 - Andrew's Filters 15 - Many Ways To Do The Same, default settings
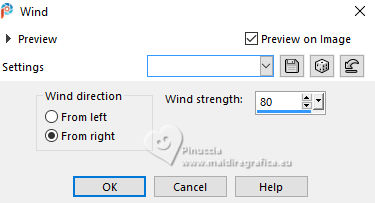
37. Effects>Distortion Effects>Wind - from right, strength 80.
38. Effects>Plugins>Simple - Top Left Mirror.

Effects>3D Effects>Drop shadow, color black.

39. Selections>Select All.
Selections>Modify>Contract - 25 pixels.
40. Selections>Invert.
Adjust>Blur>Gaussian Blur - radius 20.

Repeat Effects>3D Effects>Drop Shadow, same settings.

Selections>Select None.
41. Sign your work on a new layer.
Image>Add borders, 1 pixel, symmetric, dark color.
42. Image>Resize, 1000 pixels width, resize all layers checked.
Save as jpg.
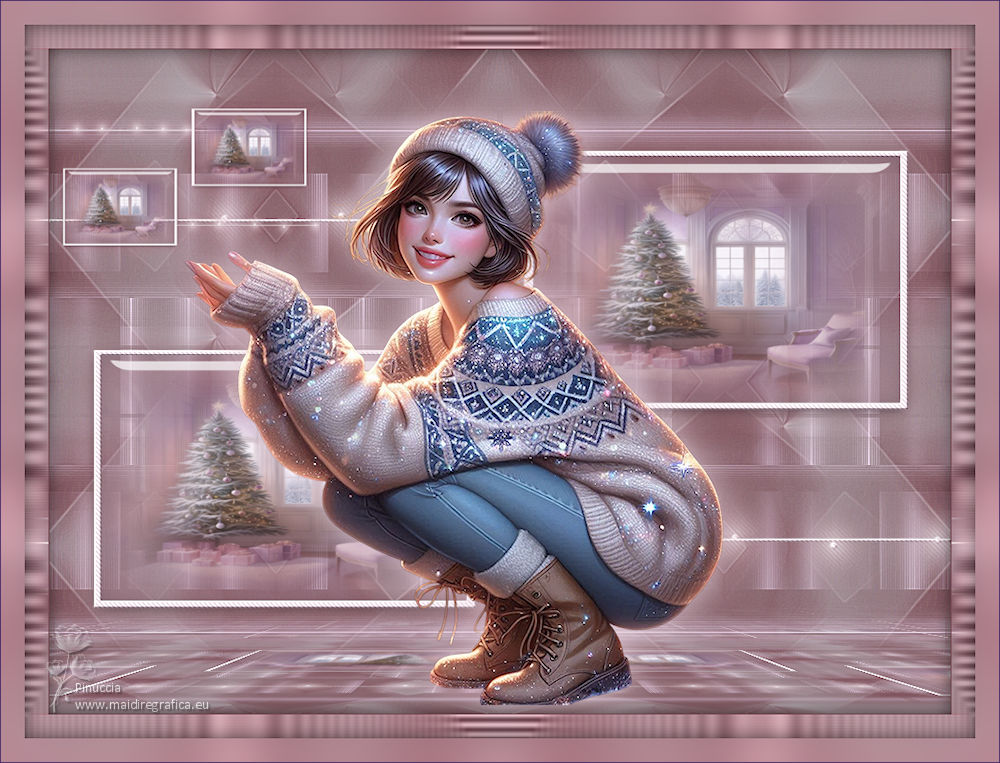
For the tube of this version thanks

If you have problems or doubts, or you find a not worked link,
or only for tell me that you enjoyed this tutorial, write to me.
21 November 2024

|


