|
REBEKA

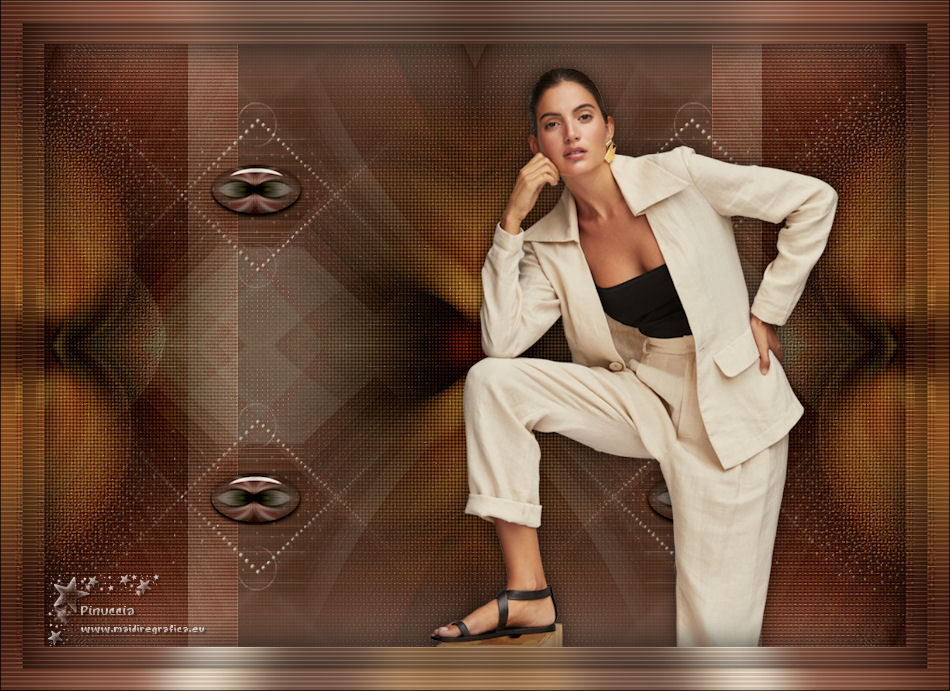
Thanks Maria José for your invitation to translate your tutorial

This tutorial has been translated with PSPX2 and PSPX3, but it can also be made using other versions of PSP.
Since version PSP X4, Image>Mirror was replaced with Image>Flip Horizontal,
and Image>Flip with Image>Flip Vertical, there are some variables.
In versions X5 and X6, the functions have been improved by making available the Objects menu.
In the latest version X7 command Image>Mirror and Image>Flip returned, but with new differences.
See my schedule here
 French translation here French translation here
 your versions ici your versions ici
For this tutorial, you will need:
Material here
Thanks for the tube Cady and for one mask Beatrice G.
The rest of the material is by Maria José
(you find here the links to the material authors' sites)
Plugins
consult, if necessary, my filter section here
Filters Unlimited 2.0 here
Carolaine and Sensibility - CS-LDots, CsTexture here
Unplugged Tools - Vertical Tile here
Mura's Seamless - Emboss at Alpha here
Simple - Top Left Mirror, Pizza Slice Mirror here
Simple - Left Right Wrap (bonus) here
Photoeffex - Scanlines here
Toadies - What are you here
AAA Filters - Custom here
Filters Unplugged Tools, Simple, Toadies and Mura's Seamless can be used alone or imported into Filters Unlimited.
(How do, you see here)
If a plugin supplied appears with this icon  it must necessarily be imported into Unlimited it must necessarily be imported into Unlimited

You can change Blend Modes according to your colors.
Copy the Selections in the Selections Folder.
Open the masks in PSP and minimize them with the rest of the material.
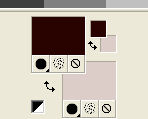
Set your foreground color to #290500,
and your background color to #ddcdc9.
1. Open a new transparent image 1000 x 700 pixels.
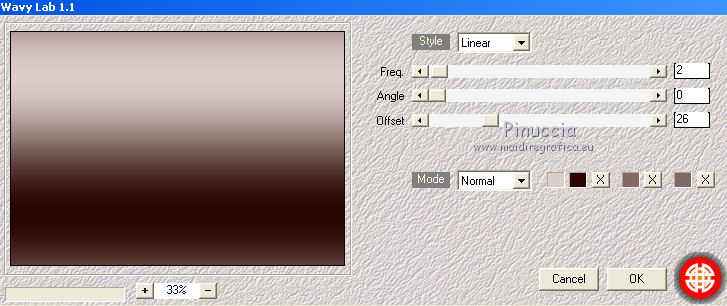
2. Effects>Plugins>Mehdi - Wavy Lab 1.1.
This filters creates gradients with the colors of your Materials palette.
The first is your background color, the second is your foreground color.
Change the last two colors created by the filtre with color #826964.
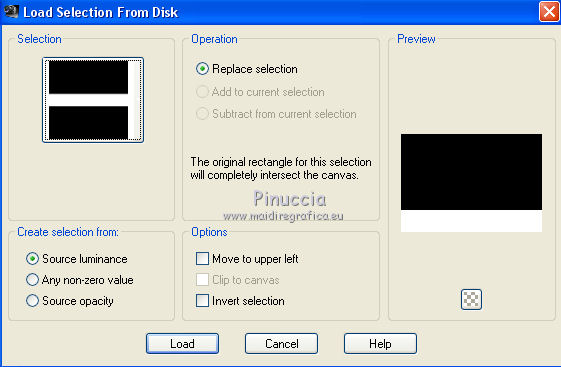
3. Selections>Load/Save Selection>Load Selection from Disk.
Look for and load the selection selection_1_MJ
4. Effects>Plugins>Carolaine and Sensibity - CS-LDots.
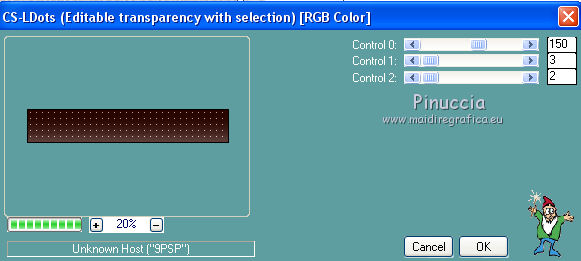
Effects>3D Effects>Drop Shadow, color black.

Selections>Select None.
5. Selections>Load/Save Selection>Load Selection from Disk.
Look for and load the selection selection_2_MJ
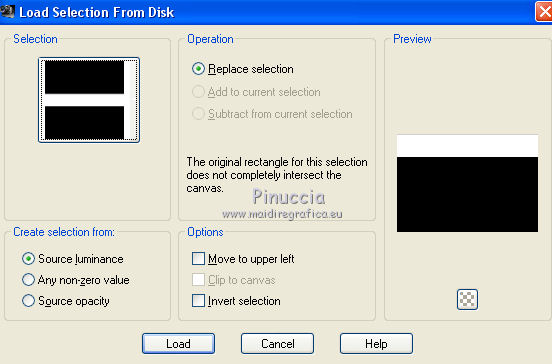
6. Effects>Image Effects>Weave
Weave color: light color.
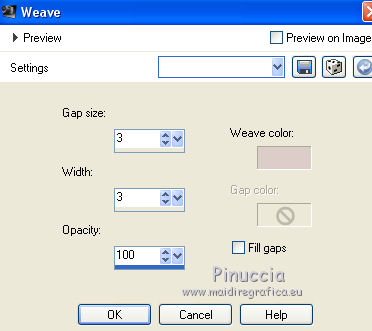
Effects>3D Effects>Drop Shadow, color black.

Selections>Select None.
7. Effects>Geometric Effects>Skew.
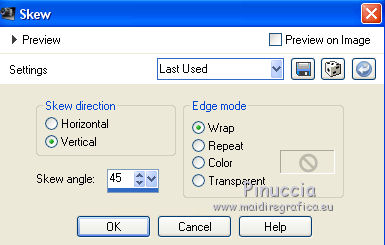
8. Layers>New Raster Layer.
Flood Fill  the layer with light color #ddcdc9. the layer with light color #ddcdc9.
9. Layers>New Mask layer>From image
Open the menu under the source window and you'll see all the files open.
Select the mask 22_mask_MJ
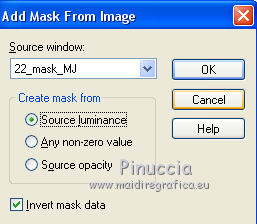
Layers>Merge>Merge Group.
10. Effects>Plugins>Mura's Seamless - Emboss at Alpha, default settings.

11. Effects>Geometric Effects>Skew
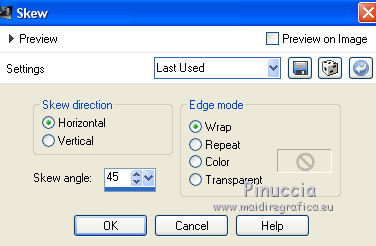
12. Effects>3D Effects>Drop Shadow, color black.

Change the Blend Mode of this layer to Overlay.
Layers>Merge>Merge visible.
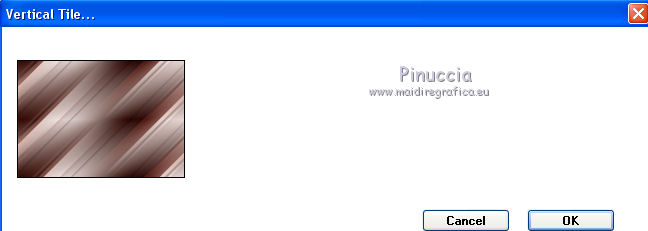
13. Effects>Plugins>Unplugged Tools - Vertical Tile
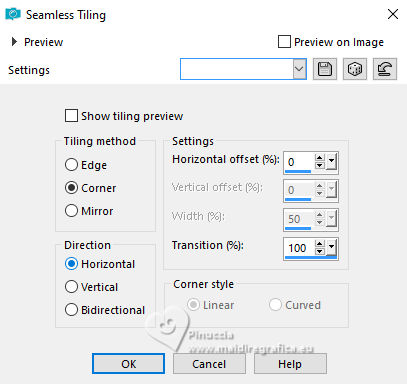
14. Effects>Image Effects>Seamless Tiling.
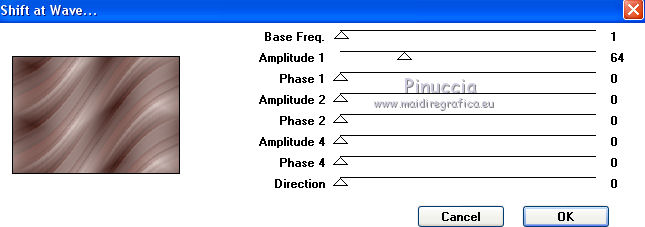
15. Effects>Plugins>Mura's Seamless - Shift at wave, default settings.
16. Effects>Plugins>Simple - Pizza Slice Mirror
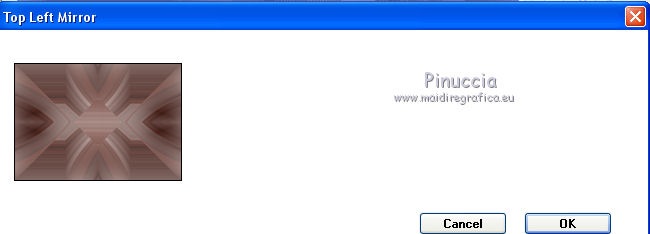
17. Effects>Plugins>Simple - Top Left Mirror
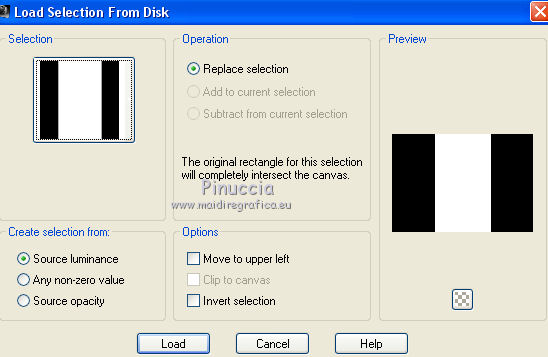
18. Selections>Load/Save Selection>Load Selection from Disk.
Look for and load the selection selection_MJ
Sélections>Transformer la sélection en calque.
Selections>Select None.
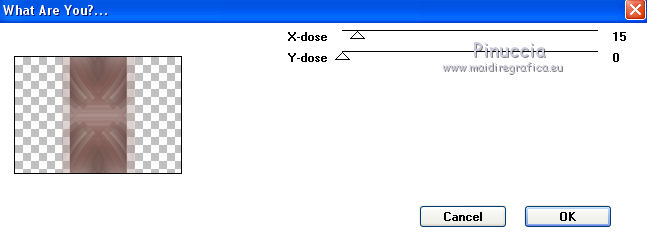
19. Effects>Plugins>Toadies - What Are You?
20. Adjust>Sharpness>Sharpen.
21. Effects>Plugins>Photoeffex - Scanlines
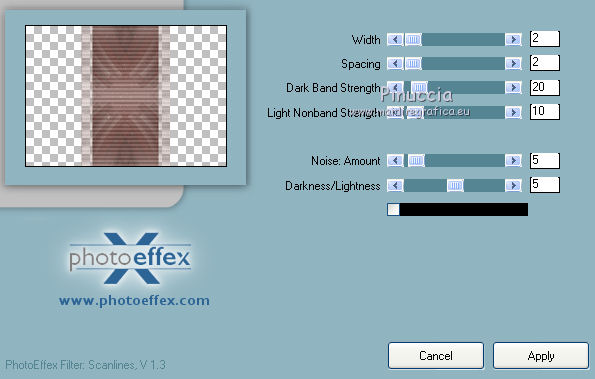
22. Effects>Plugins>Simple - Left Right Wrap
Change the Blend Mode of this layer to Overlay.
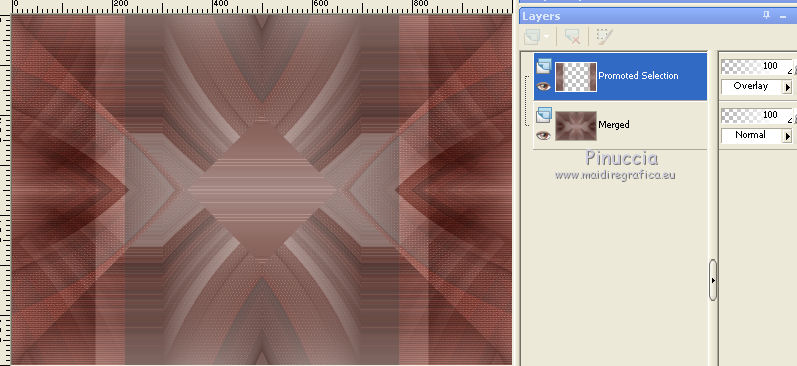
23. Activate the layer Merged.
Effects>Image Effects>Seamless Tiling, same settings.

24. Open the tube face_mj and go to Edit>Copy.
Go back to your work and go to Edit>Paste as new layer.
Layers>Arrange>Bring to Top.
Note: use this tube to get the final result of the tutorial.
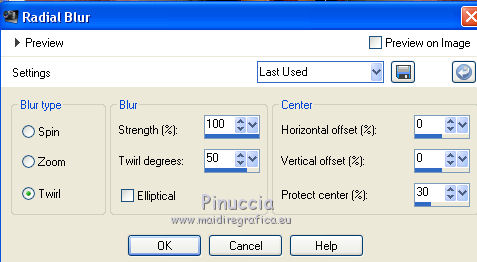
25. Adjust>Blur>Radial Blur.
26. Effects>Plugins>Photoeffex - Scanlines
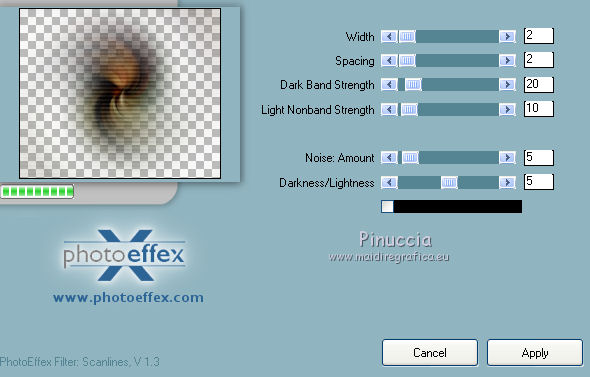
Repeat the Effects, vertical checked.
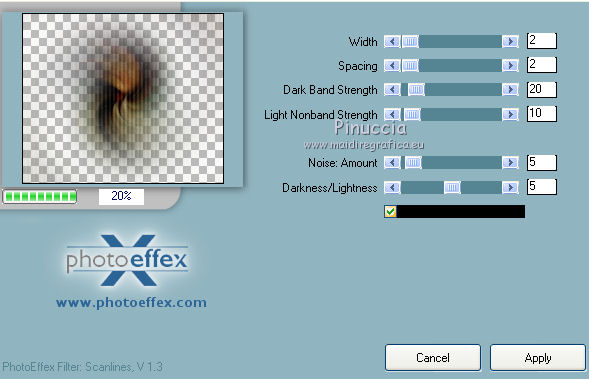
Effects>Image Effects>Seamless Tiling, same settings.

27. Effects>Plugins>Simple - Top Left Mirror
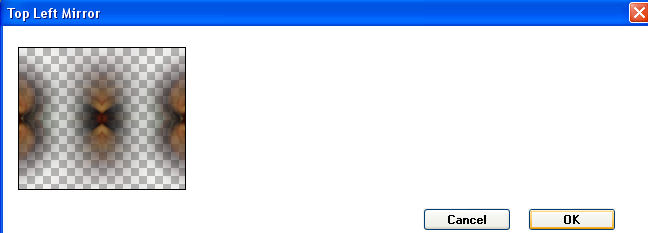
28. Layers>New Raster Layer.
Flood Fill  the layer with light color #ddcdc9. the layer with light color #ddcdc9.
29. Layers>New Mask layer>From image
Open the menu under the source window
and select the mask mask_deco_MJ
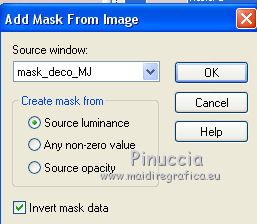
Layers>Merge>Merge Group.
30. Effects>Plugins>MuR'as Seamless - Emboss at Alpha, default settings.
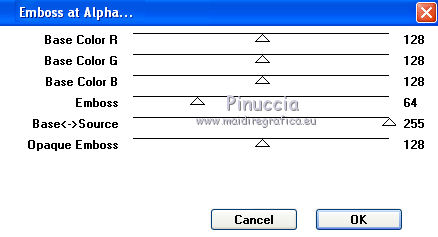
Change the Blend Mode of this layer to Hard Light.
Layers>Arrange>Move Down.
31. Layers>New Raster Layer.
Flood Fill  the layer with light color #ddcdc9. the layer with light color #ddcdc9.
32. Layers>New Mask layer>From image
Open the menu under the source window
and select the mask mask-60-GB
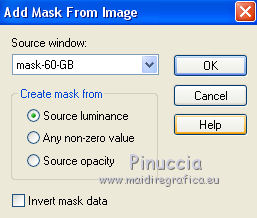
Layers>Merge>Merge Group.
33. Effects>Plugins>Mura's Seamless - Emboss at Alpha, default settings.
Layers>Arrange>Move Down.
34. Open the tube decorativo_mj and go to Edit>Copy.
Go back to your work and go to Edit>Paste as new layer.
Layers>Arrange>Bring to Top.
Your tag and your layers (adapt Blend Modes and opacities according to your colors).
The Blend Mode of the layer Promoted Selection is changed to Hard Light
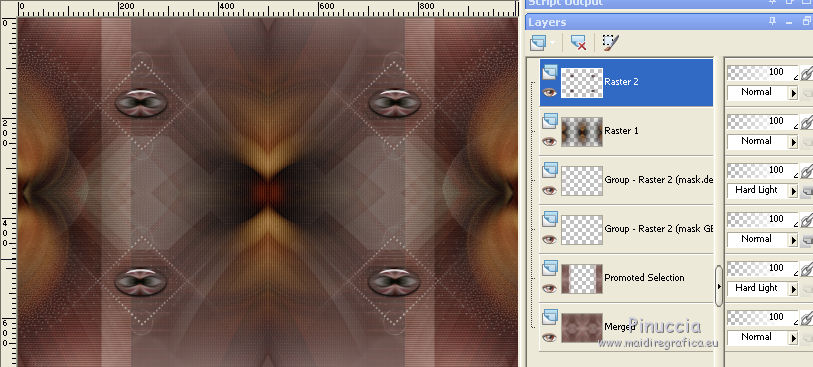
Layers>Merge>Merge visible.
35. Effects>Plugins>AAA Filters - Custom - click on Landscape, brightness -5 and ok.
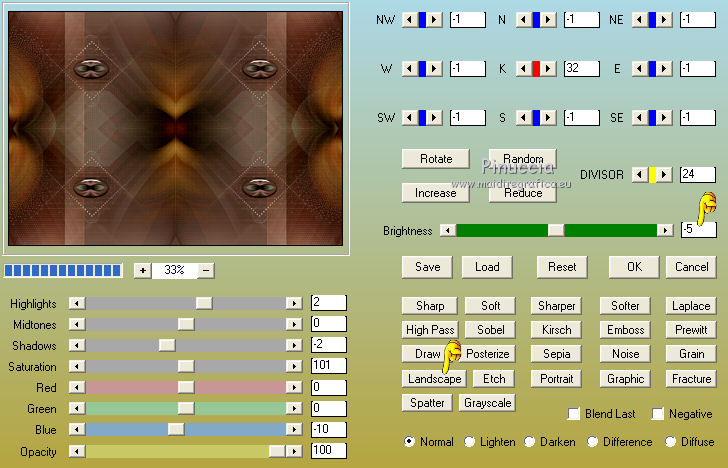
36. Open the woman tube, erase the watermark and go to Edit>Copy.
Go back to your work and go to Edit>Paste as new layer.
Image>Mirror.
Image>Resize, to 85%, resize all layers not checked.
Move  the tube to the right side. the tube to the right side.
Effects>3D Effects>Drop Shadow, at your choice.
Layers>Merge>Merge All.
37. Selections>Select All.
Edit>Copy.
Image>Add borders, 25 pixels, symmetric, color white.
38. Selections>Invert.
Edit>Paste into Selection.
39. Adjust>Blur>Gaussian Blur - radius 25.
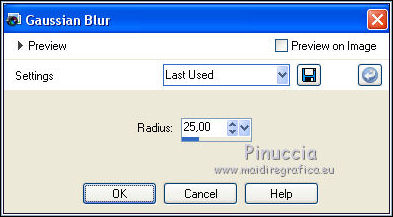
40. Effects>Plugins>Carolaine and Sensibility - CS_Texture, default settings.
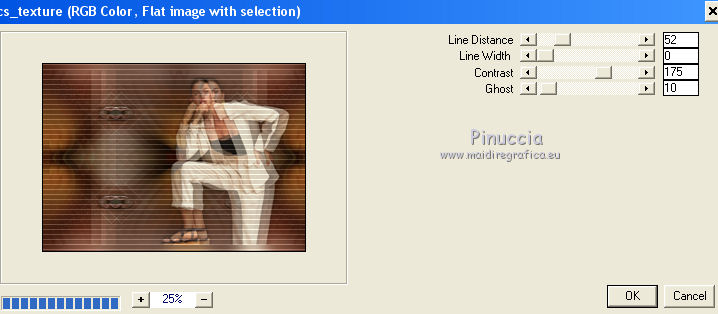
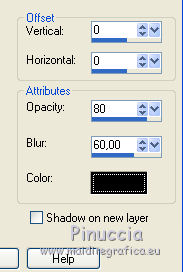
Effects>3D Effects>Drop Shadow, color black.
41. Effects>Reflection Effects>Rotating Mirror, default settings.

42. Selections>Select All.
Edit>Copy.
Image>Add borders, 25 pixels, symmetric, color white.
43. Selections>Invert.
Edit>Paste into Selection.
Effects>3D Effects>Drop Shadow, color black.

Selections>Select None.
Image>Add borders, 1 pixel, symmetric, color black.
44. Sign your work on a new layer.
Layers>Merge>Merge All.
45. Image>Resize, 1000 pixels width, resize all layers checked.
Save as jpg.
Version with tube by Luz Cristina

 Your versions here Your versions here

If you have problems or doubts, or you find a not worked link, or only for tell me that you enjoyed this tutorial, write to me.
22 March 2021
|


