|
VALESCA

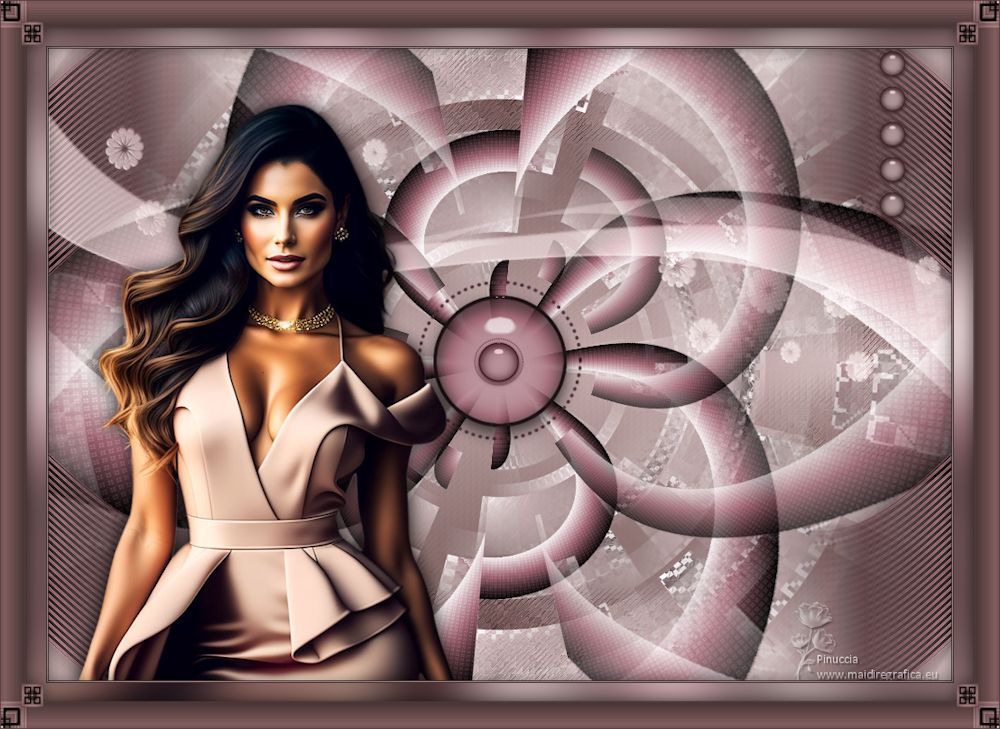
Thanks Maria José for your invitation to translate your tutorial

This tutorial has been translated with PSPX2 and PSPX3, but it can also be made using other versions of PSP.
Since version PSP X4, Image>Mirror was replaced with Image>Flip Horizontal,
and Image>Flip with Image>Flip Vertical, there are some variables.
In versions X5 and X6, the functions have been improved by making available the Objects menu.
In the latest version X7 command Image>Mirror and Image>Flip returned, but with new differences.
See my schedule here
 French translation here French translation here
 your versions ici your versions ici
For this tutorial, you will need:

For the tube and the mask thanks Beatriz and Narah.
The rest of the material is by Maria José.
(you find here the links to the material authors' sites)

consult, if necessary, my filter section here
Filters Unlimited 2.0 here
AAA Frames - Texture Frame here
RCS Filter Pak 1.0 - RCS TripleExposure here
Kiwi - Zig Zack here
Dynasty Plugins - Gendel here
Carolaine and Sensibility - CS-LDots here
Toadies - Weaver here
Funhouse - PatchWork here
Mura's Seamless - Emboss at Alpha here
Flaming Pear - Flexify 2 here
Filters RCS, Kiwi, Dynasty, Toadies and Funhouse can be used alone or imported into Filters Unlimited.
(How do, you see here)
If a plugin supplied appears with this icon  it must necessarily be imported into Unlimited it must necessarily be imported into Unlimited

You can change Blend Modes according to your colors.
In the newest versions of PSP, you don't find the foreground/background gradient (Corel_06_029).
You can use the gradients of the older versions.
The Gradient of CorelX here

Open the mask in PSP and minimize it with the rest of the material.
1. Set your foreground color to #5c3e3e,
and your background color to #c8aeae.
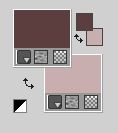
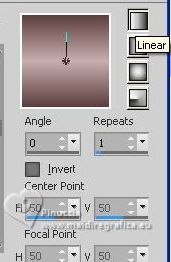
Set your foreground color to a Foreground/Background Gradient, style Linear.
Open a new transparent image 1000 x 700 pixels.
Flood Fill  the transparent image with your Gradient. the transparent image with your Gradient.
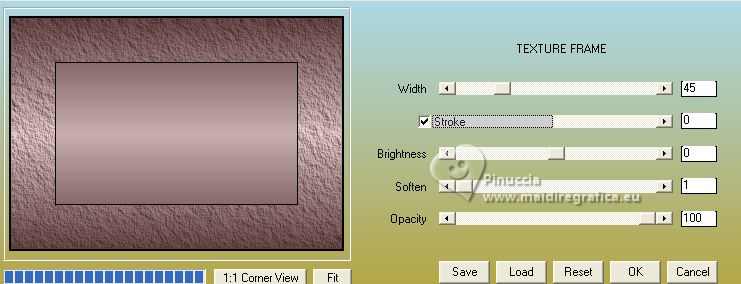
2. Effects>Plugins>AAA Frames - Texture Frame.
3. Effects>Image Effects>Seamless Tiling.
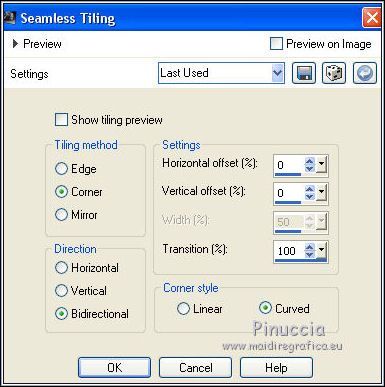
4. Effects>Plugins>AAA Frames - Texture Frame.
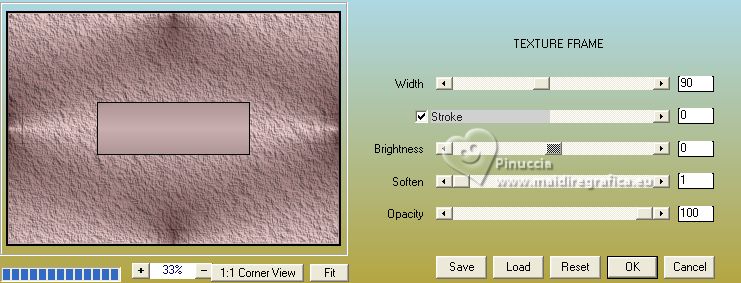
5. Effects>Image Effects>Seamless Tiling, default settings.

6. Effects>Plugins>RSC Filter Pak 1.0 - RCS-TripleExposure
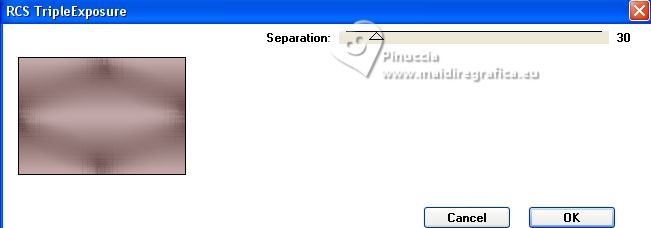
7. Effects>Plugins>*Kiwi* - Zig Zack, default settings
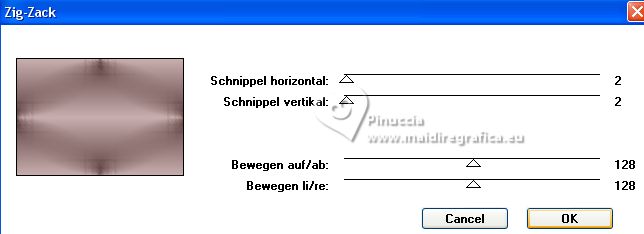
Repeat the Effects another time.
Adjust>Sharpness>Sharpen More.
8. Layers>New Raster Layer.
Flood Fill  the layer with your Gradient. the layer with your Gradient.
9. Effects>Plugins>Dynasty Plugins - Gendel
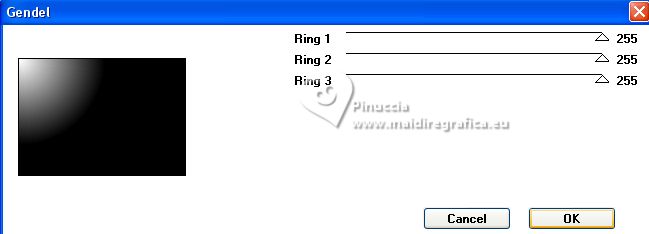
10. Activate your Magic Wand Tool 
and click in the black color to select it.

Press CANC on the keyboard 
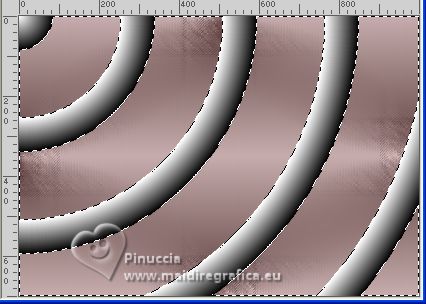
Selections>Select None.
11. To colorize: Adjust>Hue and Saturation>Hue/Saturation>Lightness
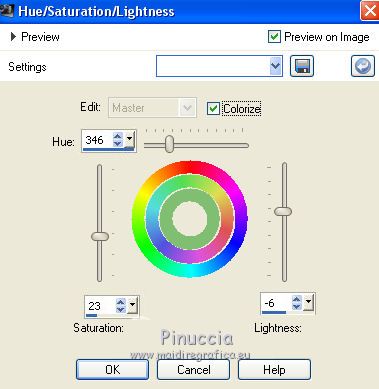
Or, if you prefer, use your Color Changer Tool 
12. Effects>Plugins>Carolaine and Sensibility - CS-LDots
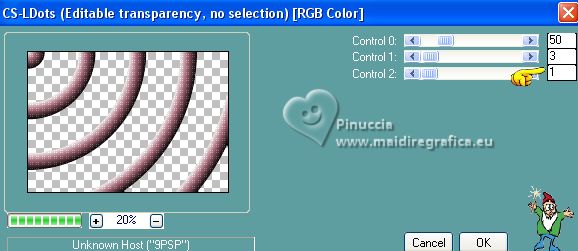
13. Layers>Duplicate.
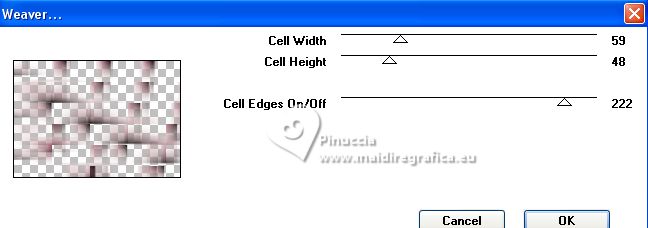
Effects>Plugins>Toadies - Weaver, default settings.
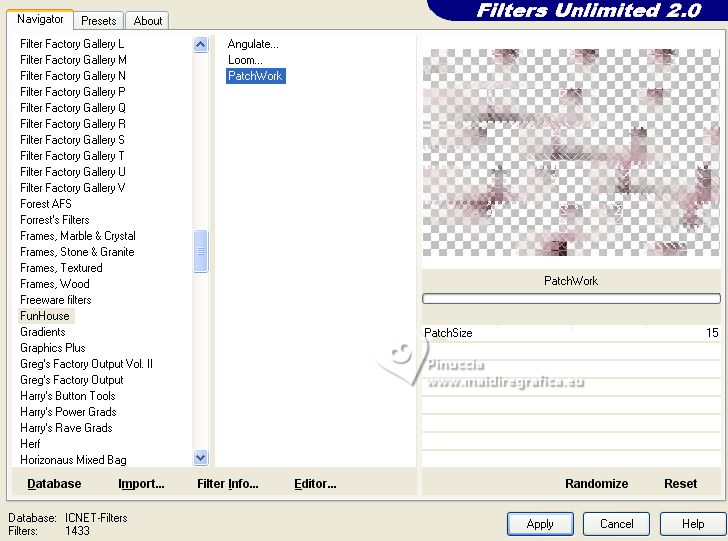
14. Effects>Plugins>Filters Unlimited 2.0 - FunHouse - PatchWork, default settings.
15. Layers>Arrange>Move Down.
Activate the layer above, Raster 2.
Layers>Merge>Merge Down.
16. Layers>Duplicate.
Image>Resize, to 80%, resize all layers not checked.
17. Image>Mirror>Mirror Horizontal (Image>Mirror).
Reduce the opacity of this layer to 65%.
Layers>Merge>Merge Down.
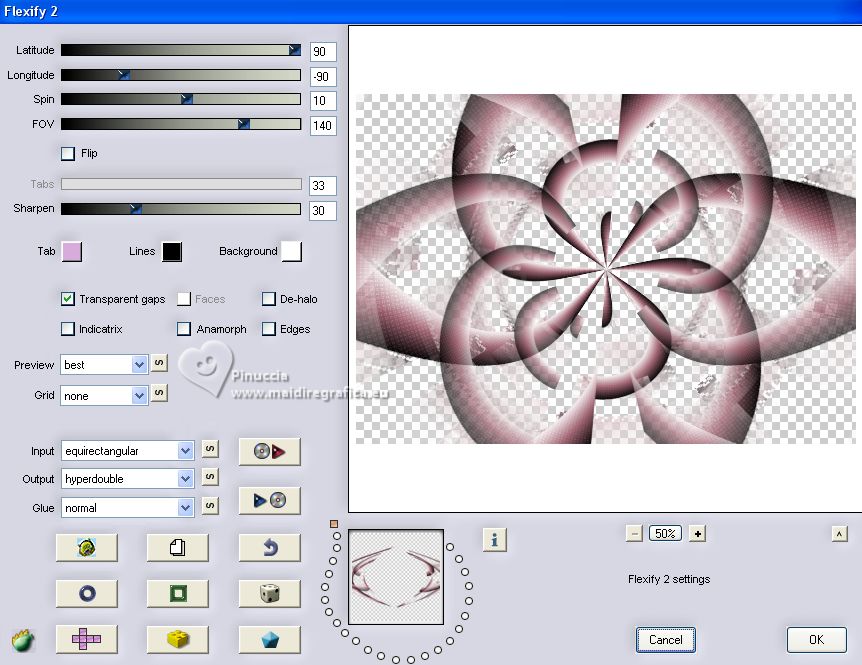
18. Effects>Plugins>Flaming Pear - Flexify 2
19. Open beauty_deco_mj 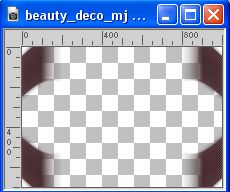
Edit>Copy.
Go back to your work and go to Edit>Paste as new layer.
Reduce the opacity of this layer to 75%.
20. Open copydecoball_mj 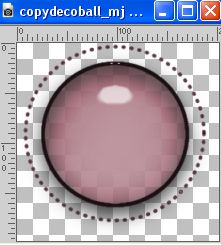
Edit>Copy.
Go back to your work and go to Edit>Paste as new layer.
K key to activate your Pick Tool 
and set Position X: 402,00 and Position Y: 255,00.

M key to deselect the Tool.
21. Open the tube deco_1_mj 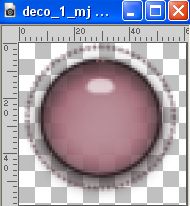
Edit>Copy.
Go back to your work and go to Edit>Paste as new layer.
Place  the tube in the center. the tube in the center.
Change the Blend Mode of this layer to Luminance (legacy).
22. Open the tube deco_2_mj 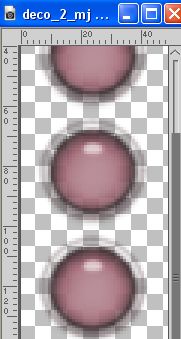
Edit>Copy.
Go back to your work and go to Edit>Paste as new layer.
Move  the tube at the upper right. the tube at the upper right.
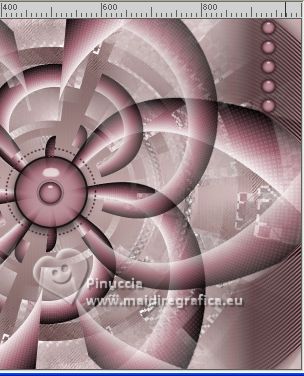
Change the Blend Mode of this layer to Luminance (legacy).
23. Layers>New Raster Layer.
Flood Fill  the layers with your light background color. the layers with your light background color.
24. Layers>New Mask layer>From image
Open the menu under the source window and you'll see all the files open.
Select the mask NarahsMasks_1632.
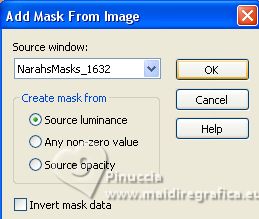
Layers>Merge>Merge Group.
25. Effects>Plugins>MuRa's Seamless - Emboss at Alpha, default settings.

Change the Blend Mode of this layer to Screen.
Image>Mirror>Mirror Vertical (Image>Flip)
Your tag and the layers - adapt Blend Mode and opacity according your colors.
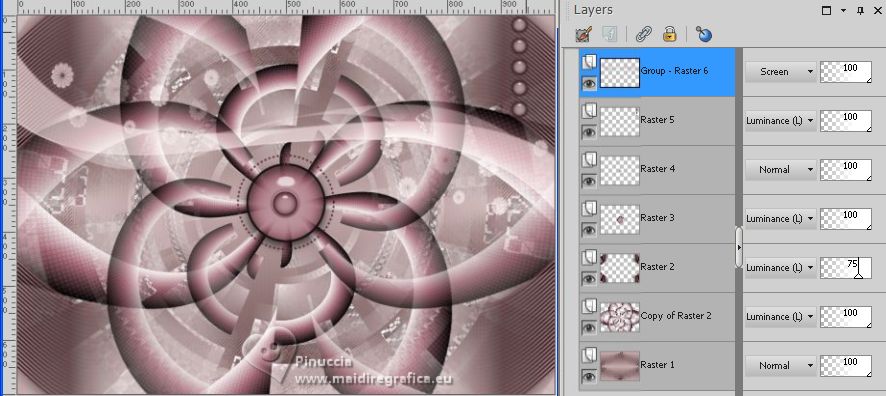
26. Open the woman's tube 3958-woman-LB TUBES 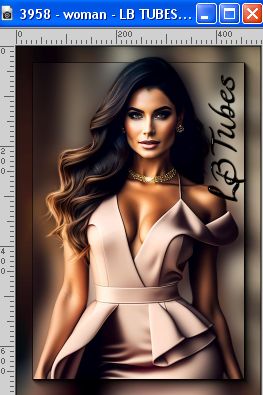
Edit>Copy.
Go back to your work and go to Edit>Paste as new layer.
Move  the tube to the left side. the tube to the left side.
27. Effects>3D Effects>Drop Shadow, at your choice.
28. Image>Add borders, 1 pixel, symmetric, dark color.
Image>Add borders, 1 pixel, symmetric, light color.
Image>Add borders, 1 pixel, symmetric, dark color.
29. Selections>Select All.
Edit>Copy
Image>Add borders, 50 pixels, symmetric, color white.
30. Selections>Invert.
Edit>Paste into Selection.
31. Adjust>Blur>Gaussian Blur - radius 30.

32. Effects>3D Effects>Drop Shadow, color black.

33. Layers>New Raster Layer.
Open framerose 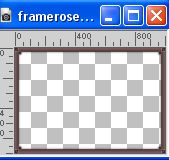
Edit>Copy.
Go back to your work and go to Edit>Paste into Selection.
If necessary, change the Blend Mode of this layer to Luminance (legacy).
Selections>Select None.
34. Sign your work.
Image>Add borders, 1 pixel, symmetric, dark color.
35. Image>Resize, 1000 pixels width, resize all layers checked.
Save as jpg.
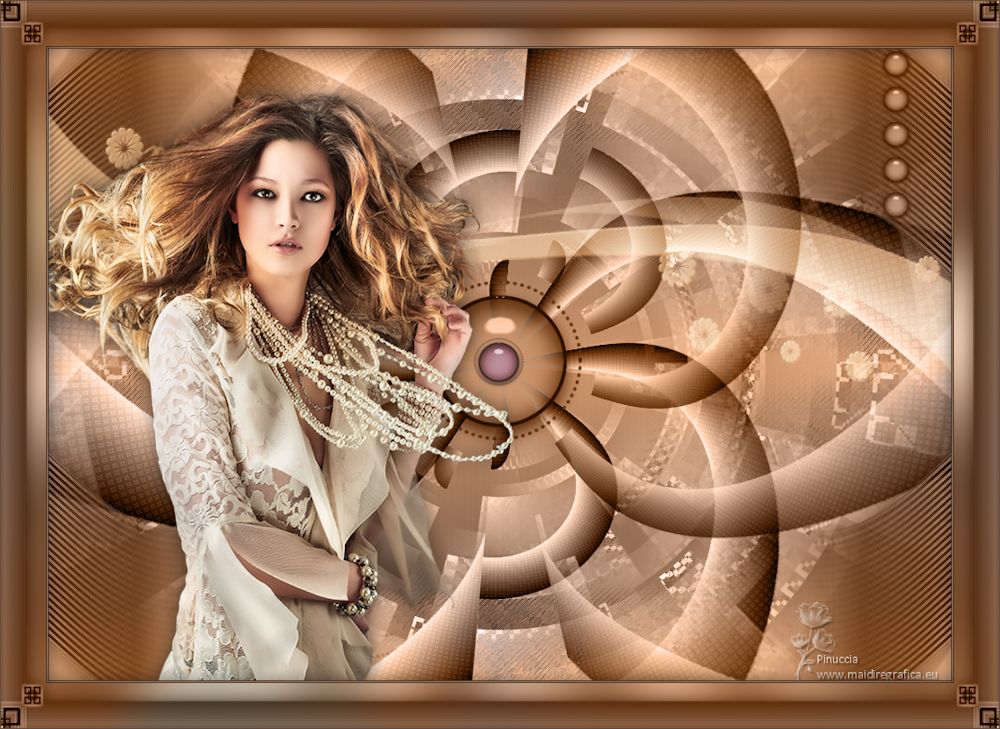
For the tube of this version thanks Azalée

If you have problems or doubts, or you find a not worked link,
or only for tell me that you enjoyed this tutorial, write to me.
8 August 2023

|


