|
YOU DON'T HAVE...

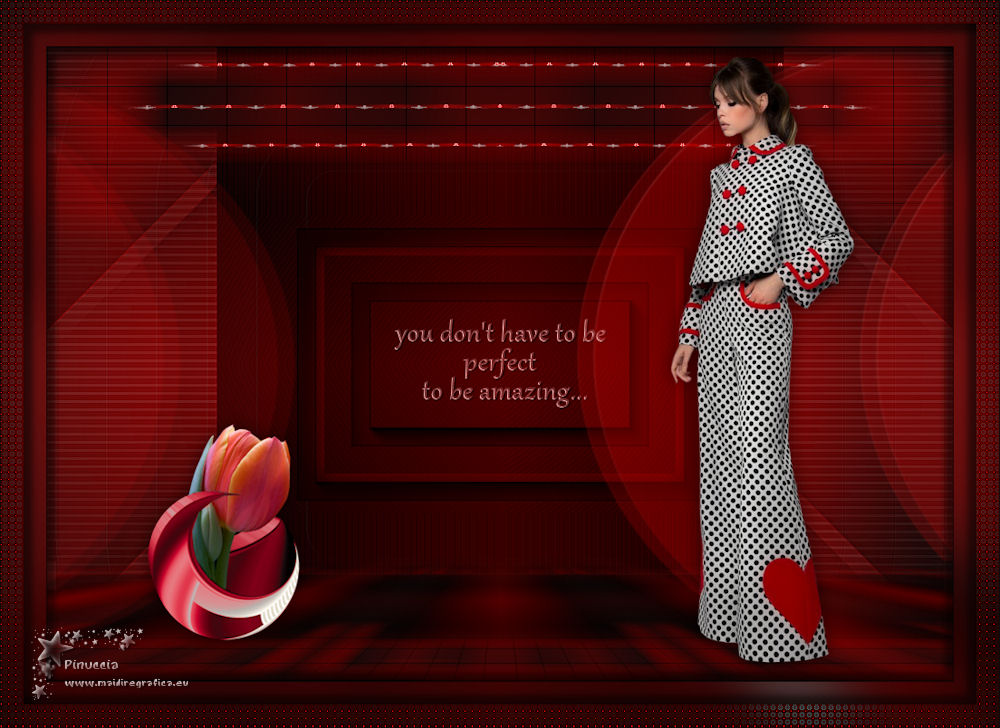
Thanks Maria José for your invitation to translate your tutorial

This tutorial has been translated with PSPX2 and PSPX3, but it can also be made using other versions of PSP.
Since version PSP X4, Image>Mirror was replaced with Image>Flip Horizontal,
and Image>Flip with Image>Flip Vertical, there are some variables.
In versions X5 and X6, the functions have been improved by making available the Objects menu.
In the latest version X7 command Image>Mirror and Image>Flip returned, but with new differences.
See my schedule here
 French translation here French translation here
 your versions ici your versions ici
For this tutorial, you will need:
Material here
For one mask thanks Ket.
The rest of the material is by Maria José
(you find here the links to the material authors' sites)
Plugins
consult, if necessary, my filter section here
Filters Unlimited 2.0 here
Filter Meister - FM Sample: Min-I-Max here
Mura's Meister - Perspective Tiling here
Penta.com - VTR here
Simple - Top Left Mirror here
Mura's Seamless - Emboss at Alpha here
Richard Rosenman - Halftone here
Toadies - Ommadawn, What are you here
AAA Frames - Foto Frame here
Filters Simple, Toadies, Penta and Mura's Seamless can be used alone or imported into Filters Unlimited.
(How do, you see here)
If a plugin supplied appears with this icon  it must necessarily be imported into Unlimited it must necessarily be imported into Unlimited

You can change Blend Modes according to your colors.
In the newest versions of PSP, you don't find the foreground/background gradient (Corel_06_029).
You can use the gradients of the older versions.
The Gradient of CorelX here
Copy the preset Emboss 3 in the Presets Folder.
Copy the mask !!!!mask.ket-fadesuave in the Masks Folder.
Open the second mask in PSP and minimize it with the rest of the material.
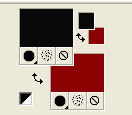
Set your foreground color to #0b0b0b,
and your background color to #8b0000.
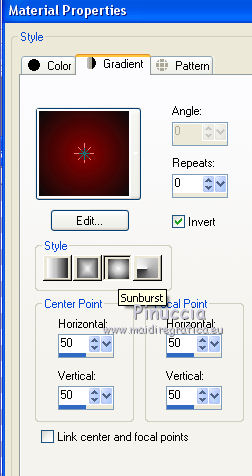
Set your foreground color to a Foreground/Background Gradient, style Sunburst.
1. Ouvrir alphachannel_youdont.
Window>Duplicate or, on the keyboard, shift+D to make a copy.

Close the original.
The copy, that will be the basis of your work, is not empty,
but contains the selections saved to alpha channel.
Flood Fill  the transparent image with your Gradient. the transparent image with your Gradient.
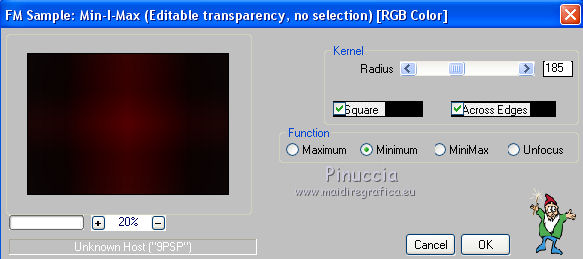
2. Effects>Plugins>Filter Meister - FM Sample: Min-I-Max
3. Effects>User Defined Filter - select the preset Emboss 3 and ok.

4. Effects>Edge Effects>Enhance More.
5. Selections>Load/Save Selection>Load Selection from Alpha Channel.
The selection #1 is immediately available. You just have to click Load.
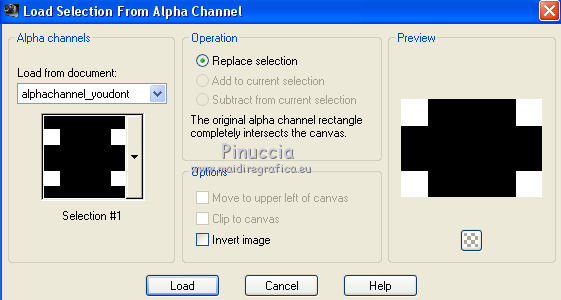
Layers>New Raster Layer.
Flood Fill  the layer with your Gradient. the layer with your Gradient.
6. Effects>Plugins>Toadies - Ommadawn, default settings.
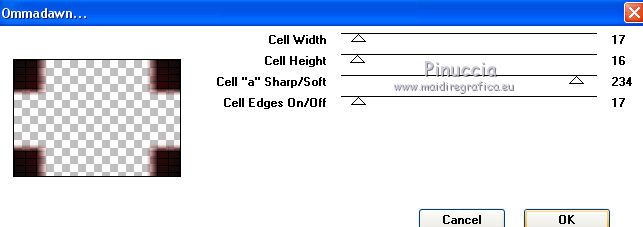
Selections>Select None.
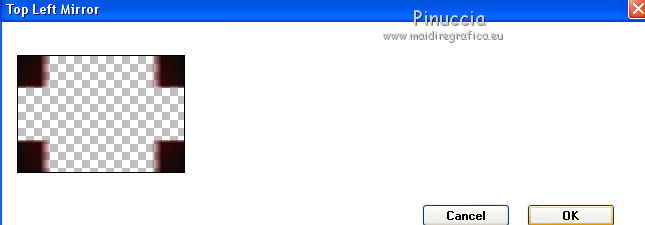
7. Effects>Plugins>Simple - Top Left Mirror.
8. Selections>Load/Save Selection>Load Selection from Alpha Channel.
Open the selections menu and load the selection #2.
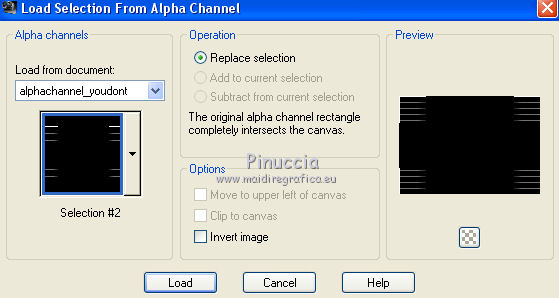
Press CANC on the keyboard 
Adjust>Sharpness>Sharpen More.
Selections>Select None.
Layers>Duplicate.
9. Effects>Geometric Effects>Cylinder Vertical.
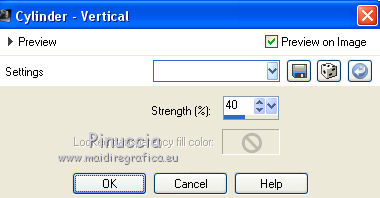
10. Activate the layer below, Raster 2.
Effects>Geometric Effects>Cylinder Horizontal.
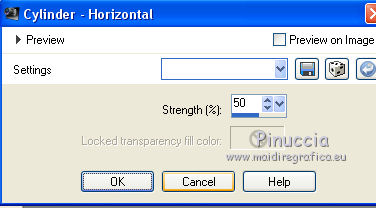
Stay on this layer.
11. Effects>Plugins>Mura's Meister - Copies.
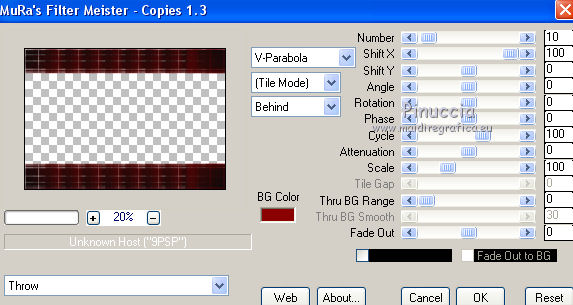
12. Effects>Reflection Effects>Rotating Mirror.

Layers>Arrange>Bring to Top.
Layers>Merge>Merge Down.
13. Selections>Load/Save Selection>Load Selection from Alpha Channel.
Open the selections menu and load the selection #3.
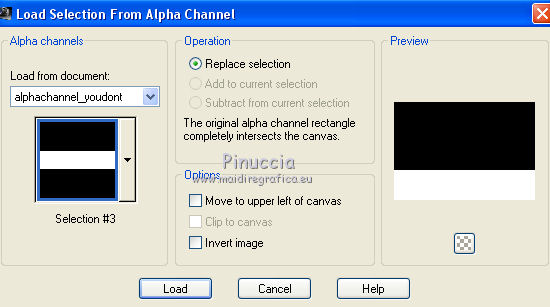
Press CANC on the keyboard.
Selections>Select None.
14. Effects>3D Effects>Drop Shadow, light color.
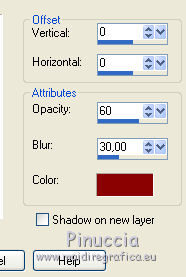
15. Repeat Effects>Plugins>Toadies - Ommadawn, default settings.
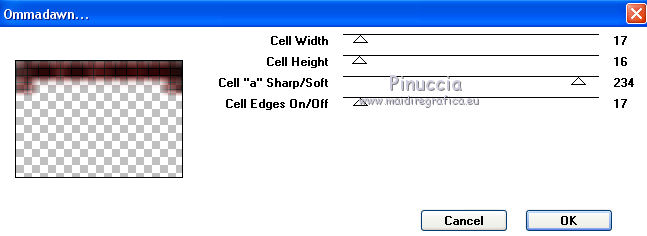
16. Effects>Reflection Effects>Rotating Mirror, same settings.

17. Edit>Copy Special>Copy Merged.
18. Edit>Paste as new layer.
Image>Flip.
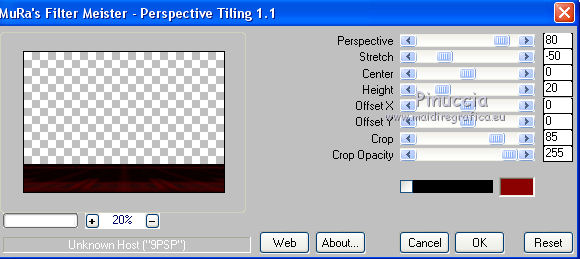
19. Effects>Plugins>Mura's Meister - Perspective Tiling.
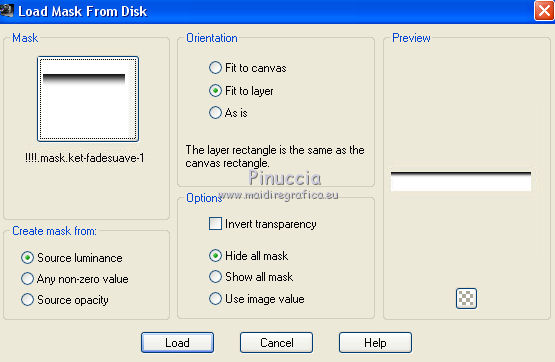
20. Layers>Load/Save Mask>Load Mask from Disk.
Look for and load the mask !!!!mask.ket-fadesuave-1.
Layers>Duplicate.
Layers>Merge>Merge Group.
21. Selections>Load/Save Selection>Load Selection from Alpha Channel.
Open the selections menu and load the selection #4.
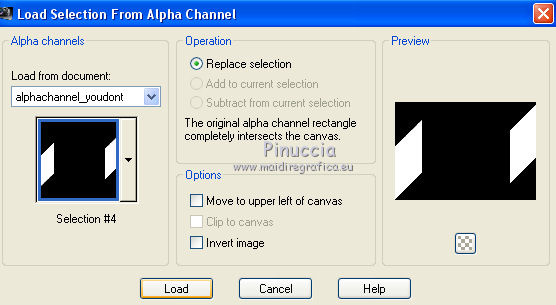
22. Layers>New Raster Layer.
Flood Fill  the layer with your Gradient. the layer with your Gradient.
Selections>Select None.
23. Effects>Plugins>Penta.com - VTR
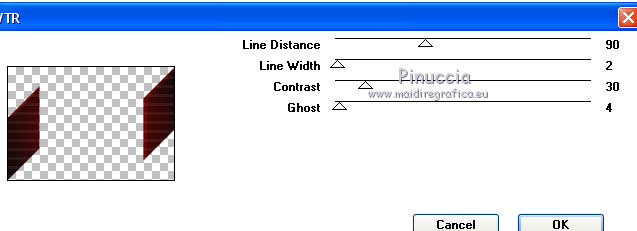
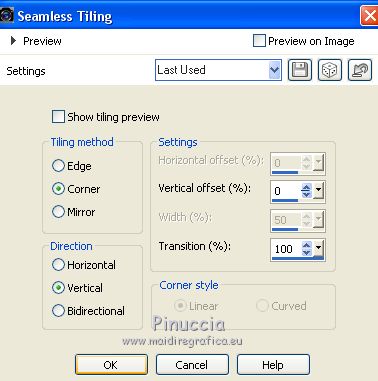
24. Effects>Image Effects>Seamless Tiling.
Effects>3D Effects>Drop Shadow, color black.

25. Effects>Reflection Effects>Rotating Mirror, same settings.

26. Adjust>Sharpness>Sharpen More.
Change the Blend Mode of this layer to Screen.
Layers>Arrange>Move Down - 2 times.
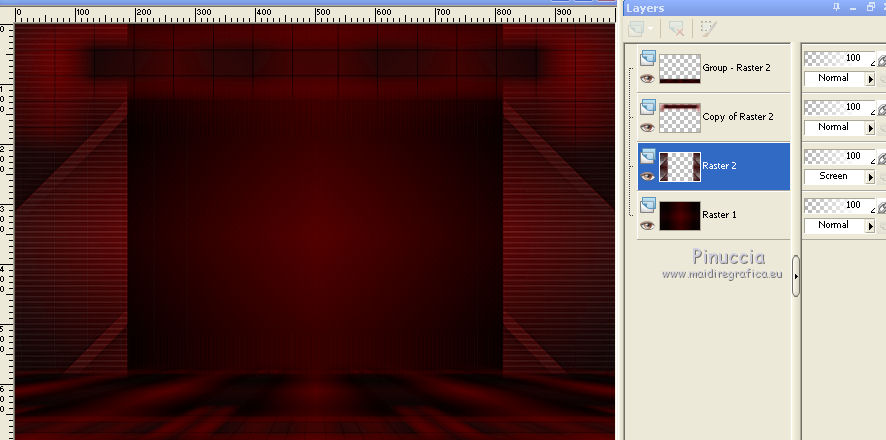
27. Layers>New Raster Layer.
Layers>Arrange>Bring to top.
Reduce the opacity of your Flood Fill Tool to 70,
Flood Fill  the layer with your light color. the layer with your light color.
don't forget to set again the opacity of your Flood Fill Tool to 100
28. Layers>New Mask layer>From image
Open the menu under the source window and you'll see all the files open.
Select the mask 41-masktol_MJ.
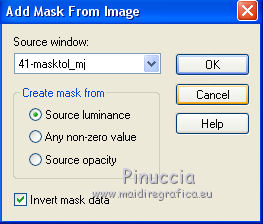
Layers>Merge>Merge Group.
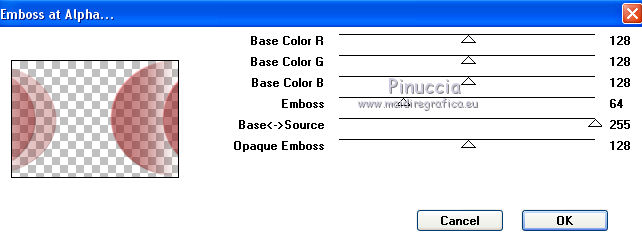
29. Effects>Plugins>Mura's Seamless - Emboss at Alpha, default settings.
30. Effects>Plugins>Toadies - What are you.
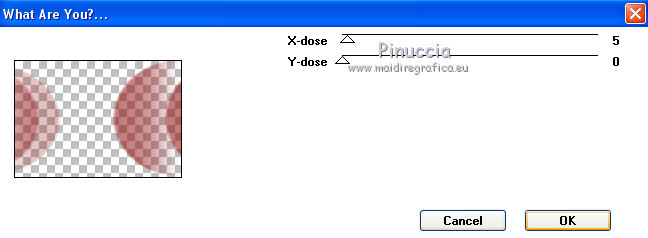
Change the Blend Mode of this layer to Screen and reduce the opacity of 80%.
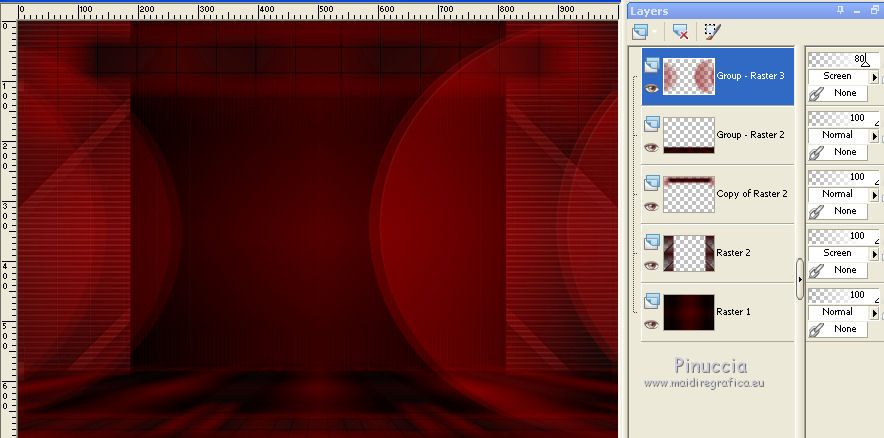
31. Open the tube decorouge_mj and go to Edit>Copy.
Go back to your work and go to Edit>Paste as new layer.
Change the Blend Mode of this layer to Screen.
32. Effects>Image Effects>Offset.
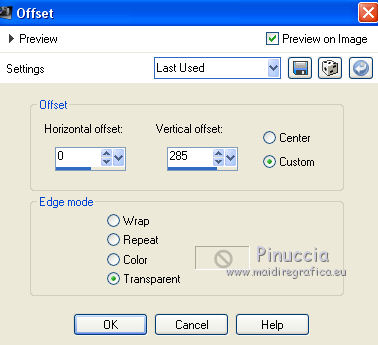
33. Activate the layer Raster 1.
Selections>Load/Save Selection>Load Selection from Alpha Channel.
Open the selections menu and load the selection #5.
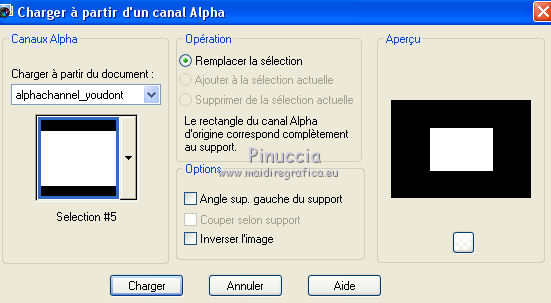
Selections>Promote Selection to Layer.
34. Effects>Plugins>AAA Frames - Foto Frame.
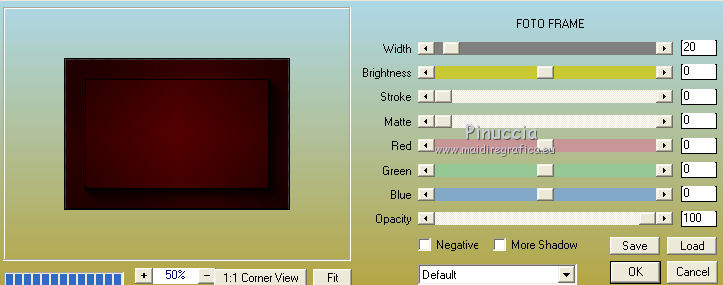
35. Selections>Modify>Contract - 30 pixels.
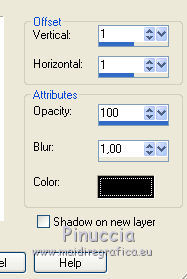
Effects>3D Effects>Drop shadow, light color.

36. Selections>Modify>Contract - 30 pixels.
37. Effects>Plugins>AAA Frames - Foto Frame, comme précédemment.
Selections>Select None.
38. Open the tube texto and go to Edit>Copy.
Go back to your work and go to Edit>Paste as new layer.
Change the Blend Mode of this layer to Luminance (legacy), or colorize according to your colors.
Effects>3D Effects>Drop Shadow, color black.
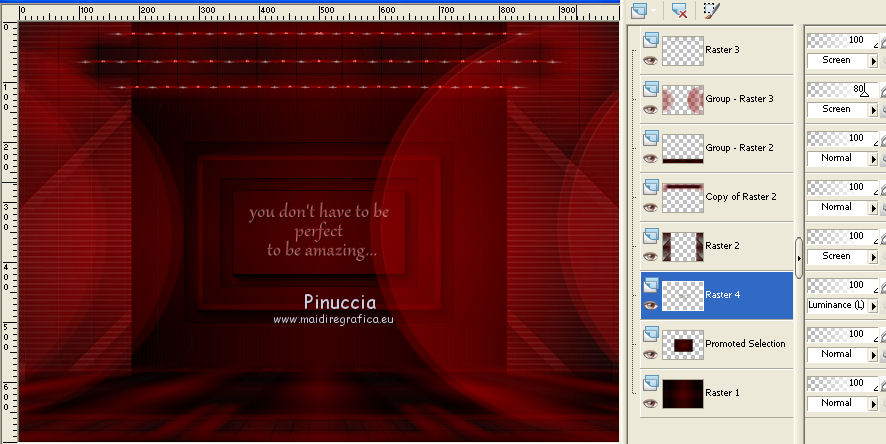
The tag and the layers - Blend Modes and opacities according to your colors.
39. Activate the top layer.
Open the deco tube and go to Edit>Copy.
Go back to your work and go to Edit>Paste as new layer.
Move  the tube at the bottom left. the tube at the bottom left.
Effects>3D Effects>Drop Shadow, at your choice.
40. Open the woman tube and go to Edit>Copy.
Go back to your work and go to Edit>Paste as new layer.
Image>Resize, to 80%, resize all layers not checked.
Move  the tube to the right side. the tube to the right side.
Effects>3D Effects>Drop Shadow, at your choice.
41. Image>Add borders, 1 pixel, symmetric, dark color #0b0b0b.
42. Selections>Select All.
Edit>Copy.
Image>Add borders, 50 pixels, symmetric, color white.
43. Selections>Invert.
Edit>Paste into Selection (the image copied at step 32).
Adjust>Blur>Gaussian Blur - radius 30.

44. Effects>3D Effects>Drop Shadow, color black.
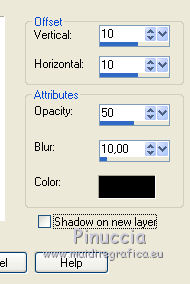
Repeat Drop Shadow, vertical and horizontal -10.
45. Selections>Select All.
Selections>Modify>Contract - 25 pixels.
Selections>Invert.
46. Effects>Plugins>Richard Rosenman - Halftone, background color #8b0000.
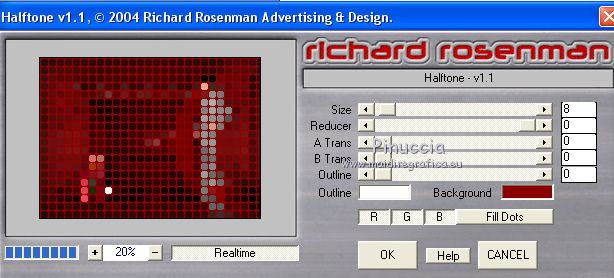
47. Effects>Edge Effects>Erode.
Effects>Edge Effects>Enhance.
48. Effects>3D Effects>Drop shadow, color black.

Repeat Drop shadow vertical and horizontal -10.
Selections>Select None.
49. Sign your work on a new layer.
Image>Add borders, 1 pixel, symmetric, color #0b0b0b.
50. Image>Resize, 1000 pixels width, resize all layers checked.
Save as jpg.
Version with tubes by Luz Cristina and Nena Silva
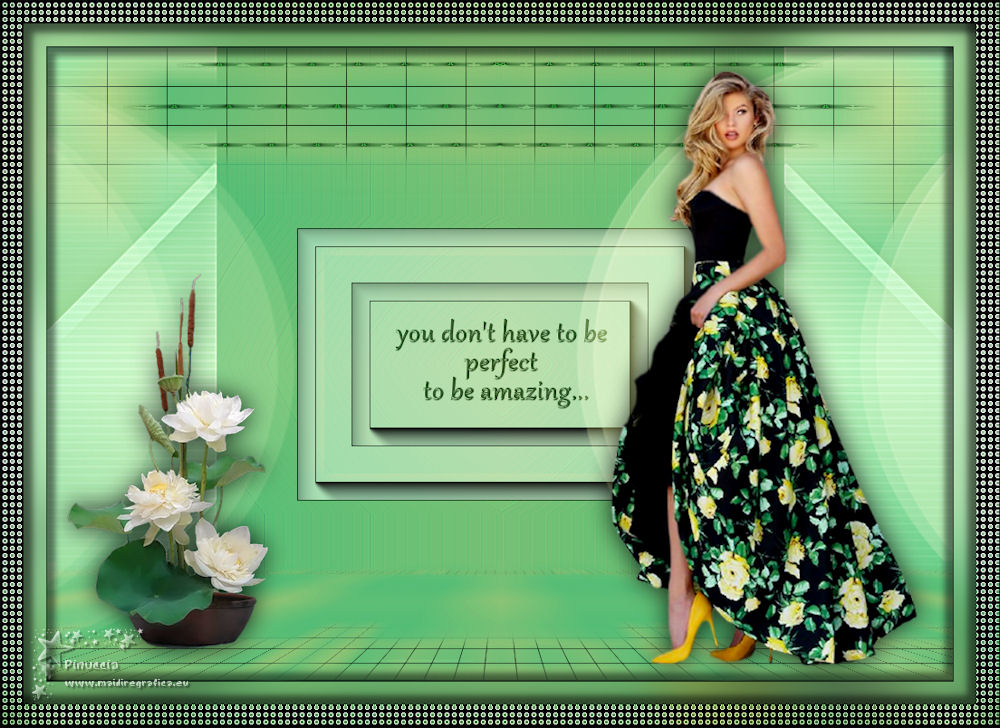
 Your versions here Your versions here

If you have problems or doubts, or you find a not worked link, or only for tell me that you enjoyed this tutorial, write to me.
2 June 2021
|


