|
ZARA

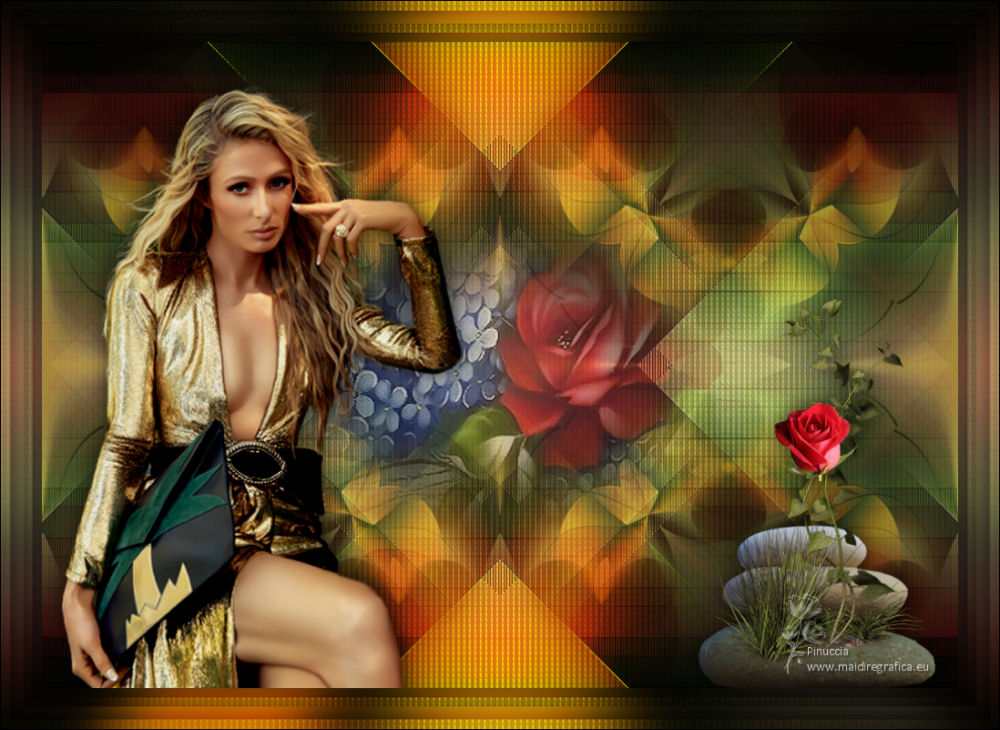
Thanks Maria José for your invitation to translate your tutorial

This tutorial has been translated with PSPX2 and PSPX3, but it can also be made using other versions of PSP.
Since version PSP X4, Image>Mirror was replaced with Image>Flip Horizontal,
and Image>Flip with Image>Flip Vertical, there are some variables.
In versions X5 and X6, the functions have been improved by making available the Objects menu.
In the latest version X7 command Image>Mirror and Image>Flip returned, but with new differences.
See my schedule here
 French translation here French translation here
 your versions ici your versions ici
For this tutorial, you will need:
Material here
For he tube thanks Luz Cristina.
The rest of the material is by Maria José.
(you find here the links to the material authors' sites)
Plugins
consult, if necessary, my filter section here
Filters Unlimited 2.0 here
Filter Factory Galler M - Ambrosia here
Mehdi - Wavy Lab 1.1 here
Mehdi - Sorting Tiles here
Alien Skin Eye Candy 5 Impact - Glass here
Simple - Top Left Mirror here
Flaming Pear - Flexify 2 here
Italian Editors Effect - Mosaico here
AP 01 [Innovations] - Distort-ShiftMesh here
Mura's Seamless - Emboss at Alpha here
Filters Factory Gallery, Simple, Italian Editors and Mura's Seamless can be used alone or imported into Filters Unlimited.
(How do, you see here)
If a plugin supplied appears with this icon  it must necessarily be imported into Unlimited it must necessarily be imported into Unlimited

You can change Blend Modes according to your colors.
Copy the preset for Flexify in a folder at your choice.
You can import it from this folder, when you'll need it.
Copy the mask 20-20 in the Masks Folder.
1. Set your foreground color to #353928
and your background color to #a69c5e.
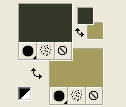
Open a new transparent image 1000 x 700 pixels.
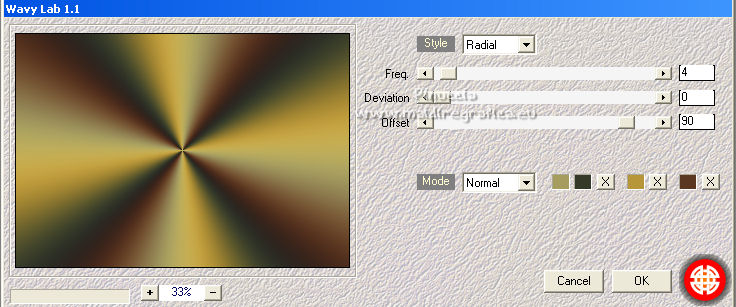
2. Effects>Plugins>Mehdi - Wavy Lab 1.1.
This filters creates gradients with the colors of your Materials palette.
The first is your background color, the second is your foreground color.
Change the last two colors created by the filtre:
the third color with #b79639 and the forth color with #b53721.
3. Layers>New Raster Layer.
Flood Fill  the layer with your background color. the layer with your background color.
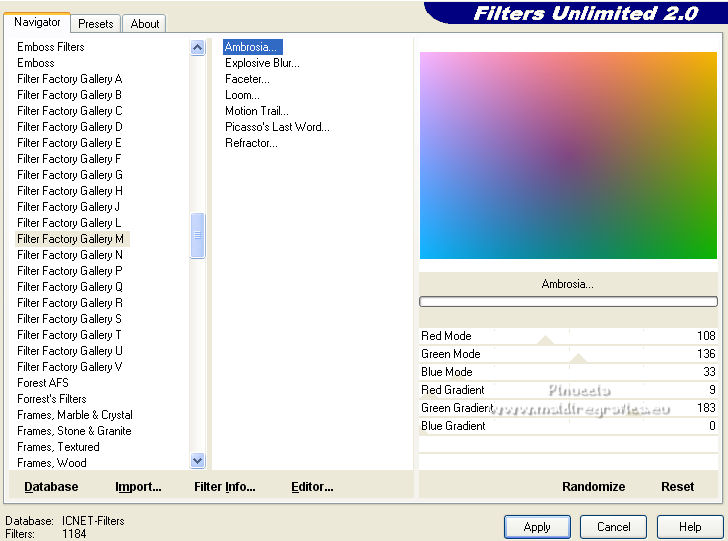
4. Effects>Plugins>Filters Unlimited 2.0 - Filter Factory Gallery M - Ambrosia, default settings.
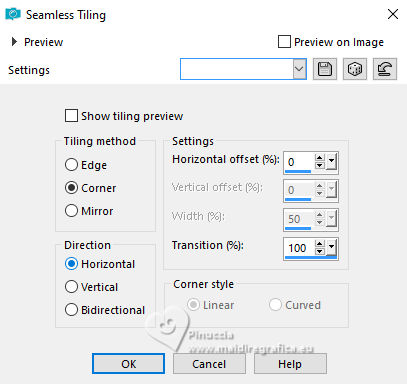
5. Effects>Image Effects>Seamless Tiling.

Change the Blend Mode of this layer to Overlay.
Layers>Merge>Merge Down.
6. Effects>Plugins>Mehdi - Sorting Tiles.
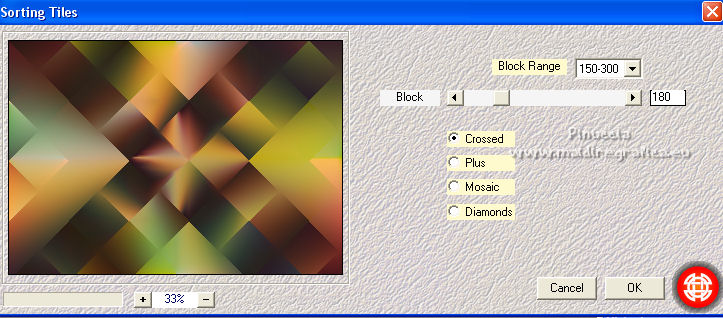
7. Effects>Plugins>Simple - Top Left Mirror.
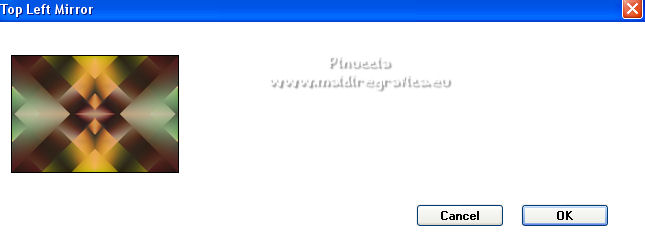
8. Effects>Edge Effects>Enhance.
Layers>Duplicate.
9. Effects>Plugins>Italian Editors Effect - Mosaico
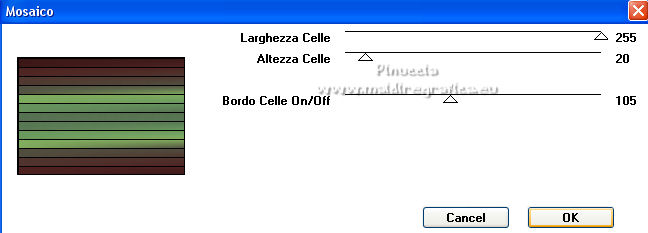
Change the Blend Mode of this layer to Overlay.
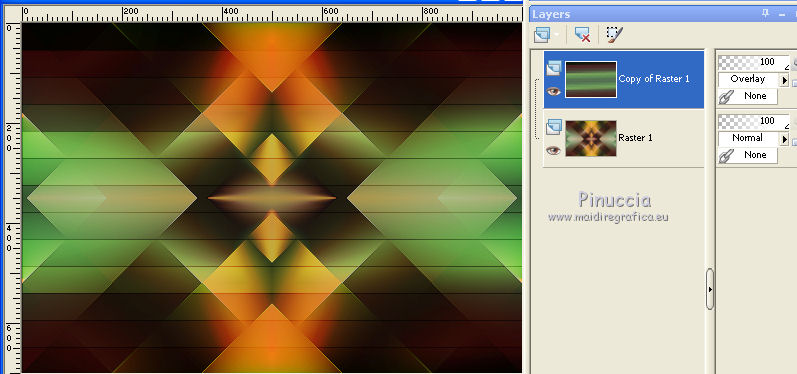
Layers>Merge>Merge Down.
Layers>Duplicate.
10. Effects>Plugins>Flaming Pear - Flexify
Click on the red button and look for the preset mjpFlexify 2
in the folder where you copied it.
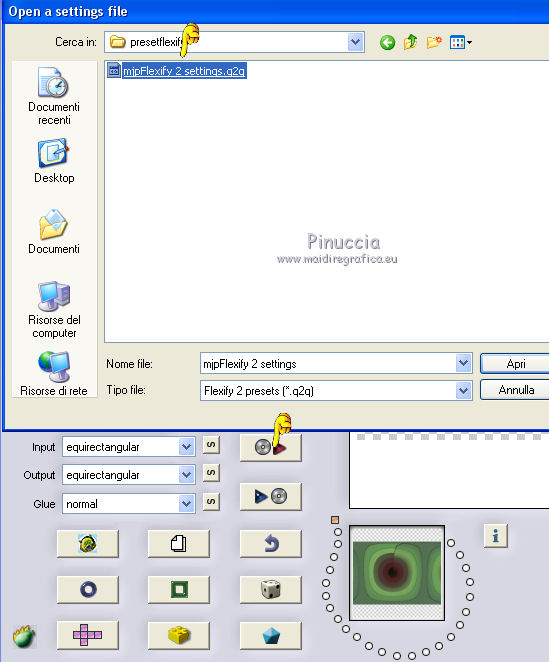

11. Layers>Load/Save Mask>Load Mask from Disk.
Look for and load the mask 20-20.
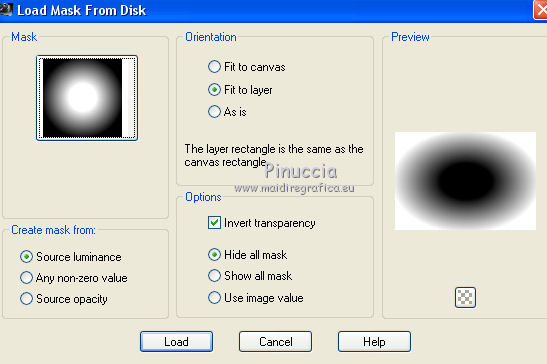
Load Merge>Merge Group.
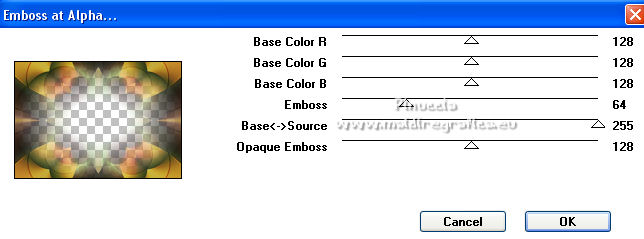
12. Effects>Plugins>Mura's Seamless - Emboss at Alpha, default settings.
13. Effects>Plugins>Flaming Pear - Flexify 2, same settings.
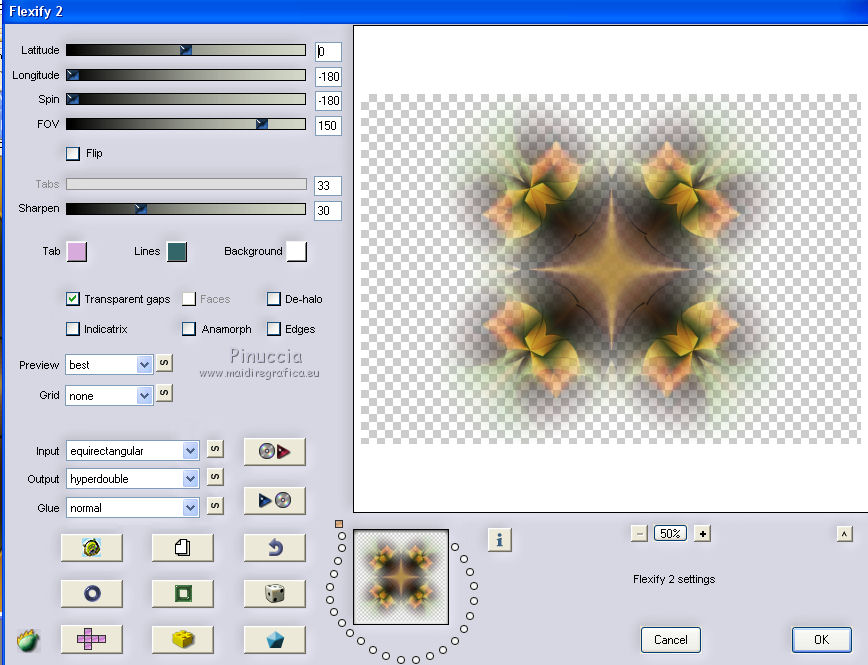
Effects>Image Effects>Seamless Tiling.
14. Open thetube MJ_deco and go to Edit>Copy.
Go back to your work and go to Edit>Paste as new layer.
Adjust>Sharpness>Sharpen More.
Layers>Arrange>Move Down.
Change the Blend Mode of this layer to Overlay.
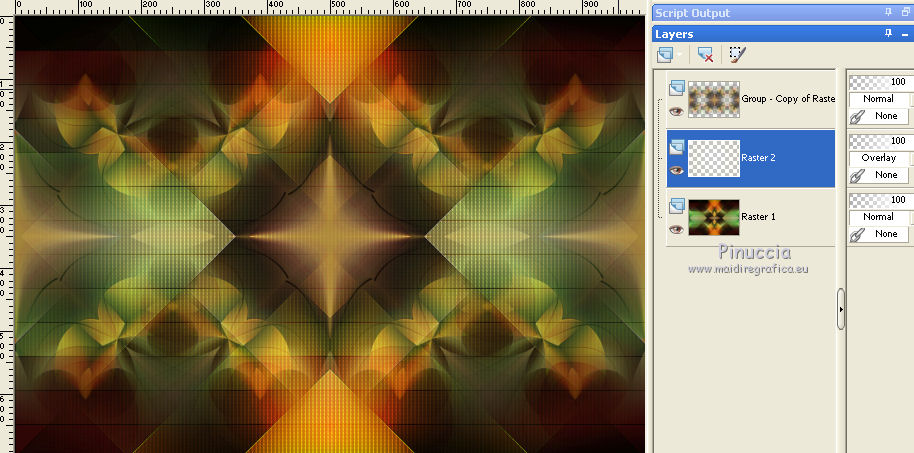
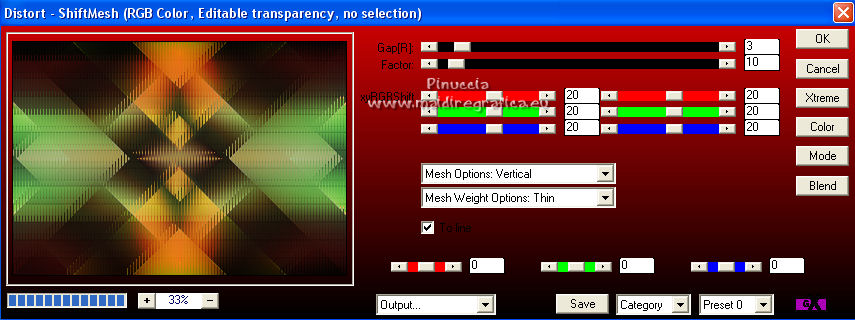
15. Activate the layer Raster 1.
Effects>Plugins>AP 01 [Innovations] - Distort ShiftMesh
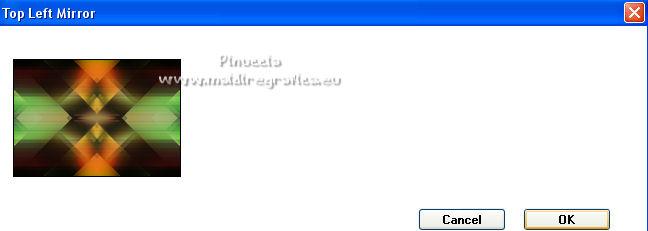
16. Effects>Plugins>Simple - Top Left Mirror.
17. Activate the top layer.
Open the misted rosahortencia and go to Edit>Copy.
Go back to your work and go to Edit>Paste as new layer.
Place  correctly the tube in the center. correctly the tube in the center.
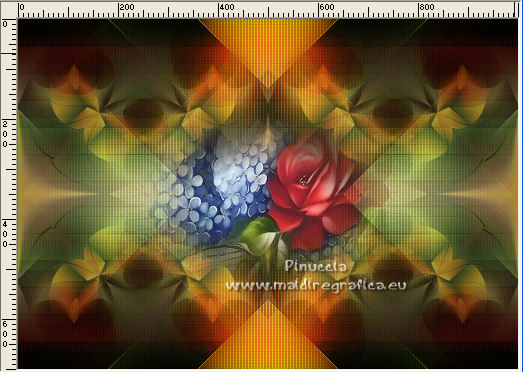
Reduce the opacity of this layer +/-71%.
1
18. Open the woman tube and go to Edit>Copy.
Go back to your work and go to Edit>Paste as new layer.
Image>Resize, to 85%, resize all layers not checked.
Move  the tube to the left side. the tube to the left side.
Effects>3D Effects>Drop Shadow, at your choice.
19. Open the deco tube déco and go to Edit>Copy.
Go back to your work and go to Edit>Paste as new layer.
Move  the tube to the right side. the tube to the right side.
Effects>3D Effects>Drop Shadow, at your choice.
The tag and the layer - adapt to your liking Blend Modes and opacities
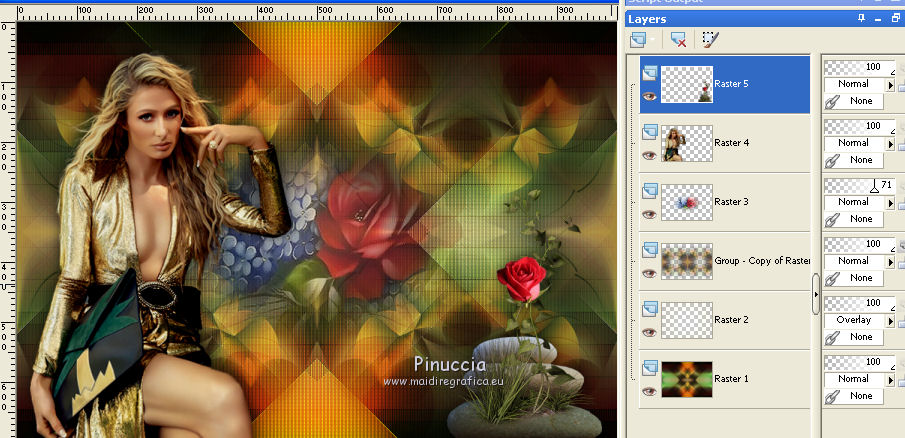
Layers>Merge>Merge visible.
Edit>Copy.
20. Open the frame moldura_MJ, that is already selected,
Edit>Paste into Selection.
Keep selected.
21. Effects>3D Effects>Drop Shadow, color black.
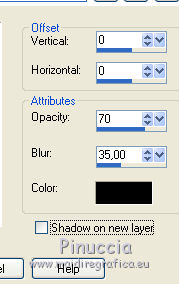
Selections>Select None.
****
If you wand use the frame as Picture Frame:
Selections>Select None.
File>Export>Picture frame... give a name to the frame and ok.
After: Image>Picture Frame... - look for and select the frame Moldura_Mj with these settings
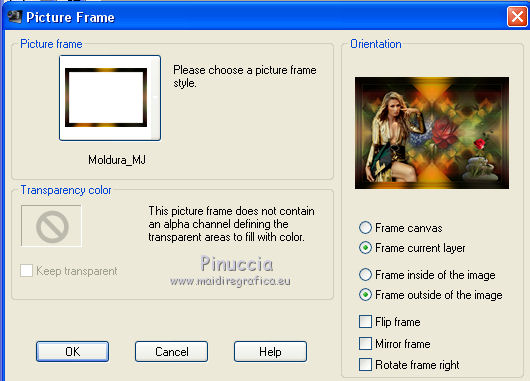
Effects>3D Effefts>Drop Shadow, color black.

*****
22. Sign your work on a new layer.
Image>Add borders, 1 pixel, symmetric, color black.
23. Image>Resize, 1000 pixels width, resize all layers checked.
Save as jpg.
For the tubes of this version thanks Luz Cristina and Cal (the deco is not signed)
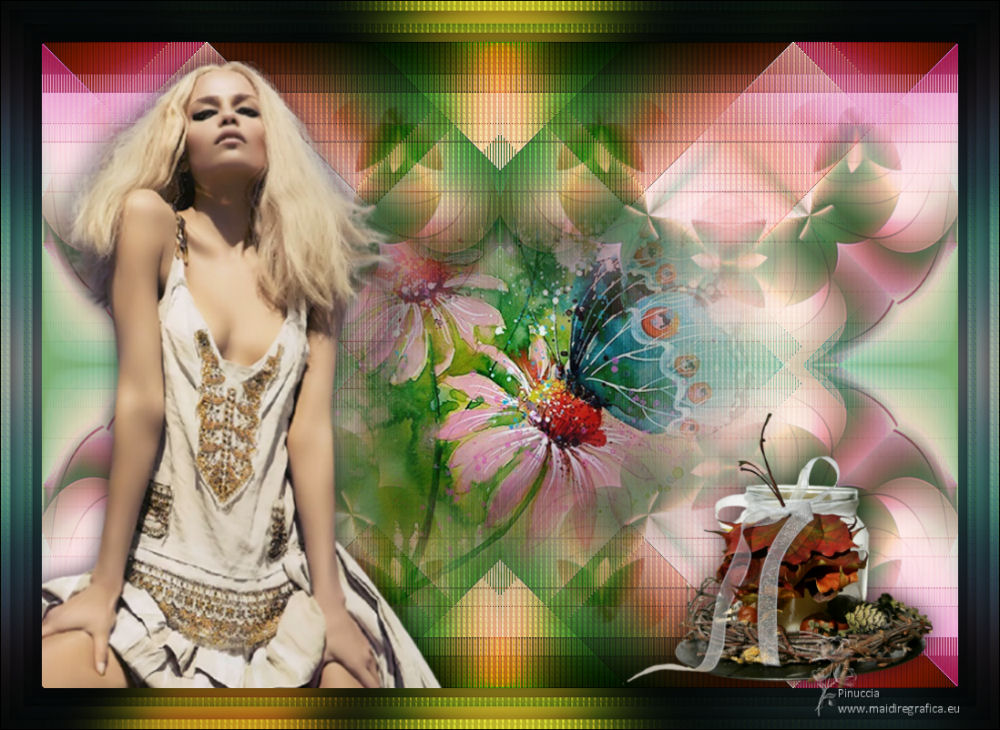
 Your versions here Your versions here

If you have problems or doubts, or you find a not worked link,
or only for tell me that you enjoyed this tutorial, write to me.
14 November 2021

|


