|
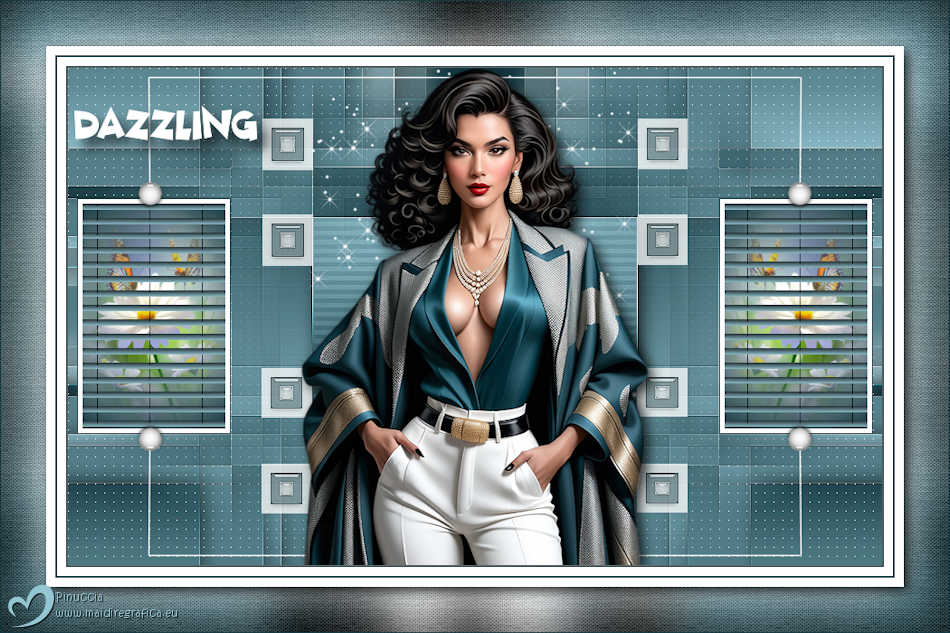
DAZZLING


Thanks Melodi for your invitation to translate your tutorials into english

I translated this tutorial with PSPX9 and Psp2020, but it can also be made using other versions of PSP.
Since version PSP X4, Image>Mirror was replaced with Image>Flip Horizontal,
and Image>Flip with Image>Flip Vertical, there are some variables.
In versions X5 and X6, the functions have been improved by making available the Objects menu.
In the latest version X7 command Image>Mirror and Image>Flip returned, but with new differences.
See my schedule here
 Italian Translation here Italian Translation here
 your versions here your versions here
For this tutorial, you will need:

For the tube and the frame thanks Kamil.
The rest of the material is by Melodi
(The links of the tubemakers here).
Plugins
consult, if necessary, my filter section here
Filter Unlimited here
&<Bkg Designer sf10I> - Cruncher (to import in Unlimited) here
AP (Lines)-Lines-Silverlining - Dotty Grid here
Alien Skin Xenofex 2 - Constellation here
Alien Skin Eye Candy 5 Impact here
It@lian Editors Effet - Effetto Fantasma here
Carolaine and Sensibility - CS-HLines here
VanDeLee - Unplugged-X here
Filters It@lian Editors Effet can be used alone or imported into Filters Unlimited.
(How do, you see here)
If a plugin supplied appears with this icon  it must necessarily be imported into Unlimited it must necessarily be imported into Unlimited

You can change Blend Modes according to your colors.
In the newest versions of PSP, you don't find the foreground/background gradient (Corel_06_029).
You can use the gradients of the older versions.
The Gradient of CorelX here

Copy the selections in the Selections Folder.
Copy the mask in the Masks Folder.
1. Choose from your tube a dark color for your foreground color,
and a light color for your background color.
For the example:
Foreground color #423122,
Background color #cab29c.
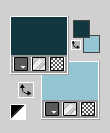
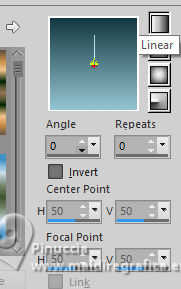
Set your Foreground color to a Foreground/Background Gradient, style Linear.
STEP 1
1. Open a new transparent image 900 x 550 pixels.
Flood Fill  the transparent image with your Gradient. the transparent image with your Gradient.
2. Layers>Duplicate, (Copy of Raster 1)
Image>Resize, to 80%, resize all layers not checked.
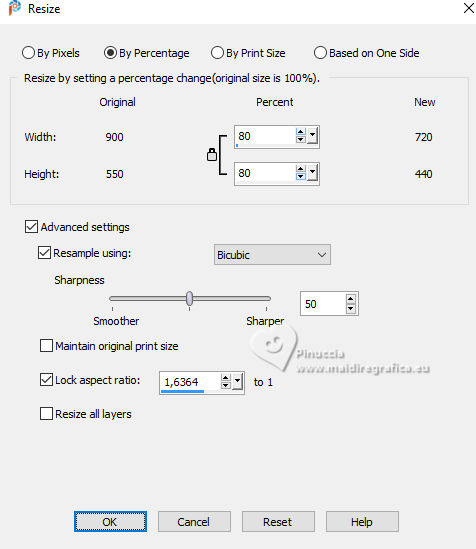
Image>Mirror>Mirror Vertical (Image>Flip).
3. Activate your bottom layer, Raster 1.
Layers>Duplicate (Copy of Raster 1).
Layers>Arrange>Bring to Top.
Image>Resize, to 60%, resize all layers not checked.
4. Activate again your bottom layer, Raster 1.
Layers>Duplicate, Copy of Raster 1.
Layers>Arrange>Bring to top.
Image>Resize, to 40%, resize all layers not checked.
Image>Mirror>Mirror Vertical (Image>Flip).
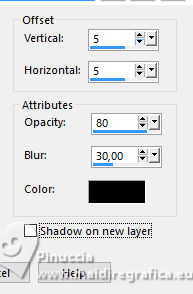
5. Effects>3D Effects>Drop Shadow, color black.
6. Activate the layer below.
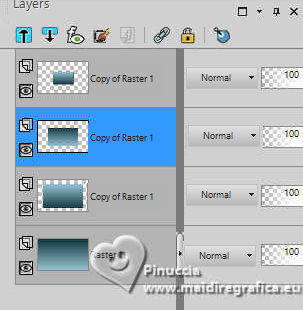
Edit>Repeat Drop Shadow.
7. Again activate the layer below (the first copy of Raster 1).
Edit>Repeat Drop Shadow.
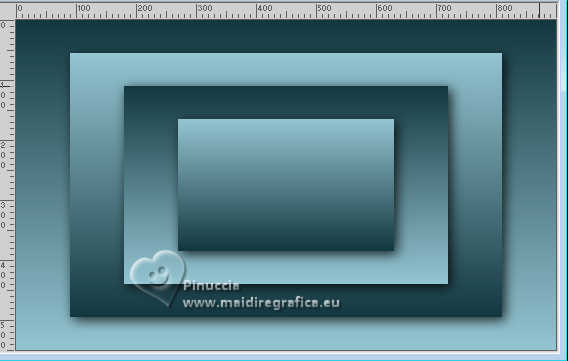
Result
STEP 2
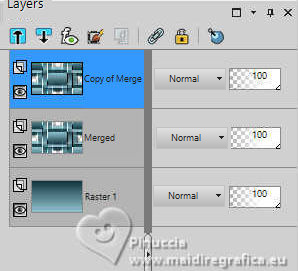
1. Close the bottom layer
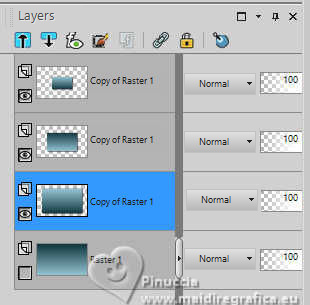
Layers>Merge>Merge visible (Merged).
2. Open again the bottom layer and stay on the layer Merged.
Effects>Image Effects>Seamless Tiling, default settings.

Effects>Edge Effects>Enhance More.
3. Layers>Duplicate, Copy of Merged.
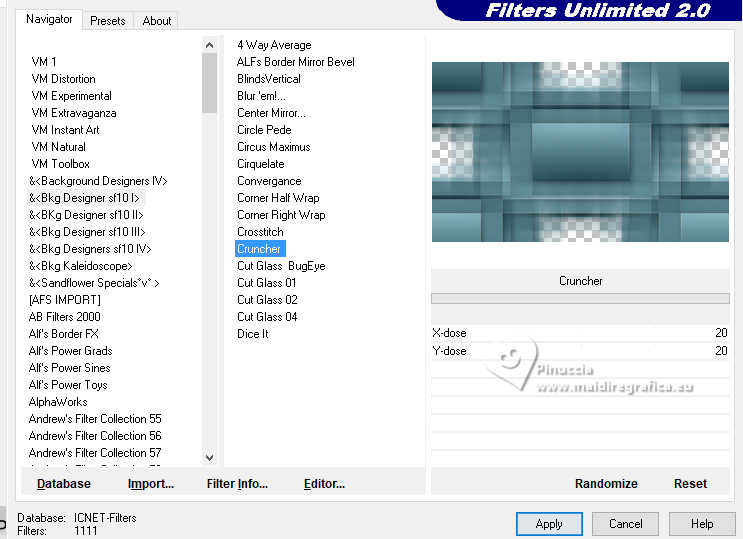
Effects>Plugins>Filters Unlimited 2.0 - &<Bkg Designer sf10I> - Cruncher.
Image>Mirror>Mirror Vertical (Image>Flip).
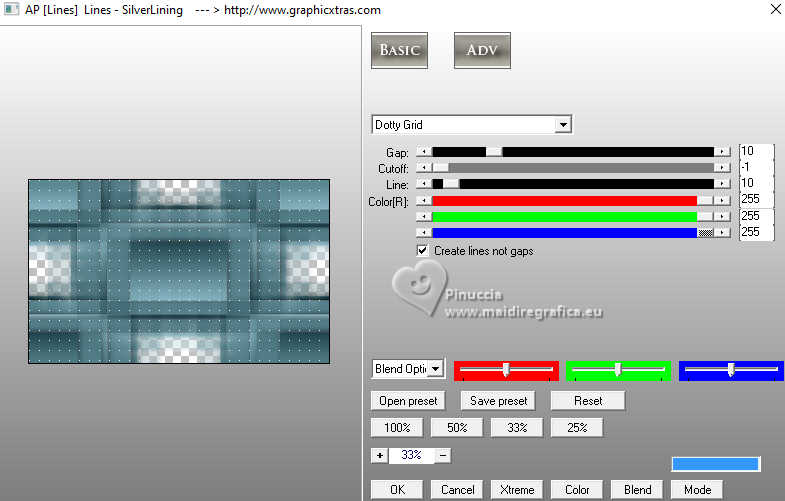
4. Effects>Plugins>AP (Lines) - Lines SilverLining
5. Layers>Load/Save Mask>Load Mask from Disk.
Look for and load the mask 2020
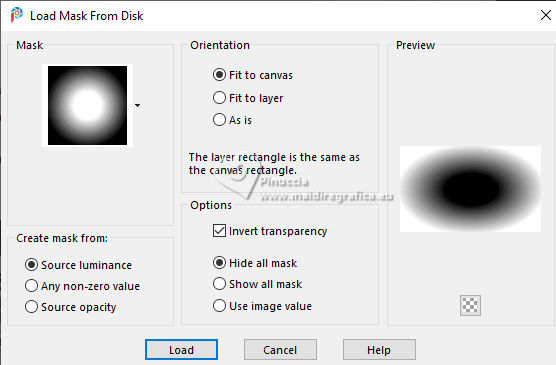
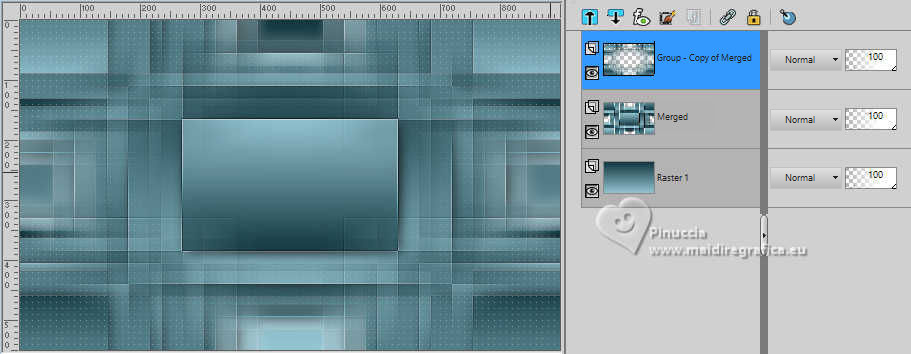
Layers>Merge>Merge Group (Group-Copy of Merged)
Result
STEP 3
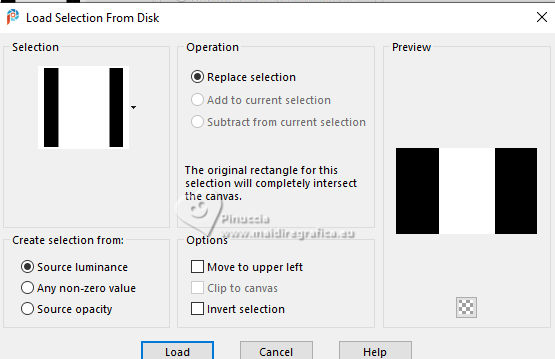
1. Selections>Load/Save Selection>Load Selection From disk.
Look for and load the selection Dazzling 1
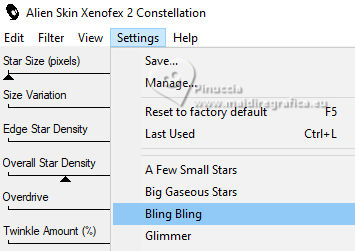
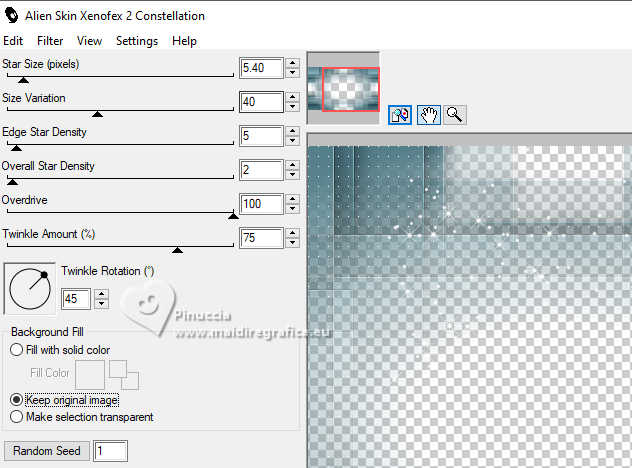
2. Effets>Plugins>Alien Skin Xenofex 2 - Constellation
Setting Bling Bling
Selection>Select None.
3. Set your foreground color to Color,
and your background color to white.
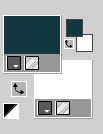
Layers>New Raster Layer (Raster 2).
4. Selections>Load/Save Selection>Load Selection from disk.
Look for and load the selection Dazzling 2
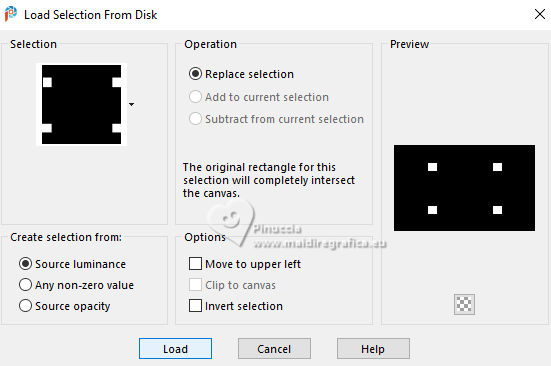
Flood Fill  the selection with color white. the selection with color white.
5. Selections>Modify>Contract - 10 pixels.
Flood Fill  the selection with your foreground color #143840. the selection with your foreground color #143840.
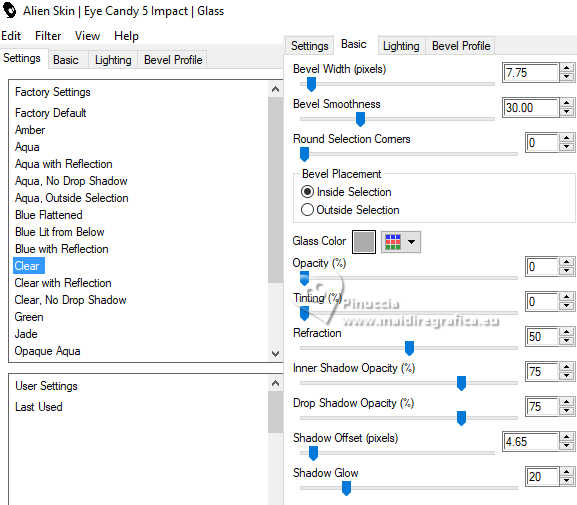
6. Effects>Plugins>Alien Skin Eye Candy 5 Impact - Glass - preset Clear, with these settings.
7. Selections>Modify>Contract - 10 pixels.
Flood Fill  the selection with color white. the selection with color white.
8. Effects>Plugins- Alien Skin Eye Candy 5 Impact - Glass, same settings.
Selections>Select None.
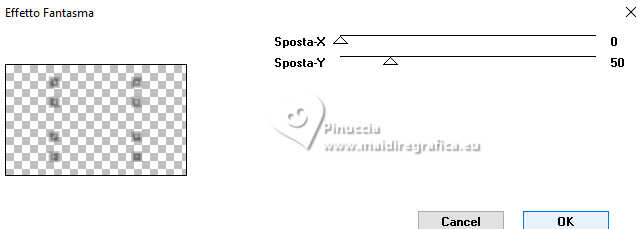
9. Effects>Plugins>It@lian Editors Effect - Effetto Fantasma.
10. Layers>Duplicate (Copy of Raster 2)
Layers>Merge>Merge Down, Raster 2.
Effects>Edge Effects>Enhance.
Result
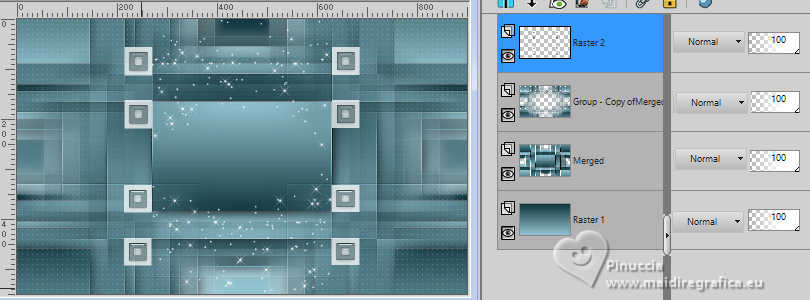
STEP 4
1. Activate the second layer from the bottom (Merged)
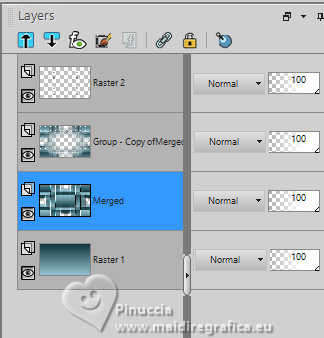
Selections>Load/Save Selection>Load Selection from Disk.
Look for and load the selection Dazzling 3
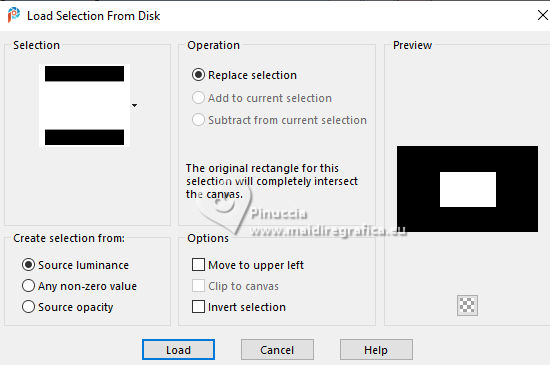
Selections>Promote Selection to Layer.
2. Effects>Plugins>Carolaine and Sensibility - CS-HLines
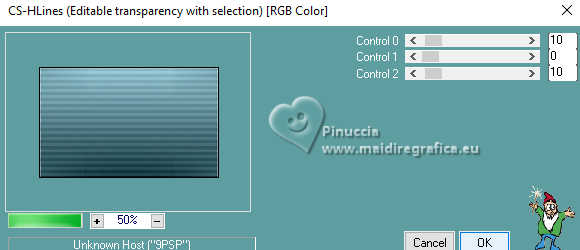
Selections>Select None.
3. Activate your top layer, Raster 2.
Layers>New Raster Layer, Raster 3.
4. Selections>Load/Save Selection>Load Selection from Disk.
Look for and load the selection Dazzling 4
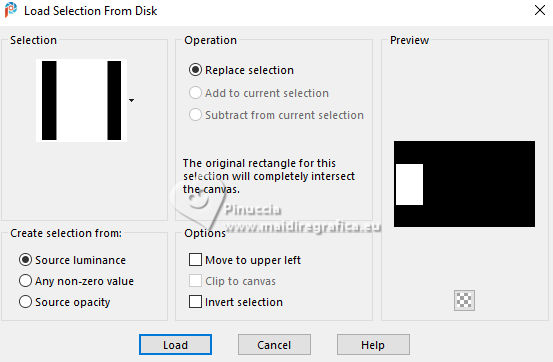
Flood Fill  the selection with your foreground color #143840. the selection with your foreground color #143840.
5. Selections>Modify>Contract - 1 pixel.
Flood Fill  the selection with your background color #ffffff. the selection with your background color #ffffff.
6. Selections>Modify>Contract - 5 pixels.
Keep your background color to white
and set your foreground color to a Foreground/Background Gradient, style Sunburst.
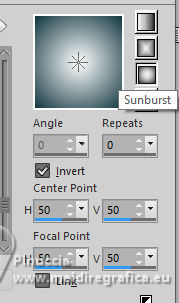
Flood Fill  the selection with your Gradient. the selection with your Gradient.
7. Open the misted Dazzling misted tube 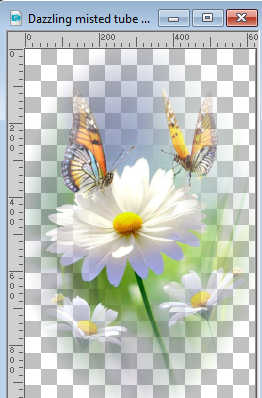
Edit>Copy.
Go back to your work and go to Edit>Paste into Selection.
8. Set your background color with your initial color #94c5d2.
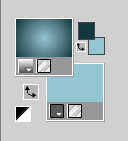
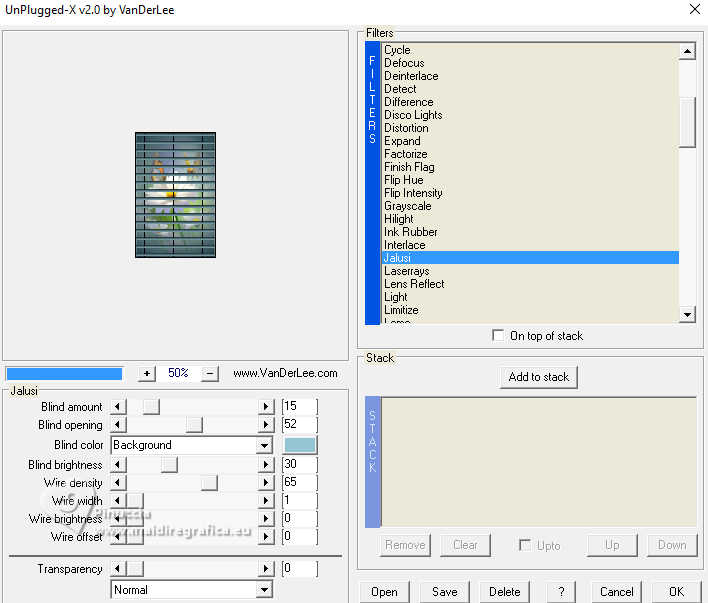
9. Effects>Plugins>VanDerLee - Unplugged-X - Jalousi
Blind color: background color
Selections>Select none.
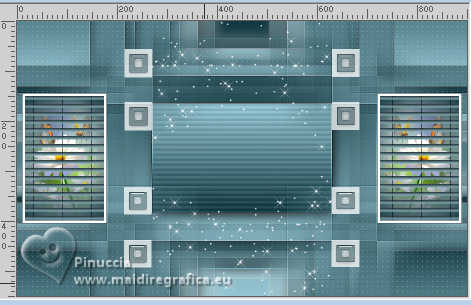
10. Layers>Duplicate.
Image>Mirror>Mirror Horizontal.
Layers>Merge>Merge Down.
Result:
STEP 5
1. Open Dazzling Deco 1 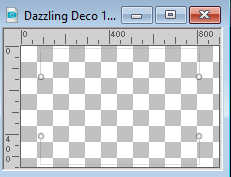
Edit>Copy.
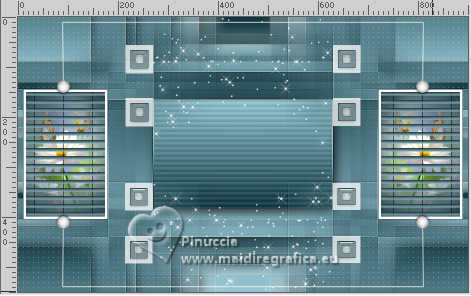
Go back to your work and go to Edit>Paste as new layer, Raster 4.
Don't move it.
2. Open Text Dazzling 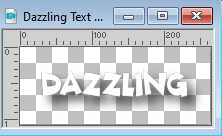
Edit>Copy.
Go back to your work and go to Edit>Paste as new layer, Raster 5.
3. Activate your Pick Tool 
Position X: 2,00 - Position Y: 39,00 (or move to your liking)

4. Open the tube KamilTube-2716 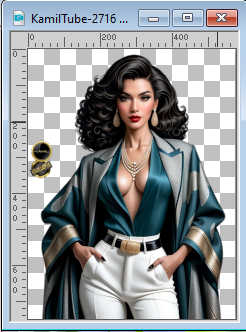
Erase the watermark and go to Edit>Copy.
Go back to your work and go to Edit>Paste as new layer, Raster 6.
Image>Resize, to 75%, resize all layers not checked.
Don't move it, or move  it to your liking. it to your liking.
Adjust>Sharpness>Sharpen.
5. Effects>3D Effects>Drop Shadow, color black.

Result
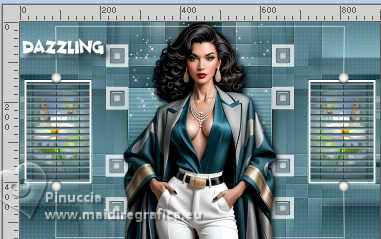
STEP 6
(you can change the color of your frame, according to your work.
If you want to do the frame with your colors, you can skip this step and go to the step 7.
1. Layers>Merge>Merge All.
2. Edit>Copy.
3. Open Dazzling Frame 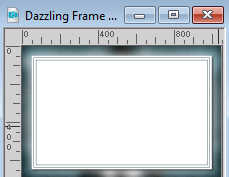
Edit>Paste as new layer.
4. Sign your work.
Layers>Merge>Merge All.
5. Image>Resize, 900 pixels width, resize all layers checked.
Save as jpg.
STEP 7
1. Layers>Merge>Merge All.
Edit>Copy.
2. Image>Add Borders, 2 pixels, symmetric, foreground color #143840.
Image>Add Borders, 10 pixels, symmetric, color #ffffff.
Image>Add Borders, 2 pixels, symmetric, foreground color #143840.
Image>Add Borders, 10 pixels, symmetric, color #ffffff.
3. Selections>Select All.
Image>Add Borders, 50 pixels, symmetric, color white #ffffff.
Selections>Invert.
Edit>Paste into Selection.
4. Adjust>Blur>Gaussian Blur - radius 25.

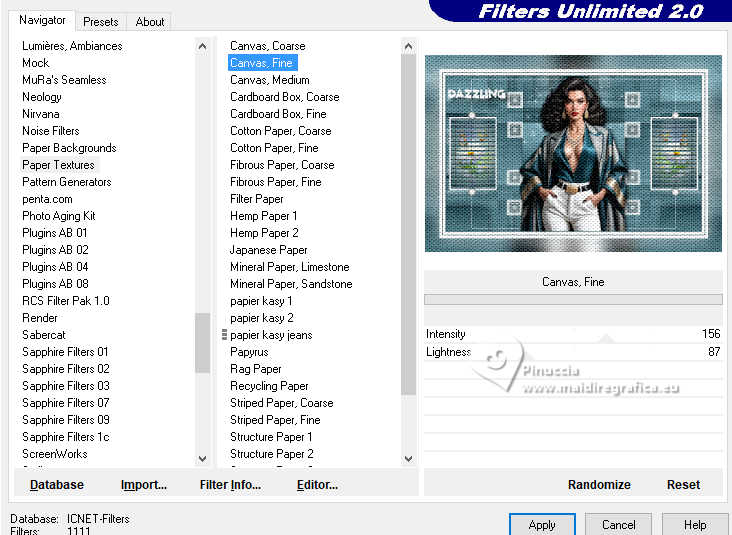
5. Effects>Plugins>Filters unlimited 2.0 - Paper Texture - Canvas Fine, default settings.
Selections>Select None.
6. Image>Add Borders, 1 pixel, symmetric, foreground color #143840.
7. Sign your work.
Layers>Merge>Merge All.
8. Image>Resize, 900 pixels width, resize all layers checked.
Save as jpg.
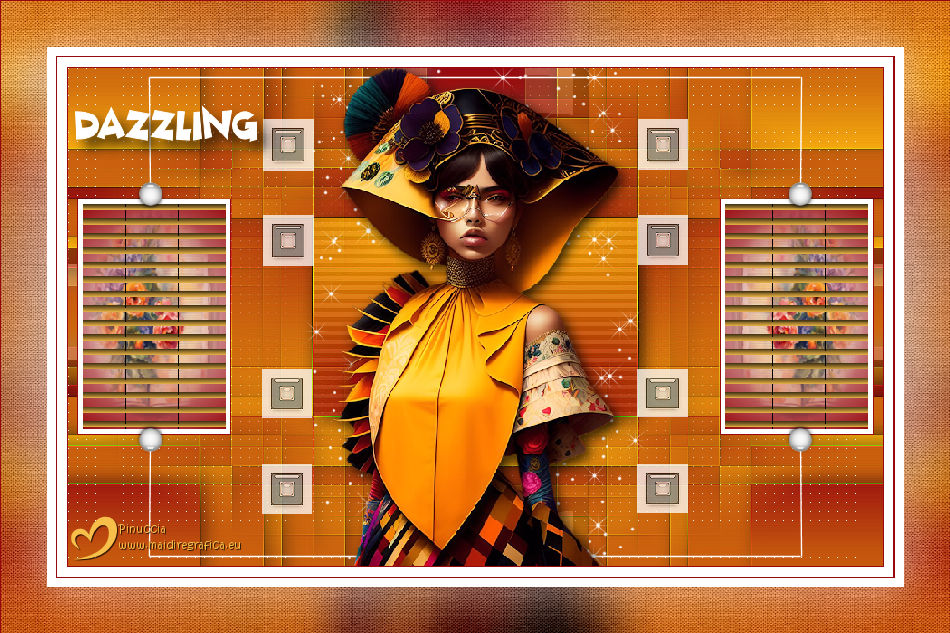
For the tubes of these versions thanks
DBK Katrina and Ema
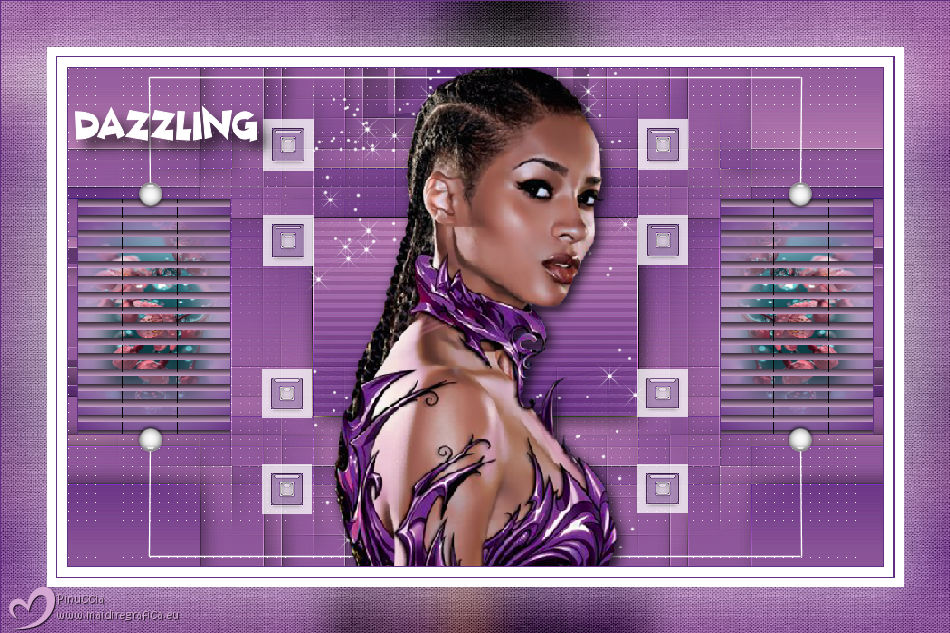
Lady Valella


If you have problems or doubts, or you find a not worked link, or only for tell me that you enjoyed this tutorial, write to me.
10 April 2025

|

