|
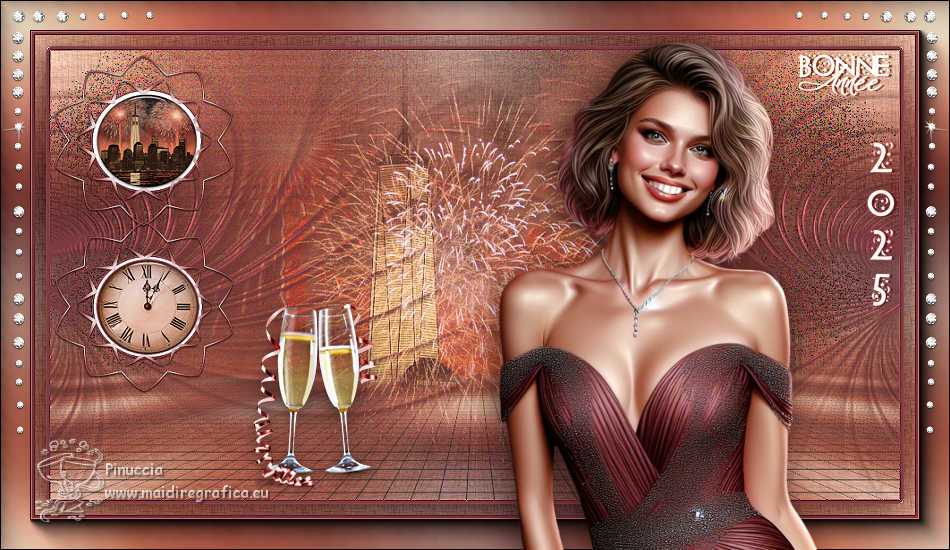
BONNE ANNÉE 2025


Thanks Irene for the invitation to translate your tutorials

This tutorial was written with PSPX8 and translated with PSPX9 and PSP2020, but it can also be made using other versions of PSP.
Since version PSP X4, Image>Mirror was replaced with Image>Flip Horizontal,
and Image>Flip with Image>Flip Vertical, there are some variables.
In versions X5 and X6, the functions have been improved by making available the Objects menu.
In the latest version X7 command Image>Mirror and Image>Flip returned, but with new differences.
See my schedule here
 italian translation here italian translation here
 vos versions here vos versions here

For this tutorial, you will need:

For the mask thanks Nikita.
Landscape ai-pixabay
The rest of the material by Moi-Même
Theme tubes qui
(The links of material creators here).

consult, if necessary, my filter section here
Filters Unlimited 2.0 here
Tramages - Perforator 1, Panel Stripes, Mo'JellyFish here
FM Tile Tools - Blend Emboss here
AFS IMPORT - sqborder2 here
Filters Tramages and AFS IMPORT can be used alone or imported into Filters Unlimited.
(How do, you see here)
If a plugin supplied appears with this icon  it must necessarily be imported into Unlimited it must necessarily be imported into Unlimited

You can change Blend Modes according to your colors.

If you have problems with the canal alpha, open a new transparent image 950 x 550 pixels,
and use the selections from disk.
Copy the preset Emboss 3 in the Presets Folder.
Open the mask in PSP and minimize them with the rest of the material.
Set your foreground color to white,
and your background color to #7e3b40.
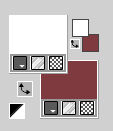
color 3: #0d0505.
1. Open Canal alpha BA 2025
This image, that will be the basis of your work is not empty,
but contains the selections saved to alpha channel.
Selections>Select All.
Open the tube Femme BA2025 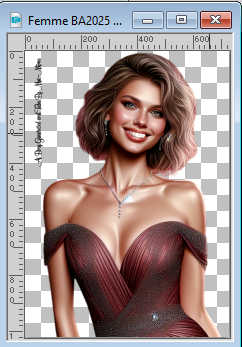
Erase the watermark and go to Edit>Copy.
Minimize the tube.
Go back to your work and go to Edit>Paste into Selection.
Selections>Select None.
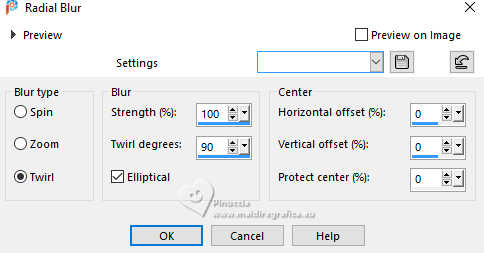
Adjust>Blur>Radial Blur.
Layers>Merge>Merge All.
2. Layers>Duplicate.
Change the Blend Mode of this layer to Hard Light.
Layers>Merge>Merge Down.
Layers>Promote Background Layer.
Effects>Image Effects>Seamless Tiling, default settings.

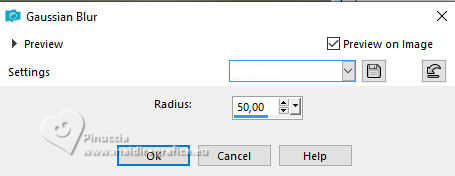
Adjust>Blur>Gaussian Blur - radius 50.
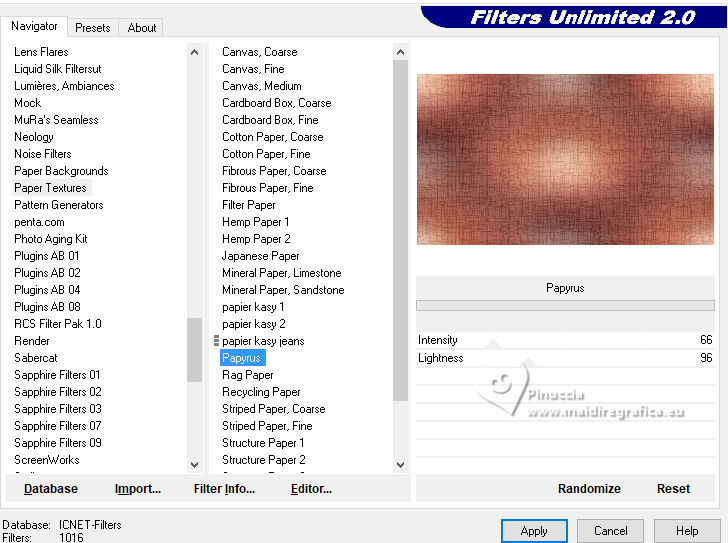
Effects>Plugins>Filters Unlimited 2.0 - Paper Textures - Papyrus, default settings.
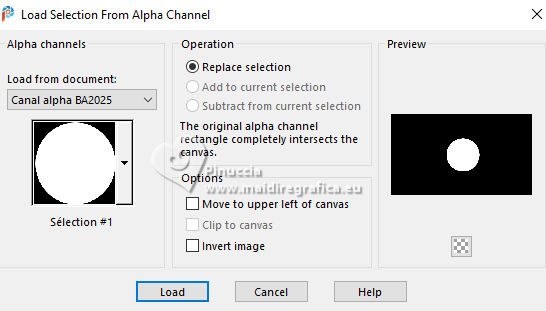
3. Selections>Load/Save Selection>Load Selection from Alpha Channel.
The selection sélection #1 is immediately available. You just have to click Load.
Selections>Promote Selection to Layer.
Adjust>Blur>Gaussian Blur - radius 30.

Keep selected.
4. Layers>New Raster Layer.
Open the tube horlogeAigen&tubeMM 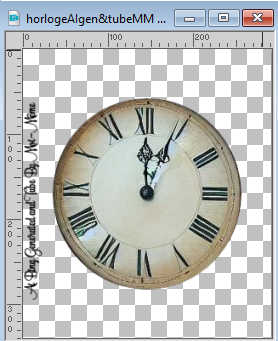
Erase the watermark and go to Edit>Copy.
Go back to your work and go to Edit>Paste into Selection.
Change the Blend Mode of this layer to Luminance.
Layers>Merge>Merge Down.
Keep always selected.
4. Selections>Modify>Select Selection Borders.
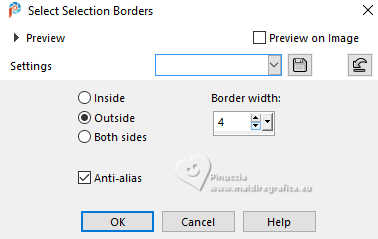
Flood Fill  the selection with your background color. the selection with your background color.
Effects>Edge Effects>Enhance.
Selections>Select All.
Selections>Float.
Selections>Defloat.
Selections>Modify>Expand - 6 pixels.
5. Activate the layer below.
Layers>New Raster Layer.
Flood Fill  the layer with color white. the layer with color white.
Selections>Modify>Select Selection Borders, same settings.

Flood Fill  the layer with your background color. the layer with your background color.
Effects>Edge Effects>Enhance.
Selections>Select None.
Result

6. Open the tube déco horloge 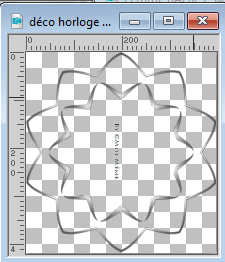
Erase the watermark and go to Edit>Copy.
Go back go your work and go to Edit>Paste as new layer.
Adjust>Hue and Saturation>Colorize.
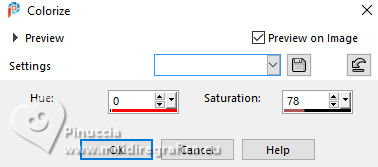
Layers>Merge>Merge Down.
Layers>Duplicate.
Activate your top layer.
Layers>Merge>Merge Down.
7. Selections>Load/Save Selection>Load Selection from Alpha Channel.
Load again the selection sélection 1

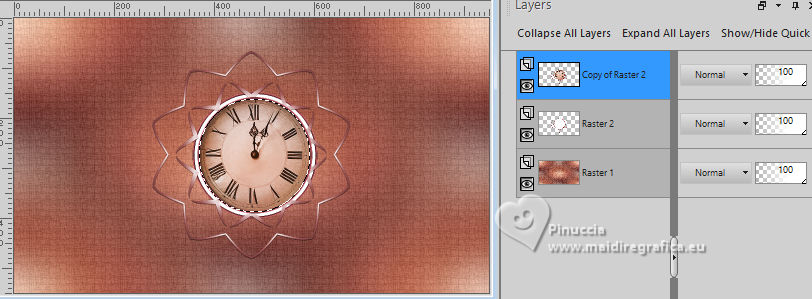
Effects>Plugins>Alien Skin Eye Candy 5 Impact - Glass
Glass Color: white
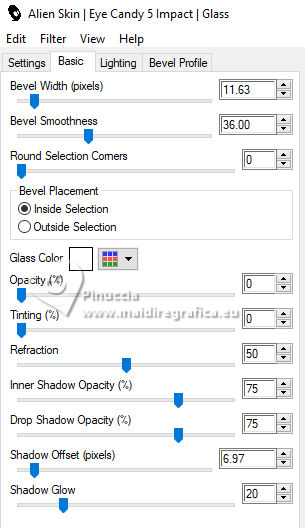
Keep selected and close this layer.
8. Activate the layer below.
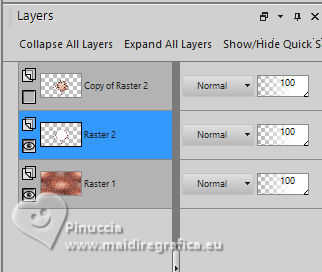
Open your jpg image ai-generated-paysage-année 2025.jpg 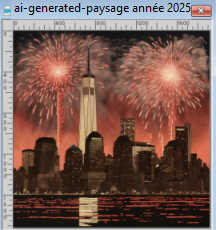
Edit>Copy.
Go back to your work and go to Edit>Paste into Selection.
Adjust>Sharpness>Sharpen.
Effects>Plugins>Alien Skin Eye Candy 5 Impact - Glass, same settings.
Selections>Select None.
Stay on this layer.
9. Image>Resize, to 50%, resize all layers not checked.
K key to activate your Pick Tool 
Position X: 5,00 - Position Y: 6,00.

Adjust>Sharpness>Sharpen.
10. Open and activate the closed layer.
Image>Resize, to 50%, resize all layers not checked.
Position X: 6,00 - Position Y: 209,00.

M key to deselect the Tool.
Adjust>Sharpness>Sharpen.
11. Layers>Merge>Merge Down.
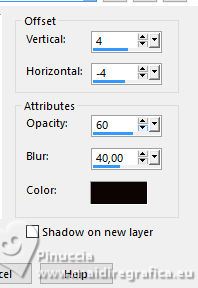
Effects>3D Effets>Drop Shadow, color #0d0505.
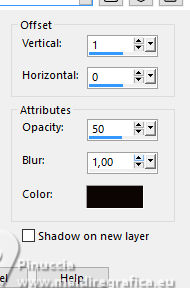
Edit>Repeat Drop Shadow.
12. Activate your bottom layer, Raster 1.
Selections>Load/Save Selection>Load Selection from Alpha Channel.
Open the selections menu and load the selection sélection 2
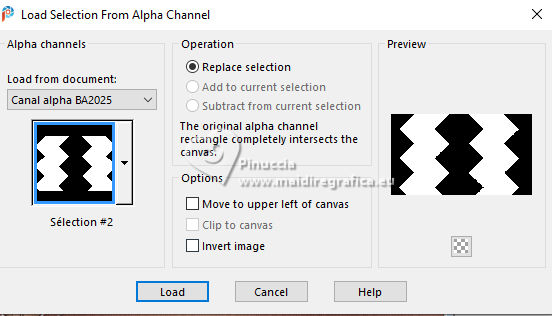
Selections>Promote Selection to Layer.
Selections>Select None.
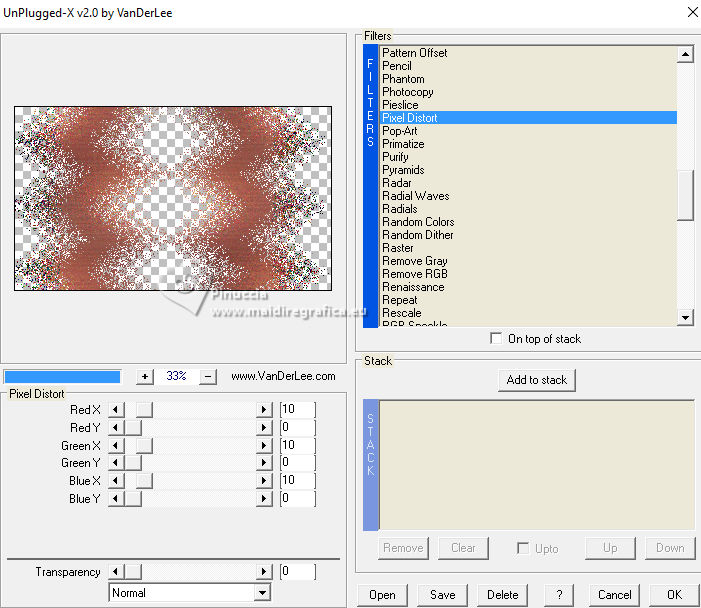
Effects>Plugins>VanDerLee - UnpluggedX - Pixel distort.
13. Open the tube feux 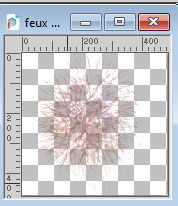
Edit>Copy.
Go back go your work and go to Edit>Paste as new layer.
Change the Blend Mode of this layer to Screen.
14. Activate your background layer.
Open the misted ai-generated-misted paysage année 2024_MM 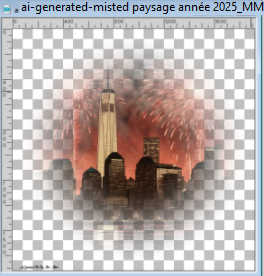
Erase the watermark and go Edit>Copy.
Go back go your work and go to Edit>Paste as new layer.
Image>Resize, 50%, resize all layers not checked.
K key to activate your Pick Tool 
Position X: 66,00 - Position Y: -65,00

M key to deselect the Tool
Layers>Arrange>Move up.
Reduce the opacity of this layer to 60%, or according to your tube.
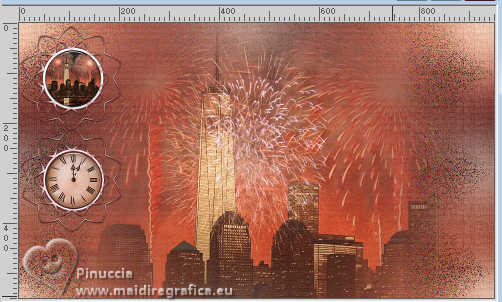
Effects>Plugins>FM Tile Tools - Saturation Emboss, default settings.

15. Activate your background layer, Raster 1.
Selections>Select All.
Image>Crop to Selection.
16. Layers>New Raster Layer.
Flood Fill  the layer with your background color. the layer with your background color.
Layers>New Mask layer>From image
Open the menu under the source window and you'll see all the files open.
Select the mask 1250182451_nikita_masque
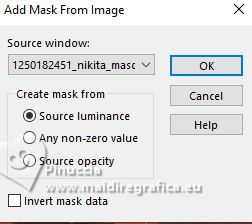
Layers>Merge>Merge Group.
Layers>Arrange>Move up - 2 times.
17. Effects>Reflection Effects>Rotating Mirror.

Effects>User Defined Filter - select the preset Emboss 3 and ok.

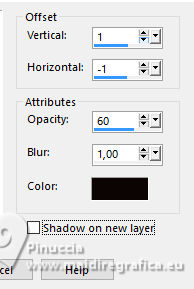
Effects>3D Effets>Drop Shadow, color #0d0505.
18. Activate the layer Raster 1.
Layers>Duplicate.
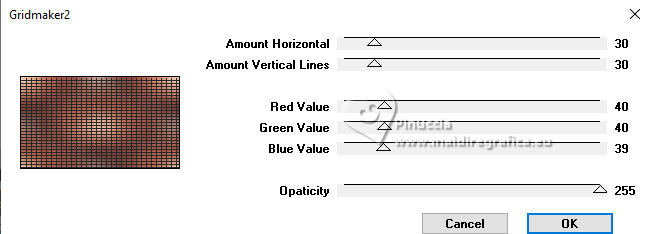
Effects>Plugins>Tymoes - Gridmaker 2, default settings.
Effects>Plugins>Mura's Meister - Perspective Tiling.
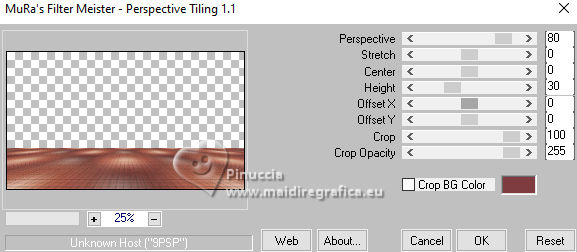
Layers>Arrange>Move Up - 2 times.
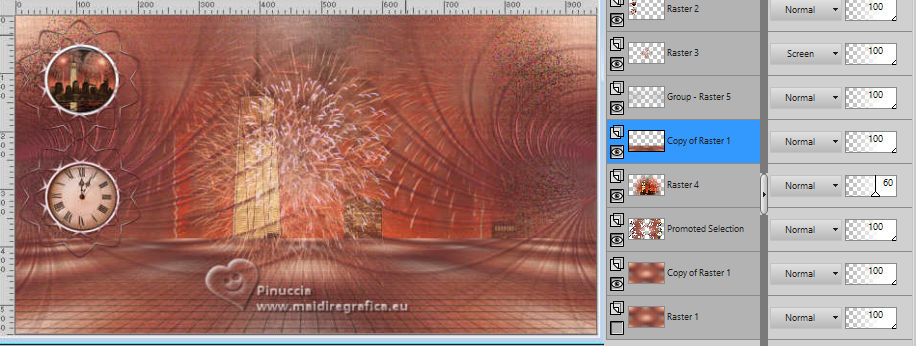
Selections>Load/Save Selection>Load Selection from Alpha Channel.
Open the selections menu and load the selection sélection 3
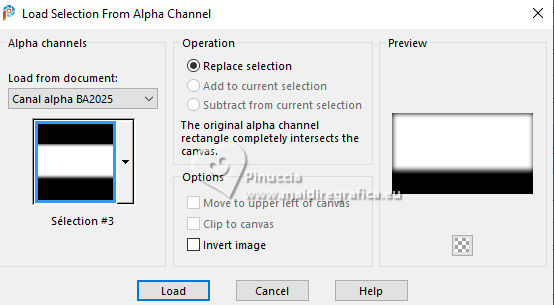
Press 5 times CANC on the keyboard 
Selections>Select None.
19. Activate again the layer Raster 1.
Layers>Duplicate.
Close the layer Raster 1 and stay on the layer of the Copy.
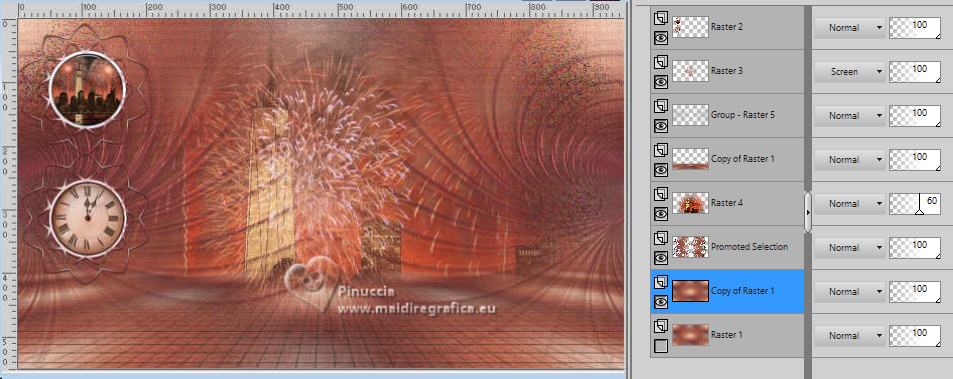
Layers>Merge>Merge visible.
20. Stay on the layer Merged.
Edit>Cut - this Command cuts and keep in memory.
Selections>Select All.
Selections>Modify>Contract - 50 pixels.
Edit>Paste into Selection
Keep selected.
Open the layer Raster 1 and stay on the layer Merged.
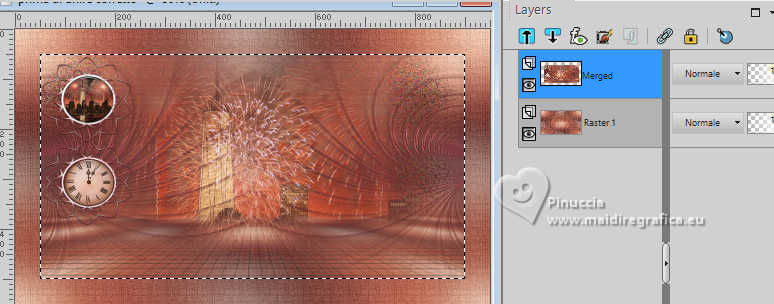
21. Selections>Modify>Select Selection Borders, same settings.

Flood Fill  with your background color. with your background color.
Effects>Edge Effects>Enhance.
Selections>Select None.
Adjust>Sharpness>Sharpen.
Effects>3D Effets>Drop Shadow, color #0d0505.
22. Activate the layer Raster 1.
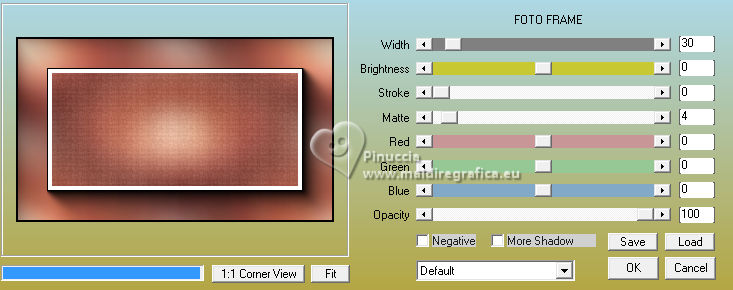
Effects>Plugins>AAA Frames - Foto Frame.
Activate your Magic Wand Tool  , tolerance and feather 0, , tolerance and feather 0,
click on the white border to select it.
Flood Fill  the layer with your background color. the layer with your background color.
Effects>Edge Effects>Enhance.
Selections>Select None.
23. Activate your top layer, Merged.
Open the text titre 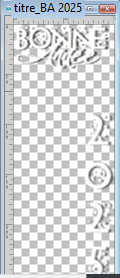
Edit>Copy.
Go back go your work and go to Edit>Paste as new layer.
Pick Tool (K) 
Position X: 797,00 - Position Y: 52,00.

Change the Blend Mode of this layer to Luminance (legacy).
24. Activate again the tube Femme BA2024 
Edit>Copy.
Go back go your work and go to Edit>Paste as new layer.
Image>Resize, to 50%, resize all layers not checked.
Pick Tool (K) 
Position X: 498,00 - Position Y: 41,00.

Effects>3D Effects>Drop Shadow, last settings.
25. Open déco 1 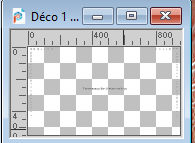
Erase the watermark and go to Edit>Copy.
Go back go your work and go to Edit>Paste as new layer.
Position X: 1,00 - Position Y: 10,00.

M key to deselect the Tool.
Effects>3D Effets>Drop Shadow, color #0d0505.
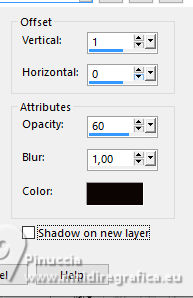
a little tip: the color used for the shadow can be confused with the black color.
Don't forget to check it the next time you use the Drop Shadow with the black color
26. Open the tube coupes 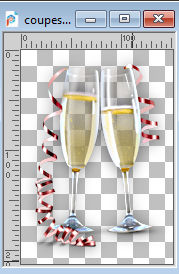
Edit>Copy.
Go back go your work and go to Edit>Paste as new layer.
Place  as in my example, or to your liking. as in my example, or to your liking.
Effects>3D Effects>Drop Shadow, last settings.
27. Sign your work and add the author and the translator's watermarks.
28. Layers>Merge>Merge All and save as jpg.
For this version I used elements of the scrap by Black Heart Designz. Thanks
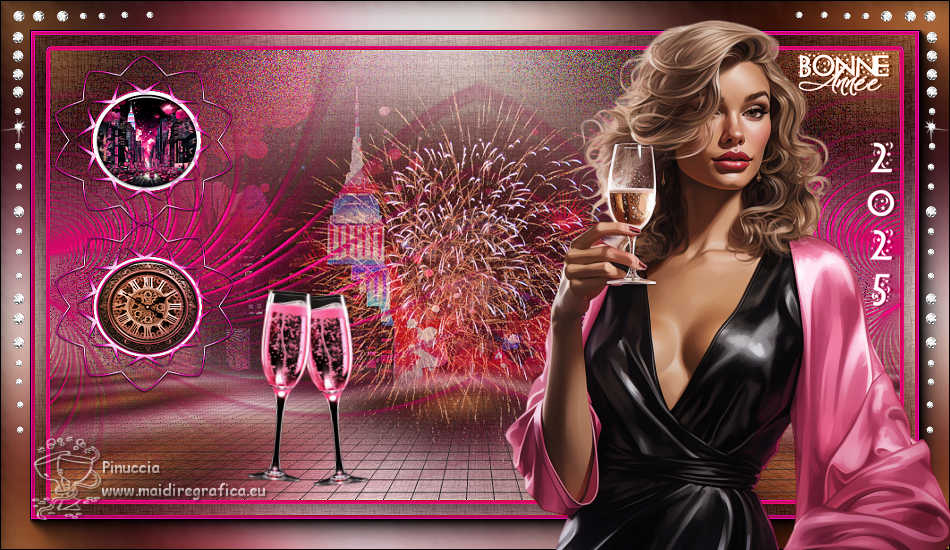

If you have problems or doubts, or you find a not worked link,
or only for tell me that you enjoyed this tutorial, write to me.
1 Gennaio 2025

|

