|
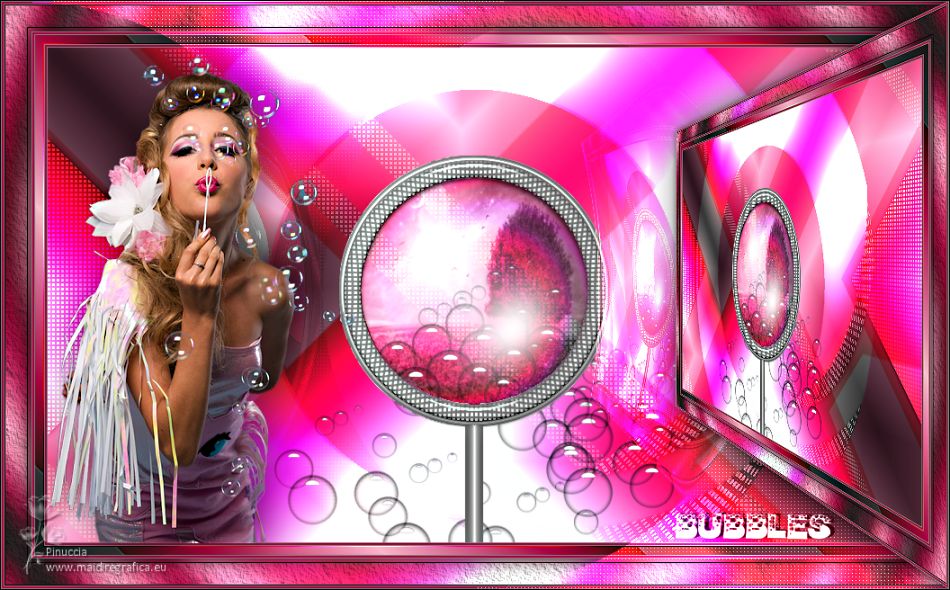
BUBBLES (BULLES)


Thanks Irene for the invitation to translate your tutorials

This tutorial was written with PSPX8 and translated with PSPX7 and PSPX3, but it can also be made using other versions of PSP.
Since version PSP X4, Image>Mirror was replaced with Image>Flip Horizontal,
and Image>Flip with Image>Flip Vertical, there are some variables.
In versions X5 and X6, the functions have been improved by making available the Objects menu.
In the latest version X7 command Image>Mirror and Image>Flip returned, but with new differences.
See my schedule here
 italian translation here italian translation here

For this tutorial, you will need:

Thanks for the tube Ana Ridzi.
The landscape from the net.
The rest of the material is by Moi-Même.
(The links of material creators here).

consult, if necessary, my filter section here
Filters Unlimited 2.0 here
Funhouse - Perverse, Gyro - in the material
Déformation (D-formation) - Circulator - in the material.
AAA Frames - Texture Frame here
AP Lines - Lines SilverLining here

You can change Blend Modes according to your colors.

Copy the gradient in the Gradients Folder.
If you have problems with alpha channel,
open a new transparent image 950 x 550 pixels,
and use the selections from disk.
If you use other colors, choose bright colors.
1. Set your foreground color to light color #f7b4c9,
and your background color to dark color #a5033e.
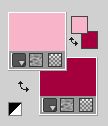
Set your foreground color to Gradient, and set the gradient BubblesMM, style Linear.
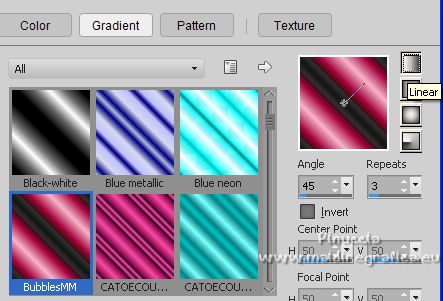
To adjust the gradient to your colors, you can change the right two colors.

Other option: Adjust>Hue/Saturation>Lightness, as in my second version.
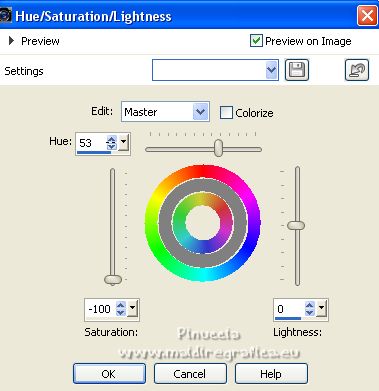
(adapt to your colors).
Open canal alpha bubbles
This image, that will be the basis of your work, is not empty,
but contains a selection saved to alpha channel.
Flood Fill  the transparent image with your Gradient. the transparent image with your Gradient.
Selections>Load/Save Selection>Load Selection from Alpha Channel.
The selection #1 is immediately available. You just have to click Load.
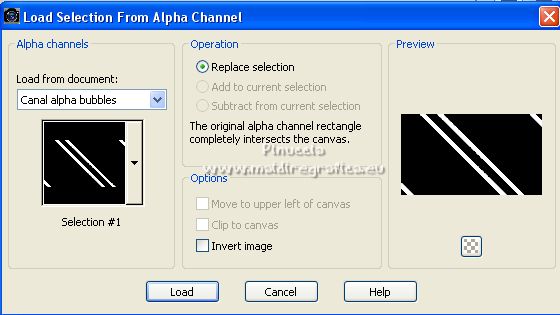
Selections>Promote Selection to layer.
Efects>Texture Effects>Weave, the two colors white.
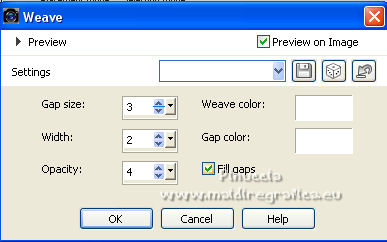
Effects>3D Effects>Inner Bevel.
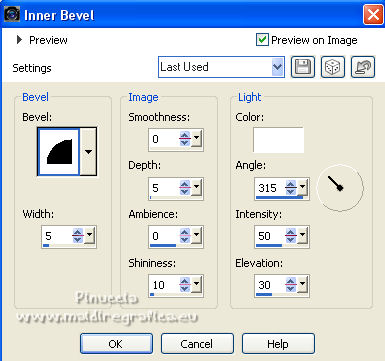
Selections>Select None.
3. Effects>Plugins>Filters Unlimited 2.0 - Deformation - Circulator, default settings.
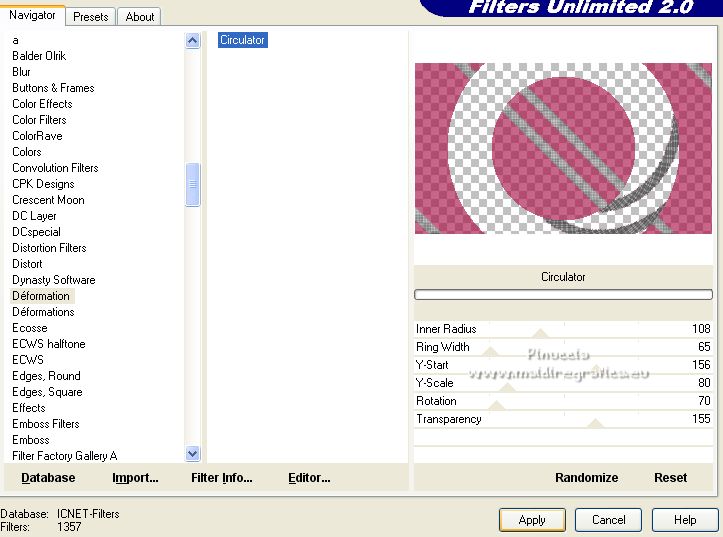
attention, please:
if you are using the Unlimited version which cannot be installed because it is made up of files in 8bf format,
you will get a different result
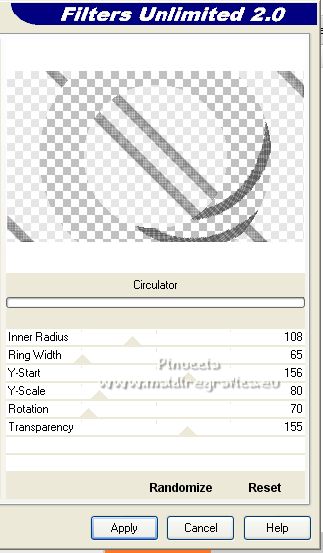
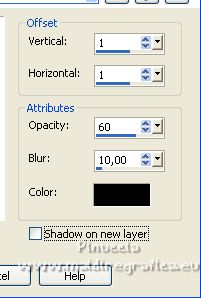
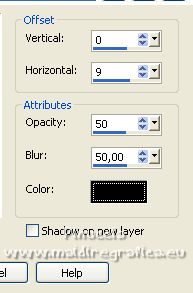
Effects>3D Effects>Drop Shadow, color black.
Adjust>Sharpness>Sharpen.
Change the Blend Mode of this layer to Soft Light, or according to your colors.
4. Activate your bottom layer, Raster 1.
Effects>Plugins>Filters Unlimited 2.0 - Funhouse - Perverse.
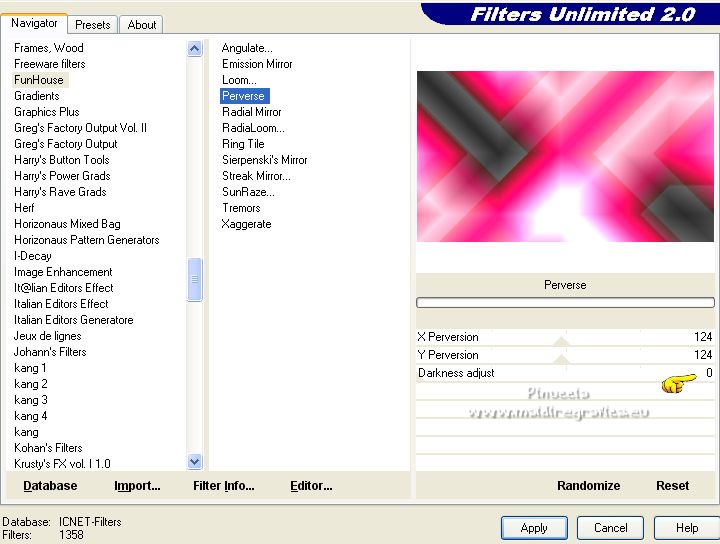
Selections>Load/Save Selection>Load Selection from Alpha Channel.
Open the selection menu and load the selection #2
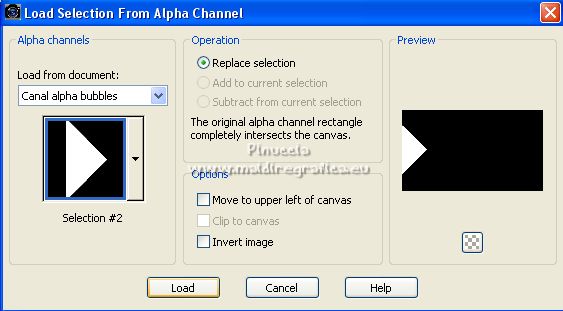
Selections>Promote Selection to Layer.
Effects>Texture Effects>Weave, same settings.
Selections>Select None.
Layers>Duplicate.
Image>Mirror.
Layers>Merge>Merge Down.
Change the Blend Mode of this layer to Overlay.
Effects>3D Effects>Drop shadow, same settings.
5. Activate your top layer.
Open the tube bubbles centre_MM 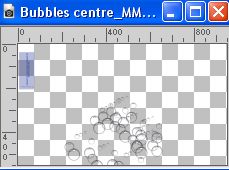
Erase the watermark and go to Edit>Copy.
Go back to your work and go to Edit>Paste as new layer.
Move  the tube at the bottom. the tube at the bottom.
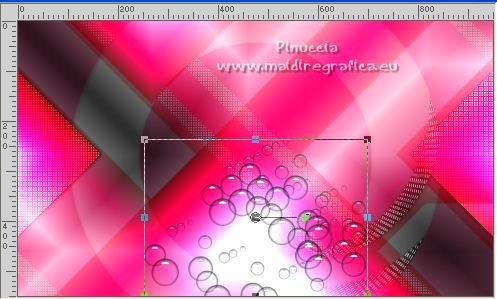
Or: Objects>Align>Bottom.
6. Open the tube déco bubbles_MM 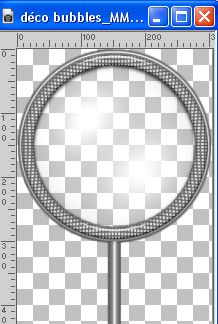
Edit>Copy.
Go back to your work and go to Edit>Paste as new layer.
Move  the tube down. the tube down.
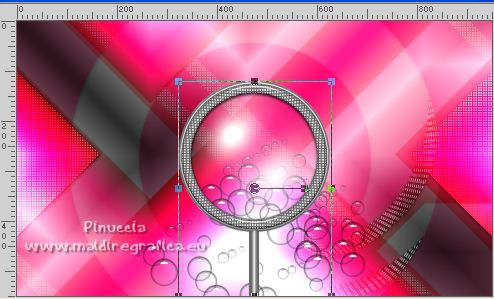
Or: Objects>Align>Bottom.
7. Activate your background layer, Raster 1.
Selections>Load/Save Selection>Load Selection from Alpha Channel.
Open the selection menu and load the selection #3
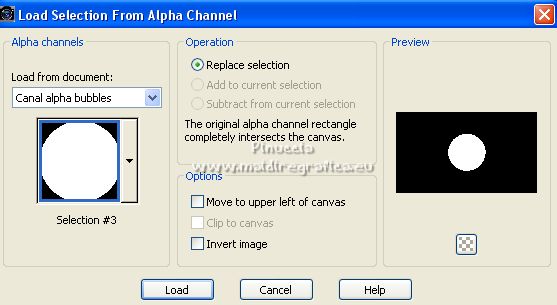
Selections>Promote Selection to layer.
Effects>Plugins>Filters Unlimited 2.0 - Funhouse - Gyro, default settings.
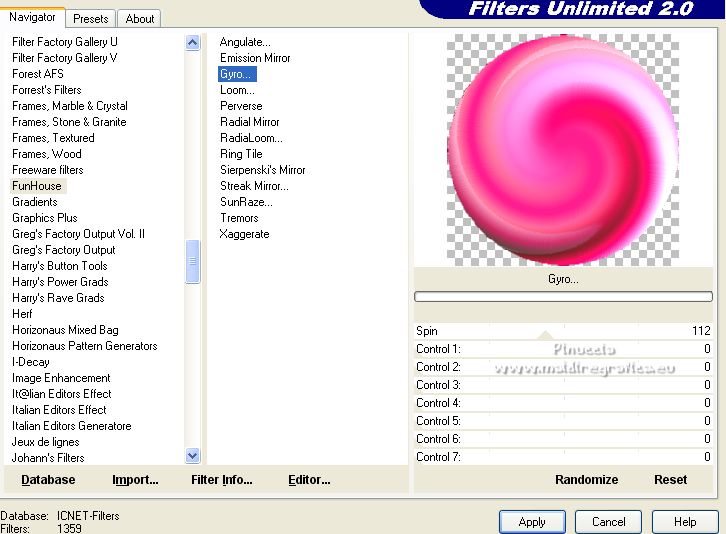
8. Keep selected.

9. Layers>New Raster Layer.
Open the landscape 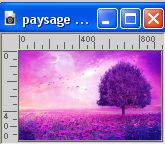
(I chose an jpg image,
you can choose a misted)
Edit>Copy.
Go back to your work and go to Edit>Paste into Selection.
(if you use a misted: Duplicate/Merge Down).
Change the Blend Mode of this layer to Luminance (legacy), or according to your tube.
Selections>Select None.
10. Activate again your background layer, Raster 1.
Selections>Load/Save Selection>Load Selection from Alpha Channel.
Open the selection menu and load the selection #4
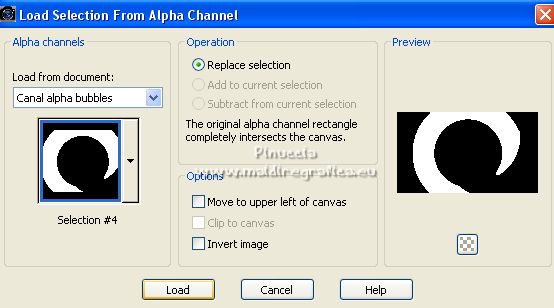
Selections>Promote Selection to layer.
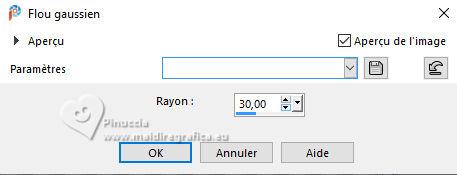
Adjust>Blur>Gaussian Blur, radius 30.
Change the Blend Mode of this layer to Dodge.
Selections>Select None.
11. Image>Add borders, 1 pixel, symmetric, color 3 #808080.
this color, as the white and black color, is a basic on in the colors palette,
it is the dark grey color of the second line
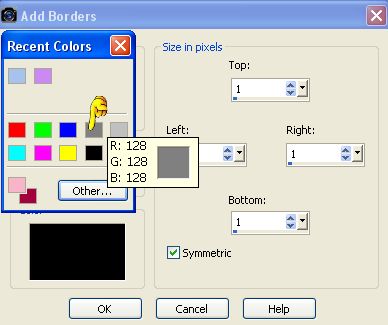
Image>Add borders, 2 pixels, symmetric, background color.
Image>Add borders, 1 pixel, symmetric, color 3 #808080.
Selections>Select All.
12. Image>Add borders, 10 pixels, symmetric, foreground color.
Selections>Invert.
Flood Fill  the selection with your Gradient. the selection with your Gradient.
(repeat Hue/Saturation/Lightness, if you used this option at step 1).
Effects>Edge Effects>Enhance More.
Selections>Select None.
13. Image>Add borders, 1 pixel, symmetric, color 3 #808080.
Image>Add borders, 2 pixels, symmetric, background color.
Image>Add borders, 1 pixel, symmetric, color 3 #808080.
Selections>Select All.
14. Image>Add borders, 10 pixels, symmetric, foreground color.
Selections>Invert.
Flood Fill  the selection with your Gradient. the selection with your Gradient.
(repeat Hue/Saturation/Lightness, if you used this option at step 1).
Effects>Plugins>Filters Unlimited 2.0 - Funhouse - Gyro.
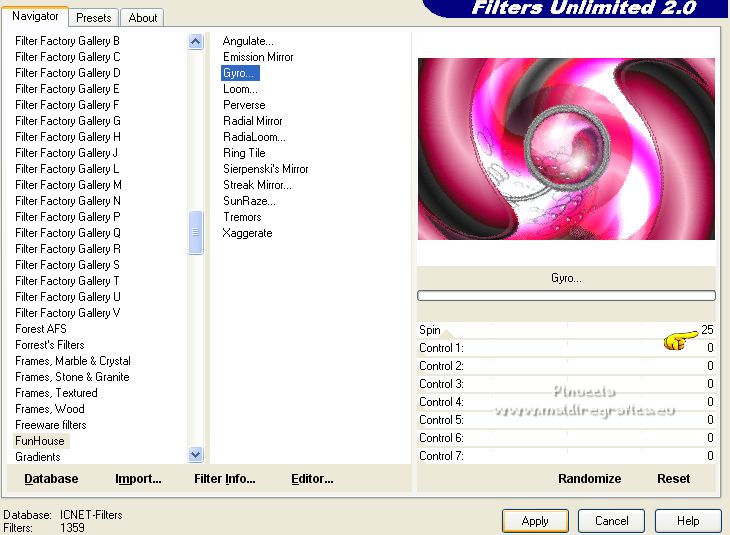
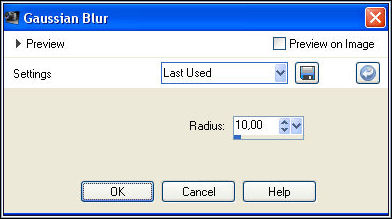
Adjust>Blur>Gaussian Blur - radius 10.
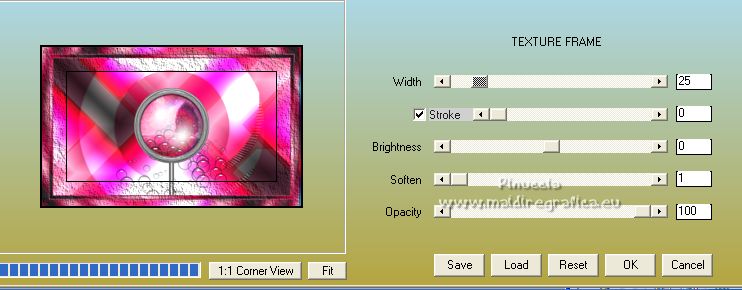
Effects>Plugins>AAA Frames - Texture Frame.
Selections>Invert.
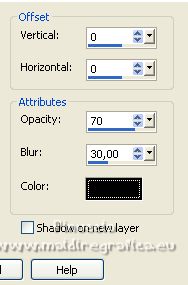
Effects>3D Effects>Drop Shadow, color black.
Selections>Select None.
15. Image>Add borders, 1 pixel, symmetric, color 3 #808080.
Image>Add borders, 2 pixels, symmetric, background color.
Image>Add borders, 1 pixel, symmetric, color 3 #808080.
16. Open the person tube, for the example 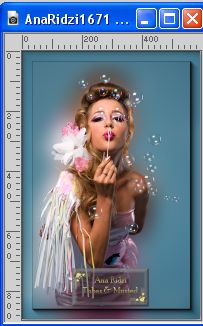
Edit>Copy.
Go back to your work and go to Edit>Paste as new layer.
Image>Resize, to 70%, resize all layers not checked.
Move  the tube to the left side. the tube to the left side.
With your Pick Tool 
set Position X: 54,00 and Position Y: 60,00.

Adjust>Sharpness>Sharpen.
Effects>3D Effects>Drop Shadow, color black, or according to your tube.
17. Activate your background layer.
Layers>Duplicate.
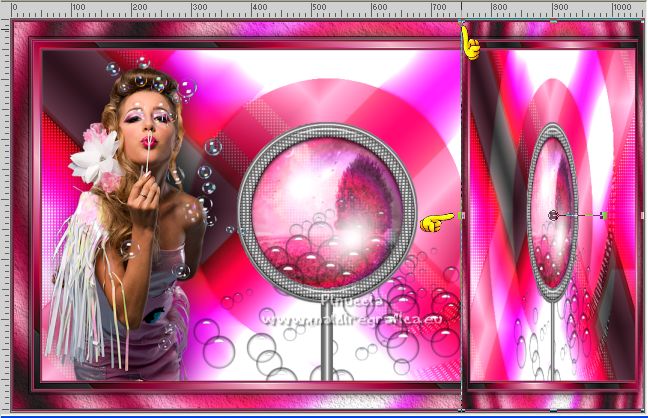
K key to activate your Pick Tool 
Mode Scale 
pull the left central node to the right, until 750 pixels.
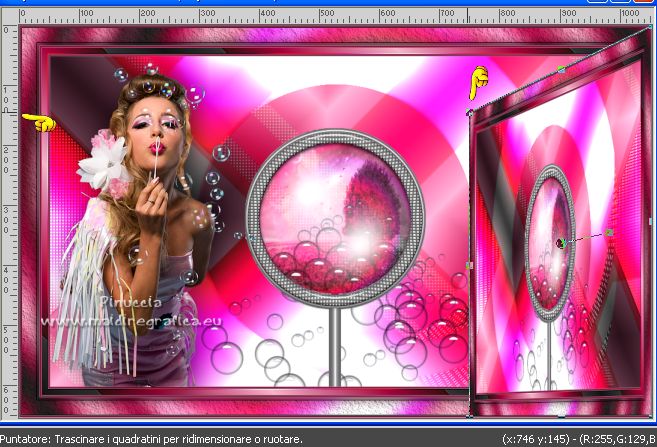
Mode Shear 
pull the top node down, until 145 pixels.
and the bottom node up, until 450 pixels.
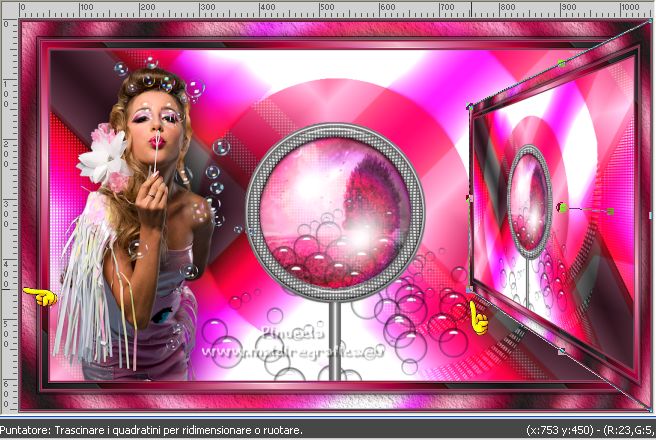
Adjust>Sharpness>Sharpen.
Effects>3D Effects>Drop Shadow, same settings.
18. Layers>Duplicate.
Layers>Arrange>Move down.
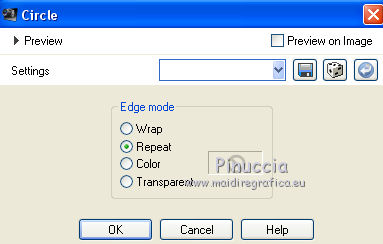
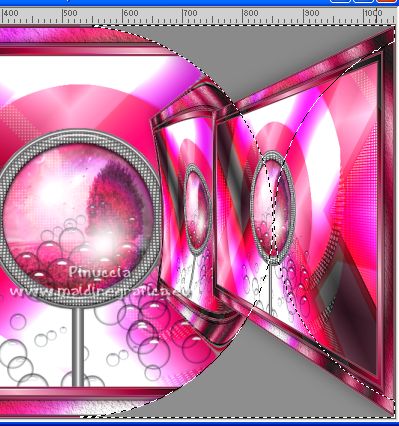
Effects>Geometric Effects>Circle.
Activate your Magic Wand Tool  , tolerance and feather 0, , tolerance and feather 0,
anc click in the colored part to select it.
Flood Fill  the selection with your Gradient. the selection with your Gradient.
(repeat Hue/Saturation/Lightness, if you used this option at step 1).
Effects>Plugins>AP Lines - Lines SilverLining.
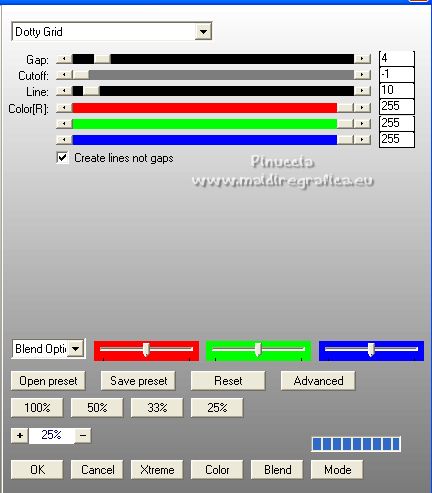
Selections>Select None.
Effects>Image Effects>Seamless Tiling, side by side.

Change the Blend Mode of this layer to Dodge.
Adjust>Sharpness>Sharpen.
19. Activate the layer above.
Effects>3D Effects>Drop Shadow, color black.

20. Activate your top layer.
Open the text titre 
Edit>Copy.
Go back to your work and go to Edit>Paste as new layer.
Move  the text at the bottom right. the text at the bottom right.
Change the Blend Mode of this layer to Luminance (legacy).
21. Sign your work on a new layer.
Add, if you want the author and the translator's watermarks.
22. Image>Add borders, 1 pixel, symmetric, color black.
23. Image>Resize, 950 pixels width, resize all layers checked.
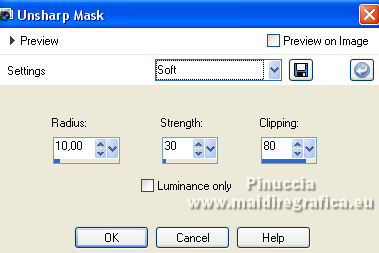
Adjust>Sharpness>Unsharp Mask, Soft.
Save as jpg.

Additional ideas:
with Animation shop you can add a gif to your choice.
Or you can add an animation of Simone
I used SimoneAni365-with drop shadow.mng
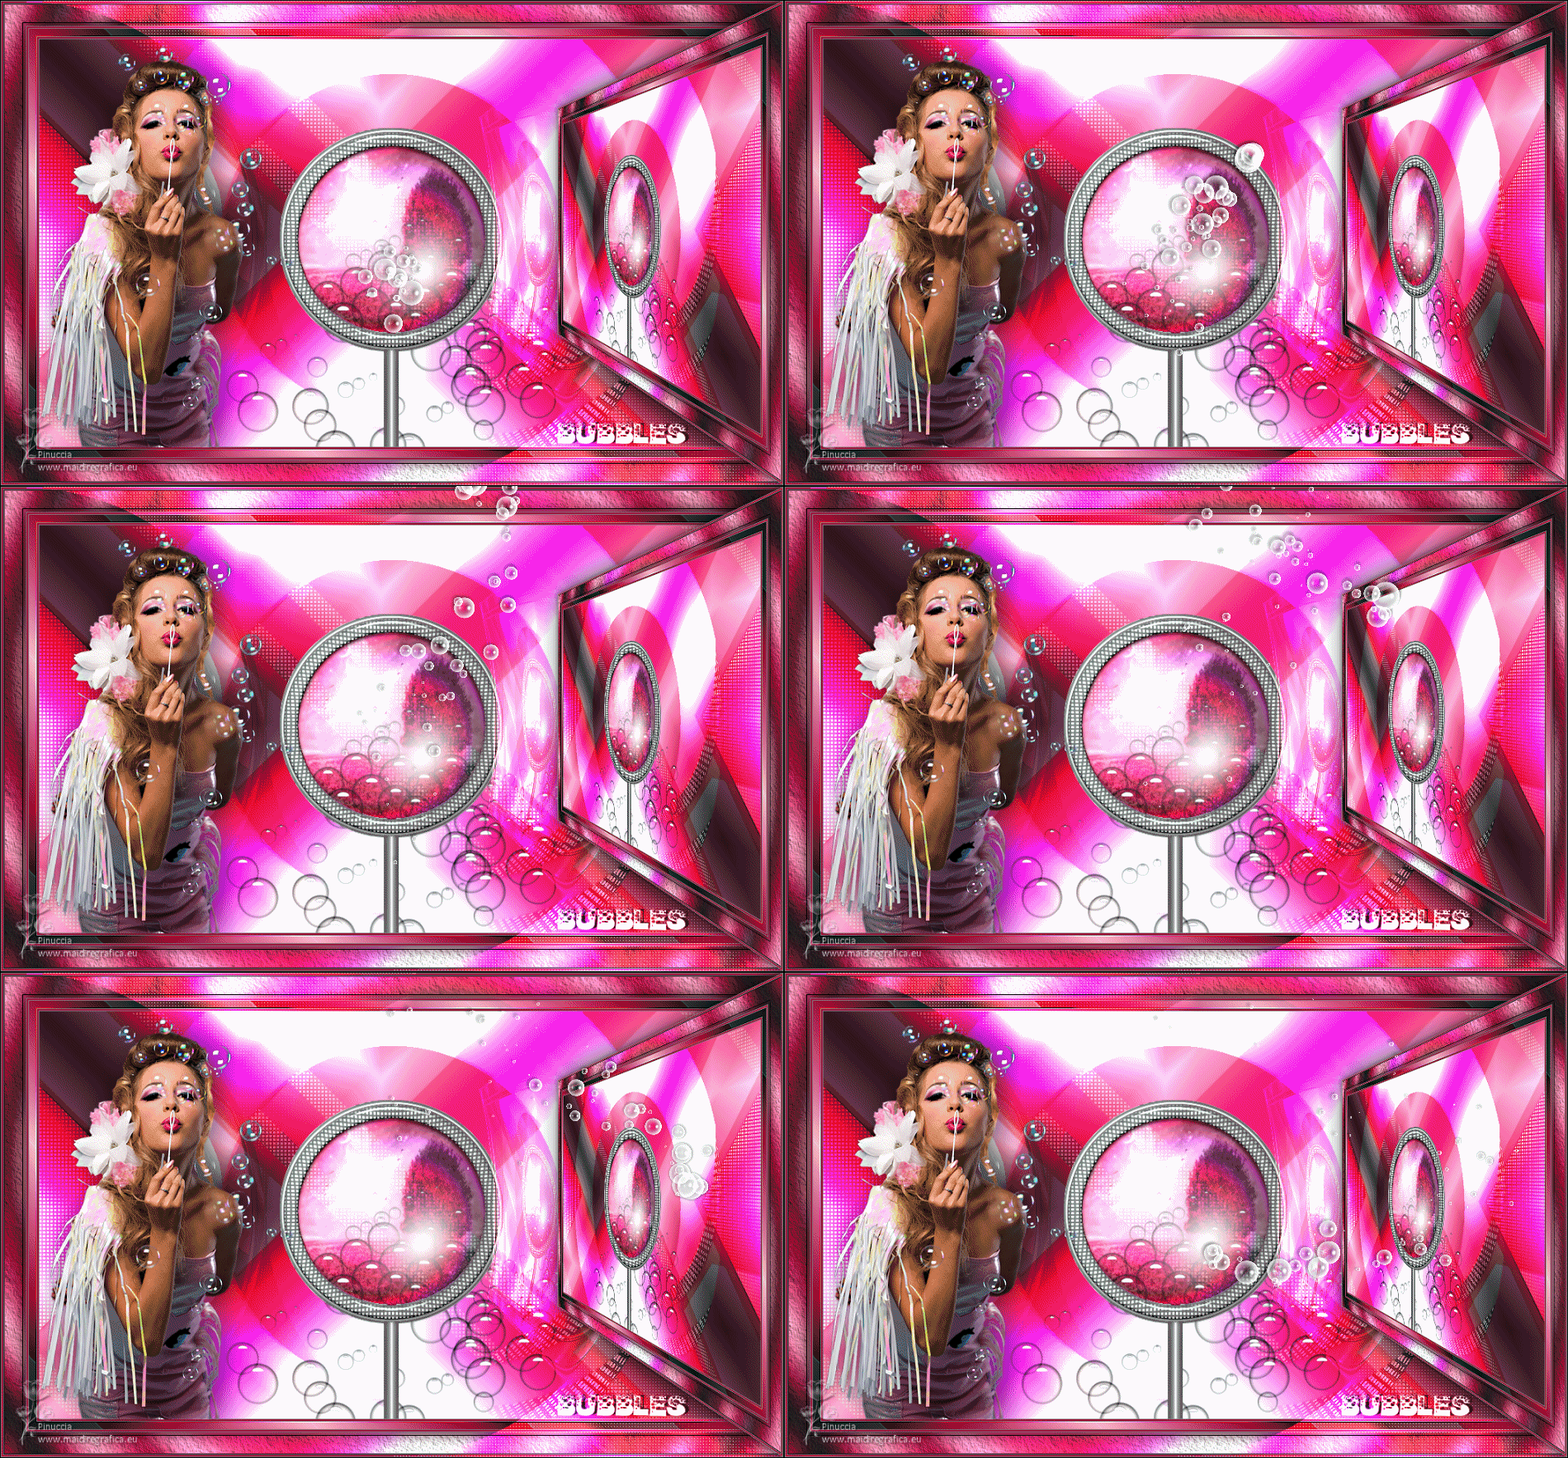
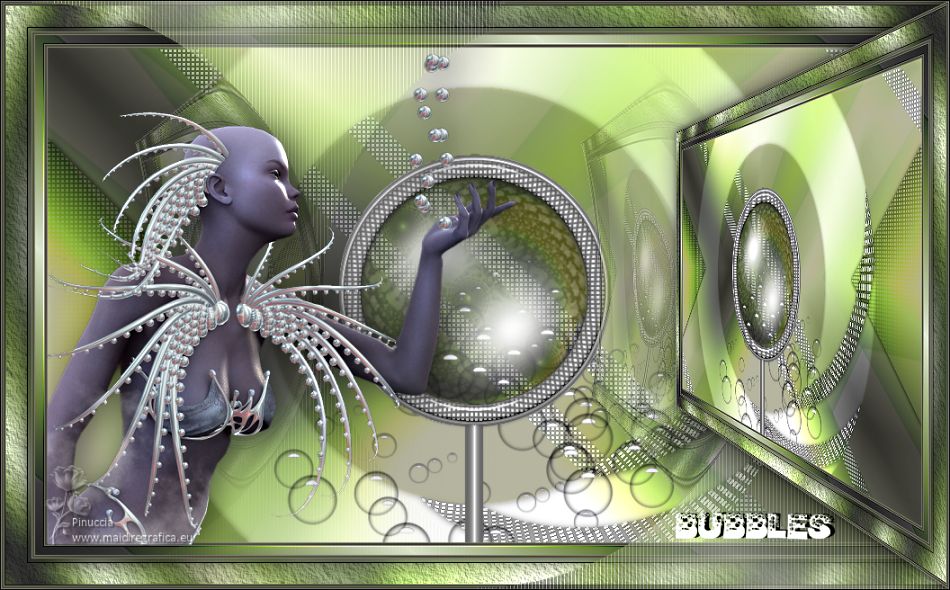
For the tube of this version thanks Cibi-Bijoux

If you have problems or doubts, or you find a not worked link,
or only for tell me that you enjoyed this tutorial, write to me.
23 January 2023

|

