|
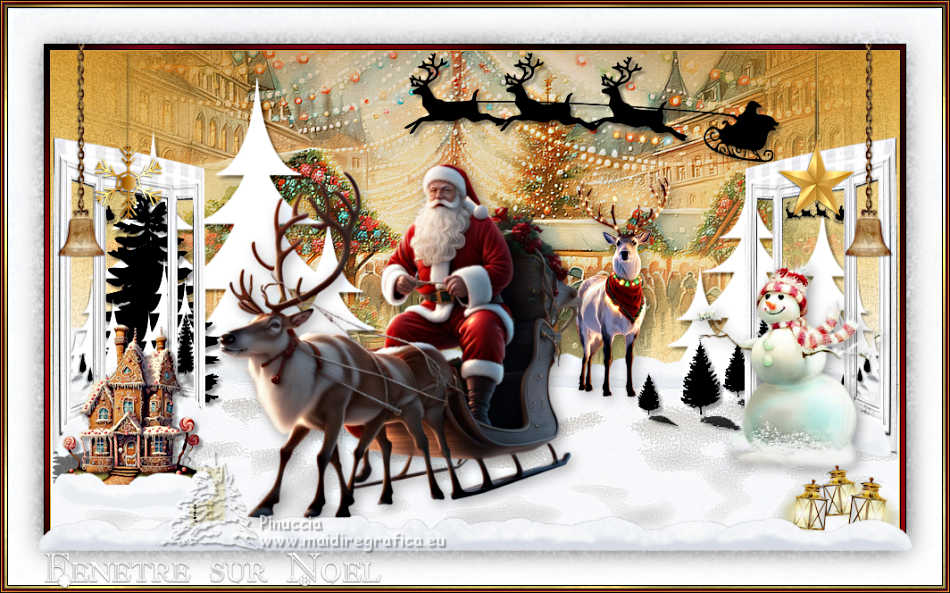
FENÊTRE SUR NOËL
 WINDOW ON CHRISTMAS WINDOW ON CHRISTMAS

Thanks Irene for the invitation to translate your tutorials

This tutorial was written with PSPX8 and translated with PSPX7 and PSPX3, but it can also be made using other versions of PSP.
Since version PSP X4, Image>Mirror was replaced with Image>Flip Horizontal,
and Image>Flip with Image>Flip Vertical, there are some variables.
In versions X5 and X6, the functions have been improved by making available the Objects menu.
In the latest version X7 command Image>Mirror and Image>Flip returned, but with new differences.
See my schedule here
 italian translation here italian translation here
 Your versions here Your versions here

For this tutorial, you will need:

For a tube thanks Riet.
The rest of the material is by Moi-Même.
(The links of material creators here).

consult, if necessary, my filter section here
Filters Unlimited 2.0 here
Mehdi - Wavy Lab 1.1. here
FM Tile Tools - Blend Emboss here
AAA Filters - Granularity here
Graphics Plus - Cross Shadow here
Filters Graphics Plus can be used alone or imported into Filters Unlimited.
(How do, you see here)
If a plugin supplied appears with this icon  it must necessarily be imported into Unlimited it must necessarily be imported into Unlimited

You can change Blend Modes according to your colors.

If you have problems with the canal alpha, open a new transparent image 950 x 550 pixels,
and use the selections from disk.
Set your foreground color to #daf6bb,
and your background color to #88bd19.
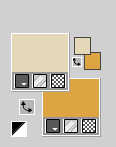
colore 3 #ba0e22
colore 4 #ffffff
Open canal alpha Fenêtre sur noël
This image, that will be the basis of your work, is not empty,
but contains the selections saved to alpha channel.
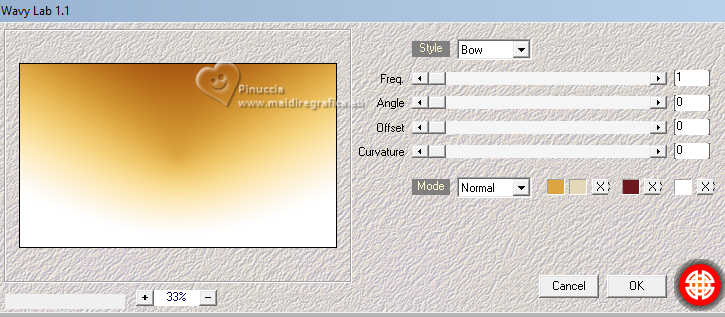
Effects>Plugins>Mehdi - Wavy Lab 1.1.
This filter creates gradients with the colors of your Materials palette.
The first is your background color, the second is your foreground color.
Change the last two colors created by the filtre:
the third color with color 3 #6d171f and the fourth color with white #ffffff.
Effects>Plugins>AAA Filters - Granularity.
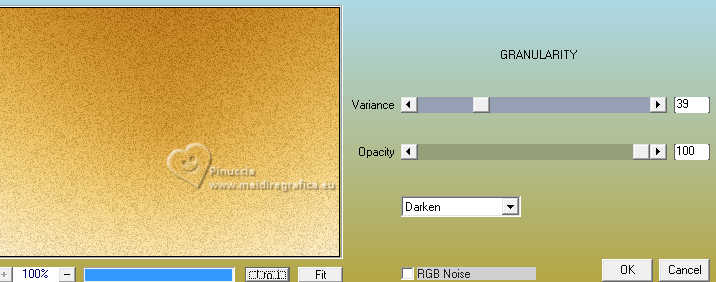
2. Open déco sol neige 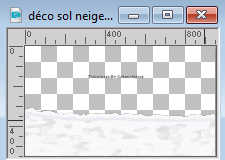
Erase the watermark and go to Edit>Copy.
Go back to your work and go to Edit>Paste as new layer.
Move  the tube down (Objects>Align>Bottom), the tube down (Objects>Align>Bottom),
or K key to activate your Pick Tool 
and set Position X: -1,00 and Position Y: 309,00.

M key to deselect the Tool.
Effects>3D Effects>Drop Shadow, color black.
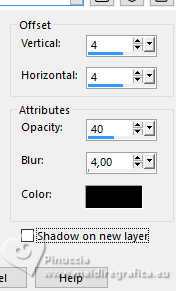
3. Set your foreground color to white.
Layers>New Raster Layer.
Selections>Load/Save Selection>Load Selection from Alpha Channel.
The selection sélection 1 is immediately available. You just have to click Load.
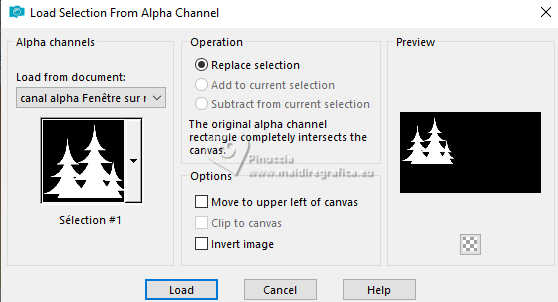
Flood Fill  the selection with color white. the selection with color white.
Selections>Select None.
Layers>Arrange>Move Down.
4. Layers>Duplicate.
Image>Resize, to 70%, resize all layers not checked.
Image>Mirror.
K key to activate your Pick Tool 
set Position X: 690,00 and Position Y: 132,00.

M key to deselect the Tool.
Layers>Merge>Merge Down.
Effects>3D Effects>Drop Shadow, same settings.
5. Set your foreground color to black.
Activate your top layer.
Layers>New Raster Layer.
Selections>Load/Save Selection>Load Selection from Alpha Channel.
Open the Selections menu and load the selection sélection 2
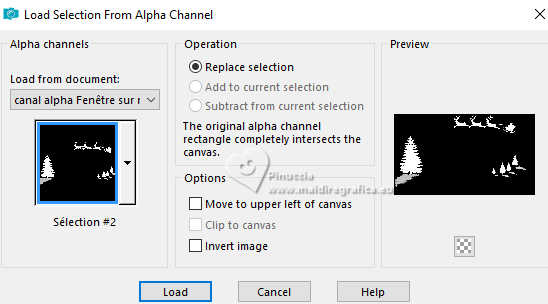
Flood Fill  the selection with color black. the selection with color black.
Selections>Select None.
Effects>3D Effects>Drop Shadow, same settings.
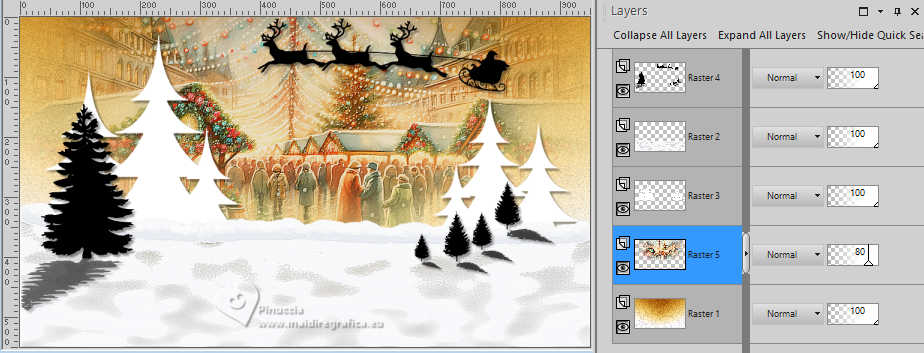
6. Activate the layer Raster 1.
Open the misted Misted-ai-generated-Par MM 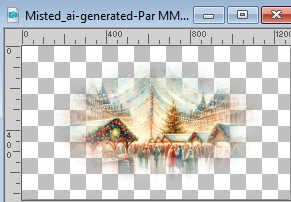
Erase the watermark and go to Edit>Copy.
Go back to your work and go to Edit>Paste as new layer.
K key to activate your Pick Tool 
set Position X: -35,00 and Position Y: -157,00.

M key to deselect the Tool.
(Resize and place according to your tube).
Effects>Plugins>FM Tile Tools - Blend Emboss, default settings.

Reduce the opacity of this layer to 80%.
7. Image>Add borders, 1 pixel, symmetric, background color.
Image>Add Borders, 1 pixel, symmetric, color black.
Selections>Select All.
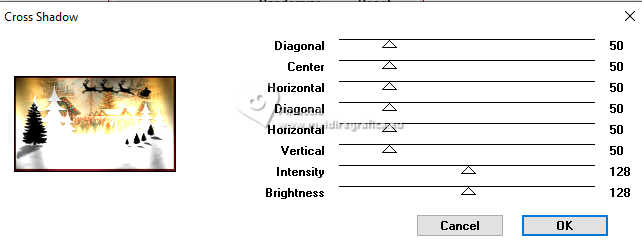
Image>Add borders, 5 pixels, symmetric, color 3 #6d171f.
Selections>Invert.
Effects>Plugins>Graphics Plus - Cross Shadow, default settings
Selections>Select None.
Image>Add borders, 1 pixel, symmetric, color black.
8. Open the tube Déco Fenêtre 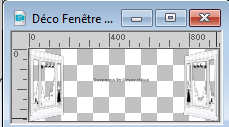
Erase the watermark and go to Edit>Copy.
Go back to your work and go to Edit>Paste as new layer.
Don't move it (Posizions X: 9,00 - Y: 103,00)
9. Open the tube ai-generated-Renne_noel_tube MM 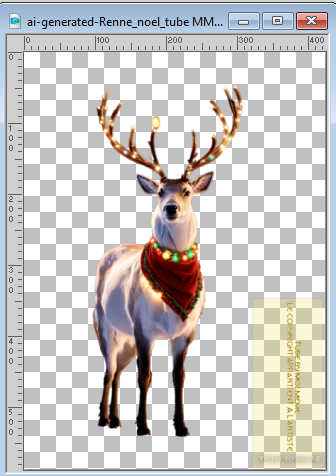
Erase the watermark and go to Edit>Copy.
Go back to your work and go to Edit>Paste as new layer.
Image>Resize, to 50%, resize all layers not checked.
Adjust>Sharpness>Sharpen.
K key to activate your Pick Tool 
set Position X: 595,00 and Position Y: 147,00.

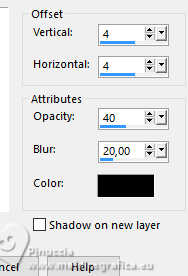
Effects>3D Effects>Drop Shadow, color black.
10. Open the tube déco suspension noël 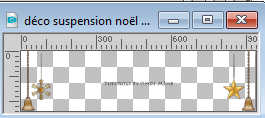
Erase the watermark and go to Edit>Copy.
Go back to your work and go to Edit>Paste as new layer.
Keep Position X: 14,00 e imposta Posizione Y: 0,00.

11. Open the tube père noël_Ai gemerated&tube par MM 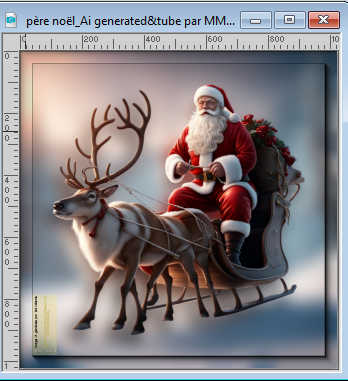
Erase the watermark and go to Edit>Copy.
Go back to your work and go to Edit>Paste as new layer.
Image>Resize, to 50%, resize all layers not checked.
Set Position X: 163,00 and Position Y: 134,00.

Effects>3D Effects>Drop Shadow, same settings.
12 Open the tube Riet 1071-081123 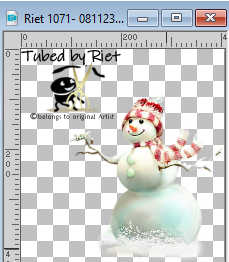
Erase the watermark and go to Edit>Copy.
Go back to your work and go to Edit>Paste as new layer.
Image>Resize, to 70%, resize all layers not checked.
K key to activate your Pick Tool 
set Position X: 724,00 and Position Y: 242,00.

Effects>3D Effects>Drop Shadow, same settings.
13. Open tube déco 1 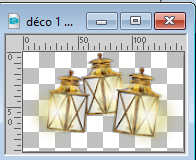
Edit>Copy.
Go back to your work and go to Edit>Paste as new layer.
set Position X: 818,00 and Position Y: 471,00.

14. Open déco 2 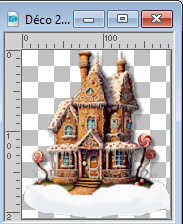
Edit>Copy.
Go back to your work and go to Edit>Paste as new layer.
set Position X: 9,00 and Position Y: 315,00.

M key to deselect the Tool.
15. Selections>Select All.
Image>Add borders, 40 pixels, symmetric, color white.
Effects>3D Effects>Drop Shadow, color black.

16. Selections>Select All.
Open the tube déco snow cadre 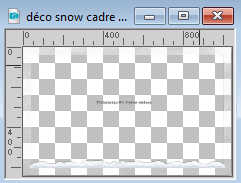
Erase the watermark and go to Edit>Copy.
Go back to your work and go to Edit>Paste into Selection.
Selections>Select None.
17. Image>Add borders, 1 pixel, symmetric, color black.
Selections>Select All.
18. Image>Add borders, 5 pixels, symmetric, color 3 #6d171f
Selections>Invert.
19. Open the golden border bordure or 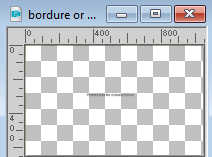
Erase the watermark and go to Edit>Copy.
Go back to your work and go to Edit>Paste into Selection.
Selections>Select None.
20. Image>Add borders, 1 pixel, symmetric, color black.
Image>Add borders, 2 pixels, symmetric, color 3 #6d171f.
Image>Add borders, 1 pixel, symmetric, background color.
21. Open the text titre 
Edit>Copy.
Go back to your work and go to Edit>Paste as new layer.
K key to activate your Pick Tool 
abd set Position X: 48,00 and Position Y: 618,00.

M key to deselect the Tool.
22. Sign your work.
23. Image>Add borders, 1 pixel, symmetric, color black.
Image>Resize, 950 pixels width, resize all layers checked.
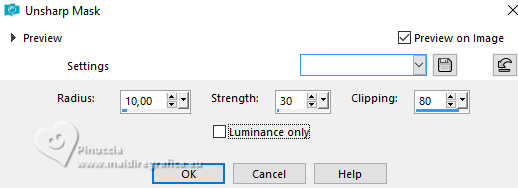
Adjust>Sharpness>Unsharp Mask.
Save as jpg.
For two tubes of this version thanks Louise and Béas
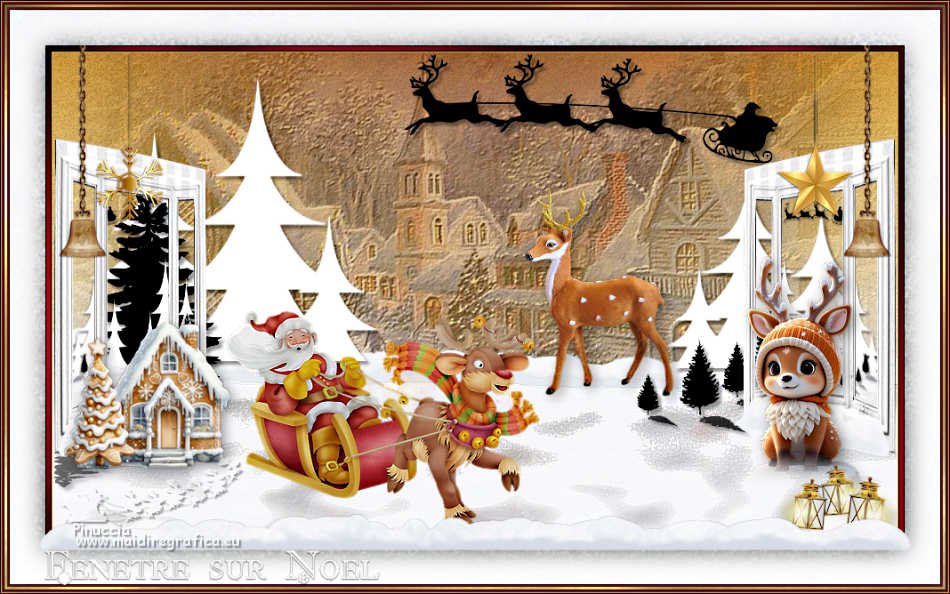

If you have problems or doubts, or you find a not worked link,
or only for tell me that you enjoyed this tutorial, write to me.
9 December 2023

|
 WINDOW ON CHRISTMAS


 WINDOW ON CHRISTMAS
