|
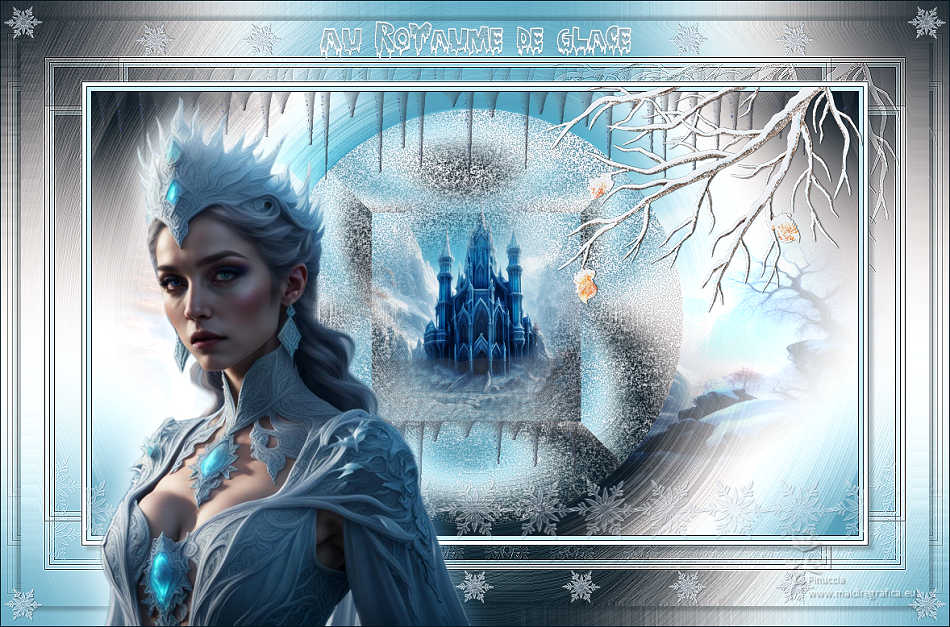
AU ROYAUME DE GLACE


Thanks Irene for the invitation to translate your tutorials

This tutorial was written with PSPX8 and translated with PSPX7 and PSPX3, but it can also be made using other versions of PSP.
Since version PSP X4, Image>Mirror was replaced with Image>Flip Horizontal,
and Image>Flip with Image>Flip Vertical, there are some variables.
In versions X5 and X6, the functions have been improved by making available the Objects menu.
In the latest version X7 command Image>Mirror and Image>Flip returned, but with new differences.
See my schedule here
 italian translation here italian translation here
 Your versions here Your versions here

For this tutorial, you will need:

The material is by Moi-Même.
(The links of material creators here).

consult, if necessary, my filter section here
Filters Unlimited 2.0 here
Mehdi - Wavy Lab 1.1 here
&<Bkg Designer sf10I> - Cruncher, Circus maximus, Alf's Border FX Mirror Bevel (to import in Unlimited) here

You can change Blend Modes according to your colors.

If you have problems with alpha channel,
open a new transparent image 950 x 550 pixels,
and use the selections from disk.
Colors

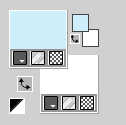
Set your foreground color to #cdeff8,
and your background color to white #ffffff.
1. Open canal alpha Au Royaume de glace
This image, that will be the basis of your work, is not empty,
but contains the selections saved to alpha channel.
Effects>Plugins>Mehdi - Wavy Lab 1.1.
This filter creates gradients with the colors of your Materials palette.
The first is your background color, the second is your foreground color.
Change the last two colors created by the filtre:
the third color with #529eb8 and the fourth color with #041620.

Adjust>Blur>Gaussian Blur - radius 15.

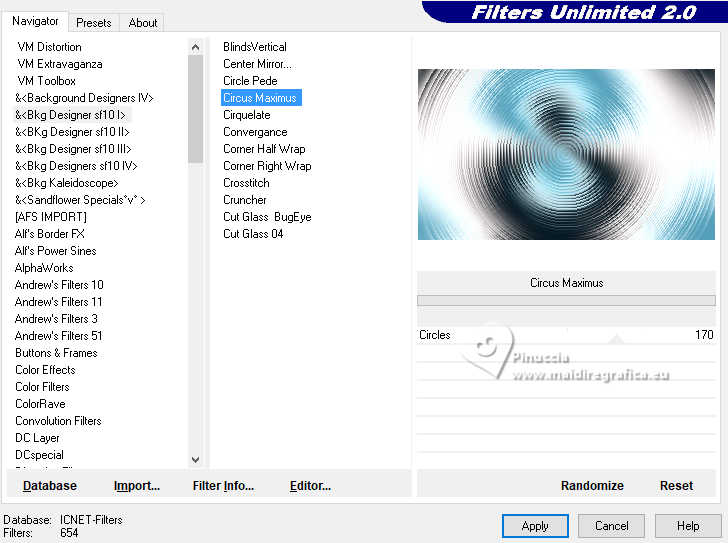
Effects>Plugins>Filters Unlimited 2.0 - &<Bkg Designer sf10I> - Circus Maximus, default settings.
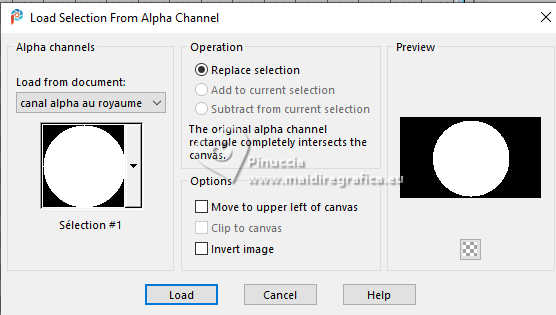
2. Selections>Load/Save Selection>Load Selection from Alpha Channel.
The selection sélection #1 is immediately available. You just have to click Load.
Selections>Promote Selection to Layer.
Effects>Plugins>Filters Unlimited 2.0 - &<Bkg Designer sf10I> - Alf's Borders Mirror Bevel, default settings.
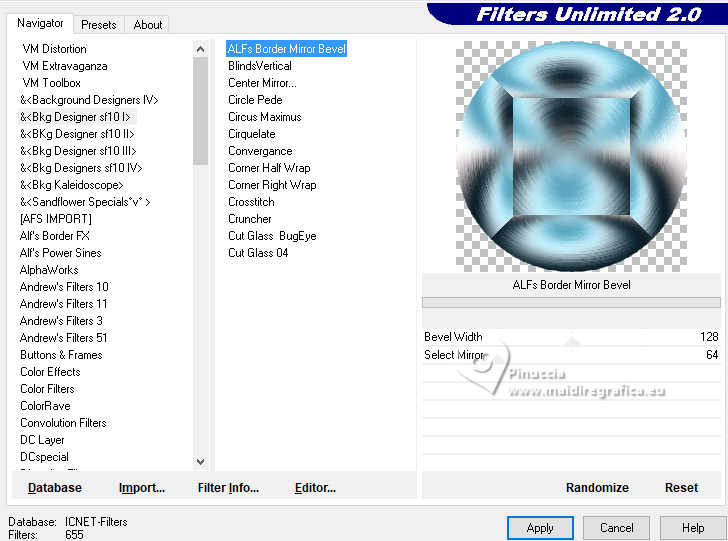
3. Lagers>New Raster Layer.
Open déco cercle 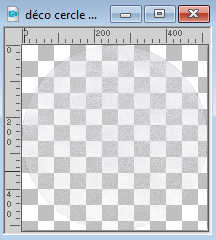
Edit>Copy.
Go back to your work and go to Edit>Paste into Selection.
Adjust>Sharpness>Sharpen.
4. Selections>Load/Save Selection>Load Selection from Alpha Channel.
Open the Selections menu and load the selection sélection 2.
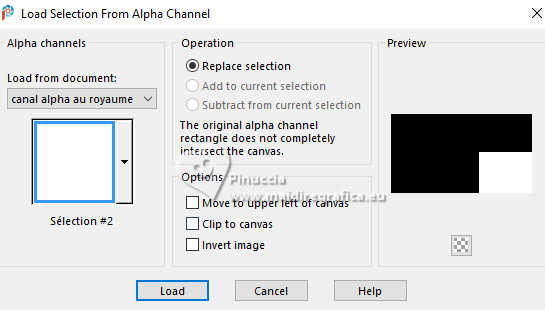
The new selection has replaced the previous one
Open the landscape paysage royaume de glace_AI&mistedpar MM 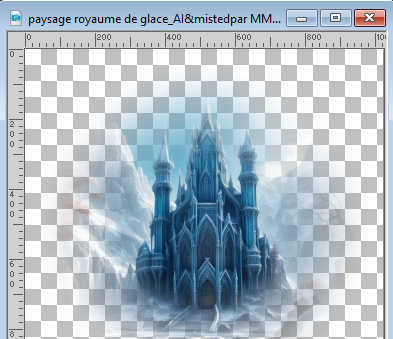
Erase the watermark and go to Edit>Copy.
Go back to your work and go to Edit>Paste as new layer.
Image>Resize, to 35%, resize all layers not checked.
Layers>Duplicate.
Change the Blend Mode of this layer to Soft Light.
Selections>Select None.
5. Activate your background layer.
Layers>New Raster layer.
Selections>Select All.
Edit>Paste into Selection (the landascape is still in memory).
Change the Blend Mode of this layer to Hard Light.
Selections>Select None.
6. Activate your top layer.
Open déco icicles1 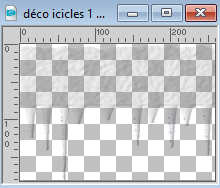
Edit>Copy.
Go back to your work and go to Edit>Paste as new layer.
K key to activate your Pick Tool 
and set Position X: 347,00 and Position Y: 327,00.

M key to deselect the Tool.
Stay on this layer
(duplicate if necessary).
7. Close the two bottom layers.
Layers>Merge>Merge visible.
Open again che closed layers.
Open déco icicles2 
Edit>Copy.
Go back to your work and go to Edit>Paste as new layer.
Move  the tube at the top. the tube at the top.
Objects>Align>Top.
8. Activate your background layer.
Edit>Copy
Edit>Paste as new image, and minimize this image.
9. Go back to your work.
For the borders set your background color with color 4 #041620
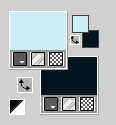
Image>Add borders, 1 pixel, symmetric, color 4.
Image>Add borders, 5 pixels, symmetric, foreground color.
Image>Add borders, 1 pixels, symmetric, color 4.
10. Open déco étoiles neige 
Edit>Copy.
Go back to your work and go to Edit>Paste as new layer.
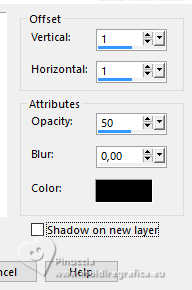
Effects>3D Effects>Drop Shadow, color 4, or black if your color is not dark.
Objects>Align>Bottom.
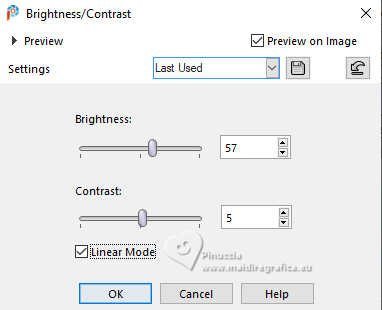
Optional: Adjust>Brightness and Contrast>Brightness and Contrast
11. Open déco branche_pngegg 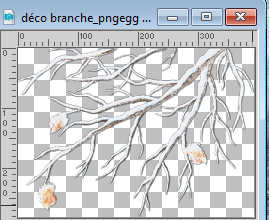
Edit>Copy.
Go back to your work and go to Edit>Paste as new layer.
Move  the tube at the upper right: the tube at the upper right:
Objects>Align>Top
Objects>Align>Right
12. Image>Add borders, 5 pixels, symmetric, color white.
Image>Add borders, 1 pixel, symmetric, color 4.
Selections>Select All.
13. Image>Add borders, 100 pixels, symmetric, color white.
Selections>Invert
Activate the image minimized at step 8, and go to Edit>Copy.
Go back to your work and go to Edit>Paste into Selection.
Effects>Plugins>Filters Unlimited 2.0 - &<Bkg Designer sf10I> - Cruncher, default settings.
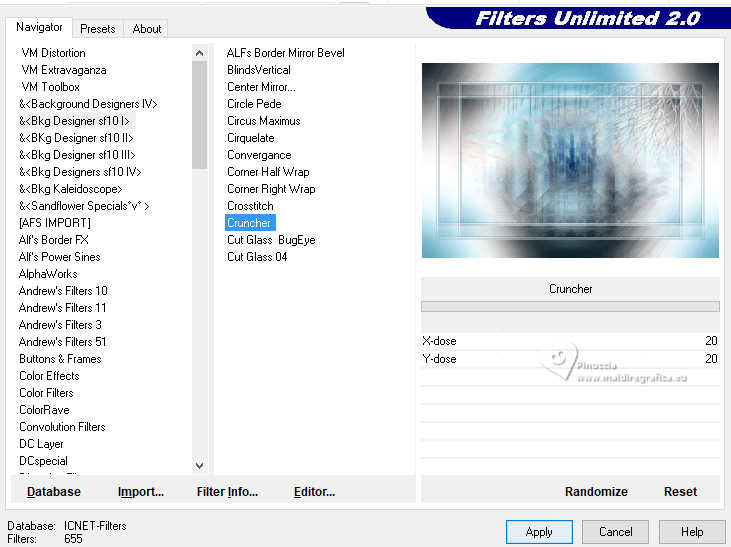
Effects>Edge Effects>Enhance.
14. Selections>Invert.
Effects>3D Effects>Drop Shadow, color 4.
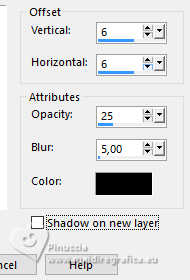
Selections>Select All.
Selections>Modify>Contract - 25 pixels.
Selections>Invert.
Repeat Effects>Plugins>Filters Unlimited 2.0 - &<Bkg Designer sf10I> - Cruncher, con i settaggi precedenti.
Selections>Invert.
Effects>3D Effects>Drop Shadow, same settings.
Repeat Drop Shadow, vertical and horizontal -6.
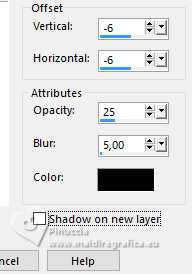
Selections>Select None.
15. Open your main tube Reine des glaces_AI&tube par MM 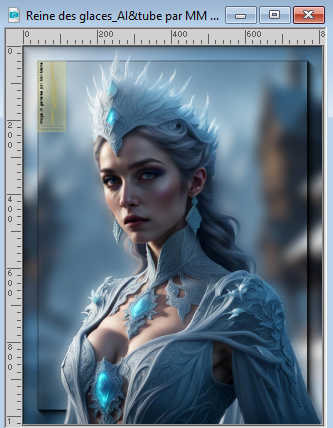
Erase the watermark and go to Edit>Copy.
Go back to your work and go to Edit>Paste as new layer.
Image>Resize, to 65%, resize all layers not checked.
Pick Tool (K) 
and set Position X: 122,00 and Position Y: 117,00.

M key to deselect the Tool.
Layers>Duplicate.
Activate the layer below.
Adjust>Blur>Gaussian Blur, same settings.

Change the Blend Mode of this layer to Screen.
16. Activate your background layer.
Open deco cadre et titre 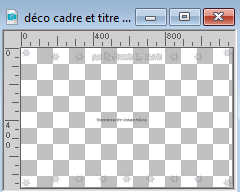
Erase the watermark and go to Edit>Copy.
Go back to your work and go to Edit>Paste as new layer.
17. Activate your top layer.
Sign your work.
Add the author and translator watermarks.
Image>Add borders, 1 pixel, symmetric, color 3 #529eb8
18. Image>Resize, 950 pixels width, resize all layers checked.
Adjust>Sharpness>Sharpen.
Save as jpg.
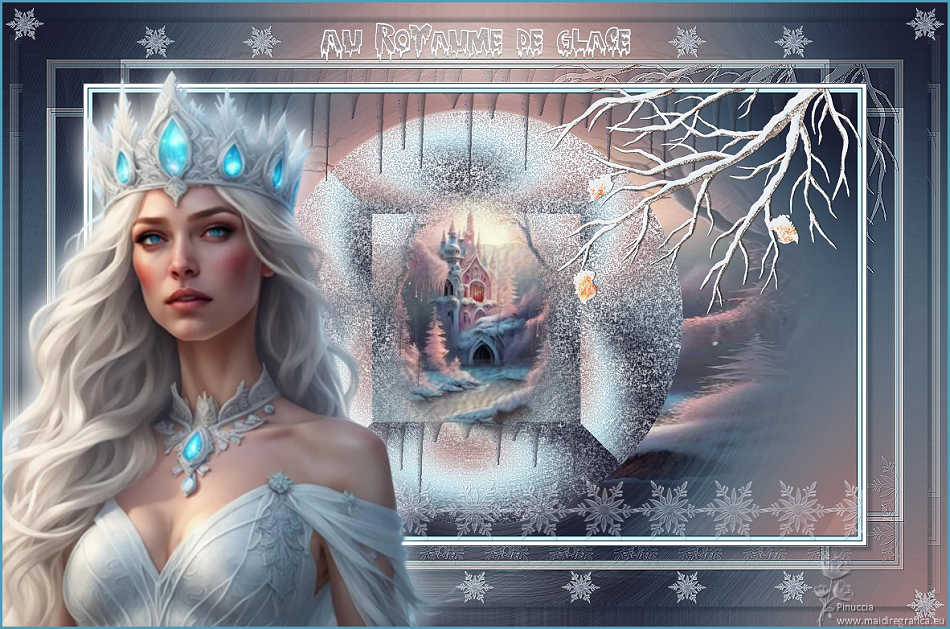
For the tubes of this version thanks Colybrix and Mentali

If you have problems or doubts, or you find a not worked link,
or only for tell me that you enjoyed this tutorial, write to me.
13 November 2023

|

