|
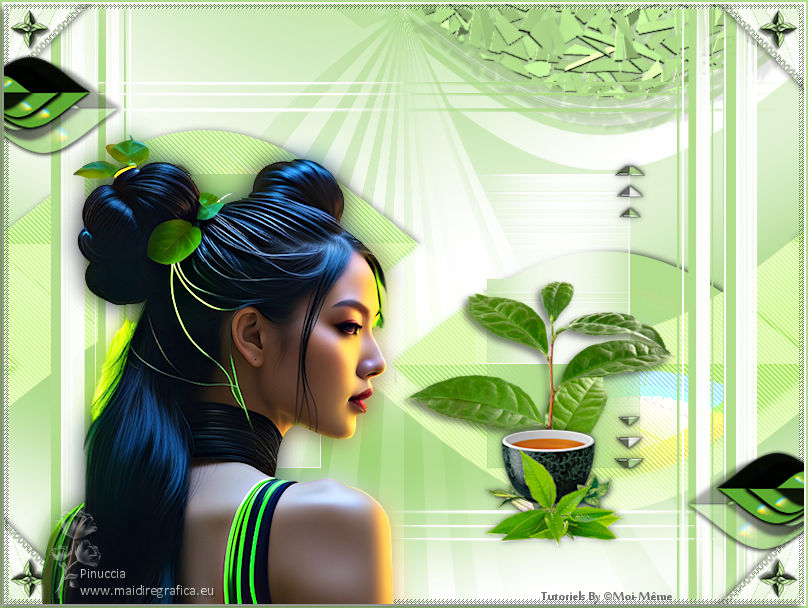
GREEN TEA


Thanks Irene for the invitation to translate your tutorials

This tutorial was written with PSPX8 and translated with PSPX7 and PSPX3, but it can also be made using other versions of PSP.
Since version PSP X4, Image>Mirror was replaced with Image>Flip Horizontal,
and Image>Flip with Image>Flip Vertical, there are some variables.
In versions X5 and X6, the functions have been improved by making available the Objects menu.
In the latest version X7 command Image>Mirror and Image>Flip returned, but with new differences.
See my schedule here
 italian translation here italian translation here
 Your versions here Your versions here

For this tutorial, you will need:

Tube: Image Ai generated pixabay.com
The rest of the material is by Moi-Même.
(The links of material creators here).

consult, if necessary, my filter section here
Filters Unlimited 2.3 here
AFS IMPORT - KookyGI - nel materiale
Balder Olrik - Mirror Y here
AP Distort - Distort-Sliced Turn here
Mehdi - Wavy Lab here
Carolaine and Sensibility - CS-DLines here
Optional Alien Skin Xenofex 2 - Shatter here
Filters AFS IMPORT and Balder Olrik can be used alone or imported into Filters Unlimited.
(How do, you see here)
If a plugin supplied appears with this icon  it must necessarily be imported into Unlimited it must necessarily be imported into Unlimited

You can change Blend Modes according to your colors.

If you have problems with the canal alpha, open a new transparent image 800 x 600 pixels,
and use the selections from disk.
Open the mask in PSP and minimize it with the rest of the material.
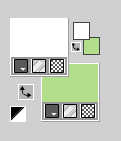
Set your foreground color to #ffffff,
and your background color to #b2dd8d.
1. Open canal_alpha_greentea
This image, that will be the basis of your work, is not empty,
but contains the selections saved to alpha channel.
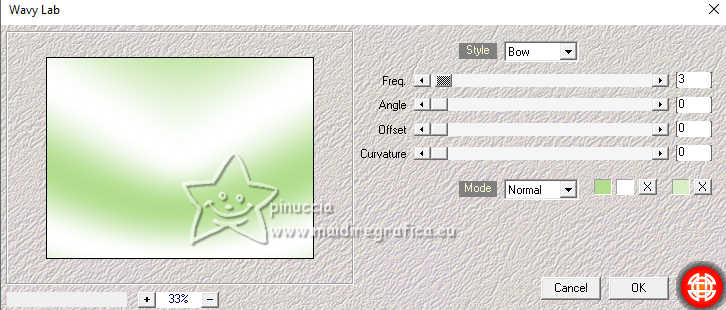
Effects>Plugins>Mehdi - Wavy Lab
Attention, please, this version is the previous one with 3 colors.
This filter creates gradients with the colors of your Materials palette.
The first is your background color, the second is your foreground color.
Keep the third color created by the filtre
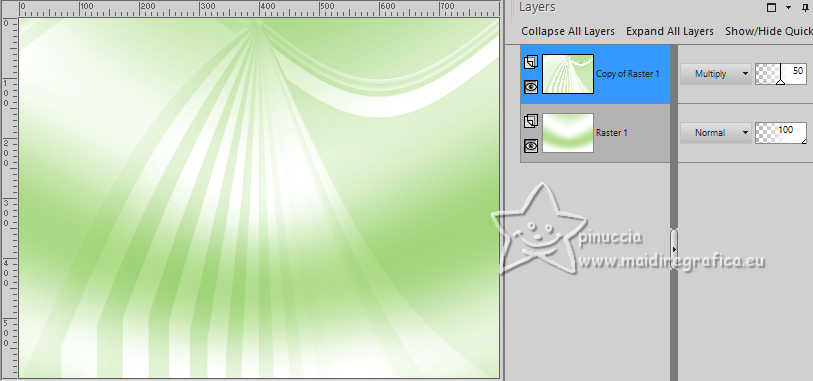
2. Layers>Duplicate.
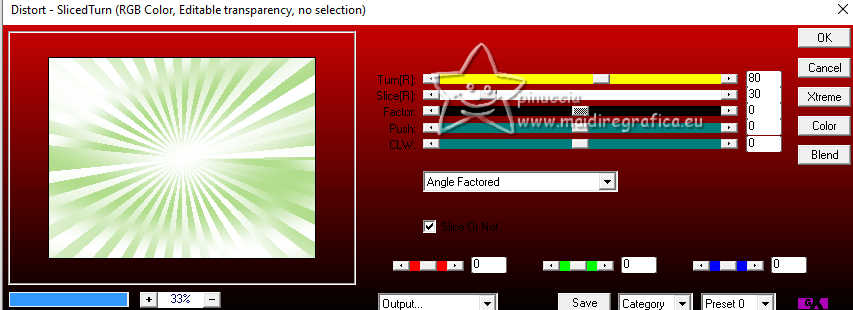
Effects>Plugins>AP [Distort] - Distort-SlicedTurn.
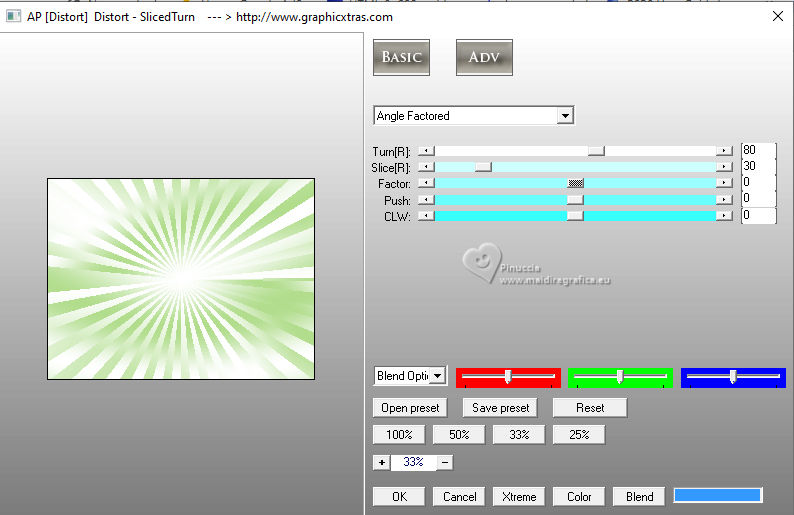
if you use the filter AP 01 [Innovations], the result doesn't change:
Effects>Plugins>AP 01 [Innovations] - Distort-SlicedTurn
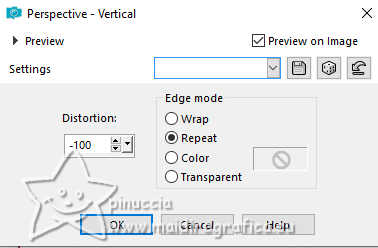
Effects>Geometric Effects>Perspective vertical.
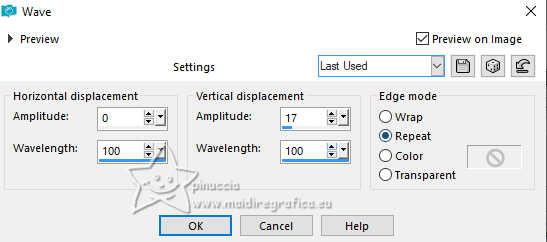
Effects>Distortion Effects>Wave.
Change the Blend Mode of this layer to Multiply and reduce the opacity to 50%.
3. Layers>New Raster Layer.
Flood Fill  the layers with your background color. the layers with your background color.
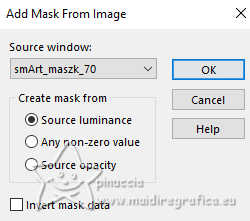
Layers>New Mask layer>From image
Open the menu under the source window and you'll see all the files open.
Select the mask smArt_maszk_70
Effects>Edge Effects>Enhance.
Layers>Merge>Merge group.
Layers>Duplicate.
Layers>Merge>Merge Down.
4. Layers>New Raster Layer.
Flood Fill  the layer with your foreground color. the layer with your foreground color.
Layers>New Mask layer>From image
Open the menu under the source window
and select again the mask smArt_maszk_70

Effects>Edge Effects>Enhance More.
Layers>Merge>Merge Group.
Image>Mirror>Mirror horizontal (Image>Mirror).
5. Activate the layer Copy of Raster 1 (the second layer from the bottom).
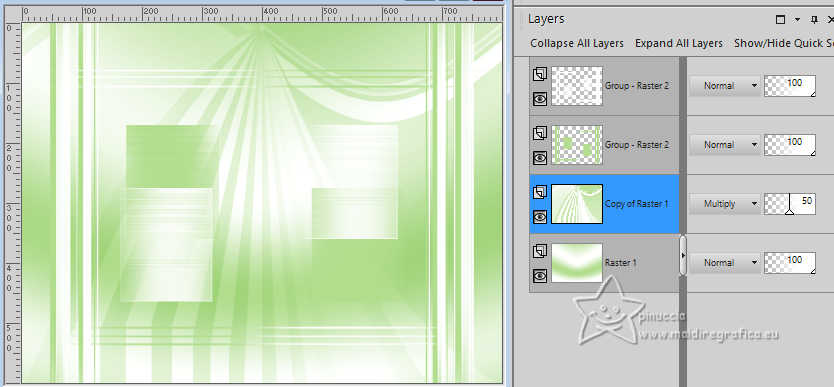
Layers>New Raster Layer.
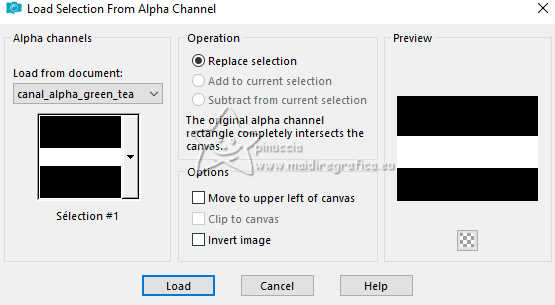
Selections>Load/Save Selection>Load Selection from Alpha Channel.
The selection sélection 1 is immediately available. You just have to click Load.
Effects>Plugins>Mehdi - Wavy Lab, same settings.
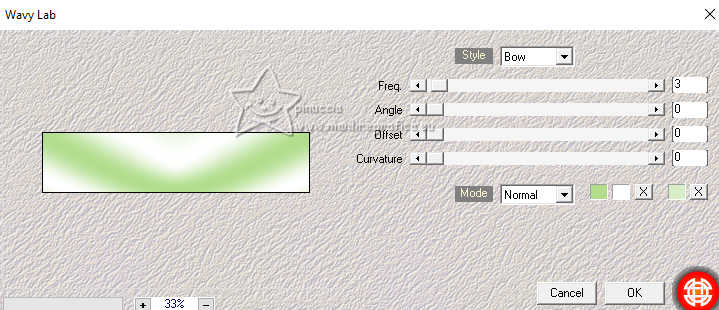
Selections>Select None.
Effects>Distortion Effects>Wave, same settings.

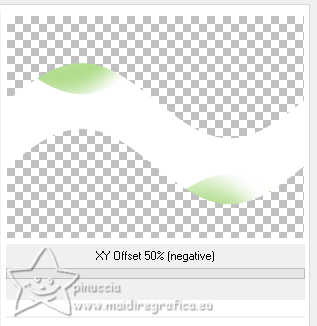
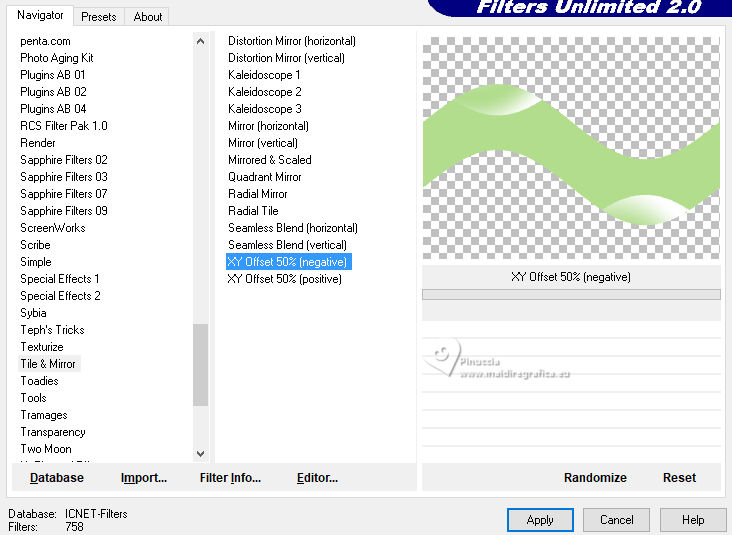
Effects>Plugins>Filters Unlimited 2.0 - Tile & Mirror - XY offset 50% (negative).
Attention, from this moment the results may change depending on the version of Unlimited used.
If you use the version Unlimited 2.0 you'll get this
With the version Unlimited 2.3, the right resul will be this
Effects>Plugins>Filters Unlimited 2.0 - [AFS IMPORT] - KookyGI, default settings.
result with Unlimited 2.0
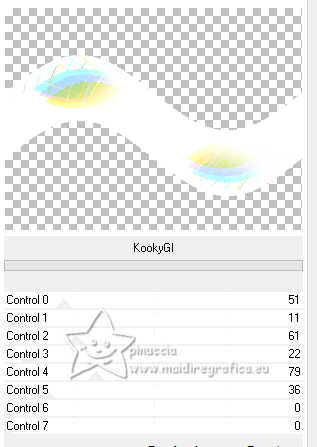
The right result with Unlimited 2.3.
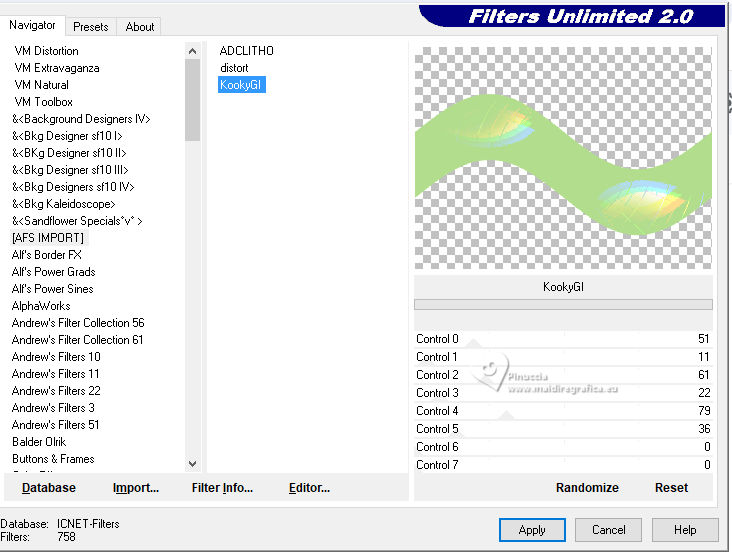
6. Layers>Duplicate.
Effects>Plugins>Carolaine and Sensibility - CS-DLines, default settings.
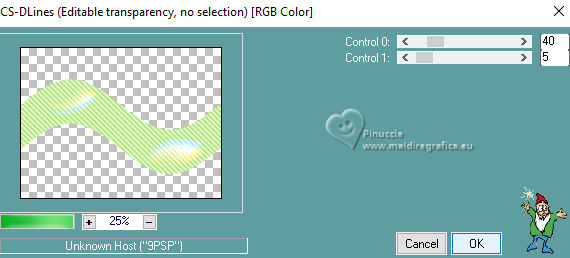
Change the Blend Mode of this layer to Hard Light.
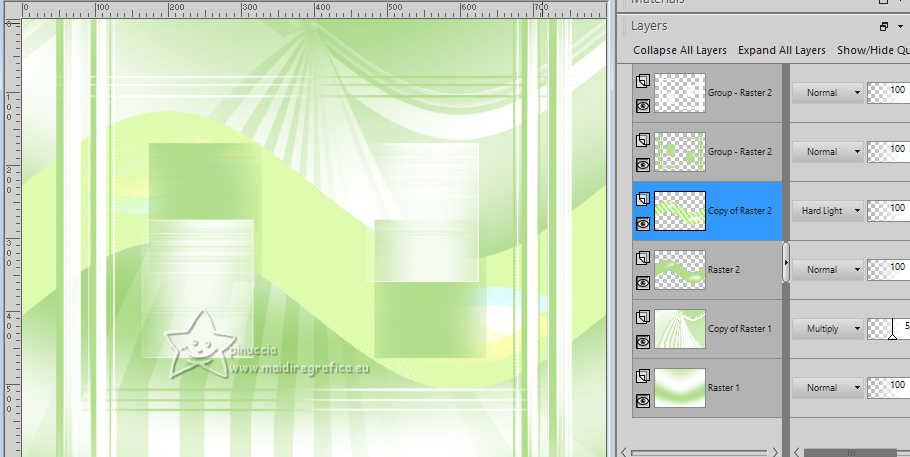
7. Activate the layer below, Raster 2.
Effects>Plugins>Filters Unlimited 2.0 - Balder Olrik - Mirror Y.
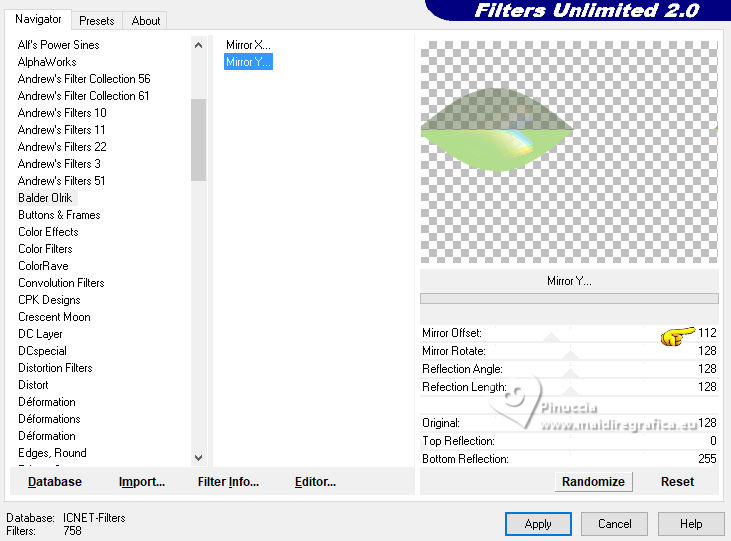
Layers>Duplicate.
Image>Mirror>Mirror horizontal (Image>Mirror).
Image>Mirror>Mirror vertical (Image>Flip).
Layers>Merge>Merge Down.
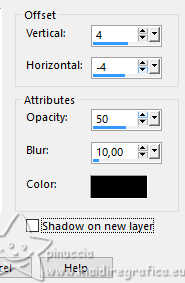
Effects>3D Effects>Drop Shadow, color black.
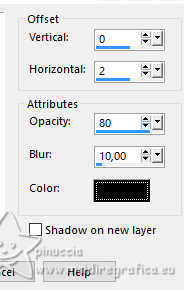
8. Layers>New Raster Layer.
Selections>Load/Save Selection>Load Selection from Alpha Channel.
Open the selections menu and load the selection sélection 2.
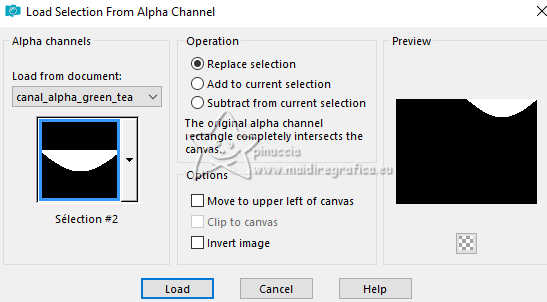
Flood Fill  the selection with your background color. the selection with your background color.
Note: if you cannot use the next plugin,
in the material you find the deco to copy/paste into selection
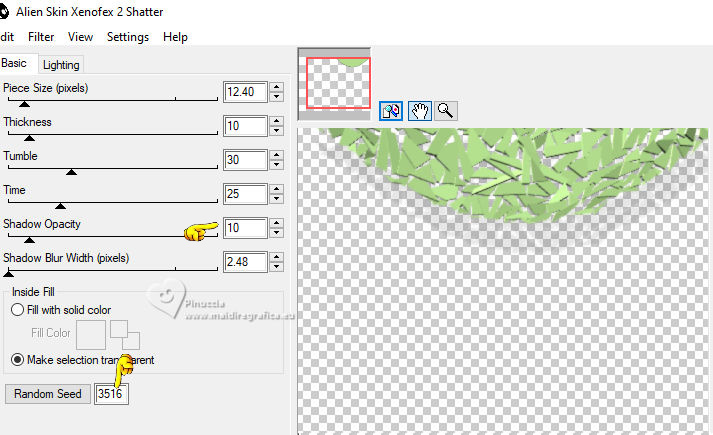
Effects>Plugins>Alien Skin Xenofex 2 - Shatter
Adjust>Sharpness>Unsharp Mask.
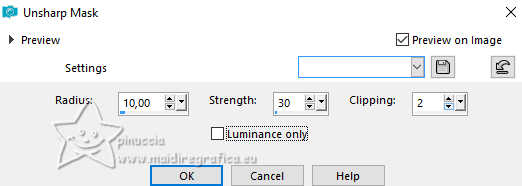
Edit>Repeat Unsharp Mask.
Selections>Select None.
9. Activate your top layer.
Open your woman's tube Femme GT_Aitube par MM 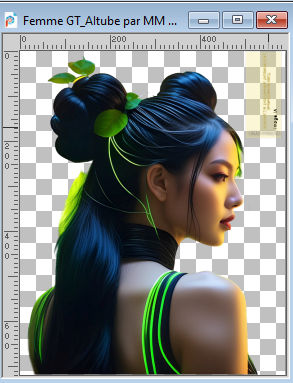
Erase the watermark and go to Edit>Copy.
Go back to your work and go to Edit>Paste as new layer.
Image>Resize, 1 time to 80% and 1 time to 90%, resize all layers not checked.
K key to activate your Pick Tool 
and set Position X: 25,00 and Position Y: 123,00

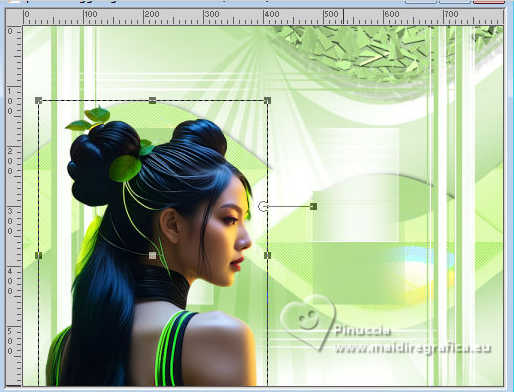
M key to deselect the Tool.
Adjust>Sharpness>Unsharp mask (is necessary), same settings.
Layers>Duplicate.
Activate the layer below.
Adjust>Blur>Gaussian Blur - radius 12.

(you can change the Blend Mode of this layer,
or apply a Drop Shadow at your choice).
10. Activate your top layer.
Open the tube Tdéco1 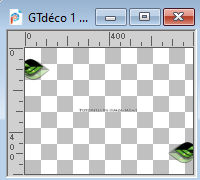
Erase the watermark and go to Edit>Copy.
Go back to your work and go to Edit>Paste as new layer.
To adapt the tube with your colors: Adjust>Color>Red/Green/Blu
11. Open the tube GTdéco 2 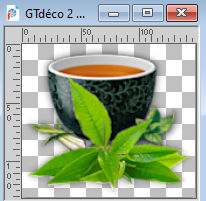
Edit>Copy.
Go back to your work and go to Edit>Paste as new layer.
K key to activate your Pick Tool 
and set Position X: 476,00 and Position Y: 417,00.

12. Activate the layer below.
Open the tube Gtea 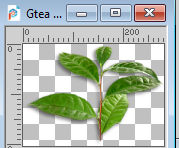
Erase the watermark and go to Edit>Copy.
Go back to your work and go to Edit>Paste as new layer.
Set Position X: 392,00 and Position Y: 273,00.

13. Activate the layer under the woman's layer.
Open GTdéco3 
Erase the watermark and go to Edit>Copy.
Go back to your work and go to Edit>Paste as new layer.
Set Position X: 150,00 and Position Y: 153,00.

M key to deselect the Tool.
14. Open GTdéco4 
Erase the watermark and go to Edit>Copy.
Go back to your work and go to Edit>Paste as new layer.
15. Open GTdéco5 
Erase the watermark and go to Edit>Copy.
Go back to your work and go to Edit>Paste as new layer.
Layers>Arrange>Move Down.
Selections>Select All.
Image>Crop to selection.
16. Activate your top layer.
Sign your work on a new layer.
Add the author and the translator watermarks.
17. Selections>Select All.
Image>Add borders, 2 pixels, symmetric, foreground color.
Image>Add borders, 2 pixels, symmetric, background color.
Effects>3D Effects>Drop Shadow, color black.
Selections>Select None.
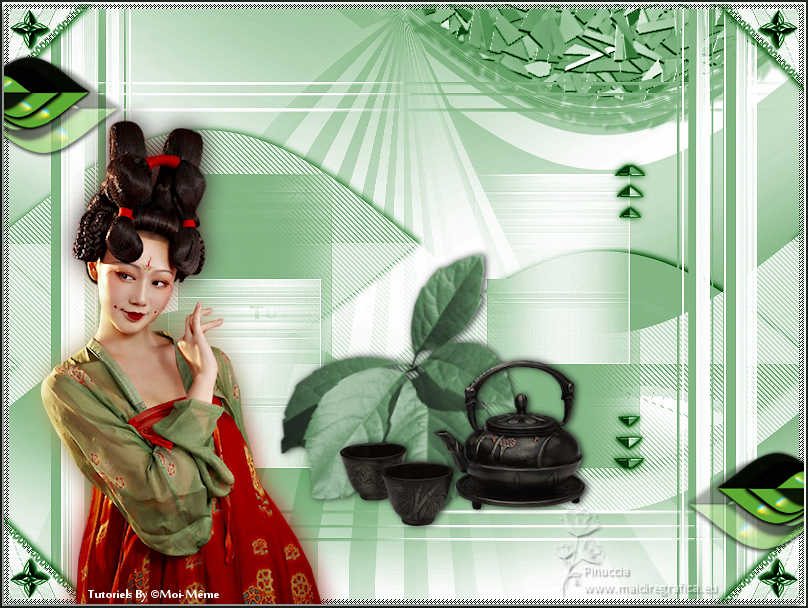
18. Save as jpg.
For the tube of this version thanks Lori Rhae

If you have problems or doubts, or you find a not worked link,
or only for tell me that you enjoyed this tutorial, write to me.
21 February 2024

|

