|
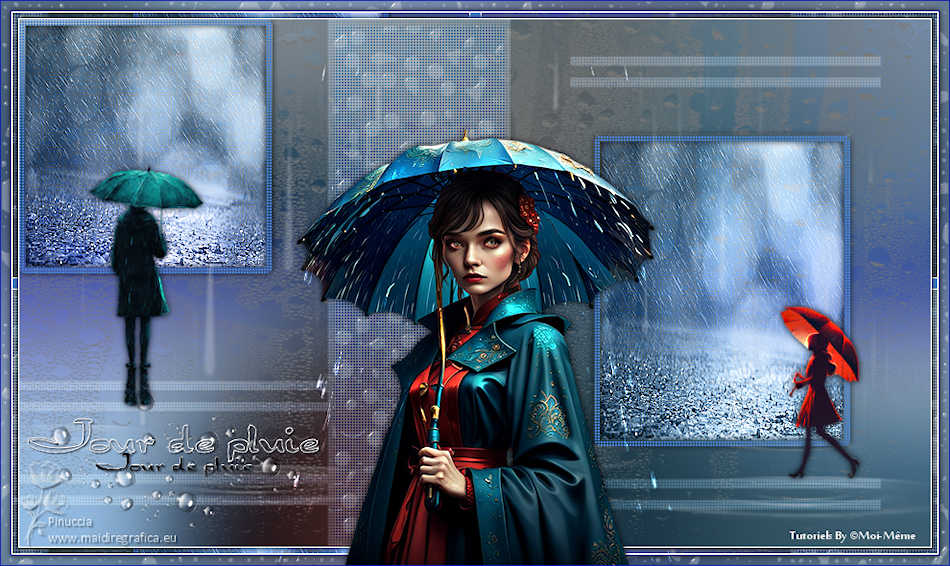
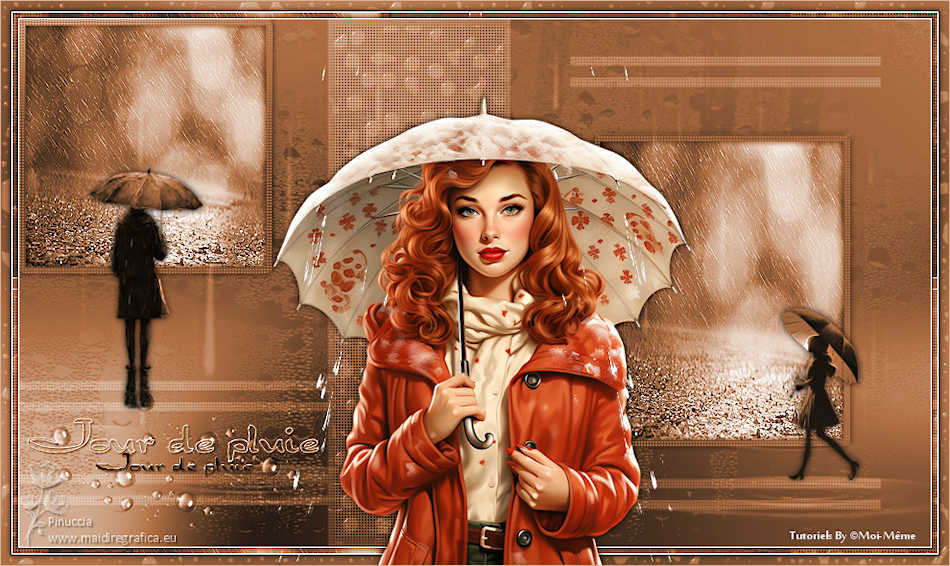
JOUR DE PLUIE


Thanks Irene for the invitation to translate your tutorials

This tutorial was written with PSPX8 and translated with PSPX7 and PSPX3, but it can also be made using other versions of PSP.
Since version PSP X4, Image>Mirror was replaced with Image>Flip Horizontal,
and Image>Flip with Image>Flip Vertical, there are some variables.
In versions X5 and X6, the functions have been improved by making available the Objects menu.
In the latest version X7 command Image>Mirror and Image>Flip returned, but with new differences.
See my schedule here
 italian translation here italian translation here
 Your versions here Your versions here

For this tutorial, you will need:

The tubes are by Moi-Méme.
You can find persons with umbrella here
Image IA by Pixabay.
1 déco pngegg.
WA and decos by Moi-Méme.
(The links of material creators here).

consult, if necessary, my filter section here
Mehdi - Wavy Lab 1.1 here

You can change Blend Modes according to your colors.

If you have problems with the canal alpha, open a new transparent image 950 x 550 pixels,
and use the selections from disk.
Open the masks in PSP and minimize them with the rest of the material.
Set your foreground color to #4681cc,
and your background color to #0d1c2f.
1. Open canal_alpha_Jour de pluie
This image, that will be the basis of your work, is not empty,
but contains the selections saved to alpha channel.
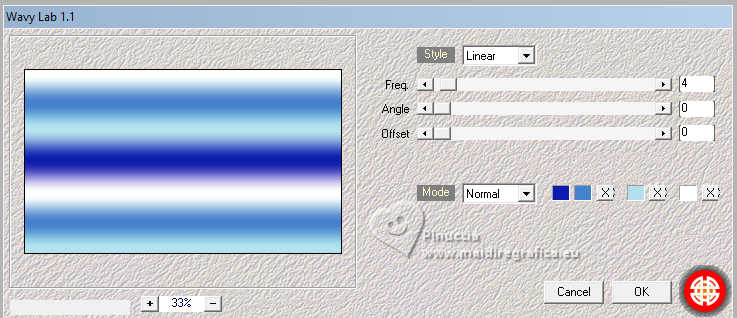
Effects>Plugins>Mehdi - Wavy Lab
if you cannot use this filter, your find the layer in the material 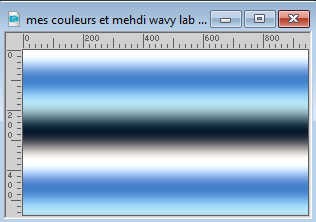 : :
Selections>Select All.
Copy/paste into Selection, and colorize according to your colors
This filter creates gradients with the colors of your Materials palette.
The first is your background color, the second is your foreground color.
Change the last two colors created by the filtre:
the third with color 3 #be30ee and the forth with color white #ffffff
2. Selections>Select All.
Open the tube Femme parapluie IA&tube par MM 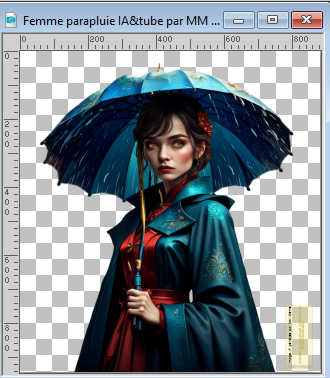
Erase the watermark and go to Edit>Copy.
Minimize the tube.
Go back to your work and go to Edit>Paste into Selection.
Selections>Select None.
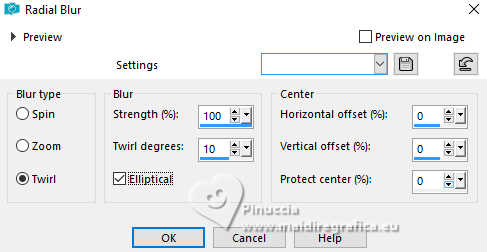
3. Adjust>Blur>Radial Blur.
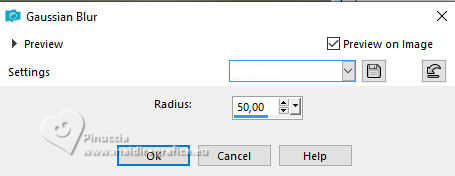
Adjust>Blur>Gaussian Blur - radius 50
4. Layers>New Raster Layer.
Selections>Select All.
Open the tube pngegg(1).png 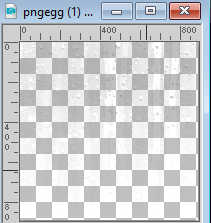
Edit>Copy.
Go back to your work and go to Edit>Paste into Selection.
Layers>Duplicate - 2 times.
Layers>Merge>Merge Down - 2 times.
Selections>Select None.
5. Layers>New Raster Layer.
Set your foreground color to white
Flood Fill  the layer with color white. the layer with color white.
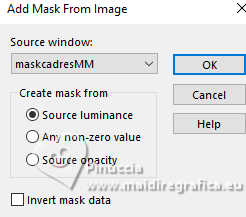
Layers>New Mask layer>From image
Open the menu under the source window and you'll see all the files open.
Select the mask maskcadresMM.
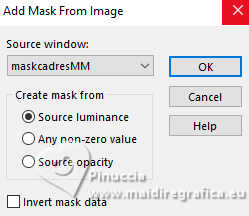
Layers>Merge>Merge Group.
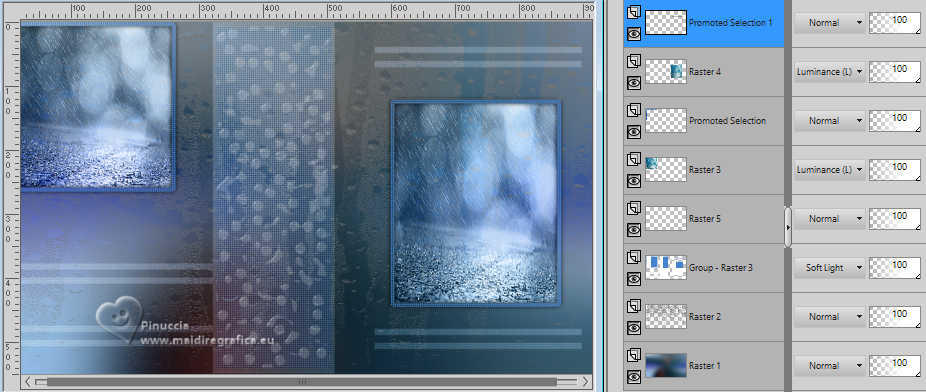
Change the Blend Mode of this layer to Soft Light.
6. Layers>New Raster Layer.
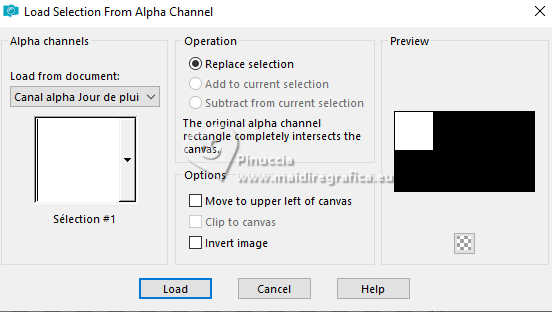
Selections>Load/Save Selection>Load Selection from Alpha Channel.
The selection sélection #1 is immediately available. You just have to click Load.
Open the background image rain-316579-1280... 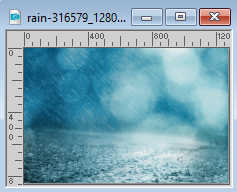
Edit>Copy.
Go back to your work and go to Edit>Paste into Selection.
Effects>Edge Effects>Enhance.
Change the Blend Mode of this layer to Luminance (legacy).
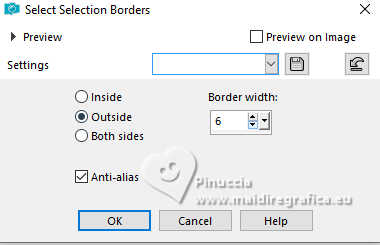
Selections>Modify>Select Selection Borders.
7. Activate your background layer, Raster 1.
Selections>Promote Selection to layer.
Layers>Arrange>Bring to top.
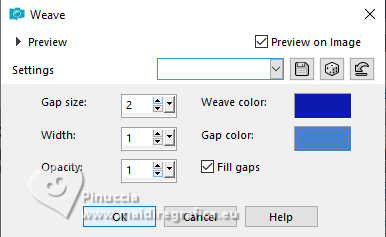
Effects>Texture Effects>Weave
wave color: background color
gap color: first foreground color #4681cc.
Selections>Select None.
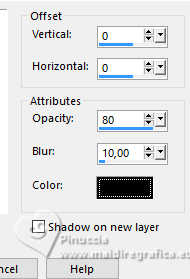
Effects>3D Effects>Drop Shadow, color black.
8. Layers>New Raster Layer.
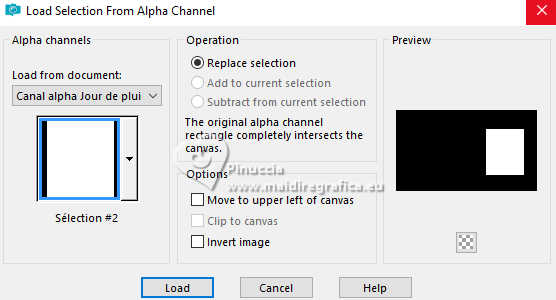
Selections>Load/Save Selection>Load Selection from Alpha Channel.
Open the selections menu and load th selection sélection #2
Edit>Paste into Selection (the image rain... is still in memory).
Effects>Edge Effects>Enhance.
Change the Blend Mode of this layer to Luminance (legacy).
Selections>Modify>Select Selection Borders, same settings.
Activate your background layer, Raster 1.
Selections>Promote Selection to Layer.
Layers>Arrange>Bring to Top.
Effects>Texture Effects>Weave, same settings.
Selections>Select None.
Effects>3D Effects>Drop Shadow, same settings.
9. Activate the mask's layer, the third from the bottom.
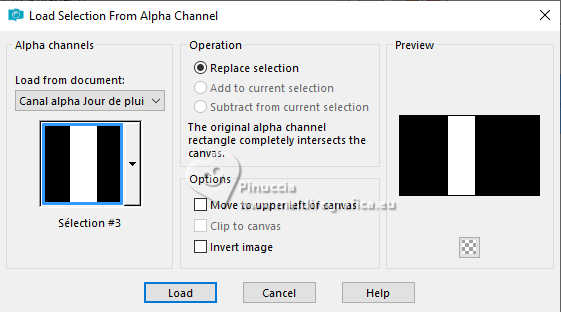
Selections>Load/Save Selection>Load Selection from Alpha Channel.
Open the selections menu and load th selection sélection #3
Layers>New Raster Layer.
Open the tube déco waterdrops_par MM 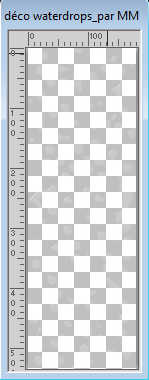
Edit>Copy.
Go back to your work and go to Edit>Paste into Selection.
Selections>Select None.
10. Activate the layer below of the mask.
Selections>Select All.
Selections>Float.
Selections>Defloat.
Effects>Texture Effects>Weave, same settings.
Selections>Select None.
11. Activate your top layer.
Open déco Titre 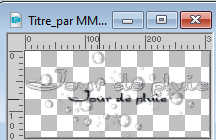
Edit>Copy.
Go back to your work and go to Edit>Paste as new layer.
K key to activate your Pick Tool 
set Position X: 8,00 and Position Y: 387,00.

M key to deselect the Tool.
12. Activate the layer below.
Layers>New Raster Layer.
Reduce the opacity of your Flood Fill Tool to 60%.
Flood Fill  the layer with color white. the layer with color white.
Layers>New Mask layer>From image
Open the menu under the source window
and select the mask Image Raindrop(For Free Download)
Layers>Duplicate.
Layers>Merge>Merge Group.
Set again the opacity of your Flood fill to 100.
13. Set again your foreground color to #4681cc

Image>Add borders, 1 pixel, symmetric, color white.
Selections>Select All.
Image>Add borders, 6 pixels, symmetric, foreground color.
Effects>Image Effects>Seamless Tiling, default settings.

Effects>3D Effects>Drop Shadow, same settings.
Selections>Select None.
14. Image>Add borders, 1 pixel, symmetric, color white
Image>Add borders, 2 pixels, symmetric, background color.
Selections>Select All.
Image>Add borders, 10 pixels, symmetric, color white.
Effects>Image Effects>Seamless Tiling, default settings.

Selections>Invert.
Adjust>Blur>Gaussian Blur, same settings.

15. Open déco waterdrop cadre_par MM 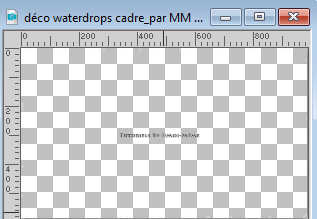
Erase the watermark and go to Edit>Copy.
Go back to your work and go to Edit>Paste into Selection.
Selections>Invert.
Effects>3D Effects>Drop Shadow, same settings.
Selections>Select None.
16. Open the tube Femmes Parapluie 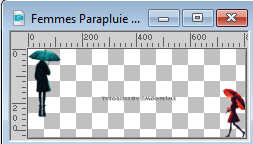
Erase the watermark and go to Edit>Copy.
Go back to your work and go to Edit>Paste as new layer.
K key to activate your Pick Tool 
and set Position X: 90,00 and Position Y: 173,00.

Adjust>Sharpness>Sharpen.
Effects>3D Effects>Drop Shadow, same settings.
17. Activate again the tube Femme parapluie IA&tube par MM and go to Edit>Copy.
Go back to your work and go to Edit>Paste as new layer.
Image>Resize, to 50%, resize all layers not checked.
Keep Position X: 307,00 and set Position Y: 132,00
(adapt the settings to your tube)

Adjust>Sharpness>Sharpen.
Effects>3D Effects>Drop Shadow, same settings, or to your liking.
18. Open Déco gouttes de pluie_par MM 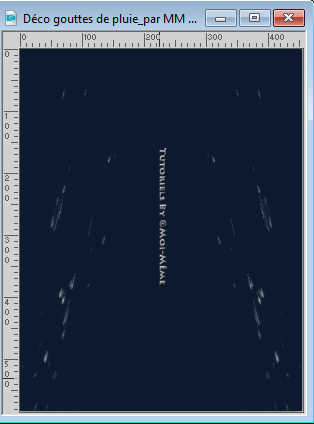
Erase the watermark and go to Edit>Copy.
Go back to your work and go to Edit>Paste as new layer.
keep Position X: 266,00 and set Position Y: 3,00
or according to your tube

M key to deselect the Tool.
Change the Blend Mode of this layer to Overlay.
Layers>Duplicate.
19. Sign your work on a new layer.
Add the author and the translator watermarks.
20. Image>Add borders, 1 pixel, symmetric, background color.
21. Image>Resize, 950 pixels width, resize all layers checked.
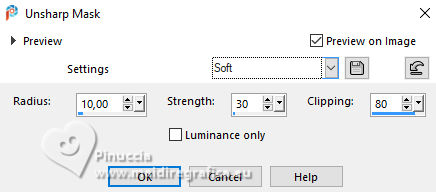
Adjust>Sharpness>Unsharp mask - Soft
22. Save as jpg.
For the tube of this version thanks Adrienne

If you have problems or doubts, or you find a not worked link,
or only for tell me that you enjoyed this tutorial, write to me.
11 March 2024

|

