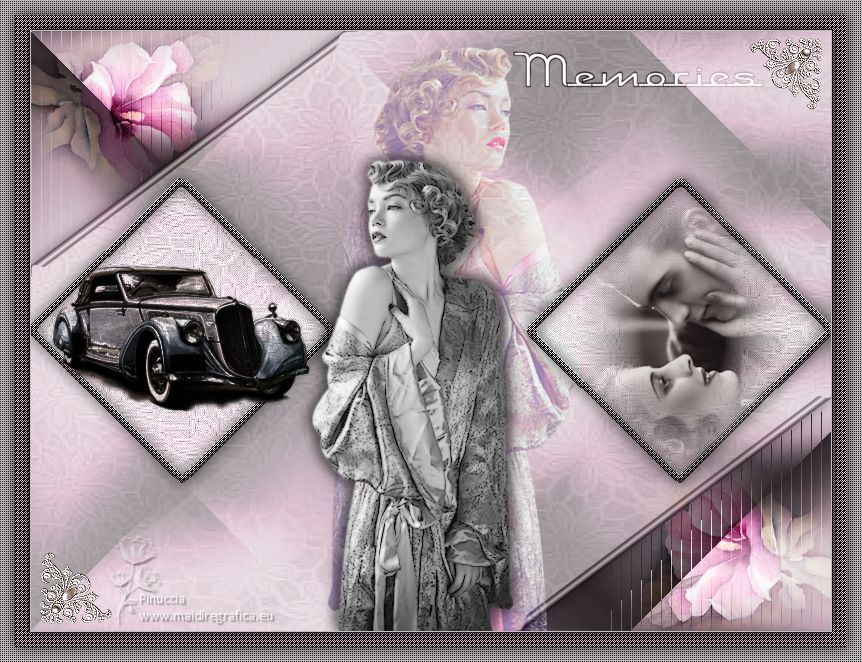
|
MEMORIES


Thanks Irene for the invitation to translate your tutorials

This tutorial was written with PSPX8 and translated with PSPX7 and PSPX3, but it can also be made using other versions of PSP.
Since version PSP X4, Image>Mirror was replaced with Image>Flip Horizontal,
and Image>Flip with Image>Flip Vertical, there are some variables.
In versions X5 and X6, the functions have been improved by making available the Objects menu.
In the latest version X7 command Image>Mirror and Image>Flip returned, but with new differences.
See my schedule here
 italian translation here italian translation here

For this tutorial, you will need:

(The links of material creators here).

consult, if necessary, my filter section here
Filters Unlimited 2.0 here
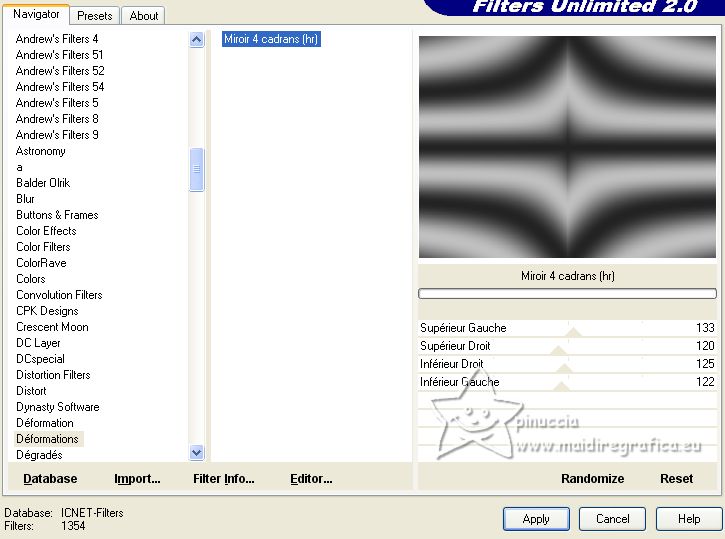
Déformations - Miroir 4 cadrans (hr) (to import in Unlimited) - in the material
Mehdi - Wavy 1.1. here
Mehdi - Sorting Tiles here
Xero - Greytinter here
AAA Filters - Smooth operator here
AP Distort - Shift Mesh here

You can change Blend Modes according to your colors.

1. Set your foreground color to #b79baa.
and your background color to #232323.
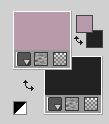
Open a new transparent image 800 x 600 pixels,
Flood Fill  the transparent image with your foreground color #b79baa. the transparent image with your foreground color #b79baa.
Change your foreground color to #c0c0c0.
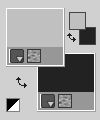
Layers>New Raster Layer.
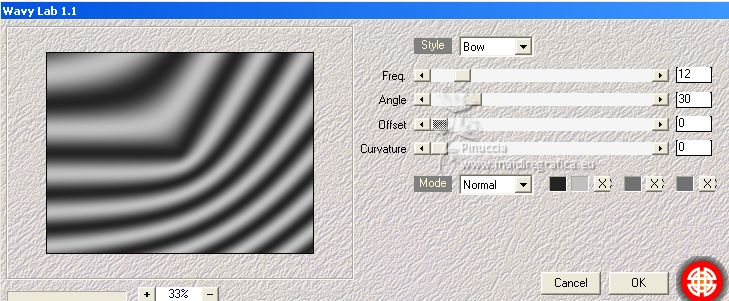
Effects>Plugins>Mehdi - Wavy Lab 1.1.
This filter creates gradients with the colors of your Materials palette.
The first is your background color, the second is your foreground color.
Keep the last two colors created by the filtre.
Effects>Plugins>Filters Unlimited 2.0 - Déformations - Miroir 4 cadrans (hr), default settings.
Effects>Edge Effects>Enhance More.
Change the Blend Mode of this layer to Hard Light.
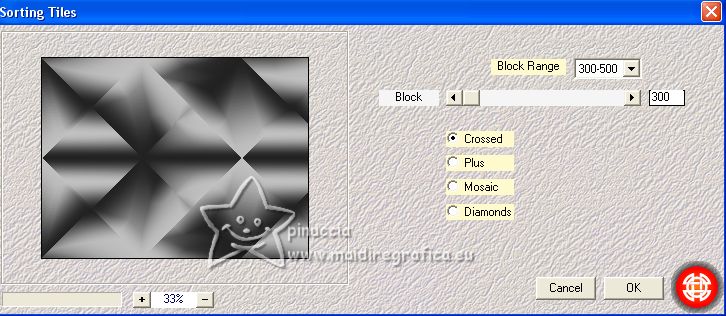
Effects>Plugins>Mehdi - Sorting Tiles.
2. Layers>New Raster Layer.
Selections>Select All.
Open the texture texturevoilememories 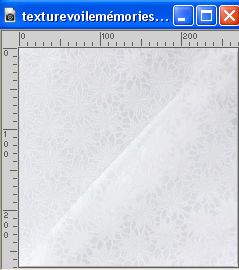
Edit>Copy.
Go back to your work and go to Edit>Paste into Selection.
Change the Blend Mode of this layer to Luminance (legacy),
and reduce the opacity to 60%, (or according to your colors).
Effects>Edge Effects>Enhance.
Adjust>Sharpness>Sharpen.
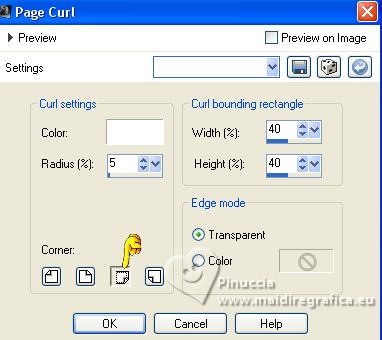
Effects>Image Effects>Page Curl, curl upper left corner.
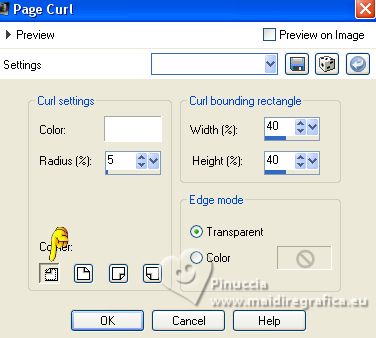
Repeat Effects>Image Effects>Page curl, curl lower right corner.
Selections>Select None.
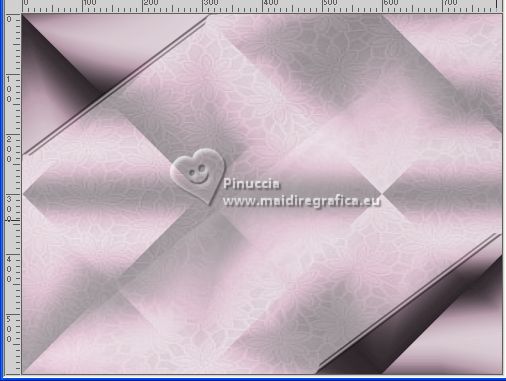
Result
3. Open the tube fondcadrestut20 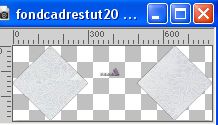
Erase the watermark and go to Edit>Copy.
Go back to your work and go to Edit>Paste as new layer.
Don't move it.
Change the Blend Mode of this layer to Luminance, or according to your colors.
Selections>Select All.
Selections>Float.
Selections>Defloat.
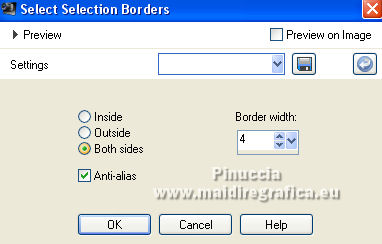
Selections>Modify>Select Selection Borders.
Layers>New Raster Layer.
Flood Fill  the selection with your background color. the selection with your background color.
Effects>Texture Effects>Weave.
weave color, color #b79baa.
gap color, black.
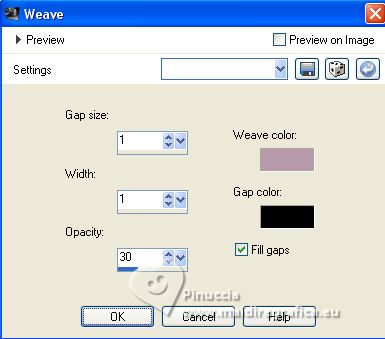
Effects>Edge Effects>Enhance.
Effects>3D Effects>Inner Bevel.
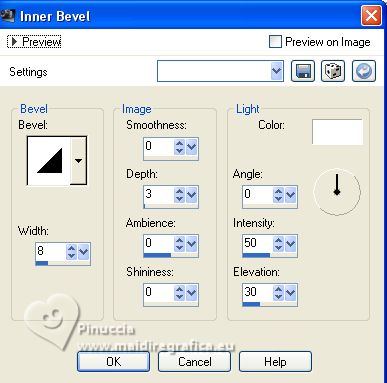
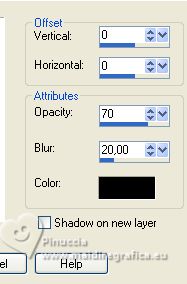
Effects>3D Effects>Drop Shadow, color black.
Selections>Select None.
4. Activate the layer Raster 2.
Open the woman's tube 3153556398_1_4... 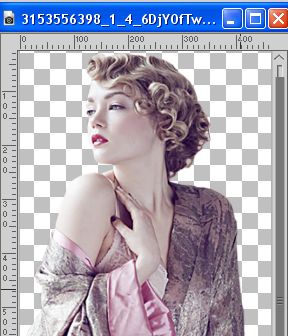
Edit>Copy.
Go back to your work and go to Edit>Paste as new layer.
Image>Resize, to 60%, resize all layers not checked.
K key to activate your Pick Tool 
and set Position X: 246,00 and Position Y: -2,00.

Image>Miroir.
5. Layers>Duplicate.
Image>Resize, to 80%, resize all layers not checked.
Move  the tube down (Objects>Align>Bottom). the tube down (Objects>Align>Bottom).
Image>Miroir.
Layers>Arrange>Bring to Top.
Effects>3D Effects>Drop Shadow, same settings.
Effects>Plugins>Xero - Greytinter.
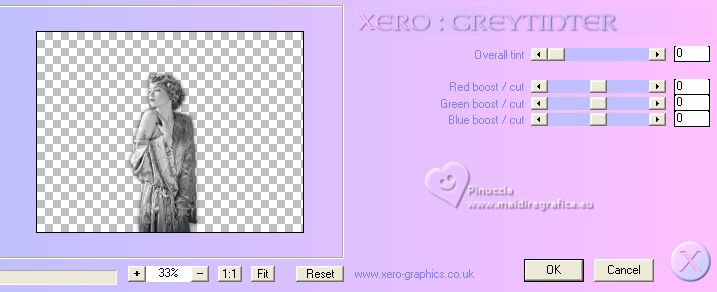
Effects>Plugins>AAA Filters - Smooth operator.
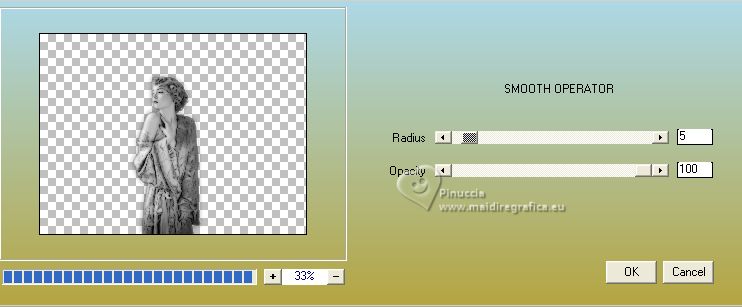
Effects>3D Effects>Drop Shadow, same settings.
6. Open the tube voiture 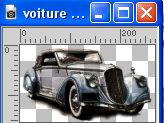
Edit>Copy.
Go back to your work and go to Edit>Paste as new layer.
Move  the tube in the left frame, see my example. the tube in the left frame, see my example.
Layers>Duplicate.
Layers>Merge>Merge Down.
Effects>Plugins>Xero - Greytinter.
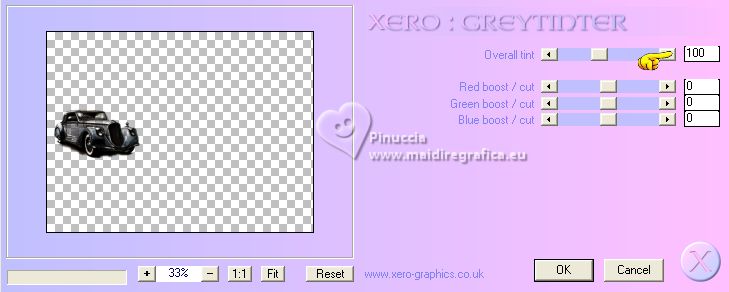
7. Open the couple's tube 0_135dca_632... 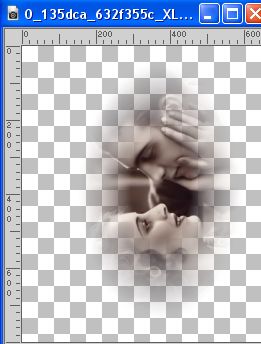
Edit>Copy.
Go back to your work and go to Edit>Paste as new layer.
Image>Resize, to 50%, resize all layers not checked.
Move  the tube in the right frame, see my example. the tube in the right frame, see my example.
Effects>Plugins>Xero - Greytinter.
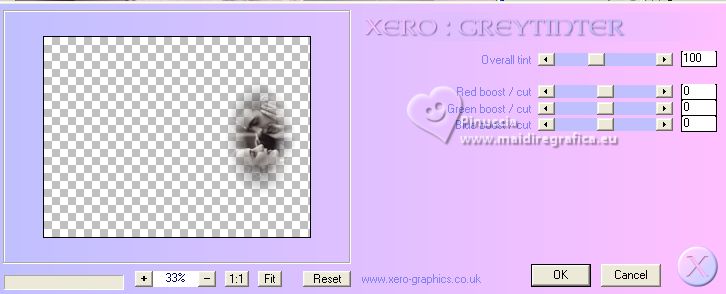
8. Activate the texture's layer texturevoilememories
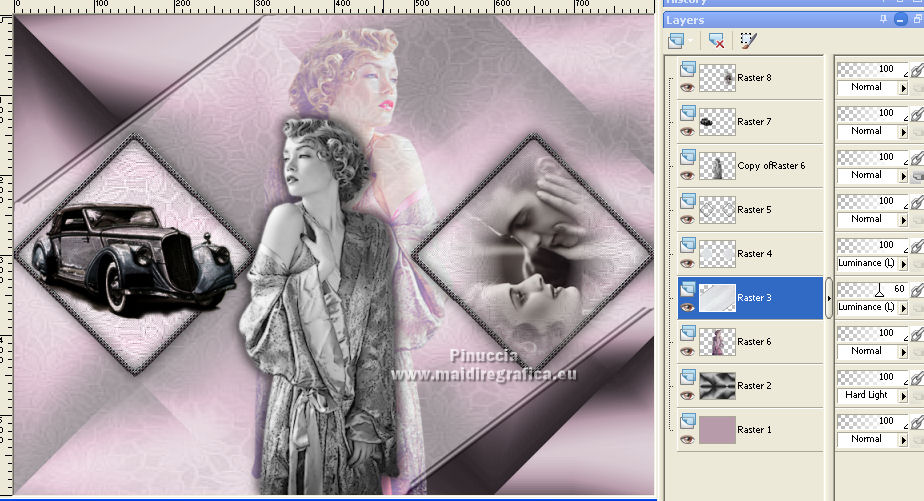
Activate your Magic Wand Tool  , tolerance and feather 0, , tolerance and feather 0,
and click in the transparent corners to select them.
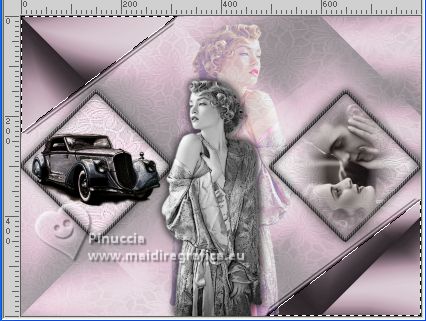
9. Activate the layer Raster 2 (the second from the bottom).
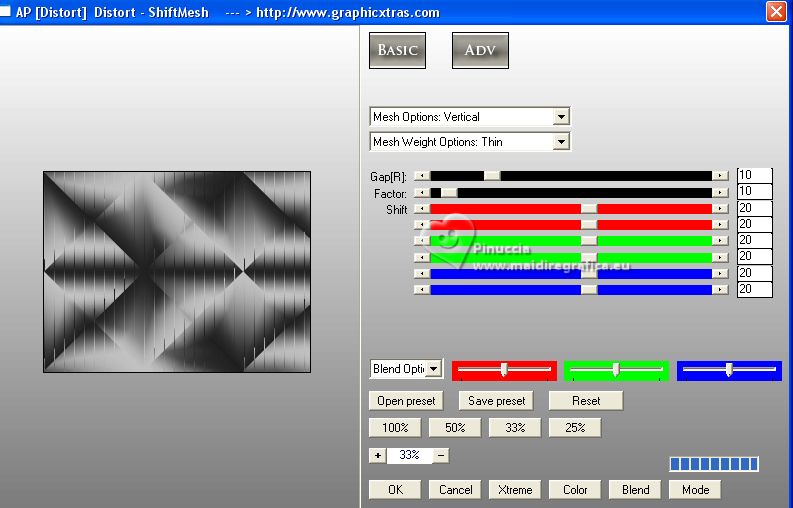
Effects>Plugins>AP Distort - Distort-ShiftMesh, default settings.
Selections>Select None.
10. Activate again the texture's layer, Raster 3.
Effects>3D Effects>Drop Shadow, same settings.

11. Open the flower's tube 0_11b7dc_da89... 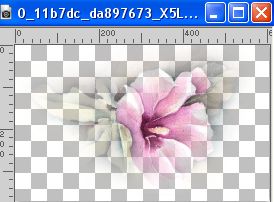
Edit>Copy.
Go back to your work and go to Edit>Paste as new layer.
Image>Resize, to 50%, resize all layers not checked.
Move  the tube to the upper left corner, the tube to the upper left corner,
or K key to activate your Pick Tool 
Position X: -70,00 and Position Y: -17,00.

M key to deselect the Tool.
Layers>Duplicate.
Image>Flip.
Image>Miroir.
Layers>Merge>Merge Down.
Change the Blend Mode of this layer to Overlay.
Layers>Arrange>Move Down.
12. Activate your top layer.
Open the tube decocoin 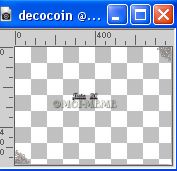
Erase the watermark and go to Edit>Copy.
Go back to your work and go to Edit>Paste as new layer.
Don't move it.
13. Activate your Text Tool 
set the supplied font, or a font at your choice,
size to adapt according to the text and your PSP version

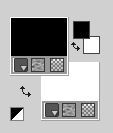
Foreground color black; background color white (or colors to your liking)
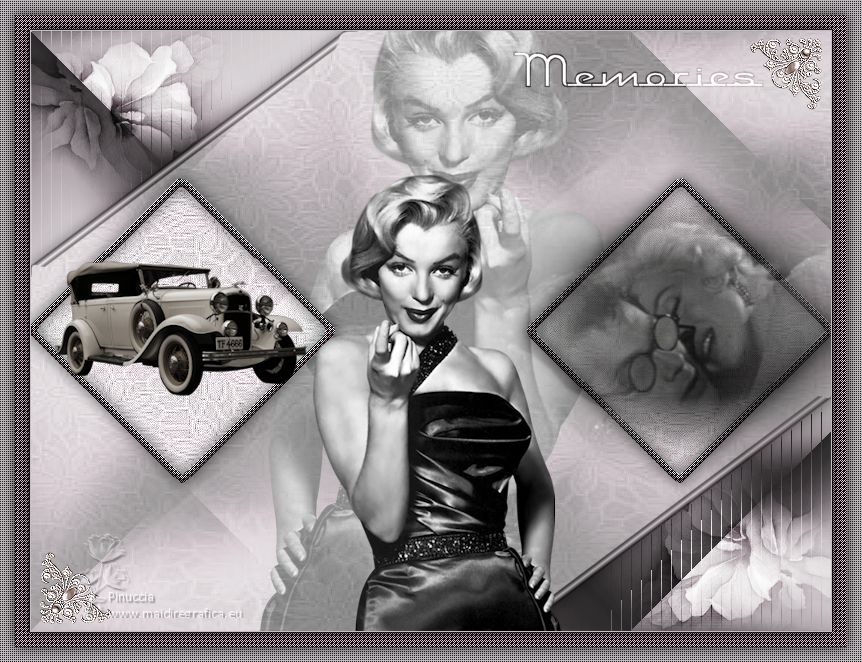
Write at the upper right Memories or a text at your choice.
Layers>Convert in calque raster.
Change the Blend Mode of this layer to Overlay.
Sign your work.
Add, if you wont, the author and the translator's watermarks.
14. For the border, set again your foreground color to #c0c0c0,
and your background color to #232323.

Image>Add borders, 1 pixel, symmetric, foreground color.
Selections>Select All.
Image>Add borders, 15 pixels, symmetric, background color.
Selections>Invert.
Effects>Texture Effects>Weave, same settings.
Effects>Edge Effects>Enhance.
Selections>Invert.
Effects>3D Effects>Drop Shadow, color black.
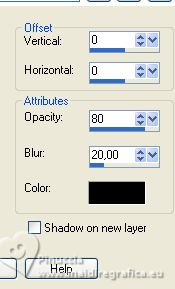
Selections>Select All.
Image>Add borders, 15 pixels, symmetric, foreground color.
Selections>Invert.
Effects>Texture Effects>Weave, same settings.
Selections>Invert.
Effects>3D Effects>Drop Shadow, same settings.
Selections>Select None.
Save as jpg.
For the tube of this version thanks Kat.

If you have problems or doubts, or you find a not worked link,
or only for tell me that you enjoyed this tutorial, write to me.
11 April 2023

|

