|
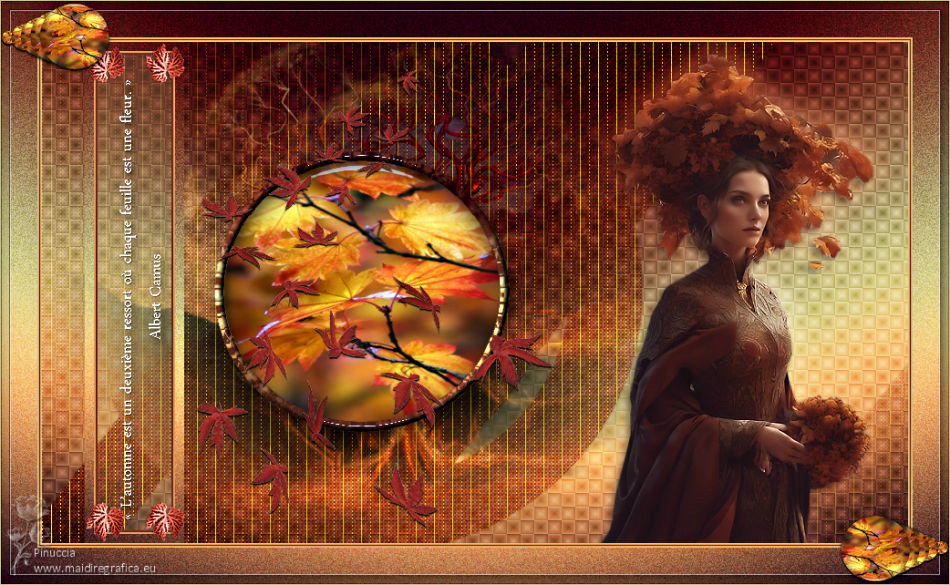
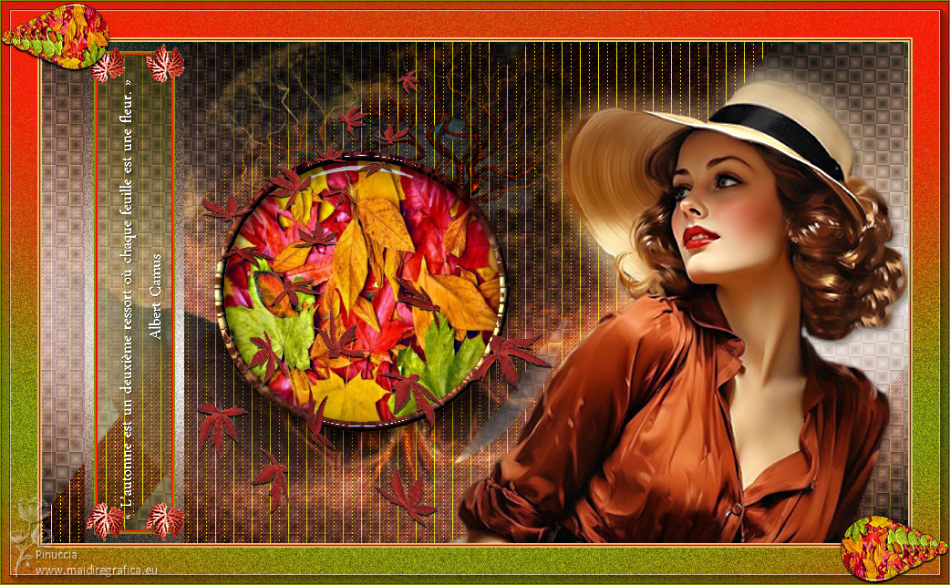
MON AUTOMNE 2


Thanks Irene for the invitation to translate your tutorials

This tutorial was written with PSPX8 and translated with PSPX7 and PSPX3, but it can also be made using other versions of PSP.
Since version PSP X4, Image>Mirror was replaced with Image>Flip Horizontal,
and Image>Flip with Image>Flip Vertical, there are some variables.
In versions X5 and X6, the functions have been improved by making available the Objects menu.
In the latest version X7 command Image>Mirror and Image>Flip returned, but with new differences.
See my schedule here
 italian translation here italian translation here
 Your versions qui Your versions qui

For this tutorial, you will need:

Feuilles de the-night-bird by Deviantart.
For the mask thanks Narah.
The rest of the material is by Moi-Même.
(The links of material creators here).

consult, if necessary, my filter section here
AP [Lines] - Lines SilverLining here
Mehdi - Wavy Lab 1.1 here
Mehdi - Sorting Tiles, Grain natural here
Alien Skin Eye Candy 5 Impact - Glass here
Mura's Meister - Copies here
AAA Frames - Foto Frame here

You can change Blend Modes according to your colors.
Copy the preset  in the folder of the plugin Alien Skin Eye Candy 5 Impact>Settings>Glass. in the folder of the plugin Alien Skin Eye Candy 5 Impact>Settings>Glass.
One or two clic on the file (it depends by your settings), automatically the preset will be copied in the right folder.
why one or two clic see here

If you have problems with alpha channel,
open a new transparent image 950 x 550 pixels,
and use the selections from disk.
Open the mask in PSP and minimize it with the rest of the material.
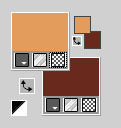
Colors

Set your foreground color to color 1 #e59d5d,
and your background color to color 2 #6b2b1f.
1. Open canal alpha mon Automne2
This image, that will be the basis of your work, is not empty,
but contains the selections saved to alpha channel.
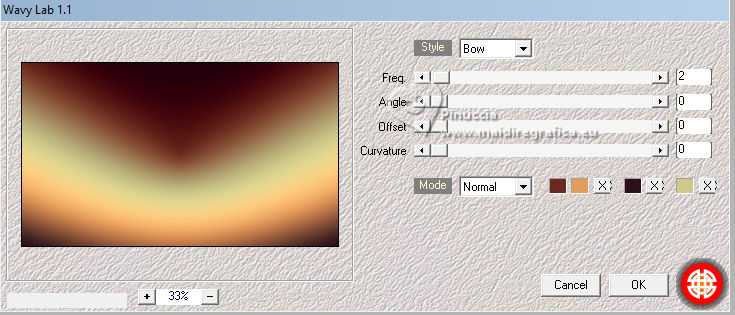
Effects>Plugins>Mehdi - Wavy Lab 1.1.
This filter creates gradients with the colors of your Materials palette.
The first is your background color, the second is your foreground color.
Change the last two colors created by the filtre:
the third color with color 3 #2e111a and the fourth color with color 4 #cfc88a.
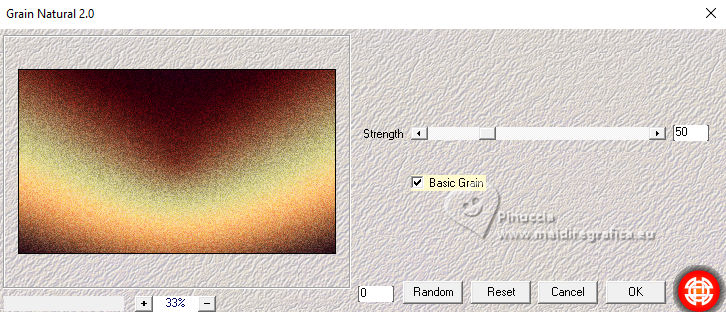
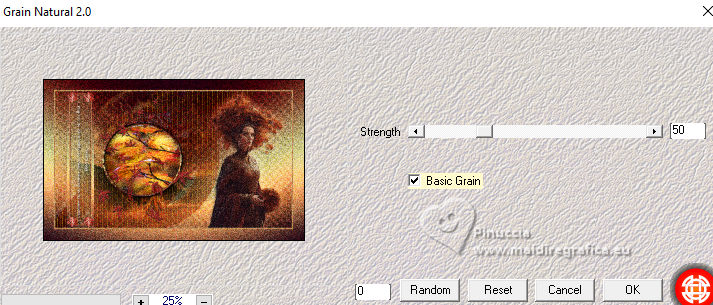
Effects>Plugins>Mehdi - Grain Natural 2.0 - Basic Grain
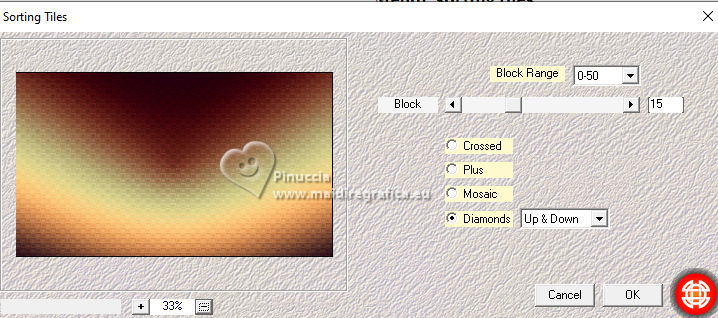
Effects>Plugins>Mehdi - Sorting Tiles.
2. Layers>New Raster Layer.
Flood Fill  the layer with your background color. the layer with your background color.
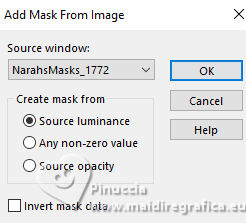
Layers>New Mask layer>From image
Open the menu under the source window and you'll see all the files open.
Select the mask NarahsMasks_1772
Layers>Duplicate.
Layers>Merge>Merge Group.
Change the Blend Mode of this layer to Hard Light.
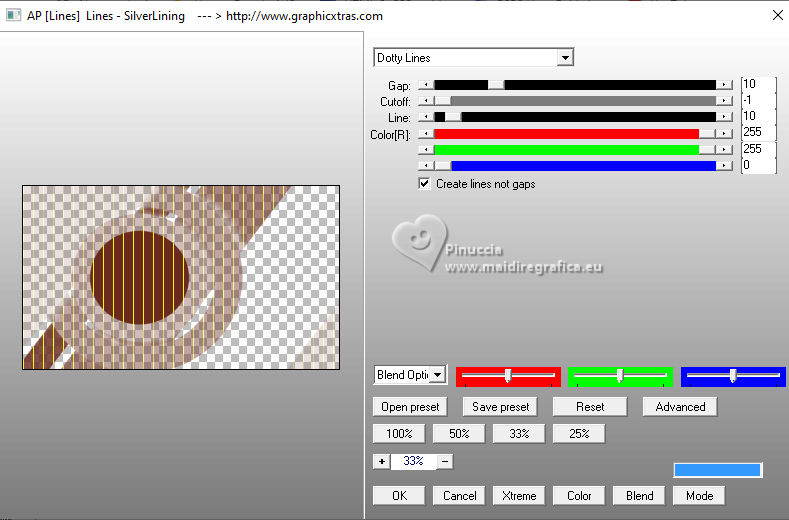
Effects>Plugins>AP [Lines] - Lines SilverLining - Dotty Lines
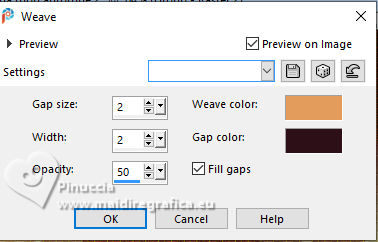
Effects>Texture Effects>Weave
weave color: foreground color,
gap color: color 3 #2e111a.
3. Selections>Load/Save Selection>Load Selection from Alpha Channel.
The selection #1 is immediately available. You just have to click.
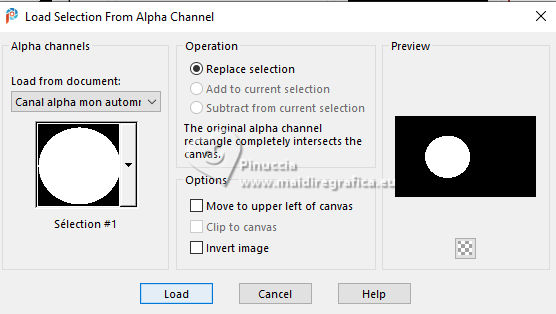
Press CANC on the keyboard 
Keep selected.
4. Layers>New Raster Layer.
Open 201326_poster_1 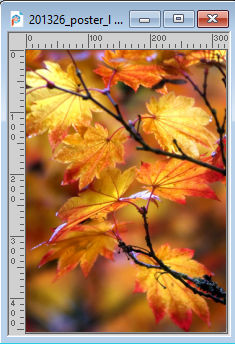
Edit>Copy.
Go back to your work and go to Edit>Paste into Selection.
If you have problems to realize the next Effect,
you find in the material - folder mes décos the file déco glass,
to copy/paste as new layer.
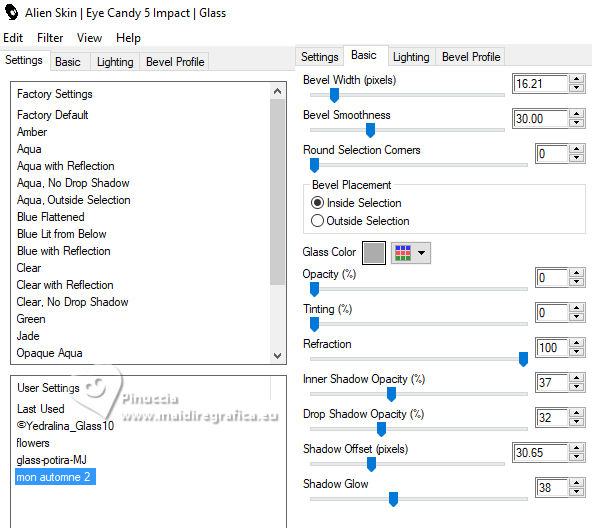
Effects>Plugins>Alien Skin Eye Candy 5 Impact - Glass.
Select the preset Mon Automne 2
Keep selected.
5. Layers>New Raster Layer.
Selections>Modify>Select Selection Borders.
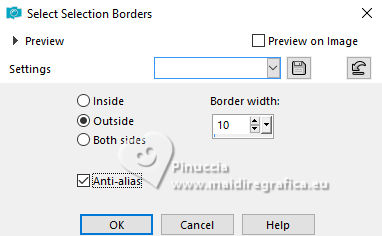
Repeat the 3 Mehdi Effects:
Effects>Plugins>Mehdi - Wavy Lab 1.1.
Effects>Plugins>Mehdi - Grain Natural 2.0 - Basic Grain
Effects>Plugins>Mehdi - Sorting Tiles.
Effects>Plugins>Alien Skin Eye Candy Impact - Glass - preset Mon automne 2
Effects>3D Effects>Inner Bevel.
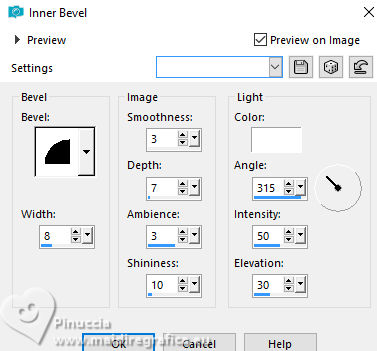
Selections>Select None.
Effects>3D Effects>Drop Shadow, color black.
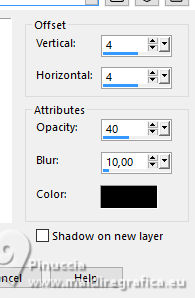
6. Layers>Merge>Merge Down.
Layers>Duplicate.
Image>Resize, to 50%, resize all layers not checked.
Effects>Plugins>Mura's Meister - Copies.
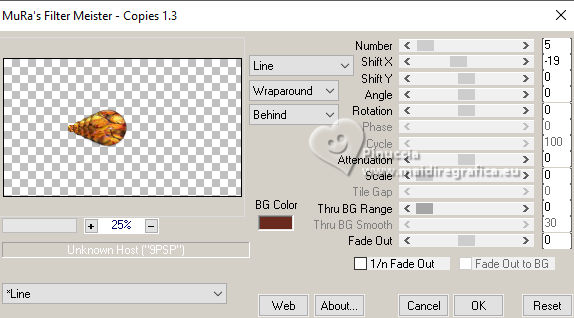
Edit>Cut
Edit>Paste as new image and minimize this image
(if you want, save it as png, before minimize it).
Go back to your work
and eliminate the layer remained empty (right click and Delete).
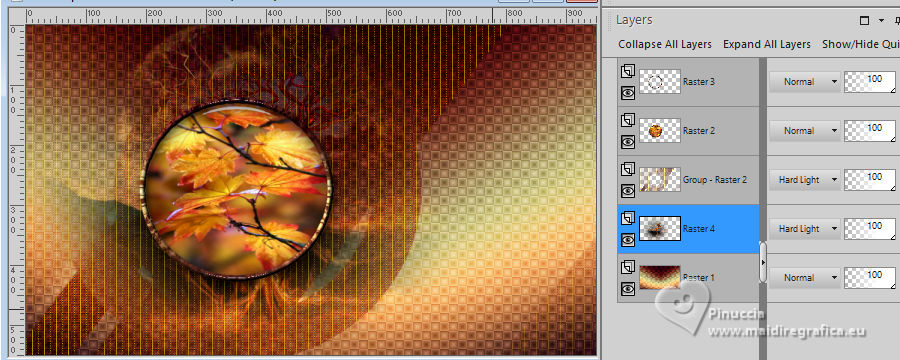
7. Activate the layer of the mask, Gruppo-Raster 2.
Open the tube misted arbre-13_par MM 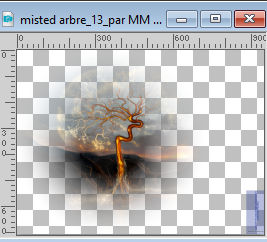
Edit>Copy.
Go back to your work and go to Edit>Paste as new layer.
Change the Blend Mode of this layer to Hard Light.
Objects>Align>Left (according to your tube, adapt the position).
Layers>Arrange>Move Down (not all is visible, but it is normal).
8. Activate your top layer.
Open the woman's tube Femme Automne2_IA_par MM 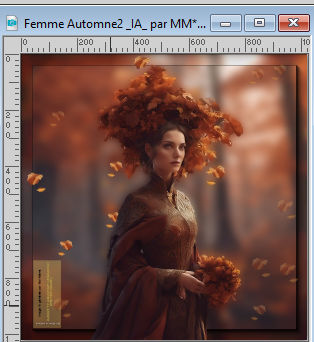
Edit>Copy.
Go back to your work and go to Edit>Paste as new layer.
Image>Resize, to 55%, resize all layers not checked.
Adjust>Sharpness>Sharpen.
Effects>3D Effects>Drop Shadow, color black (or according to your tube).

K key to activate your Pick Tool 
and set Position X: 601,00 and Position Y: 10,00, or according to your tube.

M key to deselect the Tool.
Stay on this layer.
9. Layers>Duplicate.
Activate the layer below of the original.
Adjust>Blur>Gaussian Blur - radius 15.

Change the Blend Mode of this layer to Screen.
10. Activate your bottom layer, Raster 1.
Selections>Load/Save Selection>Load Selection from Alpha Channel.
Open the Selections Menu and load the selection sélection 2
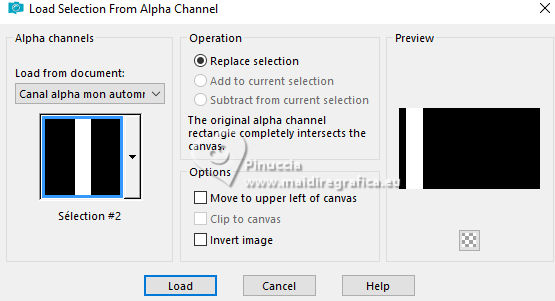
Selections>Promote Selection to Layer.
Keep selected.
11. Layers>Arrange>Bring to Top.
Adjust>Blur>Gaussian Blur - radius 15.

Effects>Plugins>Mehdi - Grain Natural 2.0, same settings.
Keep always selected.
12. Selection>Modify>Contract - 10 pixels.
Press CANC on the keyboard 
Flood Fill  the selection with your foreground color. the selection with your foreground color.
Selections>Modify>Contract - 2 pixels.
Flood Fill  the selection with your background color. the selection with your background color.
Selections>Modify>Contract - 2 pixels.
Press CANC on the keyboard.
Keep always selected.
13. Set your foreground color to color 4 #cfc88a  . .
Reduce the opacity of your Flood Fill Tool to 20%.
Flood Fill  the selection with color 4. the selection with color 4.
set again the opacity of your Flood Fill Tool to 100
Selections>Select None.
14. Open the text texte 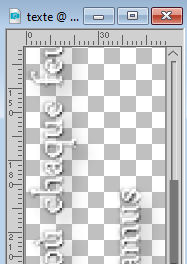
Edit>Copy.
Go back to your work and go to Edit>Paste as new layer.
Move  the text to the left side. the text to the left side.
Change the blend Mode of this layer to Hard Light.
Layers>Merge>Merge Down.
Note: If you want to write another text, you find in the material the font
with the used settings.
Open déco texte (se vuoi) 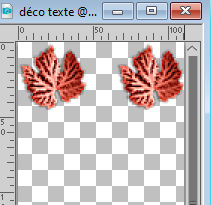
Edit>Copy.
Go back to your work and go to Edit>Paste as new layer.
K key to activate your Pick Tool 
and set Position X: 46,00 and Position Y: 0,00.

15. Open the tube Falling Leaves 07 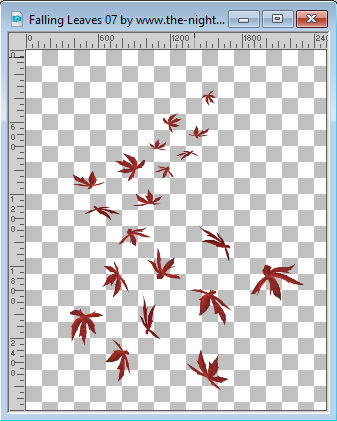
Edit>Copy.
Go back to your work and go to Edit>Paste as new layer.
Image>Resize, to 20%, resize all layers not checked.
Set Position X: 170,00 and Position Y: 31,00.

M key to deselect the Tool.
16. Image>Add borders, 1 pixel, symmetric, color 3  . .
Image>Add borders, 1 pixel, symmetric, color 1  . .
Image>Add borders, 1 pixel, symmetric, background color  . .
Image>Add borders, 1 pixel, symmetric, color 1  . .
Image>Add borders, 1 pixel, symmetric, color 3  . .
Selections>Select All.
17. Image>Add borders, 40 pixels, symmetric, color 1  . .
Selections>Invert.
Effects>Plugins>Mehdi - Wavy Lab 1.1., same settings.
You have to set again the colors
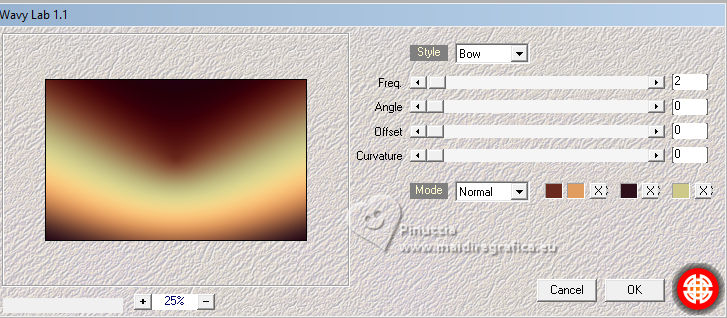
Effects>Plugins>Mehdi - Grain Natural 2.0, same settings.
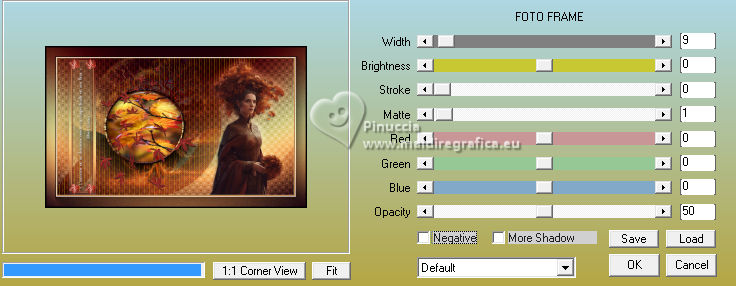
Effects>Plugins>AAA Frames - Foto Frame.
Selections>Select None.
18. Activate the image minimized at step 6 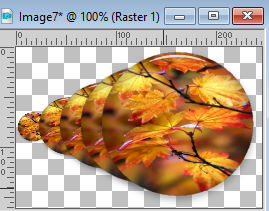
Edit>Copy.
Go back to your work and go to Edit>Paste as new layer.
Image>Resize, to 50%, resize all layers not checked.
K key to activate your Pick Tool 
and set Position X and Y to 0,00.

M key to deselect the Tool.
Adjust>Sharpness>Sharpen.
19. Layers>Duplicate.
Image>Mirror.
Image>Flip.
Layers>Merge>Merge Down.
Effects>3D Effects>Drop Shadow, same settings.
20. Sign your work.
Add the author and the translator watermarks.
Image>Add borders, 1 pixel, symmetric, color 3  . .
Image>Resize, 950 pixels di larghezza, resize all layers checked.
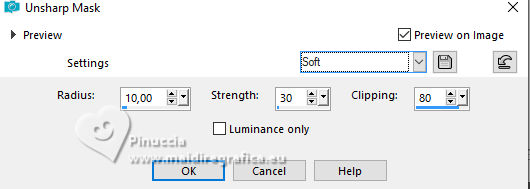
Adjust>Sharpness>Unsharp Mask - Soft.
Save as jpg.
For the tube of this version thanks Luz Cristina

If you have problems or doubts, or you find a not worked link,
or only for tell me that you enjoyed this tutorial, write to me.
9 Ottobre 2023

|

