|
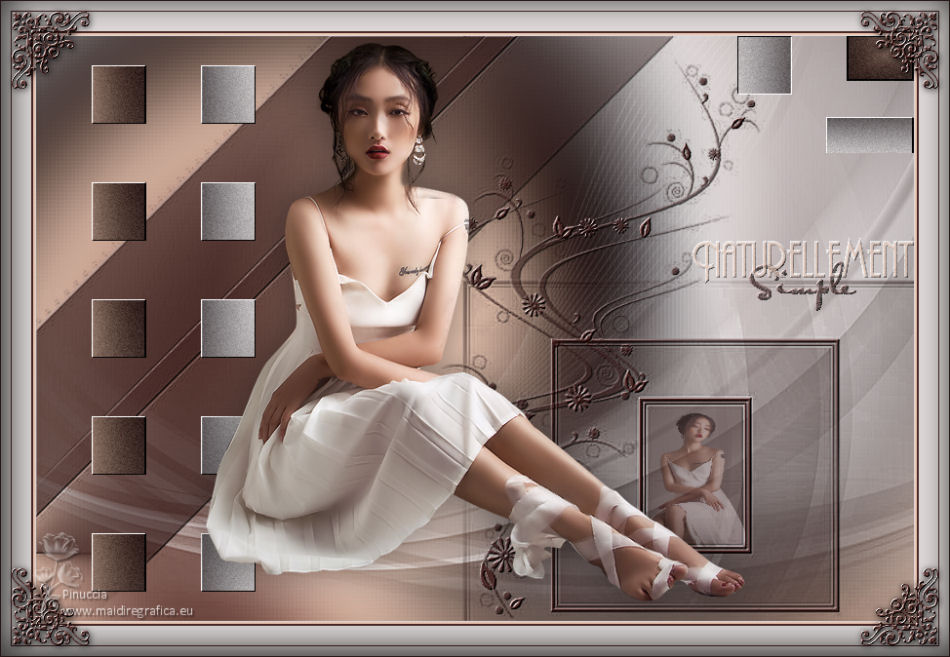
NATURELLEMENT SIMPLE


Thanks Irene for the invitation to translate your tutorials

This tutorial was written with PSPX8 and translated with PSPX7 and PSPX3, but it can also be made using other versions of PSP.
Since version PSP X4, Image>Mirror was replaced with Image>Flip Horizontal,
and Image>Flip with Image>Flip Vertical, there are some variables.
In versions X5 and X6, the functions have been improved by making available the Objects menu.
In the latest version X7 command Image>Mirror and Image>Flip returned, but with new differences.
See my schedule here
 italian translation here italian translation here
 Your versions qui Your versions qui

For this tutorial, you will need:

Thanks for the tubes SmArt, for the brush Danette and for the mask Okannn and GB.
The rest of the material is by Moi-Même.
(The links of material creators here).

consult, if necessary, my filter section here
Filters Unlimited 2.0 here
&<Bkg Designer sf10II> - DIS Refractor 1 (to import in Unlimited) qui
Mehdi - Wavy Lab 1.1 qui
Mura's Seamless - Emboss at Alpha, Tiling Part, Stripe, Mirror Diagonal qui
VM Extravaganza - James Bondage qui
Filters Mura's Seamless and VM Extravaganza can be used alone or imported into Filters Unlimited.
(How do, you see here)
If a plugin supplied appears with this icon  it must necessarily be imported into Unlimited it must necessarily be imported into Unlimited

You can change Blend Modes according to your colors.

Open the masks in PSP and minimize them with the rest of the material.
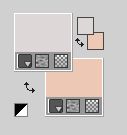
Set your foreground color to #ddd7d7,
and your background color to #ebc9b4.
1. Open a new transparent image 900 x 600 pixels.
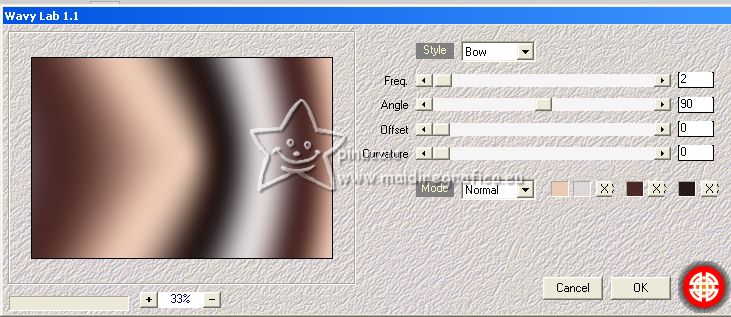
Effects>Plugins>Mehdi - Wavy Lab 1.1.
This filter creates gradients with the colors of your Materials palette.
The first is your background color, the second is your foreground color.
Change the last two colors created by the filtre:
the third color with #4b2926 and the forth color with #261816.
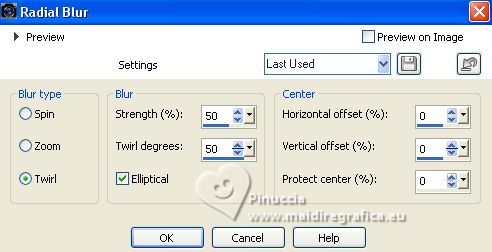
Adjust>Blur>Radial Blur.
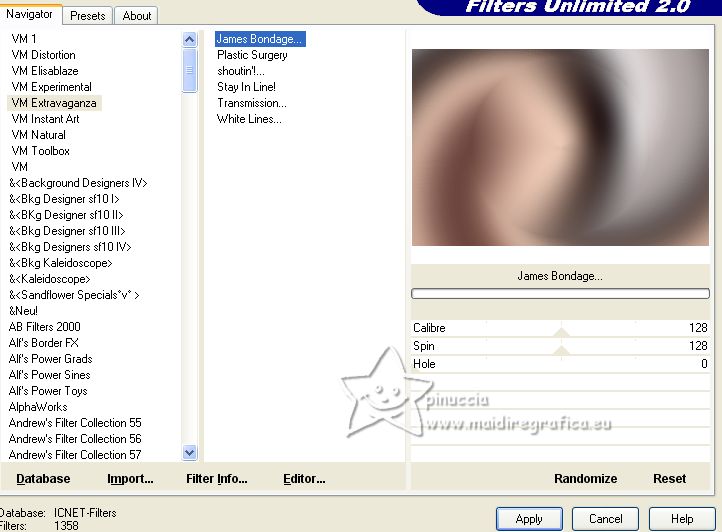
Effects>Plugins>Filters Unlimited 2.0 - VM Extravaganza - James Bondage, default settings.
2. Layers>New Raster Layer.
Set your foreground color to #4b2926.
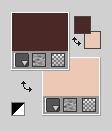
Flood Fill  the layer with your foreground color. the layer with your foreground color.
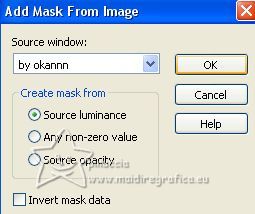
Layers>New Mask layer>From image
Open the menu under the source window and you'll see all the files open.
Select the mask by Okannn
Adjust>Sharpness>Sharpen More.
Layers>Merge>Merge Group.
3. To erase the watermark,
Selection Tool 
(no matter the type of selection, because with the custom selection your always get a rectangle)
clic on the Custom Selection 
and set the following settings.
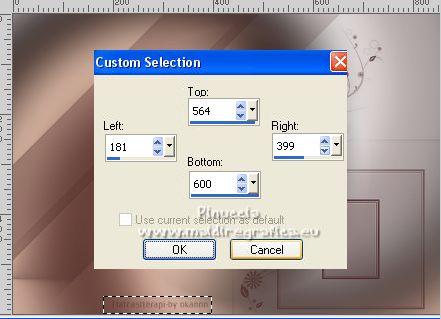
Press CANC on the keyboard 
Selections>Select None.
4. Layers>Duplicate.
Layers>Merge>Merge Down.
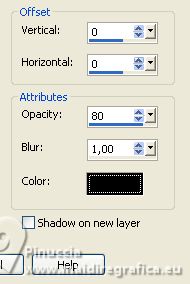
Effects>3D Effects>Drop Shadow, color black.
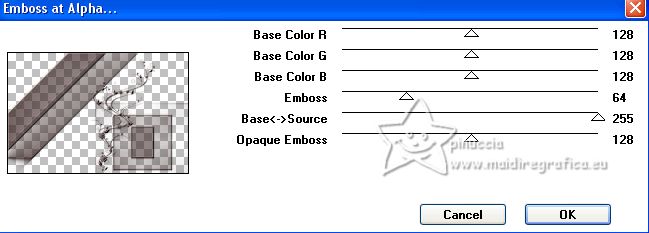
5. Effects>Plugins>Mura's Seamless - Emboss at Alpha, default settings.
6. Nota: The result of steps 6-8 is in the material,
if you have problem with the plugin Mura's Seamless, Stripe, use it and adapt to your colors.
Go on from step 9.
Activate your bottom layer, Raster 1.
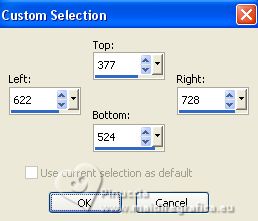
Custom Selection 
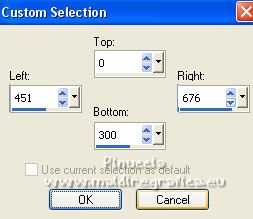
Selections>Promote Selection to Layer.
Selections>Select None.
You don't see anything, it is normal.
7. Effects>Plugins>Mura's Seamless - Tiling Part.
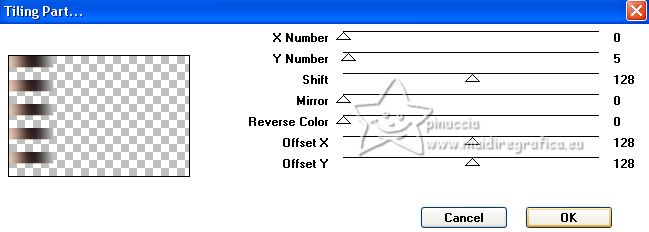
Layers>Arrange>Move Up.
Objects>Align>Vert. Center in Canvas.
Or K key to activate your Pick Tool 
keep Position X: 0,00 and set Position Y: 30,00.

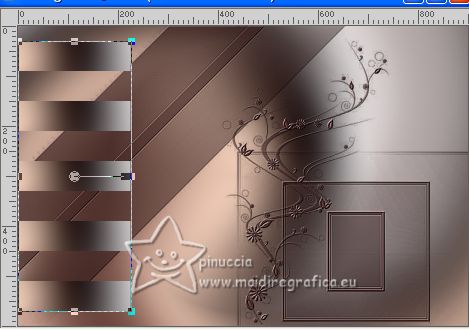
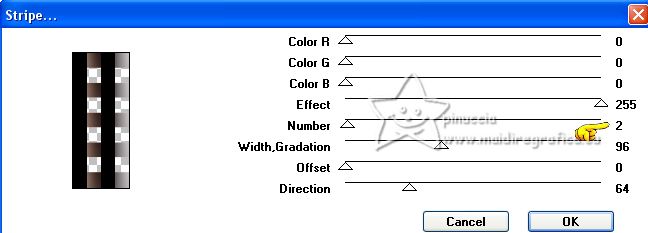
Effects>Plugins>Mura's Seamless - Stripe.
8. Activate your Magic Wand Tool  tolerance and feather 0, tolerance and feather 0,
and click in the two black bars to select them.
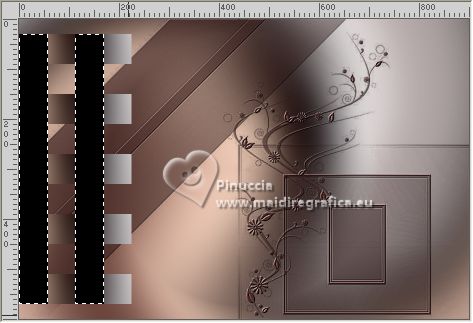
Press CANC on the keyboard 
Selections>Select None.
Effects>Plugins>Mura's Seamless - Emboss at Alpha, default settings.
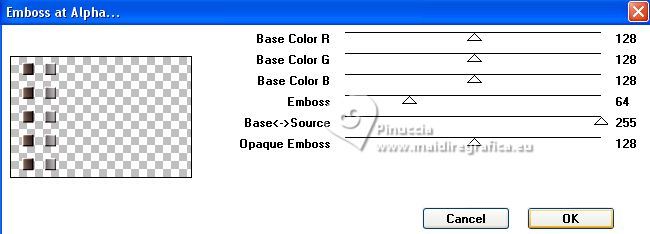
Repeat this Effect another time.
9. Layers>Duplicate.
Activate the layer below of the original.
Effects>Plugins>Mura's Seamless - Mirror Diagonal, default settings.
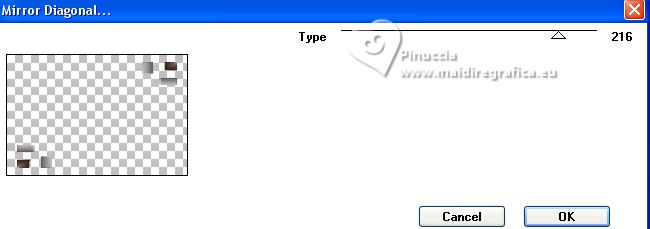
10. Custom Selection 
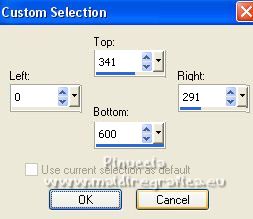
Press CANC on the keyboard.
Selections>Select None.
Move  at the upper right. at the upper right.
Objects>Align>Top.
Objects>Align>Right.
Or Pick Tool 
and set Position X: 719,00 and Position Y: 0,00.

M key to deselect the Tool.
Activate your top Layer.
Layers>Merge>Merge Down.
Adjust>Add/Remove Noise>Add Noise
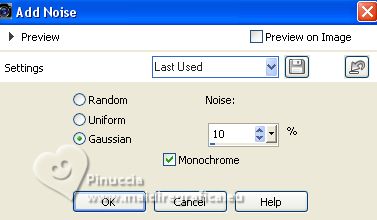
11. Activate your bottom layer, Raster 1.
Effects>Plugins>Filters Unlimited 20 - &<Bkg Designer sf10II> - DIS Refractor 1
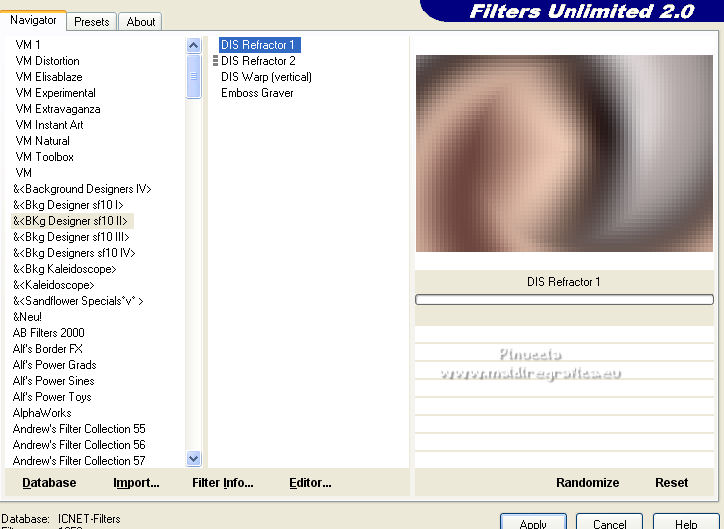
12. Set again your foreground color to the first color #ddd7d7.

Layers>New Raster Layer.
Flood Fill  the layer with your foreground color. the layer with your foreground color.
Layers>New Mask layer>From image
Open the menu under the source window
and select the mask Mask_GB_127
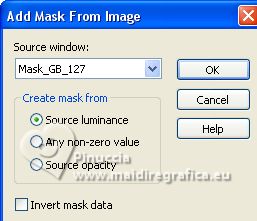
Layers>Merge>Merge Group.
Adjust>Sharpness>Sharpen More.
Change the Blend Mode of this layer to Screen and reduce the opacity to 80%.
13. Activate your top layer.
Open the tube femme smArt_834 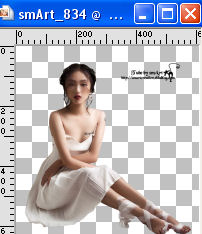
Erase the watermark and go to Edit>Copy.
Go back to your work and go to Edit>Paste as new layer.
Move  the tube down in the center. the tube down in the center.
Objects>Align>Bottom.
Objects>Align>Horz. Center in Canvas.
K key to activate your Pick Tool 
Set Position X: 174,00 and Position Y: 4,00.

M key to deselect the Tool.
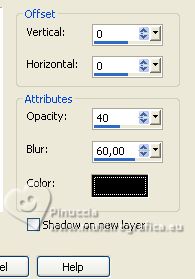
Effects>3D Effects>Drop Shadow, color black.
14. Note: if you don't have a second tube, you can use the same tube.
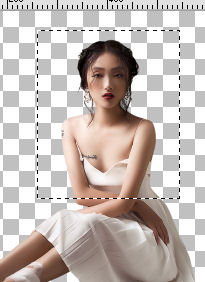
Image>Mirror,
and select  the part of the tube you want use, the part of the tube you want use,
p.e. the bust
Activate the layer below.
Layers>New Raster Layer.
Custom Selection  > >
Open the second tube smArt_835 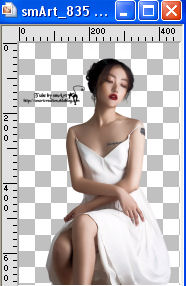
Erase the watermark and go to Edit>Copy.
Go back to your work and go to Edit>Paste into Selection.
Change the Blend Mode of this layer to Soft Light.
Effects>Effects 3D>Sfalsa ombra, color black.

Selections>Select None.
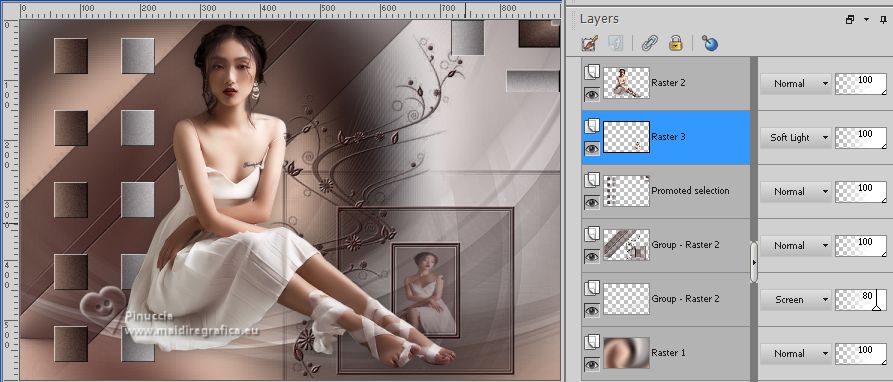
Your tag and the layer.
15. Image>Add borders, 1 pixel, symmetric, foreground color.
Image>Add borders, 2 pixels, symmetric, background color.
Image>Add borders, 2 pixels, symmetric, color 3 #4b2926.
Image>Add borders, 20 pixels, symmetric, foreground color.
Image>Add borders, 1 pixel, symmetric, color 3 #4b2926.
Image>Add borders, 10 pixels, symmetric, foreground color.
16. Open the tube déco coins NS, 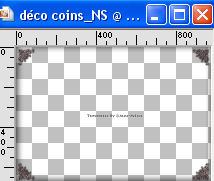
Erase the watermark and go to Edit>Copy.
Go back to your work and go to Edit>Paste as new layer.
(Adapt to your colors for example
Color Changer Tool 
Click 1 or 2 times on the corners with your right or left button, according to your color).
17. Open the tube titre 
Edit>Copy.
Go back to your work and go to Edit>Paste as new layer.
Move  at the upper right. at the upper right.
Or K key to activate your Pick Tool 
Set Position X: 708,00 and Position Y: 243,00.

M key to deselect the Tool.
(Adapt to your color, p.e.:
Change to Target Tool 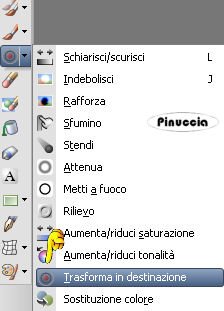
Move on the tube with your left or right button, according to your color).
18. Sign your work on a new layer.
Add the author and watermark's watermarks.
19. Image>Add borders, 1 pixel, symmetric, color 4 #261816.
20. Image>Resize, 950 pixels width, resize all layers checked.
Save as jpg.
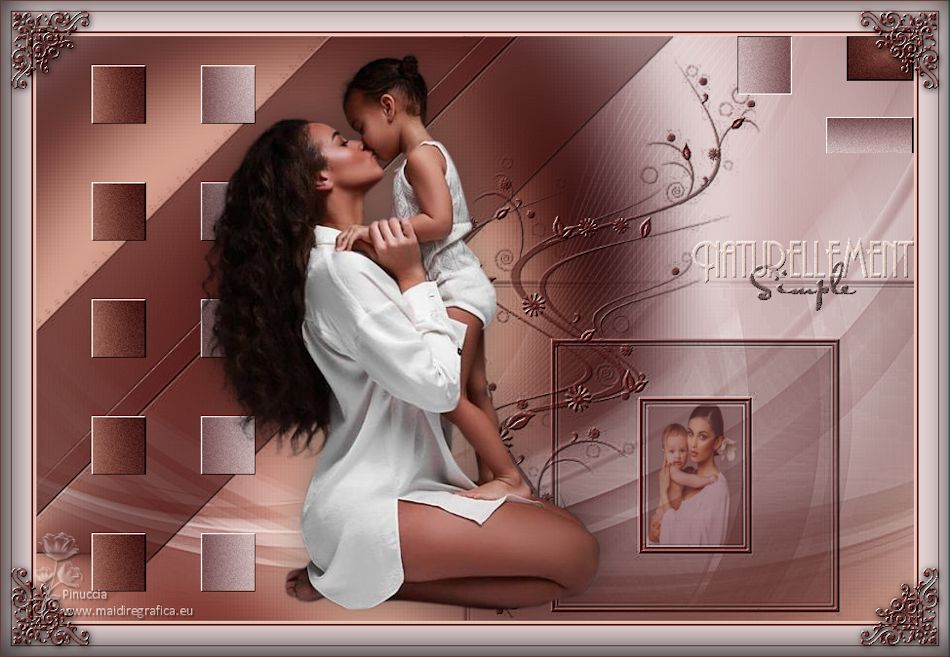
For the tubes of this version thanks Beatriz and Lady Valella

If you have problems or doubts, or you find a not worked link,
or only for tell me that you enjoyed this tutorial, write to me.
10 May 2023

|

