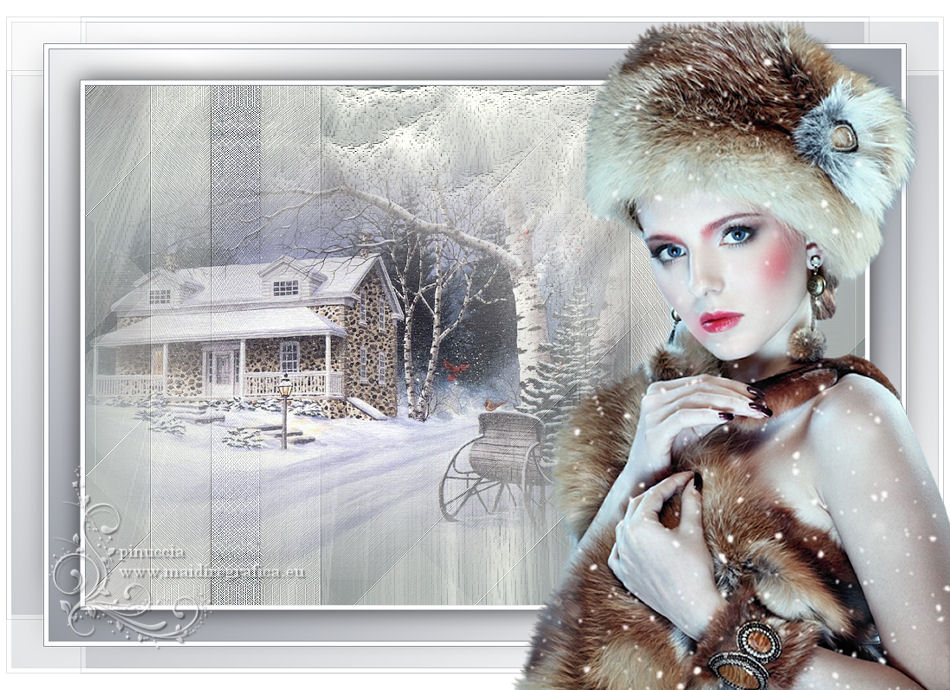
|
FROIDURE


Here you find the original of this tutorial:

This tutorial was written with CorelX2 and translated with CorelX7, but it can also be made using other versions of PSP.
Since version PSP X4, Image>Mirror was replaced with Image>Flip Horizontal,
and Image>Flip with Image>Flip Vertical, there are some variables.
In versions X5 and X6, the functions have been improved by making available the Objects menu.
In the latest version X7 command Image>Mirror and Image>Flip returned, but with new differences.
See my schedule here
Your versions
For this tutorial, you will need:
A tube at your choice.
The rest of the material here
Thanks for the tubes Thafs and Isa and for the mask Astrid.
(The links of the tubemakers here).
Plugins:
consult, if necessary, my filter section here
Filters Unlimited 2.0 here
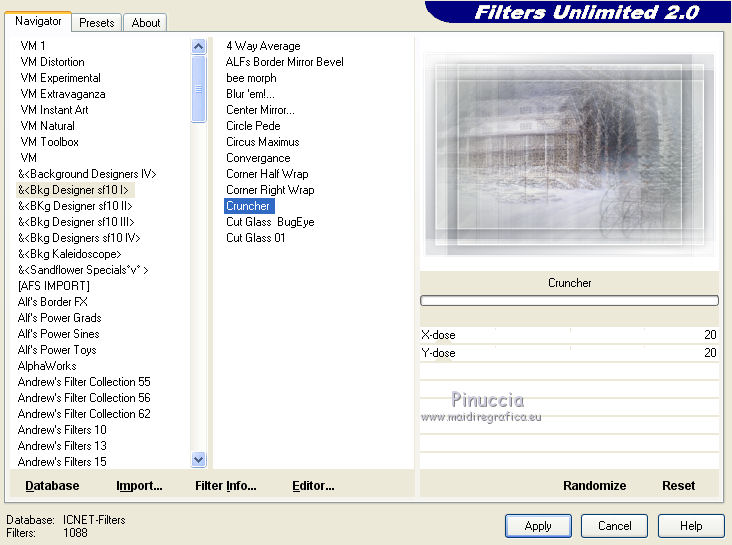
&<Bkg Designer sf10I> - Cruncher (to import in Unlimited) here
DSB Flux - Blast here
AP Lines - Lines SilverLining here
AAA Frames here
Toadies - What are you here
Simple - Diamonds here
Filters Toadies can be used alone or imported into Filters Unlimited.
(How do, you see here)
If a plugin supplied appears with this icon  it must necessarily be imported into Unlimited it must necessarily be imported into Unlimited

You can change Blend Modes according to your colors.
In the newest versions of PSP, you don't find the foreground/background gradient (Corel_06_029).
You can use the gradients of the older versions.
The Gradient of CorelX here
Copy the selection in the Selections Folder.
Open the mask in PSP and minimize it with the rest of the material.
1. Set your foreground color to #ffffff,
and your background color to #9498a1,
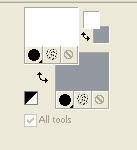
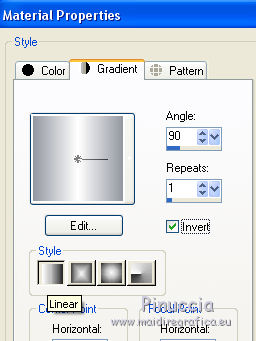
Set your foreground color to a Foreground/Background Gradient, style Linear.
1. Open a new transparent image 900 x 600 pixels.
Flood Fill  the transparent image with your Gradient. the transparent image with your Gradient.
2. Layers>New Raster Layer.
Selections>Select All.
Open the misted by Thafs and go to Edit>Copy.
Minimize the tube.
Go back to your work and go to Edit>Paste as new layer.
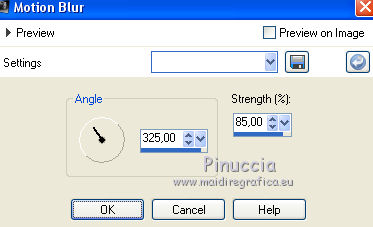
3. Adjust>Blur>Motion Blur
Effects>Plugins>DSB Flux - Blast - 2 times
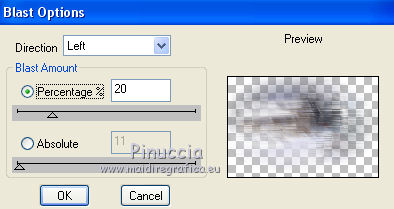
Layers>Merge>Merge visible.
3. Layers>Duplicate.
Image>Free Rotate - 90 degrees to right.
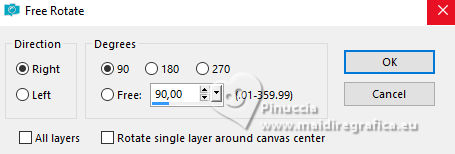
Effects>Plugins>Toadies - What are you - 2 times
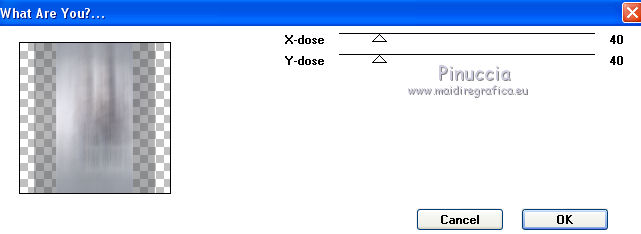
Effects>Edge Effects>Enhance.
Layers>Merge>Merge Down.
4. Layers>Duplicate.
Selections>Load/Save Selections>Load Selection from Disk.
Look for and load the selection Nikki-froidure.
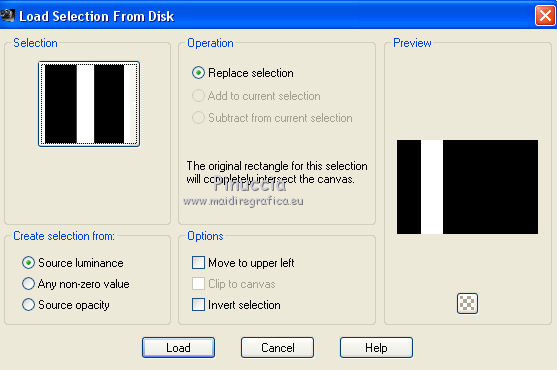
Selections>Promote Selection to layer.
Effects>Plugins>AP Lines - Lines SilverLining.
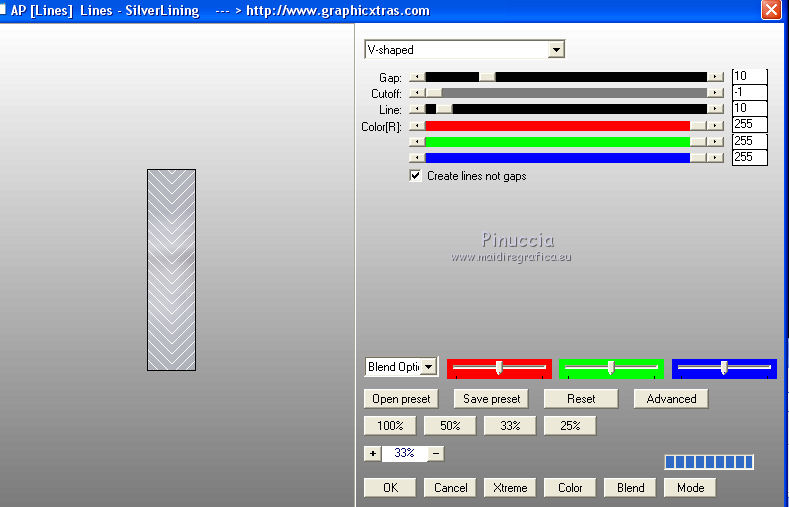
Selections>Select None.
Layers>Duplicate.
Image>Mirror.
Layers>Merge>Merge Down.
Effects>3D Effects>Drop Shadow, color #404040.
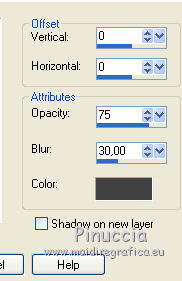
5. Activate the layer Copy of Merged.
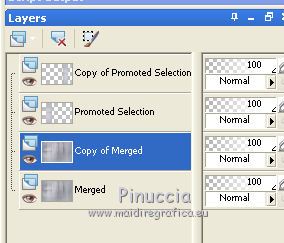
Effects>Plugins>Filters Unlimited 2.0 - Simple - Diamonds
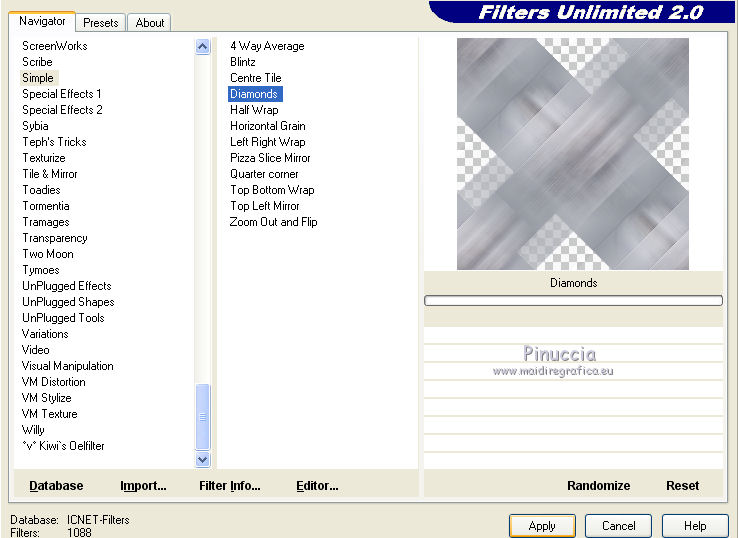
Activate the layer Promoted Selections.
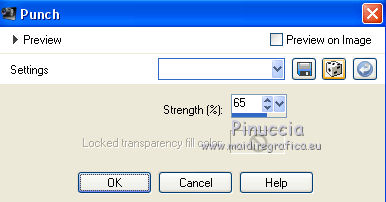
Effects>Distorsion Effects>Punch.
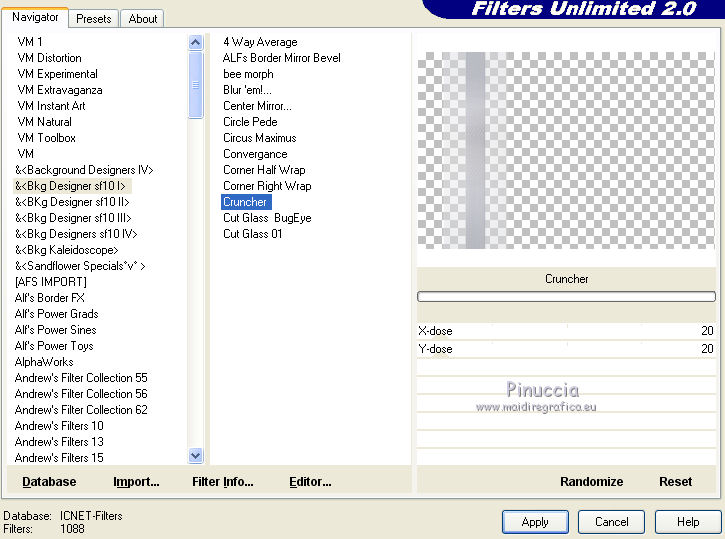
Effects>Plugins>Filters Unlimited 2.0 - &<Bkg Designer sf10I> - Cruncher.
Effects>Edge Effects>Enhance.
6. Activate the layer Copy of Merged.
Layers>New Raster Layer.
Set your foreground color to Color
Flood Fill  the layer with your foreground color #ffffff. the layer with your foreground color #ffffff.
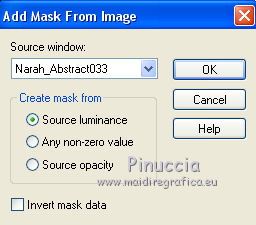
Layers>New Mask layer>From image
Open the menu under the source window and you'll see all the files open.
Select the mask Narah_Abstract033
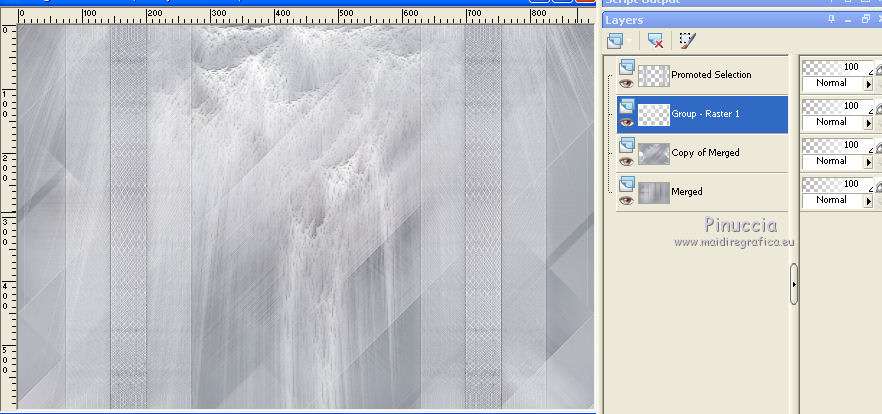
Layers>Merge>Merge group.
Effects>Edge Effects>Enhance
You should have this
7. Layers>Merge>Merge visibles.
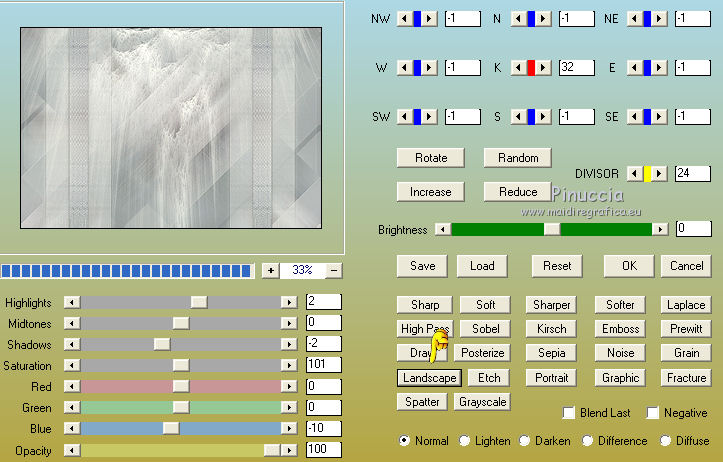
Effects>Plugins>AAA Filters - Custom, click on Landscape and ok
8. Activate again the tube by Thafs and go to Edit>Copy.
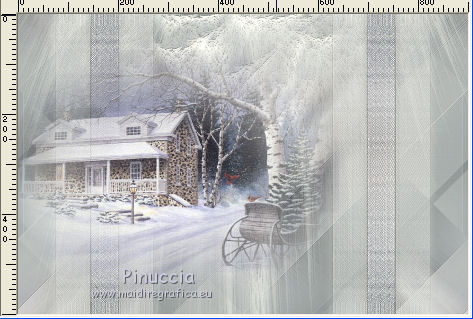
Go back to your work and go to Edit>Paste as new layer.
Image>Resize, to 65%, resize all layers not checked.
Move  the tube to the left side the tube to the left side
9. Image>Add borders, 1 pixel, symmetric, dark color.
Image>Add borders, 5 pixels, symmetric, light color.
Image>Add borders, 1 pixel, symmetric, dark color.
Selections>Select All.
Image>Add borders, 35 pixels, symmetric color white.
Selections>Invert.
Set your foreground color to Gradient and change the settings
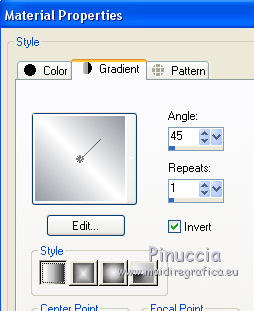
Flood Fill  with your Gradient. with your Gradient.
Selections>Invert.
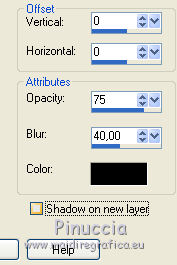
Effects>3D Effects>Drop Shadow, color black.
Selections>Select None.
Image>Add borders, 1 pixel, symmetric, dark color.
Image>Add borders, 5 pixels, symmetric, light color.
Image>Add borders, 1 pixel, symmetric, dark color.
Selections>Select All.
Image>Add borders, 50 pixels, symmetric color white.
Selections>Invert.
Effets>Modules Externes>Filters Unlimited 2.0 - &<Bkg Designer sf10I> - Cruncher
Open your main tube and go to Edit>Copy.
Go back to your work and go to Edit>Paste as new layer.
Move  the tube to the right side. the tube to the right side.
Sign your work on a new layer.
Image>Resize, 1000 pixels width or as you prefer, resize all layers checked.
Save as jpg.
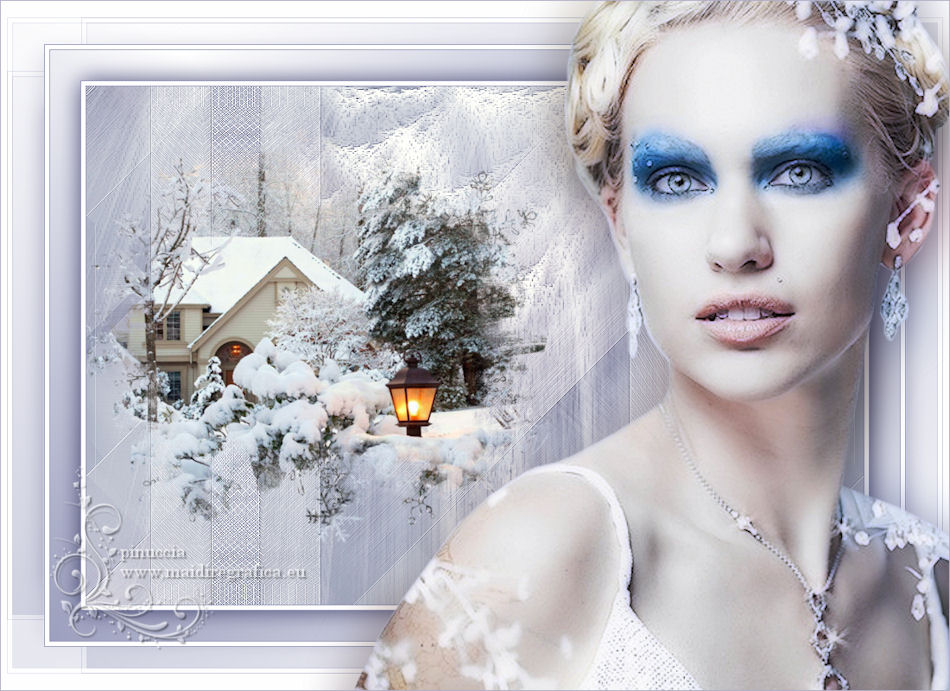
The tube of this version is by Julia Caldas
Your versions

If you have problems or doubts, or you find a not worked link, or only for tell me that you enjoyed this tutorial, write to me.
14 November 2018
|

