|
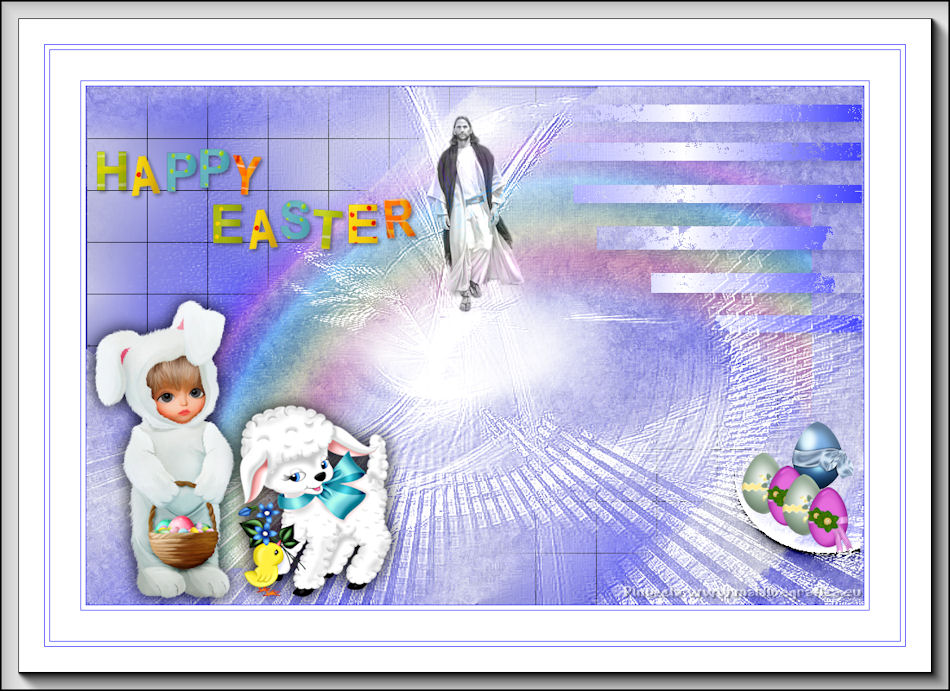
EASTER


This tutorial was written with PSPX9 and translated with PSPX3, but it can also be made using other versions of PSP.
Since version PSP X4, Image>Mirror was replaced with Image>Flip Horizontal,
and Image>Flip with Image>Flip Vertical, there are some variables.
In versions X5 and X6, the functions have been improved by making available the Objects menu.
In the latest version X7 command Image>Mirror and Image>Flip returned, but with new differences.
See my schedule here
Your versions
For this tutorial, you will need:
Material here
Plugins:
consult, if necessary, my filter section here
Filters Unlimited 2.0 here
Mehdi - Wavy Lab 1.1. here
Toadies - Ommadawn here
Mura's Meister - Perspective Tiling here
Alien Skin Eye Candy 5 Texture - Swirl here
Simple - Blintz here
Dynasty - Ripper here
AAA Frames - Foto Frame here
Filters Toadies, Simple and Dynasty can be used alone or imported into Filters Unlimited.
(How do, you see here)
If a plugin supplied appears with this icon  it must necessarily be imported into Unlimited it must necessarily be imported into Unlimited

You can change Blend Modes according to your colors.
Copy the script in the Folder Script-Trusted.
Copy the preset Emboss 3 in the Presets Folder.
Copy the selections in the Selections Folder.
Open the masks in PSP and minimize them with the rest of the material.
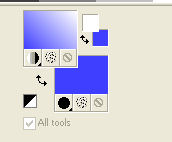
Set your foreground color to #ffffff,
and your background color to #4040ff.
1. Open a new transparent image 900 x 600 pixels.
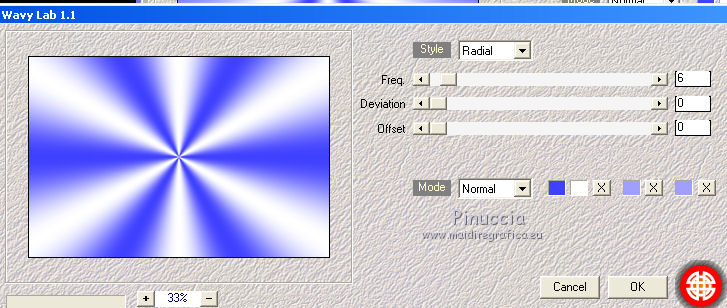
Effects>Plugins>Mehdi - Wavy Lab 1.1.
This filter creates gradients with the colors of your Materials palette:
the first is your background color, the second is your foreground color.
Keep the last two colors created by the filter.
Adjust>Blur>Gaussian Blur - radius 50
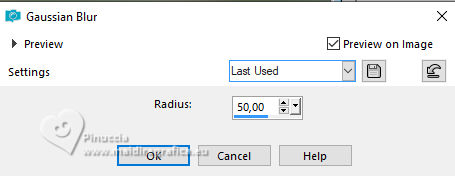
Edit>Repeat Gaussian Blur.
Effects>Plugins>Simple - Blintz
Effects>Edge Effects>Enhance.
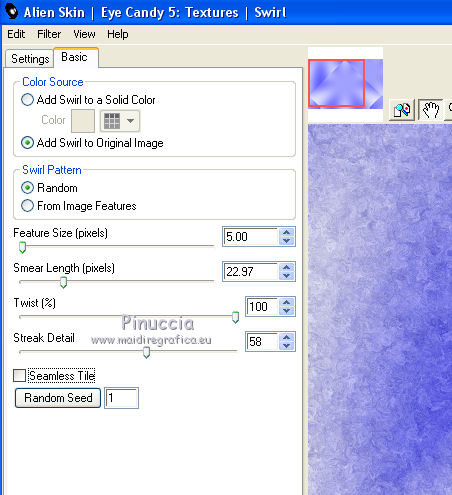
Effects>Plugins>Alien Skin Eye Candy 5 Textures - Swirl.
Ouvrir le tube Nikki_arc en ciel and go to Edit>Copy.
Go back to your work and go to Edit>Paste as new layer.
2. Activate the bottom layer.
Selections>Load/Save selection>Load Selection from Disk.
Look for and load the selection Nikki_Paques 1
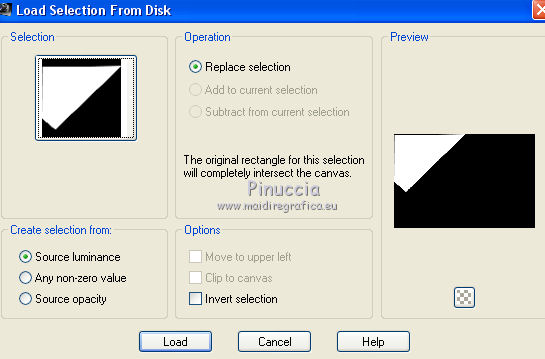
Selections>Promote Selection to Layer.
Effects>Plugins>Toadies - Ommadawn.
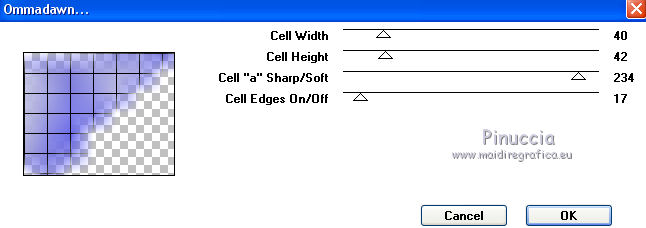
Selections>Select None.
Layers>Duplicate.
Effcts>Image Effects>Seamless Tiling, default settings.

3. Activate again your bottom layer, Raster 1.
Selections>Load/Save selection>Load Selection from Disk.
Look for and load the selection Nikki_Paques 2
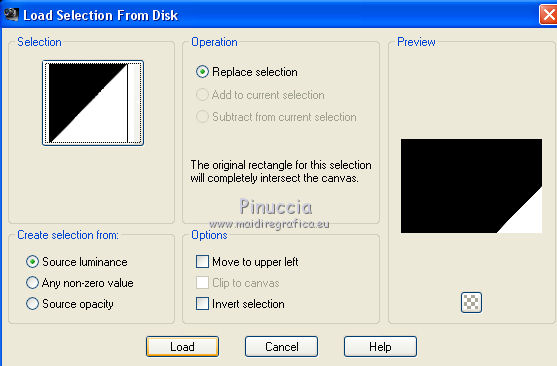
Selections>Promote Selection to Layer.
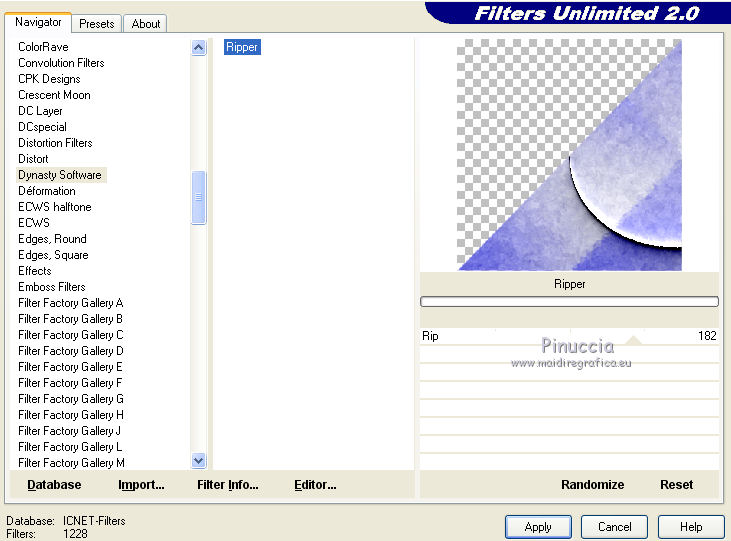
Effects>Plugins>Filters Unlimited 2.0 - Dynasty - Ripper.
Selections>Select None.
4. Activate your top layer.
Open the deco Nikki_paques1 and go to Edit>Copy.
Go back to your work and go to Edit>Paste as new layer.
If you use other colors, change the Blend Mode of this layer to Luminance (legacy).
Move  the tube to the top right corner. the tube to the top right corner.
5. Layers>New Raster Layer.
Flood Fill  the layer with color white #ffffff. the layer with color white #ffffff.
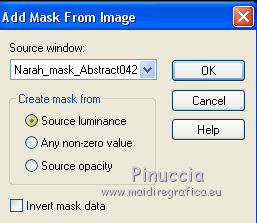
Layers>New Mask layer>From image
Open the menu under the source window and you'll see all the files open.
Select the mask Narah_masque abstract
Effects>Edge Effects>Enhance More.
Layers>Merge>Merge group.
Effects>User Defined Filter - select the preset Emboss 3 and ok.

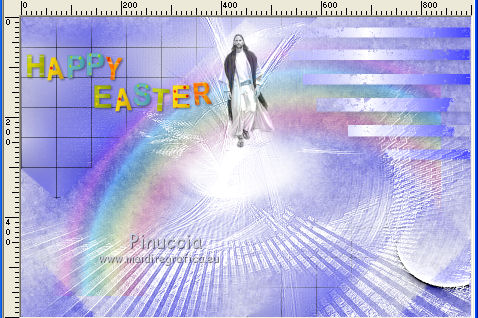
6. Open the tube nikki_nuage.png and go to Edit>Copy.
Go back to your work and go to Edit>Paste as new layer.
Open the tube titre.png and go to Edit>Copy.
Go back to your work and go to Edit>Paste as new layer.
Move  the tube at the upper left. the tube at the upper left.
Open the tube Christ.png and go to Edit>Copy.
Go back to your work and go to Edit>Paste as new layer.
Image>Resize, to 50%, resize all layers not checked.
Move  the tube up, see my example. the tube up, see my example.
Change the Blend Mode of this layer to Luminance (legacy).
Layers>Merge>Merge All.
Copy/Paste as new layer your tubes, resize if necessary
and place  them at your choice. them at your choice.
7. Borders.
16. If you don't see your script toolbar, go to View>Toolbars>Script.
Open the scripts menu, look for and select the script eloane
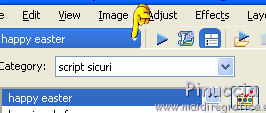
If you want to change the borders color, activate the Toggle Execution Mode

Start the script by clicking on the blue arrow (black in the earlier versions).

If you are using a version earlier than the one the script was created with,
you'll have this message

Being simple borders, you will not have problems; click ok to continue.
When you go to the last step, you'll have
Effects>Plugins>AAA Frames - Foto Frame,
change width with 20 and ok.
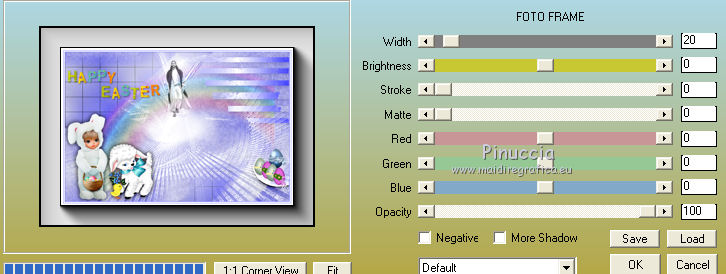
if you have problems with the script see below the steps.
Image>Add borders, 1 pixels, symmetric, background color.
Image>Add borders, 5 pixels, symmetric, color white.
Image>Add borders, 1 pixels, symmetric, background color.
Image>Add borders, 35 pixels, symmetric, color white.
Image>Add borders, 1 pixels, symmetric, background color.
Image>Add borders, 5 pixels, symmetric, color white.
Image>Add borders, 1 pixels, symmetric, background color.
Image>Add borders, 50 pixels, symmetric, color white.
Effects>Plugins>AAA Frames - Foto Frame.

Sign your work in a new layer.
Optionnel: Add the watermark of the author and of the translator.
Layers>Merge>Merge All and save as jpg.
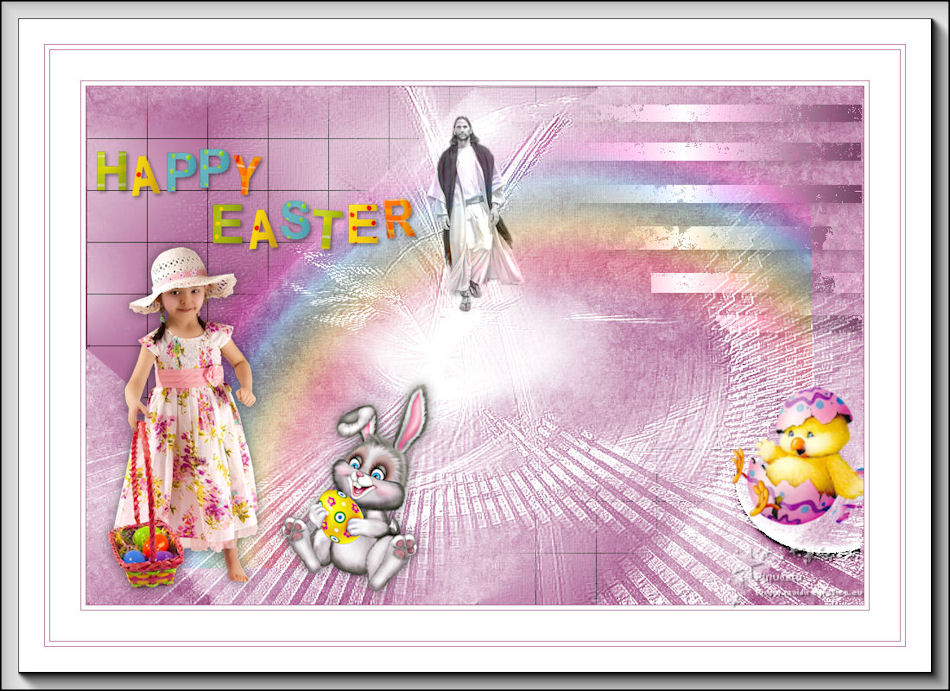
 Your versions Your versions
Thanks

If you have problems or doubts, or you find a not worked link, write to me.
16 Avril 2020
|

