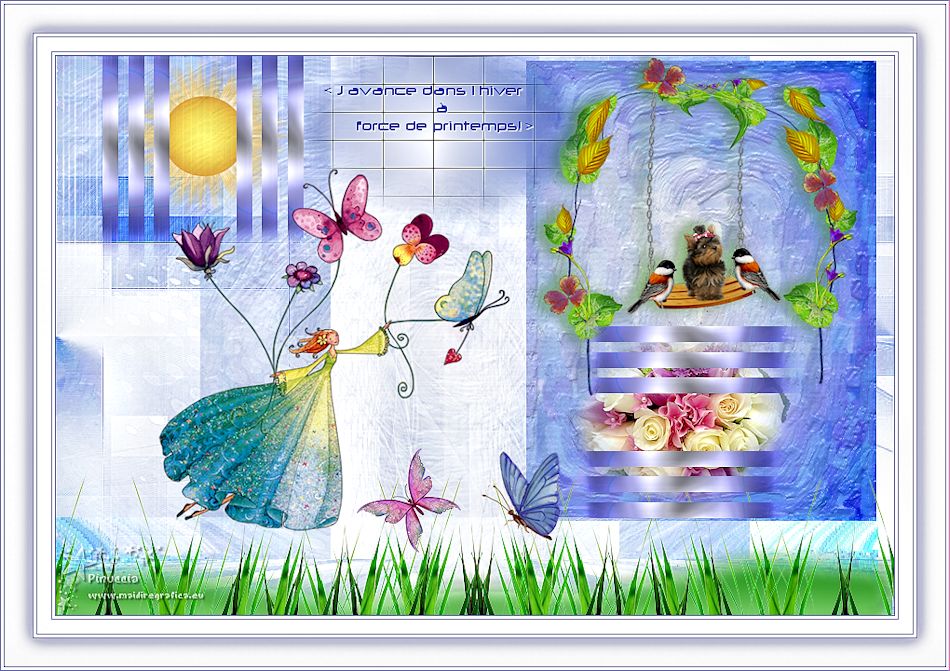
|
LE PRINTEMPS EST LÀ


This tutorial was written with PSPX9 and translated with PSPX3, but it can also be made using other versions of PSP.
Since version PSP X4, Image>Mirror was replaced with Image>Flip Horizontal,
and Image>Flip with Image>Flip Vertical, there are some variables.
In versions X5 and X6, the functions have been improved by making available the Objects menu.
In the latest version X7 command Image>Mirror and Image>Flip returned, but with new differences.
See my schedule here
Your versions
For this tutorial, you will need:
Material here
For the tube thanks Jen, JHanna et Yoka.
Plugins:
consult, if necessary, my filter section here
Filters Unlimited 2.0 here
&<Bkg Designer sf10I> - Cruncher, Center Mirror (to import in Unlimited) here
Toadies - Ommadawn here
Mura's Meister - Perspective Tiling here
Alien Skin Snap art - Impasto here
Nik Software - Color Efex Pro here
Filters Toadies can be used alone or imported into Filters Unlimited.
(How do, you see here)
If a plugin supplied appears with this icon  it must necessarily be imported into Unlimited it must necessarily be imported into Unlimited

You can change Blend Modes according to your colors.
In the newest versions of PSP, you don't find the foreground/background gradient (Corel_06_029).
You can use the gradients of the older versions.
The Gradient of CorelX here
Copy the selections in the Selections Folder (the selection Printemps_1 will not be used).
Open the masks in PSP and minimize them with the rest of the material.
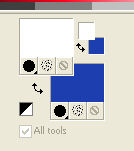
Set your foreground color to #ffffff,
and your background color to #1d3eaf.
1. Open a new transparent image 900 x 600 pixels.
Selections>Select All.
Open the image Nikki_fond and go to Edit>Copy.
Go back to your work and go to Edit>Paste into selection.
Selections>Select None.
2. Layers>New Raster Layer.
Flood Fill  the layer with your white foreground color. the layer with your white foreground color.
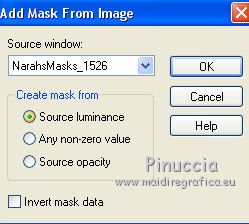
Layers>New Mask layer>From image
Open the menu under the source window and you'll see all the files open.
Select the mask Narah_mask_1526
Effects>Edge Effects>Enhance More.
Layers>Merge>Merge Group.
3. Layers>New Raster Layer.
Flood Fill  the layer with your white foreground color. the layer with your white foreground color.
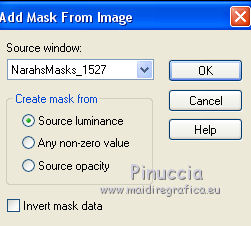
Layers>New Mask layer>From image
Open the menu under the source window
and select the mask Narah_mask_1527
Effects>Edge Effects>Enhance More.
Layers>Merge>Merge Group.
4. Layers>Merge>Merge visible.
Layers>Duplicate.
Image>Free Rotate - 90 degrees to right.
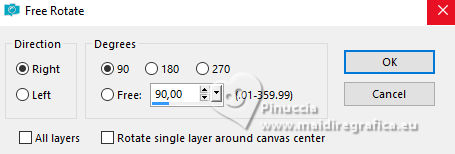
Image>Resize, to 75%, resize all layers not checked.
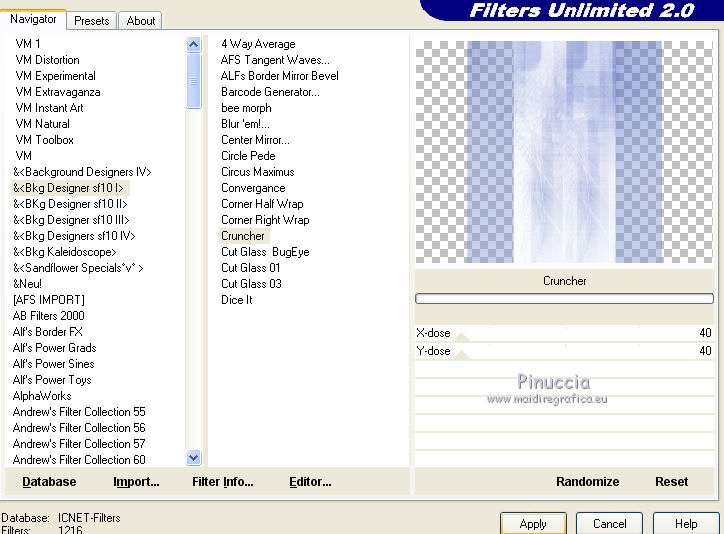
Effets>Plugins>Filters Unlimited 2.0 - &<Bkg Designer sf10I> - Cruncher.
5. Set your foreground color to a Foreground/Background Gradient, style Sunburst.

Layers>New Raster Layer.
Flood Fill  the layer with your gradient. the layer with your gradient.
Effects>Plugins>Alien Skin Snap Art - Impasto
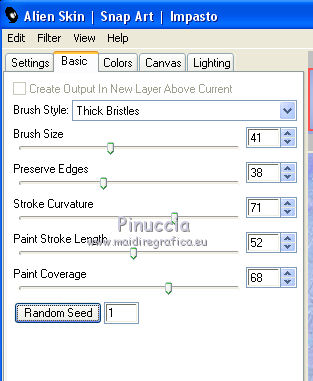
Change the Blend Mode of this layer to Overlay.
Layers>Merge>Merge visible.
6. Layers>Duplicate.
Effects>Plugins>Mura's Meister - Perspective Tiling.

Layers>Merge>Merge visible.
7. Layers>New Raster Layer.
Selections>Load/Save Selection>Load Selection from Disk.
Look for and load the selection Nikki_printemps
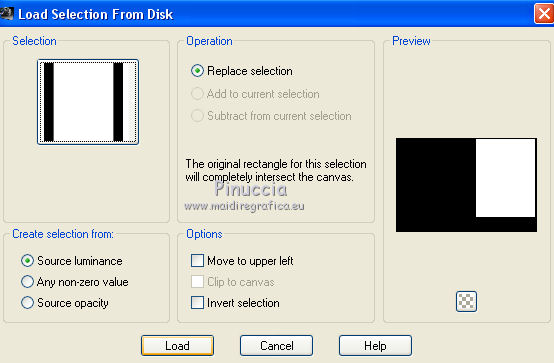
Flood Fill  the selection with your gradient. the selection with your gradient.
Selections>Select None.
Change the Blend Mode of this layer to Hard Light (I didn't change the Blend Mode).
Effects>Plugins>Alien Skin Snap Art - Impasto, same settings

Selections>Select None.
8. Open the tube of the swing and go to Edit>Copy.
Go back to your work and go to Edit>Paste as new layer.
Image>Resize, to 85%, resize all layers not checked.
Move  the tube at the upper right. the tube at the upper right.

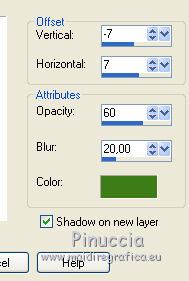
Effects>3D Effects>Drop Shadow, color #3d7c19, shadow on a new layer checked
9. Activate the top layer.
Layers>New Raster Layer.
Selections>Load/Save Selection>Load Selection from Disk.
Look for and load the selection Nikki_printempstexte
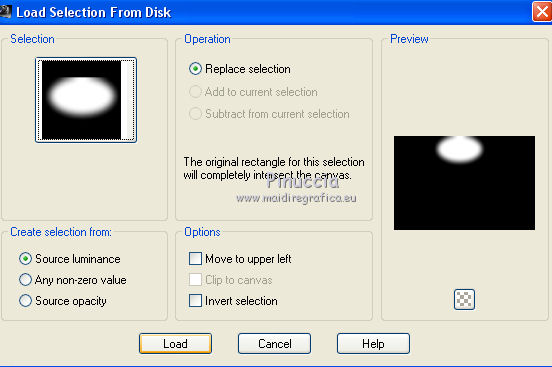
Flood Fill  the selection with your gradient. the selection with your gradient.
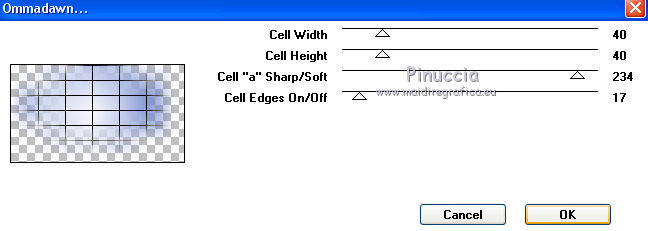
Effects>Plugins>Toadies - Ommadawn
Selections>Select None.
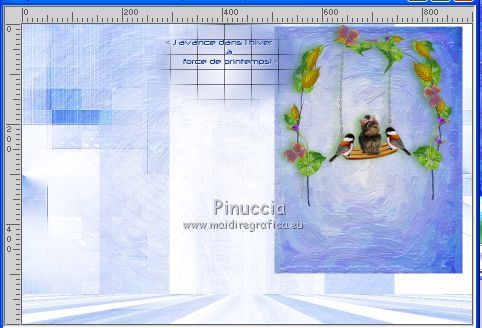
10. Open the file texte and go to Edit>Copy.
Go back to your work and go to Edit>Paste as new layer.
Place  the tube on the toadies' effect. the tube on the toadies' effect.
11. Layers>New Raster Layer.
Selections>Load/Save Selection>Load Selection from Disk.
Look for and load the selection Nikki_printemps2
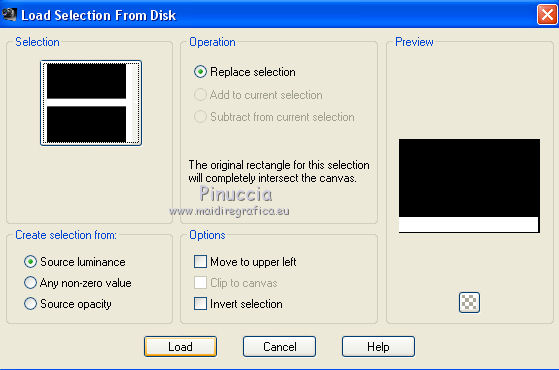
Flood Fill  the selection with your gradient. the selection with your gradient.
Effects>Plugins>Alien Skin Snap Art - Impasto, same settings.
Repeat Impasto, same settings.
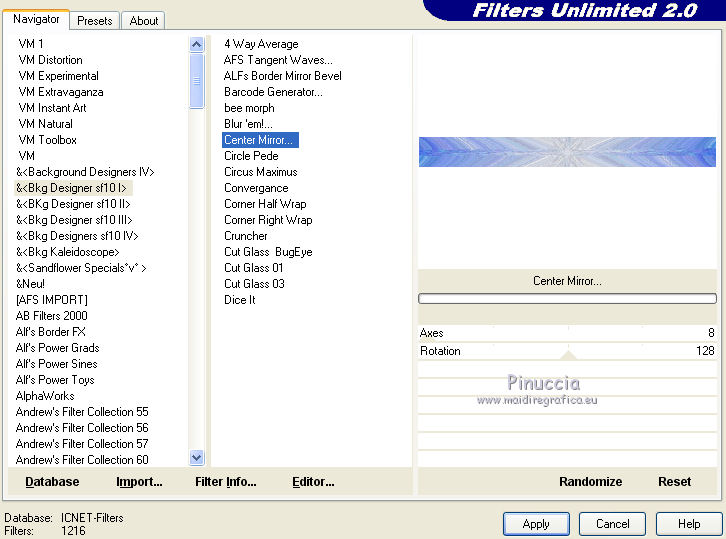
Effects>Plugins>Filters Unlimited 2.0 - &<Bkg Designer sf10I> - Center Mirror, default settings.
Change the Blend Mode of this layer to Overlay - or other (I made Hard Light),
and reduce the opacity to 95%.
Selections>Select None.
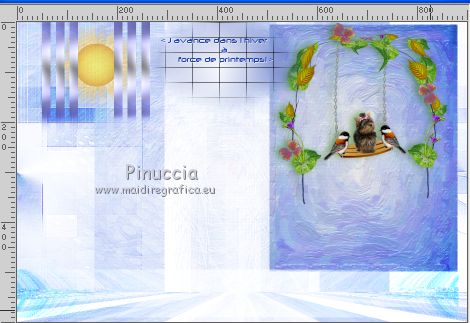
12. Open the tube nikki_deco1 and go to Edit>Copy.
Go back to your work and go to Edit>Paste as new layer.
K key on the keyboard to activate your Pick Tool 
and set Position X: 50,00 and Position Y: -40,00.

M key to deselect the tool.
Activate the layer below.
Open the tube soleil_nikki and go to Edit>Copy.
Go back to your work and go to Edit>Paste as new layer.
Place  the tube between the lines. the tube between the lines.
13. Open the tube nikki_deco2 and go to Edit>Copy.
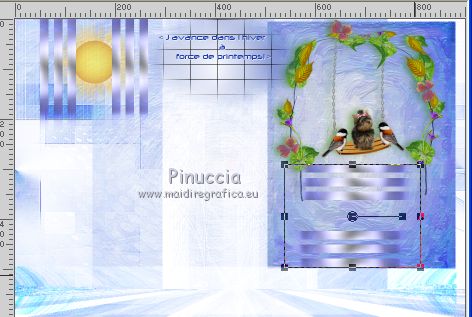
Go back to your work and go to Edit>Paste as new layer.
K key on the keyboard to activate your Pick Tool 
and set Position X: 619,00 and Position Y: 297,00.

For me I used these settings

M key to deselect the tool.
14. Open the tube bouquet de fleur and go to Edit>Copy.
Go back to your work and go to Edit>Paste as new layer.
Layers>Arrange>Move Down.
Place  the tube between the lines the tube between the lines

15. Open the tube nikki_herbe and go to Edit>Copy.
Go back to your work and go to Edit>Paste as new layer.
Place  the tube down, see my example. the tube down, see my example.
Add your tubes and decorations.
For me
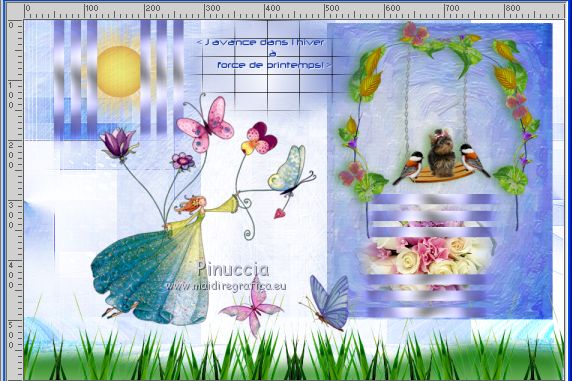
Layers>Merge>Merge All.
16. If you don't see your script toolbar, go to View>Toolbars>Script.
Open the scripts menu, look for and select the script eloane

If you want to change the borders color, activate the Toogle Execution Mode

Start the script by clicking on the blue arrow (black in the earlier versions).

If you are using a version earlier than the one the script was created with,
you'll have this message

Being simple borders, you will not have problems; click ok to continue.
But if you have problems with the script see below the steps.
*****************
These are the steps of the script.
Image>Add borders, 1 pixel, symmetric, #7373bb.
Image>Add borders, 3 pixels, symmetric, color white
Image>Add borders, 1 pixel, symmetric, #797aba
(don't worry if the codes changes, the are shades of the same color;
you can use always the color chosen for the second border).
Image>Add borders, 15 pixels, symmetric, color white.
Image>Add borders, 1 pixels, symmetric, #7677b7.
Image>Add borders, 3 pixels, symmetric, color white.
Image>Add borders, 1 pixel, symmetric, #7374bb.
Selections>Select All.
Image>Add borders, 30 pixels, symmetric, color white.
Image>Add borders, 1 pixel, symmetric, color #7575b8.
Image>Add borders, 3 pixels, symmetric, color white.
Image>Add borders, 1 pixel, symmetric, color #7072ba.
Effects>3D Effects>Drop Shadow, color #7676b8.
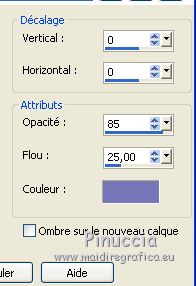
Selections>Select None.
*****************
Sign your work on a new layer.
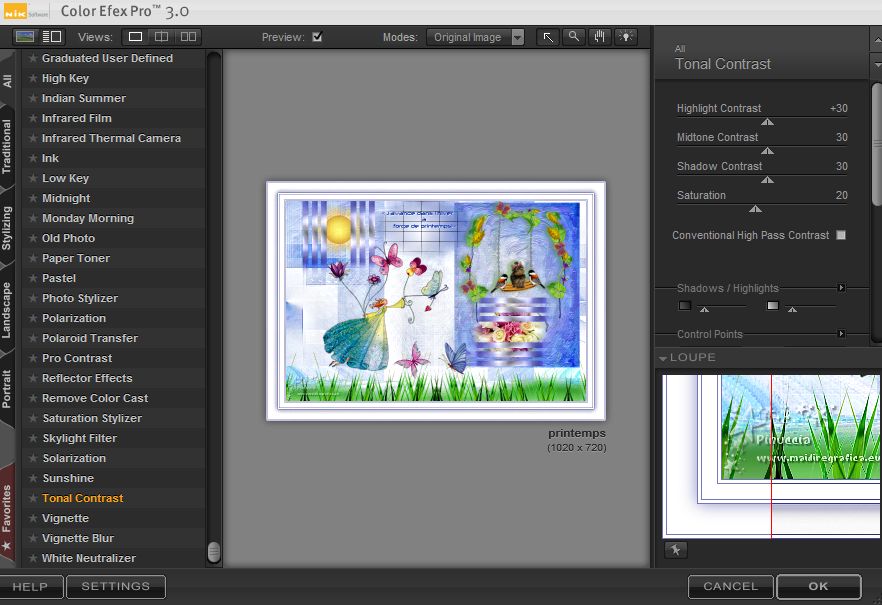
Optionel: Effects>Plugins>Nik Software - Color Efex Pro - Tonal Contrast.
If you want Image>Resize, at your choice, resize all layers checked.
Save as jpg.
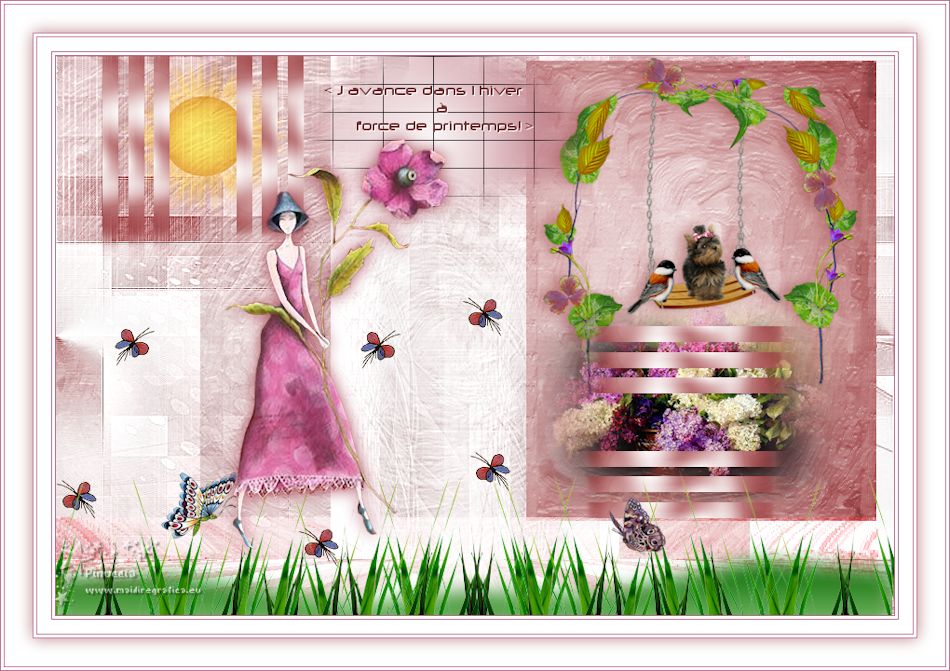
 Your versions Your versions
Thanks
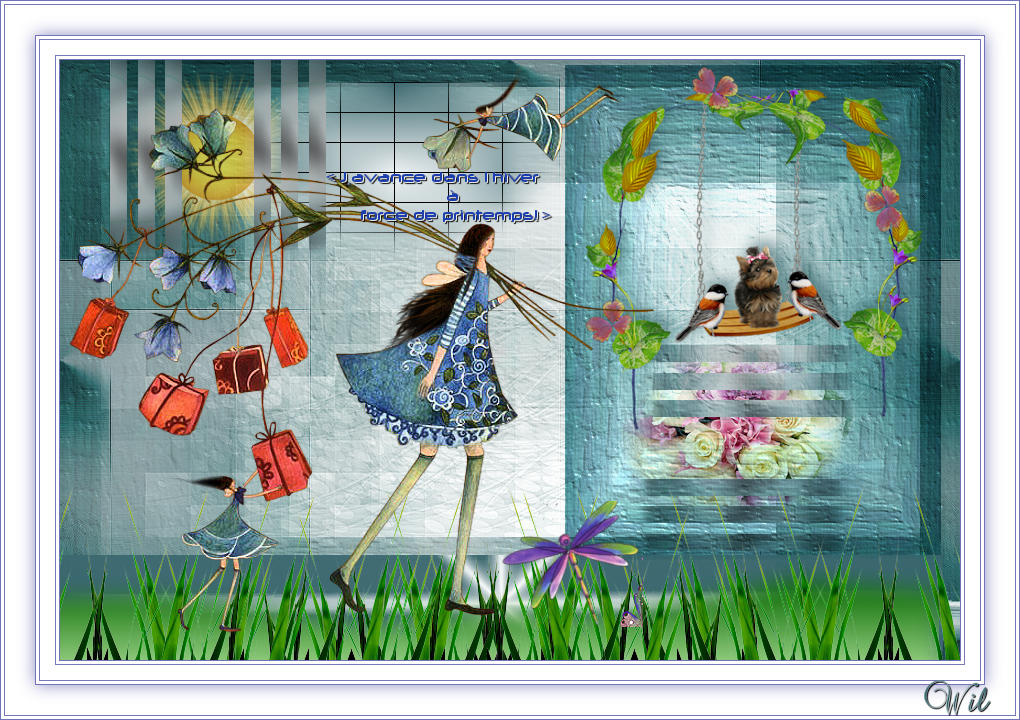
Wil
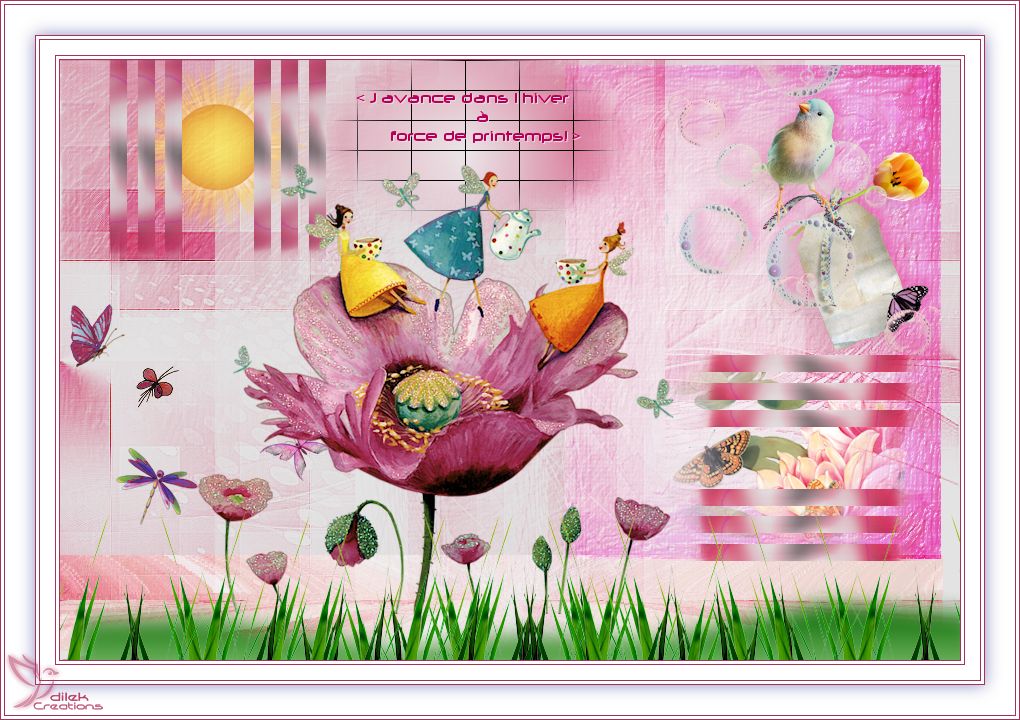
Dilek
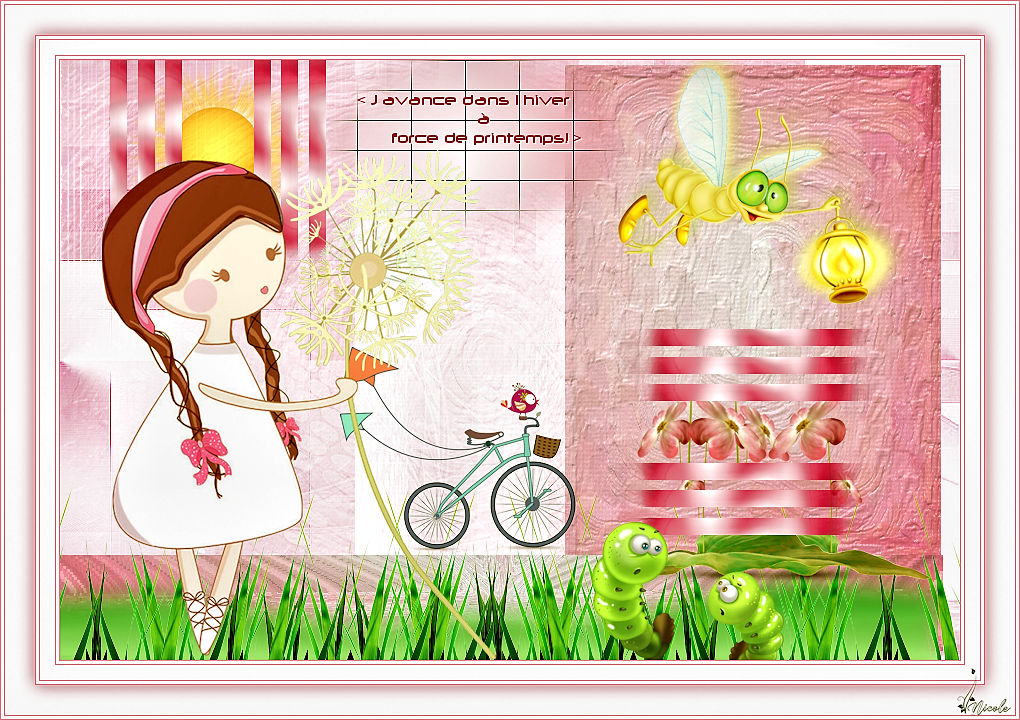
Nicole

If you have problems or doubts, or you find a not worked link, write to me.
22 March 2020
|

