|
WINTER 2019


This tutorial was written with PSPX2 and translated with PSPX3, but it can also be made using other versions of PSP.
Since version PSP X4, Image>Mirror was replaced with Image>Flip Horizontal,
and Image>Flip with Image>Flip Vertical, there are some variables.
In versions X5 and X6, the functions have been improved by making available the Objects menu.
In the latest version X7 command Image>Mirror and Image>Flip returned, but with new differences.
See my schedule here
Your versions
For this tutorial, you will need:
Material here
For the tube thanks Krys.
Plugins:
consult, if necessary, my filter section here
AP Lines - Lines SilverLining here
AAA Filters - Custom here

You can change Blend Modes according to your colors.
In the newest versions of PSP, you don't find the foreground/background gradient (Corel_06_029).
You can use the gradients of the older versions.
The Gradient of CorelX here
Copy the selections in the Selections Folder.
Open the mask in PSP and minimize it with the rest of the material.
Set your foreground color to #ffffff,
and your background color to #94a5b5.
1. Open a new transparente image 900 x 600 pixels.
Selections>Select All.
Open the image Magic Peace, and go to Edit>Copy.
Go back to your work and go to Edit>Paste into Selection.
Selections>Select None.
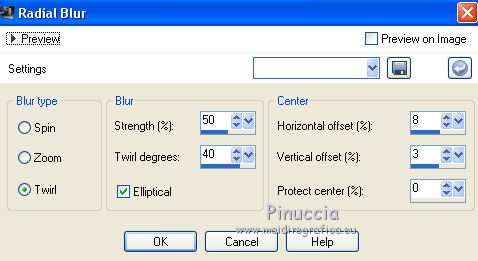
2. Adjust>Blur>Radial Blur.
Effects>Edge Effects>Enhance.
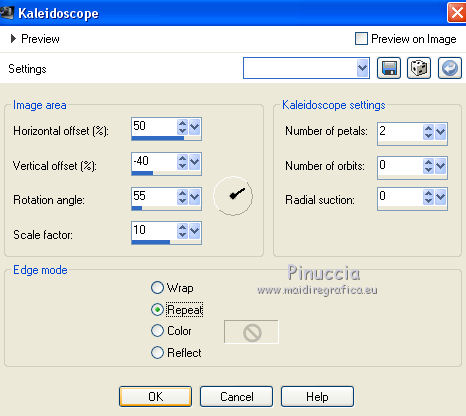
3. Effects>Reflection Effects>Kaleidoscope.
4. Layers>New Raster Layer.
Flood Fill  the layer with your foreground color #ffffff. the layer with your foreground color #ffffff.
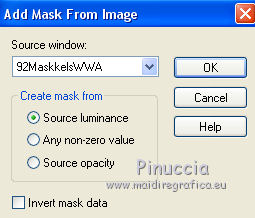
Layers>New Mask layer>From image
Open the menu under the source window and you'll see all the files open.
Select the mask 92MaskkelsWWA
Effects>Edge Effects>Enhance More.
Layers>Merge>Merge Group.
Layers>Duplicate.
Layers>Merge>Merge All.
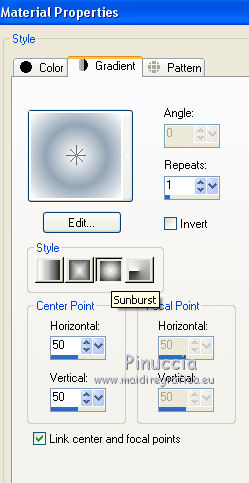
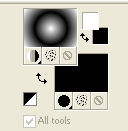
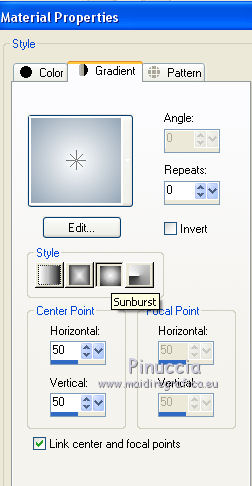
5. Set your foreground color to a Foreground/Background Gradient, style Sunburst.
Layers>New Raster Layer.
Selections>Load/Save Selection>Load Selection from Disk.
Look for and load the selection Nikki_winter2019
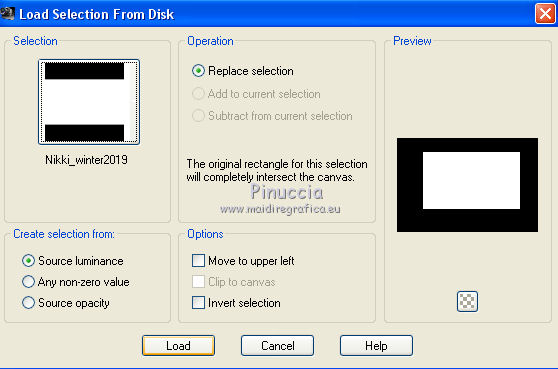
Flood Fill the selection with your Gradient.
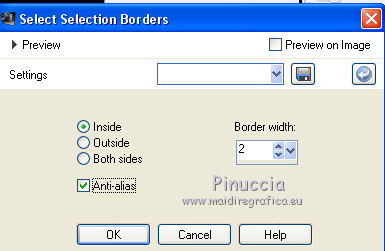
Selections>Modify>Select Selection Borders.
Layers>New Raster Layer.
Flood Fill the selection with your background color #94a5b5.
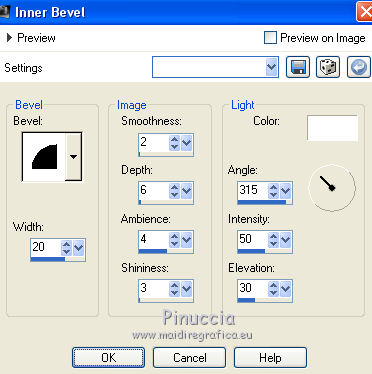
Effects>3D Effects>Inner Bevel
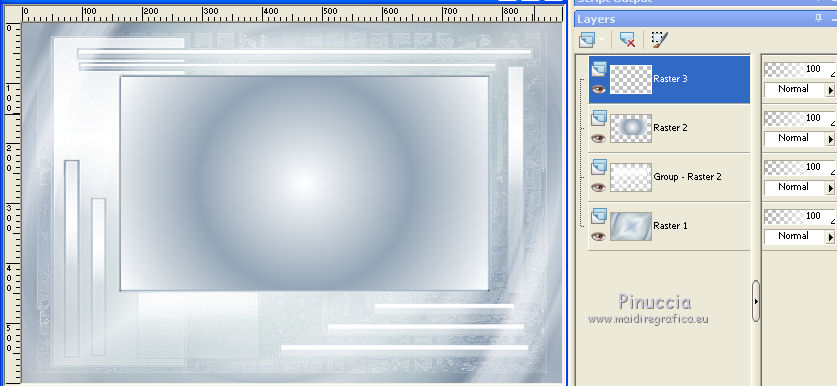
Selections>Select None.
You should have this
6. Activate the layer Raster 1.
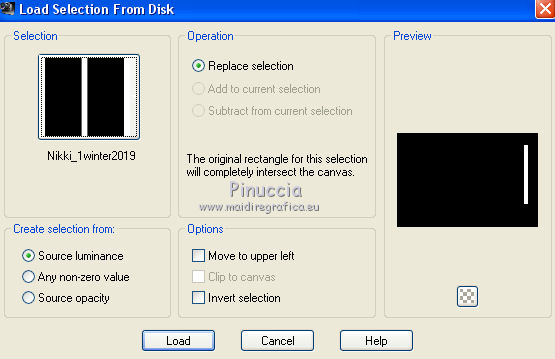
Selections>Load/Save Selection>Load Selection from Disk.
Look for and load the selection Nikki_1winter2019
Selections>Promote Selection to Layer.
Layers>Arrange>Bring to Top.
Set your background color to #2a3a54.
Flood Fill the selection with your background color.
Selections>Modify>Contract - 2 pixels.
Set again your background color to #94a5b5, to get your gradient
Flood Fill the selection with your Gradient.
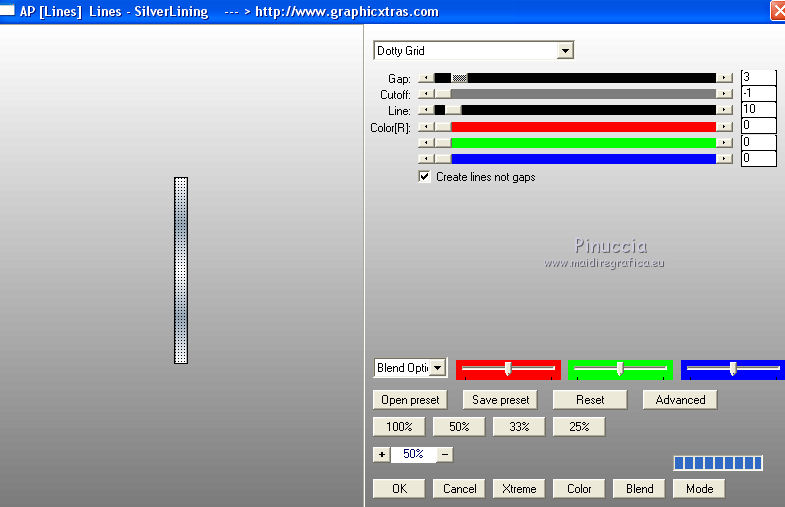
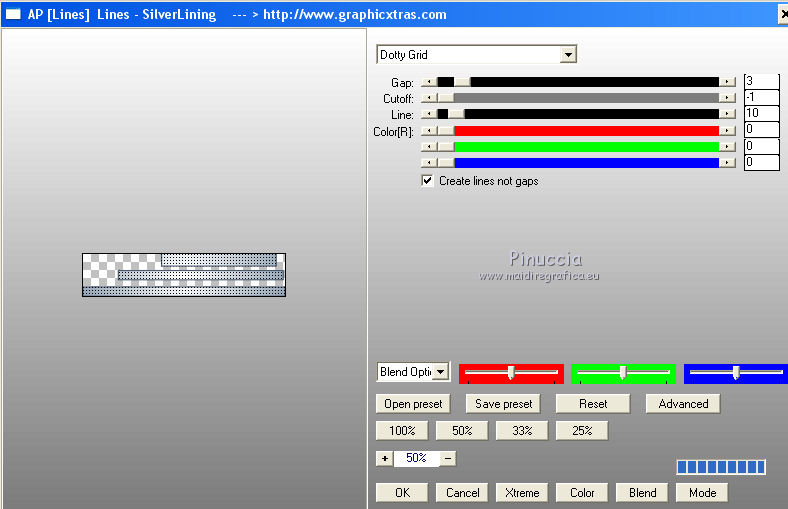
7. Effects>Plugins>AP Lines - Lines SilverLining.
Effects>3D Effects>Drop Shadow, color black.

8. Layers>New Raster Layer.
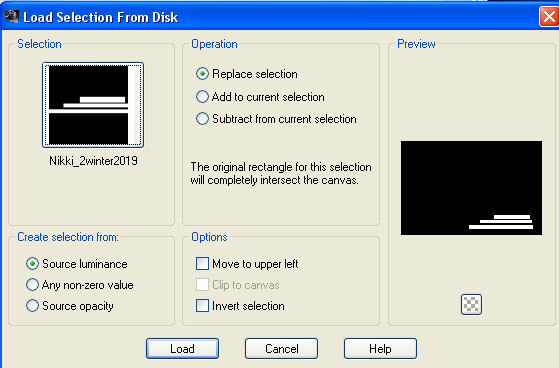
Selections>Load/Save Selection>Load Selection from Disk.
Look for and load the selection Nikki_2winter2019
Set your background color to #2a3a54.
Flood Fill the selection with your background color #2a3a54.
Selections>Modify>Contract - 2 pixels.
Set your background color to #94a5b5 to get again your gradient,
and Change the Gradient's settings: repeats to 0
Flood fill the selection with your Gradient.
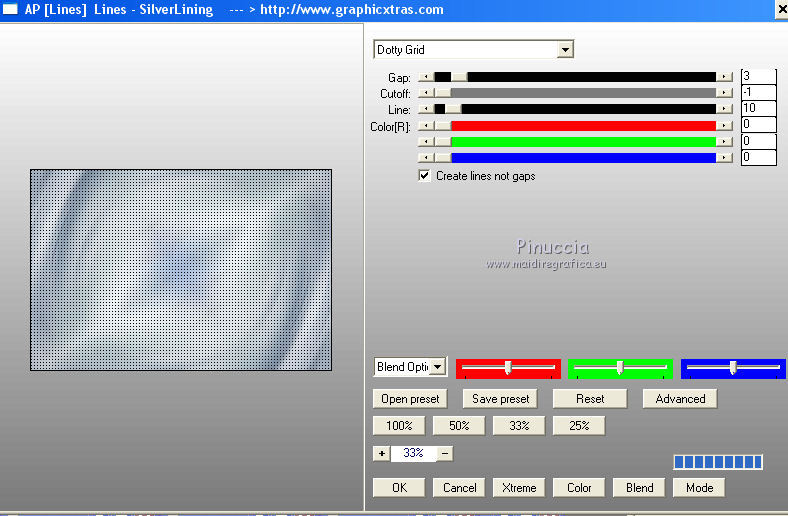
9. Effects>Plugins>AP Lines - Lines SilverLining, same settings.
Selections>Select None.
Effects>Distortion Effects>Wind - from left, intensity 100

10. Activate the layer Raster 1.
Effects>Plugins>AP Lines - Lines SilverLining, same settings.
11. Activate your top layer.
Open the tube deco_nikki_neige and go to Edit>Copy.
Go back to your work and go to Edit>Paste as new layer.
Move  at the bottom of the frame at the bottom of the frame

12. Open the tube nikki_sapin1 and go to Edit>Copy.
Go back to your work and go to Edit>Paste as new layer.
Move the tube to the left side of the frame
Layers>Arrange>Move Down.
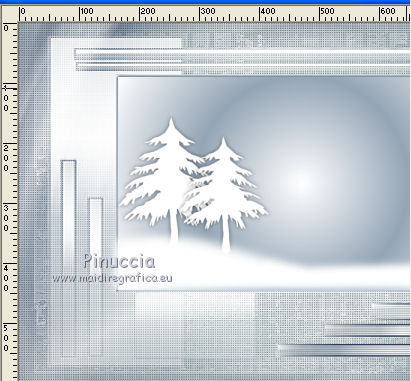
13. Open the tube lune and go to Edit>Copy.
Go back to your work and go to Edit>Paste as new layer.
Move the tube at the top of the frame
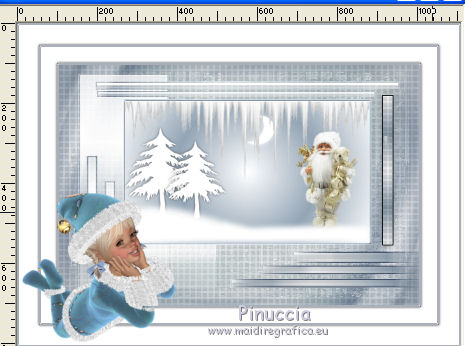
14. Open the tube KrysNoel, erase the watermark, and go to Edit>Copy.
Go back to your work and go to Edit>Paste as new layer.
Image>Resize, to 80%, resize all layers not checked.
Move to the right side of the frame, see my example
15. Open the tube neige and go to Edit>Copy.
Go back to your work and go to Edit>Paste as new layer.
Move the tube at the top of the frame.
Place better the tube of the moon and of the Santa.
If necessary, erase the snow over the Santa.

16. Image>Add borders, 1 pixel, symmetric, dark color.
Image>Add borders, 3 pixels, symmetric, color white.
Image>Add borders, 1 pixel, symmetric, dark color.
Selections>Select All.
Image Add borders, 40 pixels, symmetric, color white.
Effects>3D Effects>Drop Shadow, same settings
Selections>Select None.
17. Image>Add borders, 1 pixel, symmetric, dark color.
Image>Add borders, 3 pixels, symmetric, color white.
Image>Add borders, 1 pixel, symmetric, dark color.
Selections>Select All.
Image Add borders, 50 pixels, symmetric, color white.
Effects>3D Effects>Drop Shadow, same settings.
Selections>Select None.
18. Image>Add borders, 1 pixel, symmetric, dark color.
Image>Add borders, 3 pixels, symmetric, color white.
Image>Add borders, 1 pixel, symmetric, dark color.
19. Open the tube of the little girl and go to Edit>Copy.
Go back to your work and go to Edit>Paste as new layer.
Image>Resize, to 50%, resize all layers not checked.
For me I rotated the tube 35 degrees to the left

Move the tube in the bottom left corner.
20. Open the scrap element SAT_White Winter Snowflake1 and go to Edit>Copy.
Go back to your work and go to Edit>Paste as new layer.
Move the tube in the right corner.
22. Open the tube "titre" and go to Edit>Copy.
Go back to your work and go to Edit>Paste as new layer.
Move the text
23. Sign your work on a new layer.
24. Image>Resize, 1000 pixels width, resize all layers checked.
Layers>Merge>Merge All.
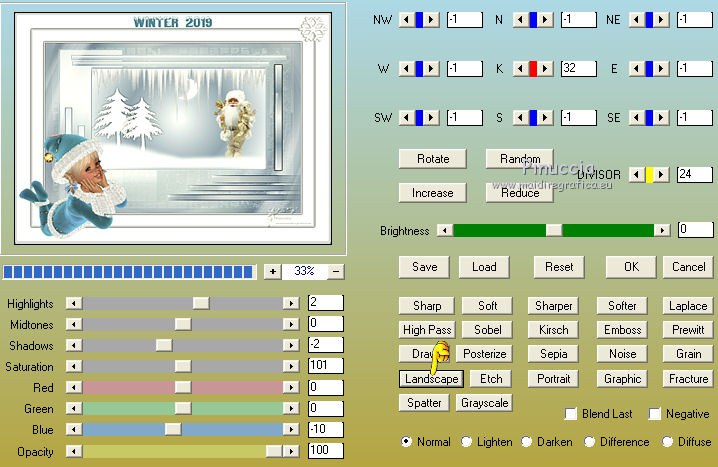
25. Effects>Plugins>AAA Filters - Custom - click on Landscape and ok.
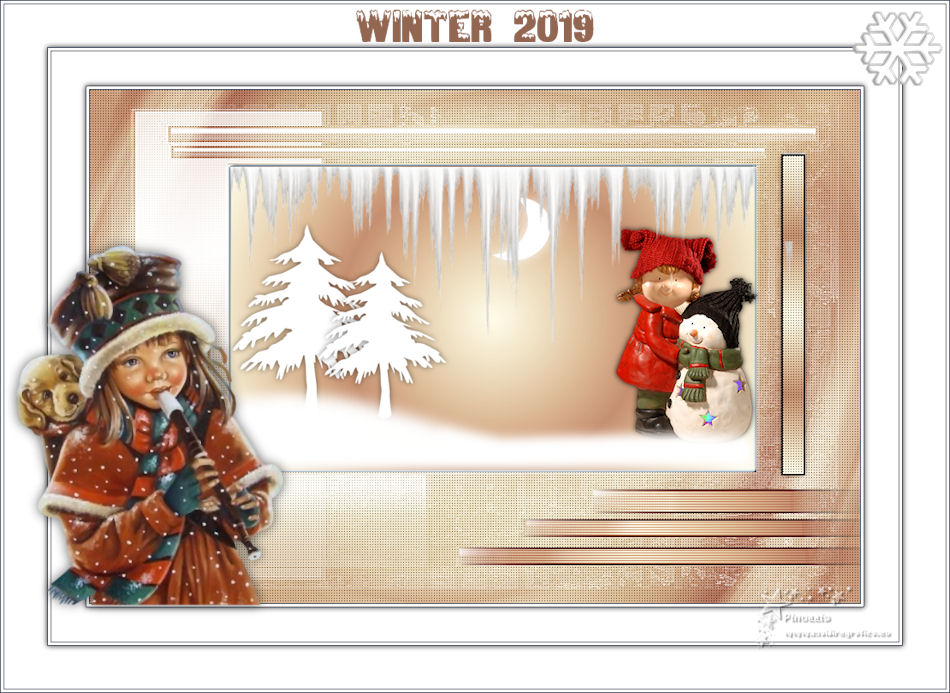
Version with tubes by Cal and Wieske
Your versions
Thanks
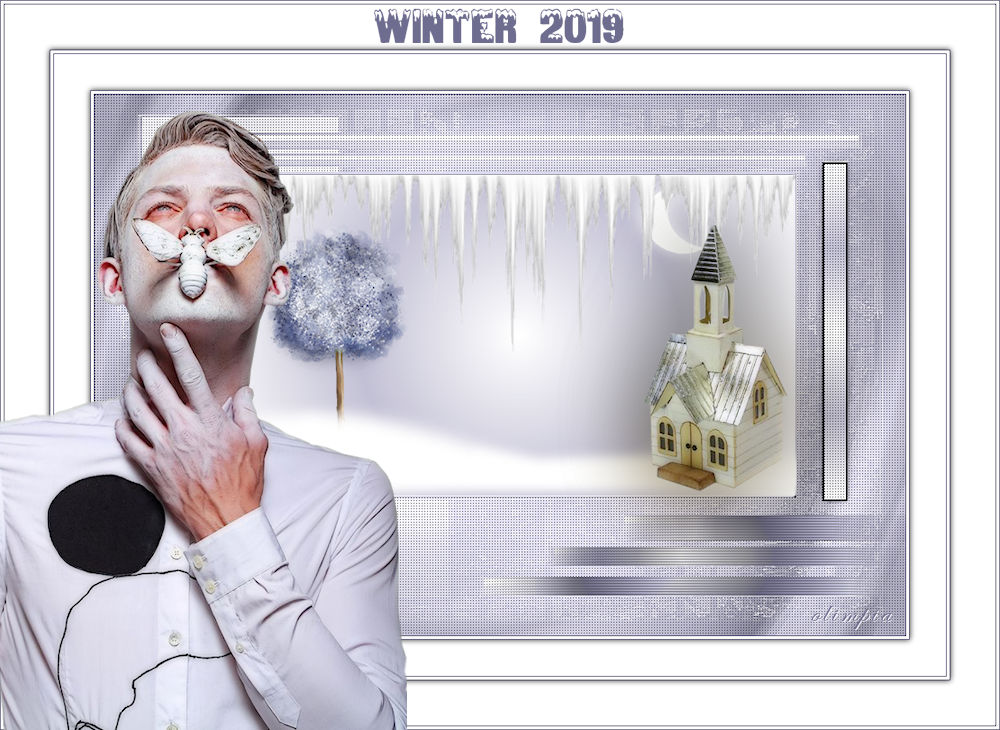
Olimpia
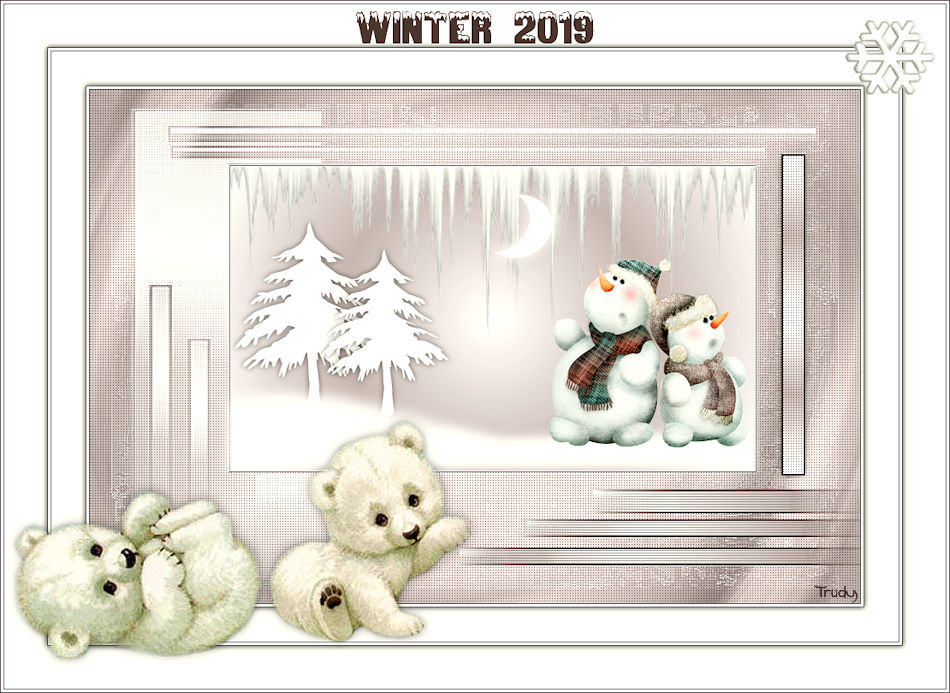
Trudy
If you have problems or doubts, or you find a not worked link, write to me.
2 December 2019
|