|
TOP BIMBO
 ENGLISH VERSION ENGLISH VERSION
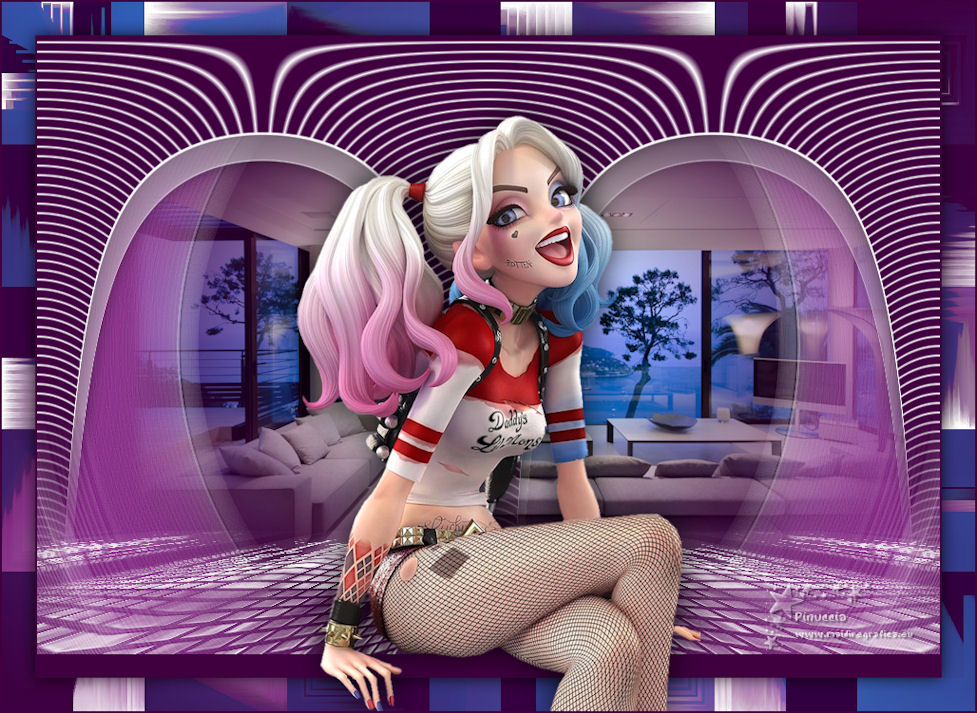
Here you find the original of this tutorial:

This tutorial was translated with PSPX7 but it can also be made using other versions of PSP.
Since version PSP X4, Image>Mirror was replaced with Image>Flip Horizontal,
and Image>Flip with Image>Flip Vertical, there are some variables.
In versions X5 and X6, the functions have been improved by making available the Objects menu.
In the latest version X7 command Image>Mirror and Image>Flip returned, but with new differences.
See my schedule here
French translation here
Your versions ici
For this tutorial, you will need:
Material
here
Renee_TUBES_Bimbo
Mist-pays-248-Azalee
masque_210_franiemargot
(you find here the links to the material authors' sites)
Plugins
consult, if necessary, my filter section here
Nik Software - Color Efex here
Mura's Meister - Perspective Tiling here
AP Lines - SilverLining here
Mehdi - Sorting Tiles here

You can change Blend Modes according to your colors.
In the newest versions of PSP, you don't find the foreground/background gradient (Corel_06_029).
You can use the gradients of the older versions.
The Gradient of CorelX here
Copy the selection in the Selections Folder.
Open the masks in PSP and minimize them with the rest of the material.
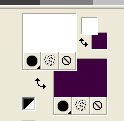
1. Set your foreground color to #ffffff
et en arrière plan la couleur #400040.
2. Open a new transparent image 400 x 650 pixels.
Flood Fill  the transparent image with color white #ffffff. the transparent image with color white #ffffff.
3. Layers>New Mask layer>From image
Open the menu under the source window and you'll see all the files open.
Select the mask masque_210_franiemargot.
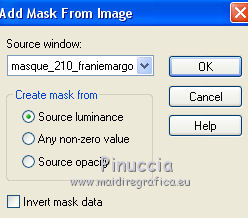
Layers>Merge>Merge Group.
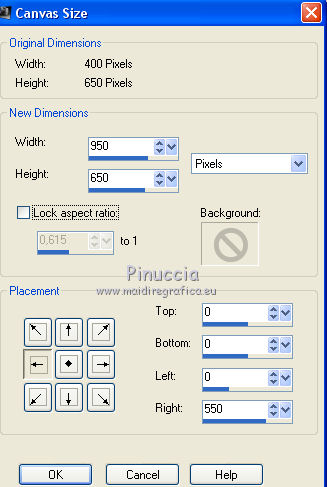
4. Image>Canvas Size - 950 x 650 pixels.
5. Effects>User Defined Filter - select the preset Emboss 3 and ok.

6. Layers>Duplicate.
Image>Mirror.
7. Layers>Merge>Merge visible.
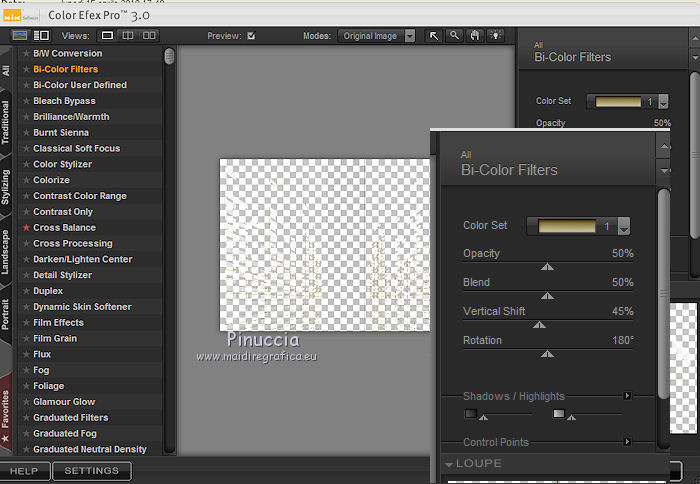
8. Effects>Plugins>Nik Software - Color Efex Pro
Bi-color Filter - to the right Color Set Brown 1.
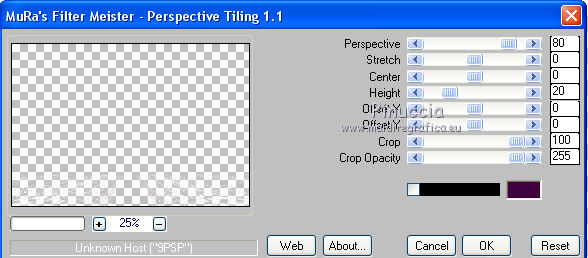
9. Effets>Modules Externes>Mura's Meister - Perspective Tiling.
10. Change the Blend Mode of this layer to Hard Light.
11. Activate your Magic Wand Tool  , feather 20 , feather 20

Click on the transparent part to select it.
Press 3 times CANC on the keyboard 
Selections>Select None.
12. Layers>New Raster Layer.
Layers>Arrange>Send to Bottom.
Flood Fill  with your background color #400040 with your background color #400040
13. Selections>Load/Save Selection>Load Selection from Disk.
Look for and load the selection sel.309.1.nines
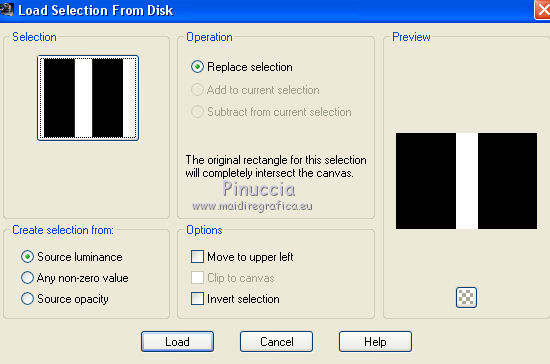
Selections>Promote Selection to Layer.
Keep selected.
14. Layers>New Raster Layer.
Flood Fill  with color #ffffff. with color #ffffff.
15. Selections>Modify>Contract - 2 pixels.
Press CANC on the keyboard.
Keep always selected.
16. Layers>Merge>Merge Down.
17. Effects>Plugins>AP Lines - Lines SilverLining.
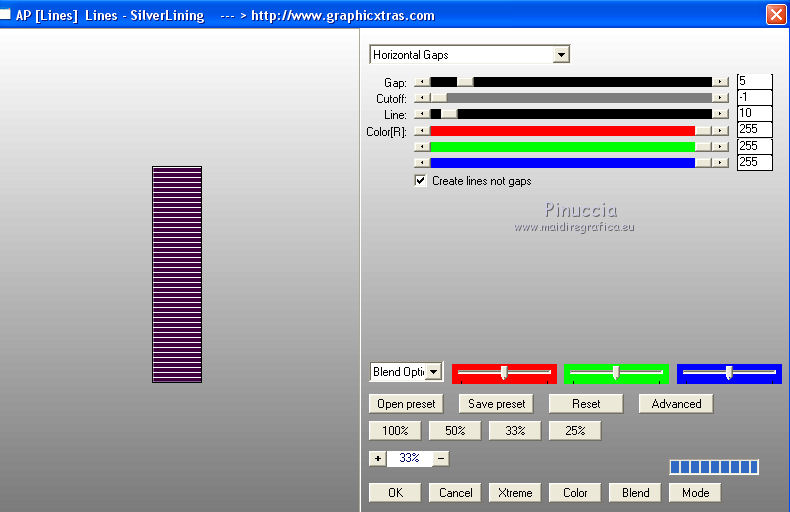
Selections>Select None.
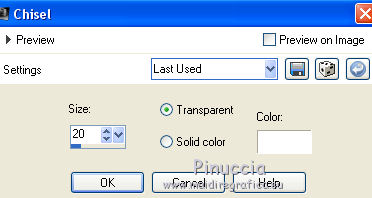
18. Effects>3D Effects>Chisel - color white.
19. Layers>Duplicate.
Activate the layer below of the original.
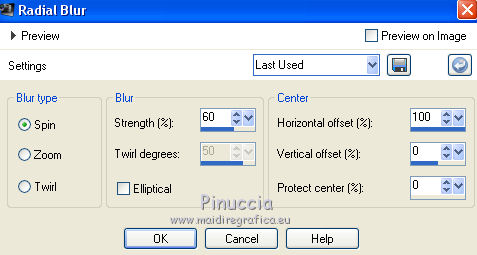
20. Adjust>Blur>Radial Blur.
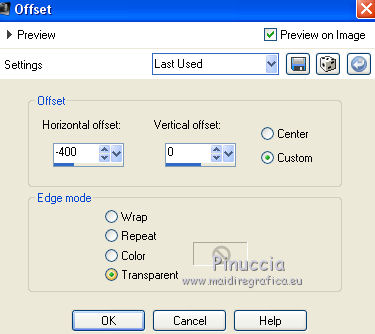
21. Effects>Image Effects>Offset.
Effects>Edge Effects>Enhance More.
22. Layers>Duplicate.
Image>Mirror.
Layers>Merge>Merge Down.
Change the Blend Mode of this layer to Screen.
23. Activate the layer above.
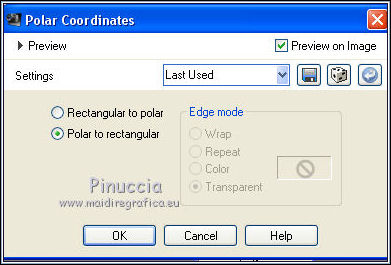
Effects>Distortion Effects>Polar Coordinates.
24. Layers>New Mask layer>From image
Open the menu under the source window and you'll see all the files open.
Select the mask Marge_TopFade.
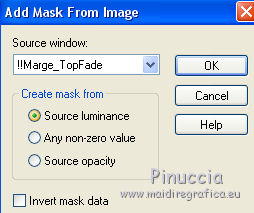
Layers>Duplicate, to apply the mask 2 times.
Layers>Merge>Merge Group.
25. Effects>3D Effects>Drop Shadow, color black.
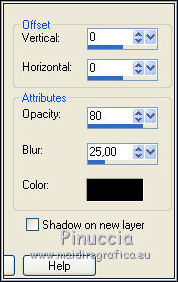
26. Activate the bottom layer.
Open the tube pays-248-Azalee and go to Edit>Copy.
Go back to your work and go to Edit>Paste as new layer.
27. Layers>Merge>Merge All.
28. Image>Add borders, symmetric not checked, background color #400040.
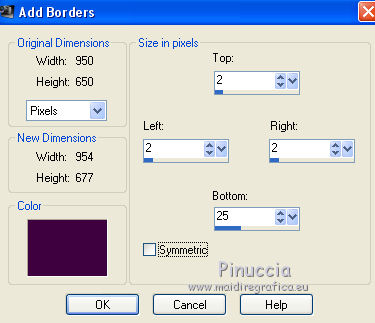
Image>Add borders, 35 pixels, symmetric, color white.
29. Activate your Magic Wand Tool  , feather 0, , feather 0,
and clic on the white border to select it.
30. Set your foreground color to #305fb8,
and keep your background color to #400040.
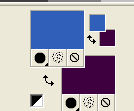
Set your foreground color to a Foreground/Background Gradient, style Linear.
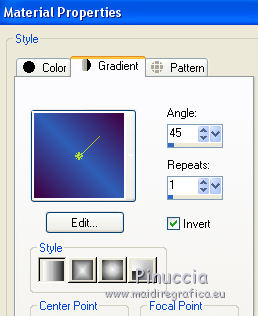
31. Flood Fill  the selection with your gradient. the selection with your gradient.
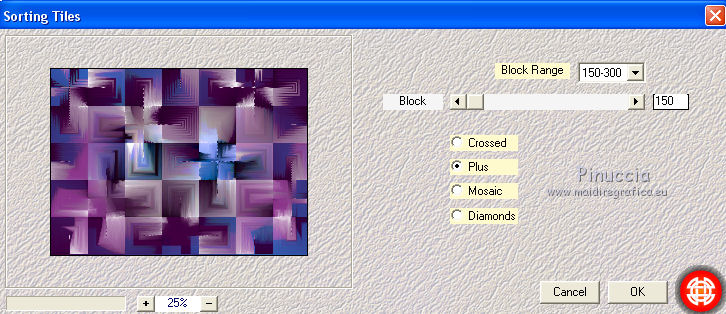
32. Effects>Plugins>Mehdi - Sorting Tiles.
33. Selections>Invert.
Effects>3D Effects>Drop Shadow, color black.

Selections>Select None.
34. Open the tube Renee_TUBES_Bimbo and go to Edit>Copy.
Go back to your work and go to Edit>Paste as new layer.
Image>Resize, 1 time to 80% and 1 time to 95%, resize all layers not checked.
Place  rightly the tube. rightly the tube.
35. Effects>3D Effects>Drop Shadow, color black.

36. Sign your work on a new layer.
37. Layers>Merge>Merge All.
Image>Add borders, 2 pixels, symmetric, background color #400040.
38. Image>Resize, to 95%, resize all layers cheched.
39. Save as jpg.
The tubes of this version are by Sussuluz and Cibi.
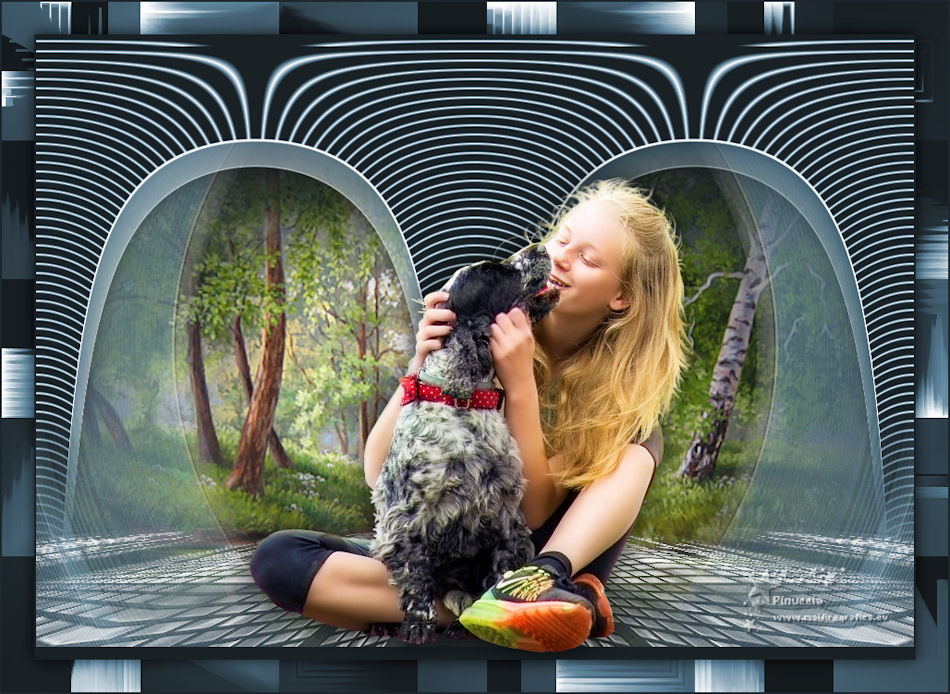
Your versions here

If you have problems or doubts, or you find a not worked link, or only for tell me that you enjoyed this tutorial, write to me.
16 April 2019
|
 ENGLISH VERSION

 ENGLISH VERSION
