|
TOP DADDY
 ENGLISH VERSION ENGLISH VERSION

Here you find the original of this tutorial:

This tutorial was translated with PSPX7 but it can also be made using other versions of PSP.
Since version PSP X4, Image>Mirror was replaced with Image>Flip Horizontal,
and Image>Flip with Image>Flip Vertical, there are some variables.
In versions X5 and X6, the functions have been improved by making available the Objects menu.
In the latest version X7 command Image>Mirror and Image>Flip returned, but with new differences.
See my schedule here
French translation here
Your versions ici
For this tutorial, you will need:
Material
here
Tube 2767-woman-LB TUBES
calguismisted9310 by Guismo
Narah_Mask_1277
(you find here the links to the material authors' sites)
Plugins
consult, if necessary, my filter section here
Filters Unlimited 2.0 here
VM Toolbox - Tiler here
AP Lines - Lines SilverLining here
AAA Frames - Foto Frame here
Mura's Meister - Perspective Tiling here
Filters VM Toolbox can be used alone or imported into Filters Unlimited.
(How do, you see here)
If a plugin supplied appears with this icon  it must necessarily be imported into Unlimited it must necessarily be imported into Unlimited

You can change Blend Modes according to your colors.
In the newest versions of PSP, you don't find the foreground/background gradient (Corel_06_029).
You can use the gradients of the older versions.
The Gradient of CorelX here
Open the mask in PSP and minimize it with the rest of the material.
1. Open a new transparent image 1000 x 700 pixels.
2. Set your foreground color to #146a09,
and your background color to #a6eb11.
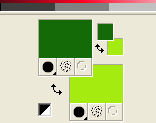
Set your foreground color to a Foreground/Background Gradient, style Linear.
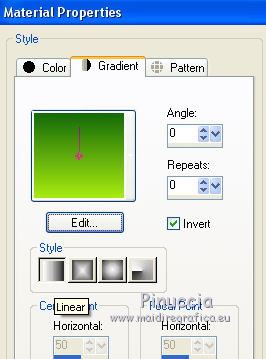
Flood Fill  the transparent image with your Gradient. the transparent image with your Gradient.
3. Open the tube calguismisted9310, erase the watermark and go to Edit>Copy.
Go back to your work and go to Edit>Paste as new layer.
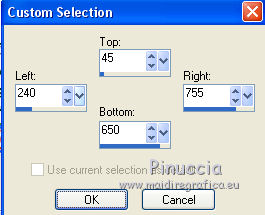
4. Selection Tool 
(no matter the type of selection, because with the custom selection your always get a rectangle)
clic on the Custom Selection 
and set the following settings.
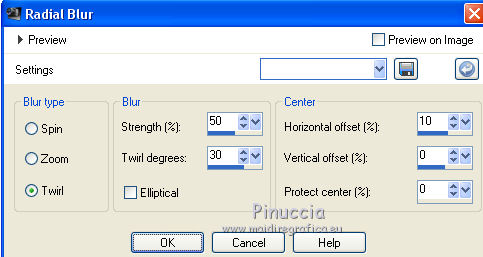
5. Adjust>Blur>Radial Blur.
6. Layers>New Raster Layer.
Edit>Paste into Selection (the tube calguismisted9310 is still in memory).
Selections>Select None.
7. Layers>New Raster Layer.
Invert the Gradient colors.
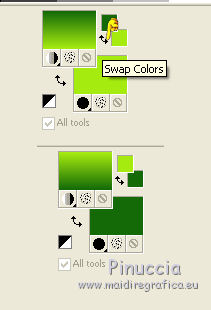
Flood Fill  the layer with your Gradient. the layer with your Gradient.
8. Layers>New Mask layer>From image
Open the menu under the source window and you'll see all the files open.
Select the mask Narah_Mask_1277:
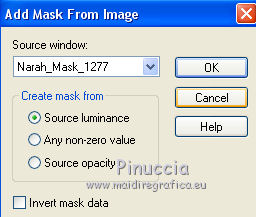
Layers>Merge>Merge group.
9. Effects>3D Effects>Drop Shadow, color black.
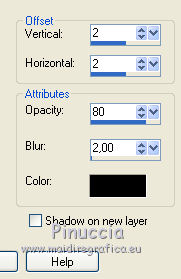
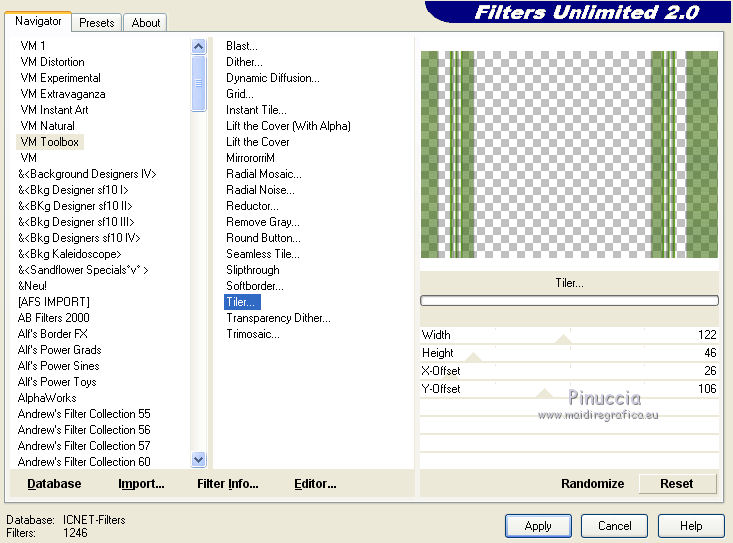
10. Layers>Duplicate.
Effects>Plugins>Filters Unlimited 2.0 - VM Toolbox - Tiler.
11. Layers>Merge>Merge visible.
12. Effects>Plugins>AAA Frames - Foto Frame.
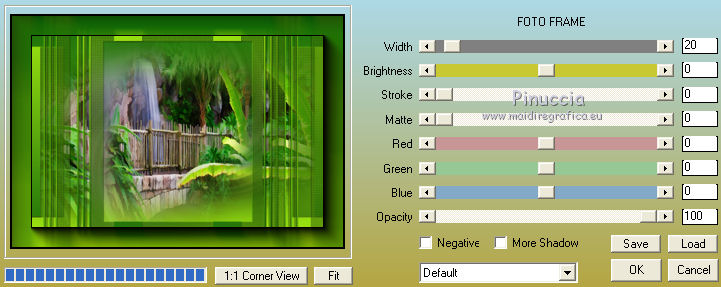
13. Edit>Copy.
14. Image>Resize, to 90%, resize all layers not checked.
15. Layers>New Raster Layer.
Layers>Arrange>Send to Bottom.
Selections>Select All.
Edit>Paste into Selection (the image of step 13).
Selections>Select None.
16. Effects>Image Effects>Seamless Tiling, default settings.

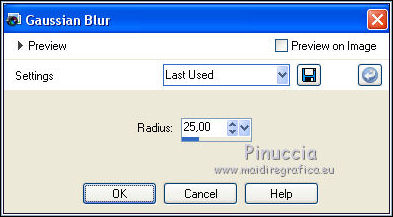
17. Adjust>Blur>Gaussian Blur - radius 25.
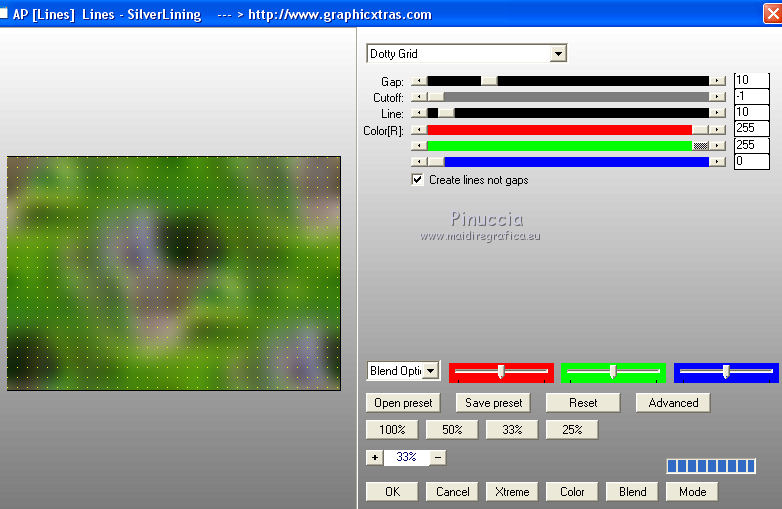
18. Effects>Plugins>AP Lines - Lines SilverLining.
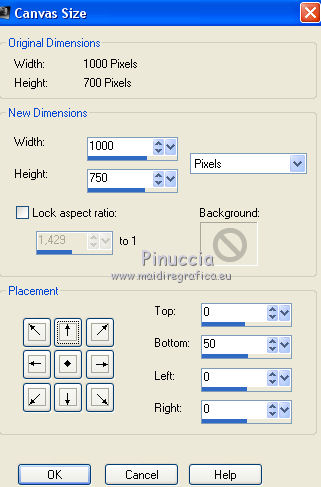
19. Image>Canvas Size - 1000 x 750 pixels.
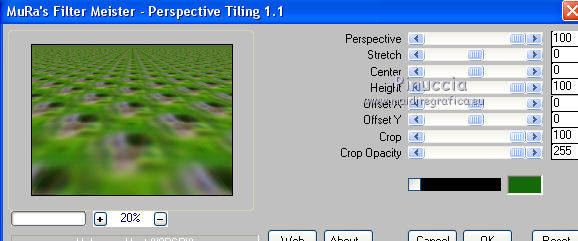
20. Effects>Plugins>Mura's Meister - Perspective Tiling.
21. Layers>Merge>Merge visible.
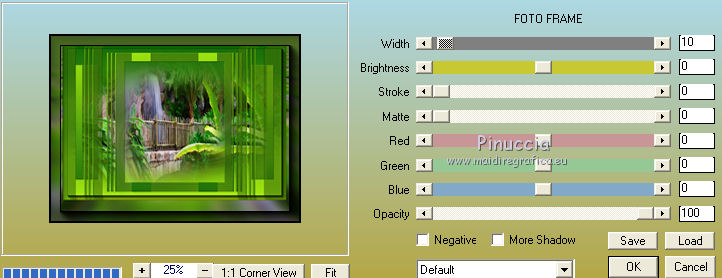
22. Effects>Plugins>AAA Frames - Foto Frame.
23. Open the tube 2767-woman-LB TUBES, erase the watermark, and go to Edit>Copy.
Go back to your work and go to Edit>Paste as new layer.
Move  the tube to the left side. the tube to the left side.
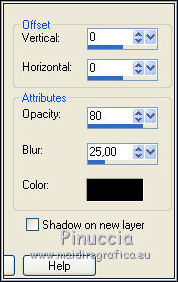
Effects>3D Effects>Drop Shadow, color black.
24. Layers>Merge>Merge All.
25. Image>Add borders, 3 pixels, symmetric, color #146a09.
26. Sign your work and save as jpg.
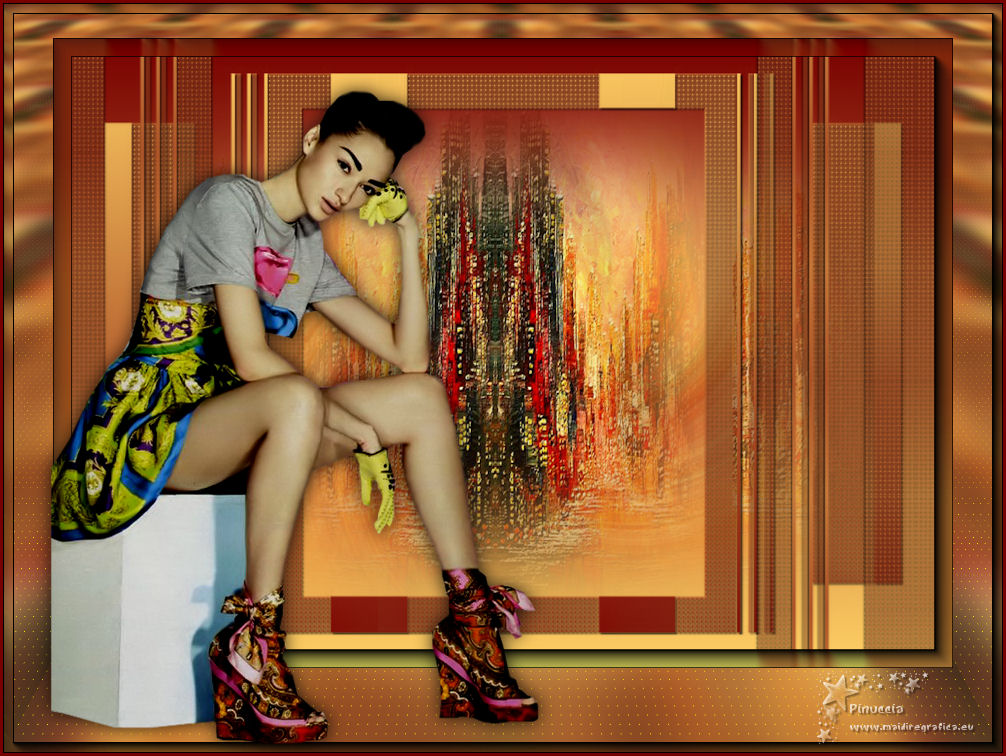
Version with tubes by Luz Cristina
Your versions here

If you have problems or doubts, or you find a not worked link, or only for tell me that you enjoyed this tutorial, write to me.
18 September 2019
|
 ENGLISH VERSION

 ENGLISH VERSION
