|
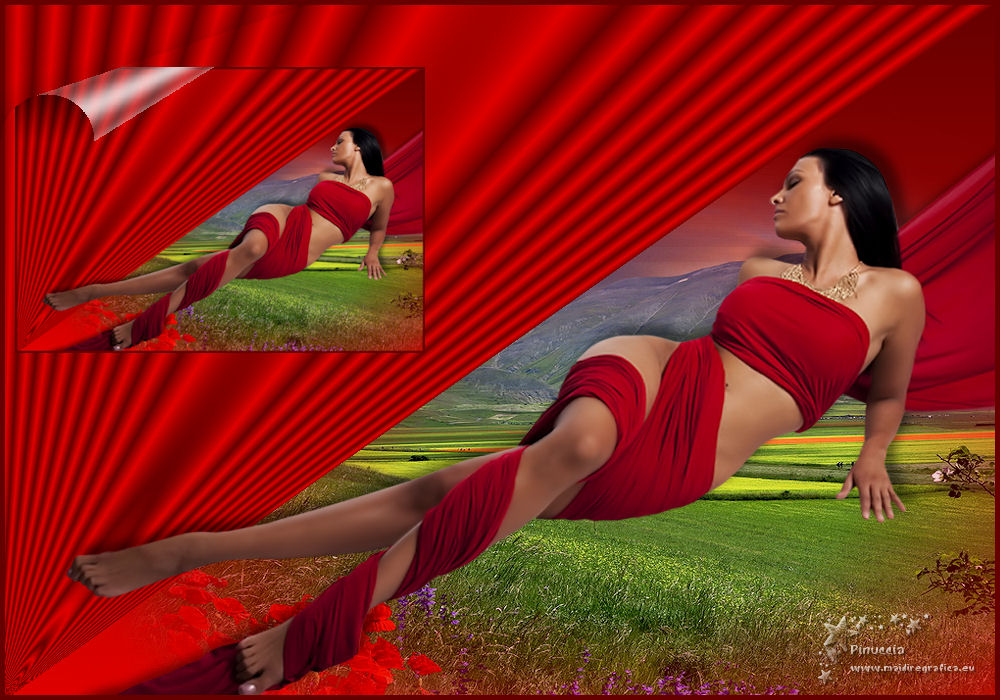
TOP PAGE CURL


This tutorial was translated with PSPX7 but it can also be made using other versions of PSP.
Since version PSP X4, Image>Mirror was replaced with Image>Flip Horizontal,
and Image>Flip with Image>Flip Vertical, there are some variables.
In versions X5 and X6, the functions have been improved by making available the Objects menu.
In the latest version X7 command Image>Mirror and Image>Flip returned, but with new differences.
See my schedule here
 French translation here French translation here
 Your versions ici Your versions ici
For this tutorial, you will need:
Material
here
Tube Criss318 by Linda Gatita
Tube 120_paisage_p2_animabelle
(you find here the links to the material authors' sites)
Plugins
consult, if necessary, my filter section here
Filters Unlimited 2.0 here
Sandflower special "v" - Page Curl Romance (to import in Unlimited) here

You can change Blend Modes according to your colors.
In the newest versions of PSP, you don't find the foreground/background gradient (Corel_06_029).
You can use the gradients of the older versions.
The Gradient of CorelX here
1. Open a new transparent image 1000 x 700 pixels.
2. Set your foreground color to #e00000,
and your background color to #660000.
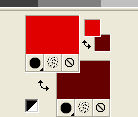
Set your foreground color to a Foreground/Background Gradient, style Sunburst.
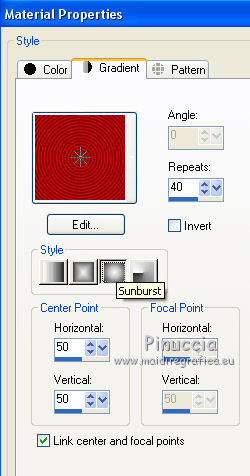
Flood Fill  the transparent image with your Gradient. the transparent image with your Gradient.
3. K key on the keyboard to activate your Pick Tool 
push the node at the bottom right
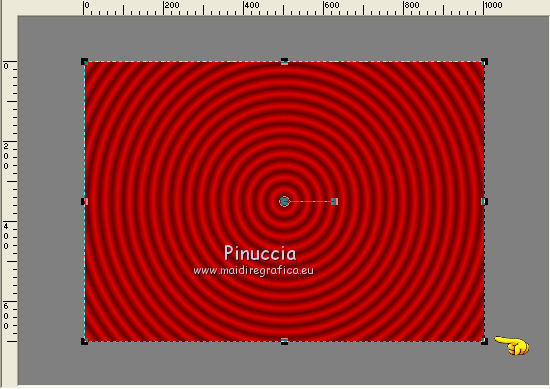
to the left until 1 pixel
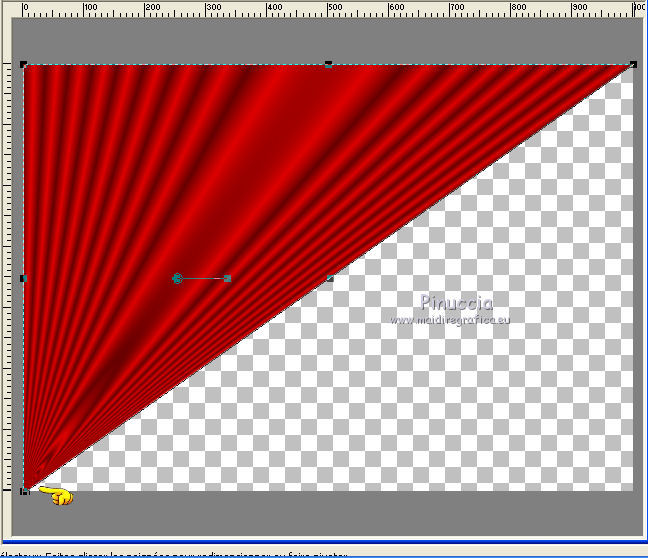
4. Activate your Magic Wand Tool 
and click on the transparent part to select it.
5. Selections>Modify>Expand - 4 pixels.
Open the tube 120_paisage_p2_animabelle and go to Edit>Copy.
Go back to your work and go to Edit>Paste into Selection.
Place  correctly the tube. correctly the tube.
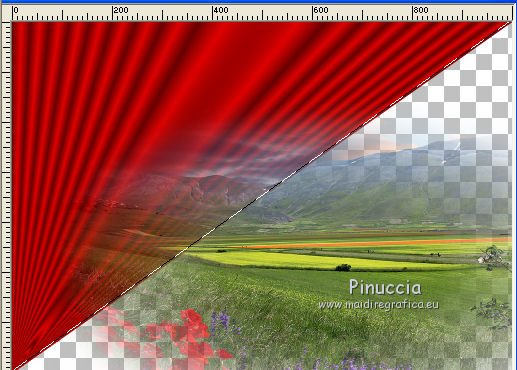
6. Selections>Invert.
Press CANC on the keyboard 
Selections>Select None.
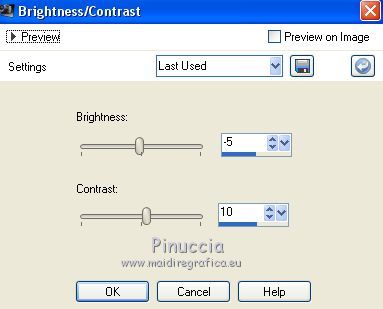
7. Adjust>Brightness and Contrast>Brightness and Contrast.
8. Layers>Arrange>Move Down (under the Gradient's layer).
9. Layers>New Raster Layer.
Layers>Arrange>Send to Bottom.
10. Change the Gradient's settings, style Linear.
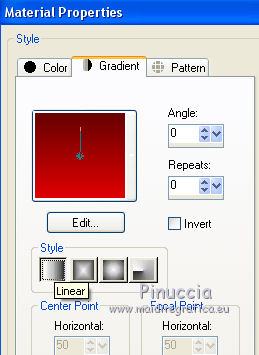
Flood Fill  the layer with your Gradient. the layer with your Gradient.
11. Activate the top layer.
Open the tube Criss318 14 and go to Edit>Copy.
Go back to your work and go to Edit>Paste as new layer.
Image>Resize, 1 time to 80% and 1 time to 90%, resize all layers not checked.
Move  the tube to the right side. the tube to the right side.
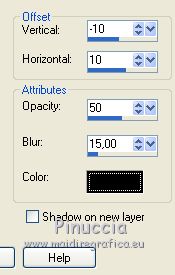
12. Effects>3D Effects>Drop Shadow, color black.
13. Layers>New Raster Layer.
Layers>Arrange>Bring to top.
Flood Fill  the layer with your background color #660000. the layer with your background color #660000.
14. Selections>Select All.
Selections>Modify>Contract - 5 pixels.
Press CANC on the keyboard 
Selections>Select None.
15. Layers>Merge>Merge visible.
16. Layers>Duplicate.
Image>Resize, 4 times to 80%, resize all layers not checked.
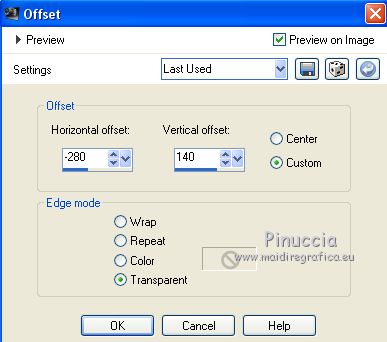
17. Effects>Image Effects>Offset.
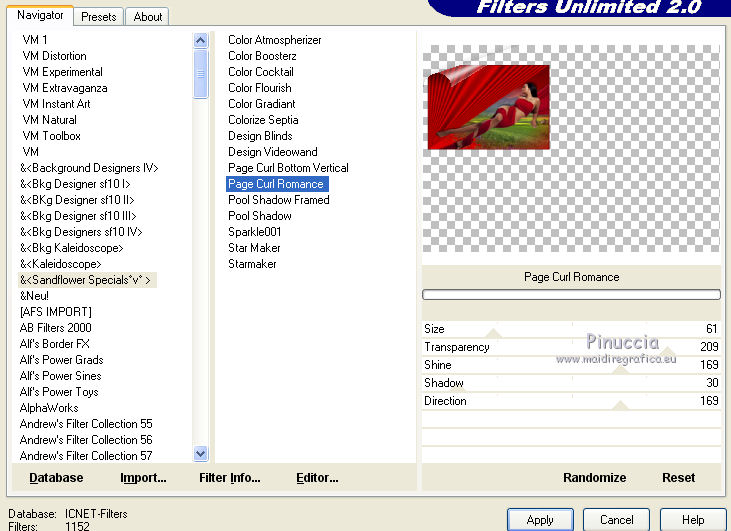
18. Effects>Plugins>Filters Unlimited 2.0 - Sandflower special "V" - Page Curl Romance
19. Sign your work on a new layer.
Layers>Merge>All and save as jpg.
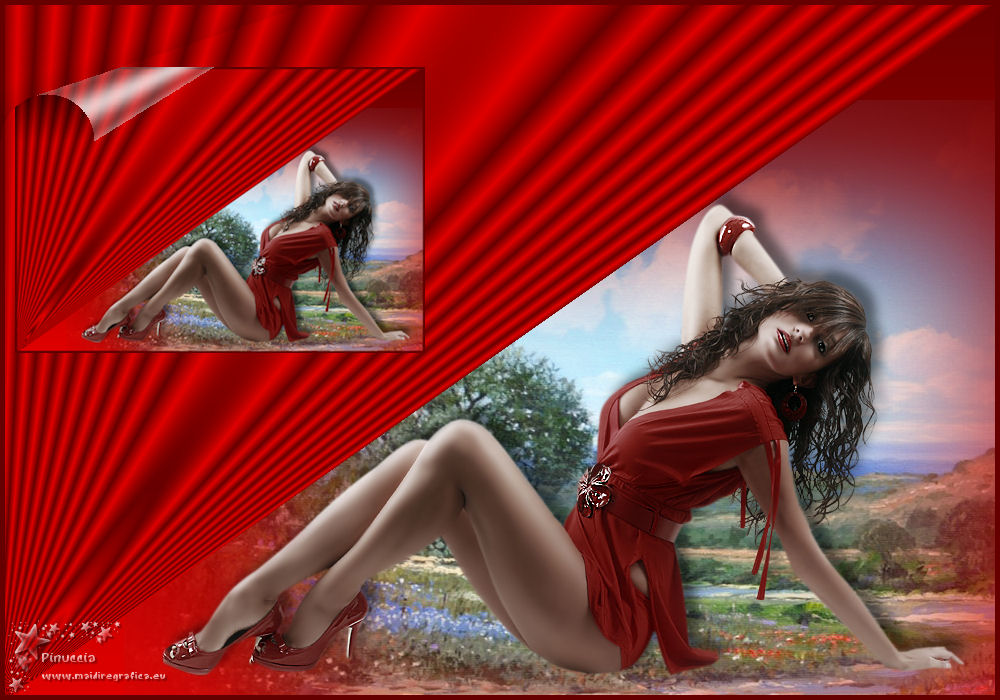
Version with tube by Tocha; the misted is mine.
 Your versions here Your versions here

If you have problems or doubts, or you find a not worked link, or only for tell me that you enjoyed this tutorial, write to me.
14 May 2021
|

