|
TOP PINUCCIA
 ENGLISH VERSION ENGLISH VERSION
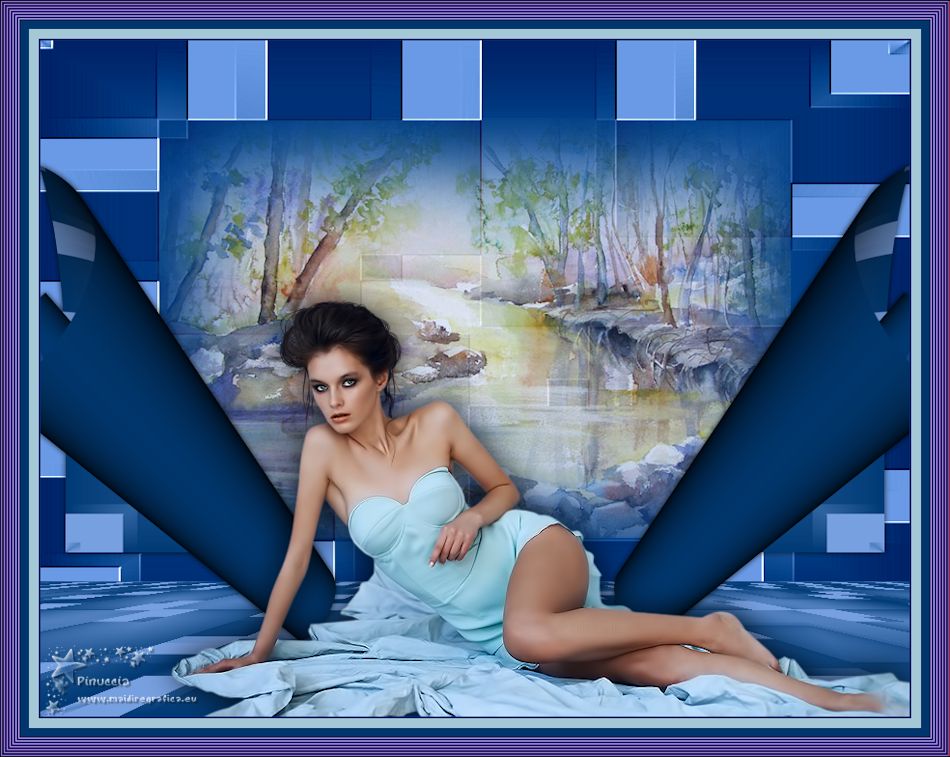
Here you find the original of this tutorial:
 Muchas gracias Nines por este hermoso regalo de cumpleaños
This tutorial was translated with PSPX7 but it can also be made using other versions of PSP.
Since version PSP X4, Image>Mirror was replaced with Image>Flip Horizontal,
and Image>Flip with Image>Flip Vertical, there are some variables.
In versions X5 and X6, the functions have been improved by making available the Objects menu.
In the latest version X7 command Image>Mirror and Image>Flip returned, but with new differences.
See my schedule here
French translation here
Your versions ici
For this tutorial, you will need:
Material
here
Tube 56_Femme_Page6_Animabelle
Mist Paysage misted jewel
(you find here the links to the material authors' sites)
Plugins
consult, if necessary, my filter section here
Mura's Meister - Perspective Tiling here
Mura's Seamless - Mirror Diagonal here
AV Bros - Page curl Pro 2.1 here
AAA Frames - Frame Works here
Filters Unlimited 2.0 here
Filters Mura's Seamless can be used alone or imported into Filters Unlimited.
(How do, you see here)
If a plugin supplied appears with this icon  it must necessarily be imported into Unlimited it must necessarily be imported into Unlimited

You can change Blend Modes according to your colors.
In the newest versions of PSP, you don't find the foreground/background gradient (Corel_06_029).
You can use the gradients of the older versions.
The Gradient of CorelX here
Open the mask in PSP and minimize it with the rest of the material.
Copy the preset Emboss 3 in the Presets Folder.
1. Open a new transparent image 900 x 600 pixels.
2. Set your foreground color to #013b76,
and your background color to #77a0e0.
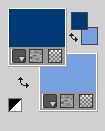
Set your foreground color to a Foreground/Background Gradient, style Linear.
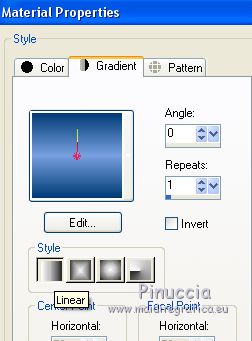
Flood Fill  the transparent image with your Gradient. the transparent image with your Gradient.
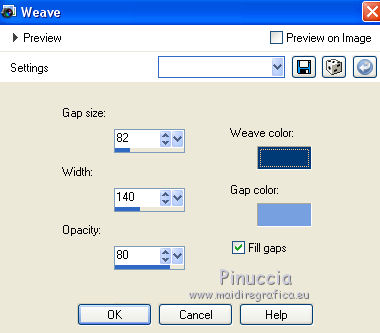
3. Effects>Texture Effects>Weave
weave color: foreground color #012b76
gap color: background color #77a0e0.
4. Effects>Image Effects>Seamless Tiling, side by side.

5. Effects>Plugins>Mura's Seamless - Mirror Diagonal
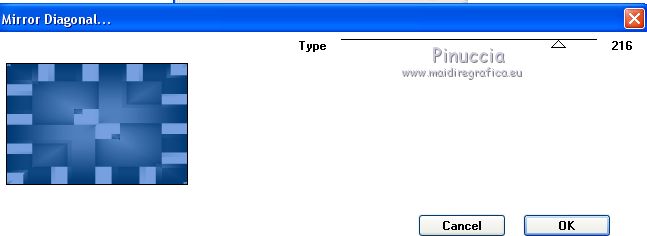
6. Layers>Duplicate - 2 times.
Close one of this copies and activate the other copy.
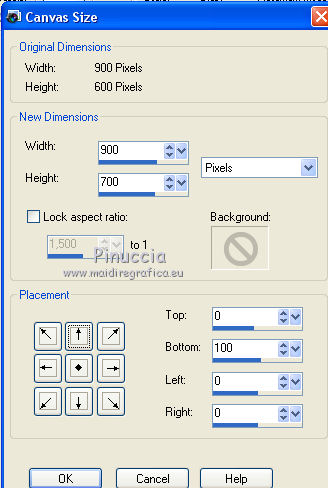
7. Image>Canvas Size - 900 x 700 pixels.
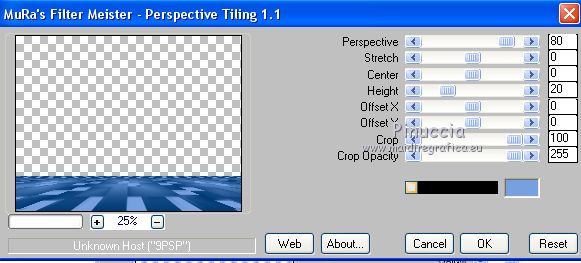
8. Effects>Plugins>Mura's Meister - Perspective Tiling.
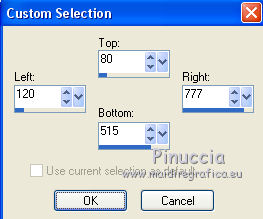
9. Selection Tool 
(no matter the type of selection, because with the custom selection your always get a rectangle)
clic on the Custom Selection 
and set the following settings.
10. Open the tube of the landscape misted jewel, erase the watermark and go to Edit>Copy.
Go back to your work and go to Edit>Paste as new layer.
Image>Resize, to 90%, resize all layers not checked.
Place  the tube on the selection. the tube on the selection.
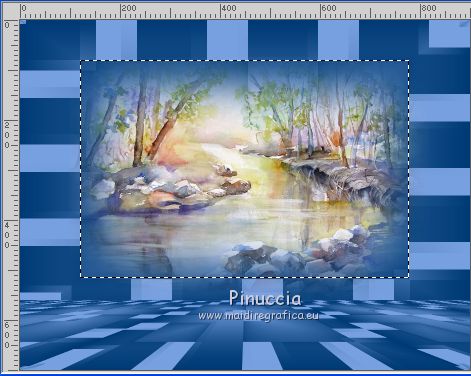
11. Selections>Invert.
Press CANC on the keyboard 
Selections>Select None.
12. Reduce the opacity of this layer to 80%.
13. Open and activate the closed layer.
Layers>Arrange>Bring to Top.
14. Image>Resize, 1 time to 80% and 1 time to 90%, resize all layers not checked.
15. Effects>Plugins>AV Bros - Page Curl Pro 2.1
right botton to open the color palette and select your foreground color #013b76.
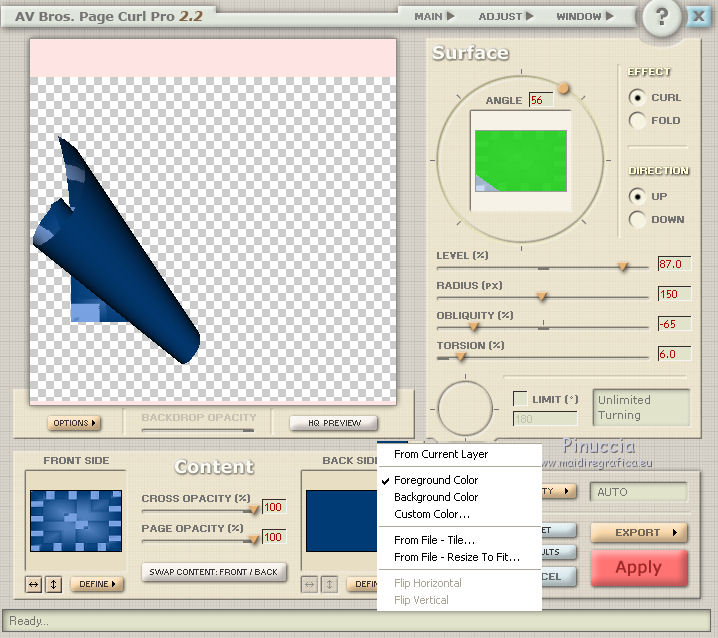
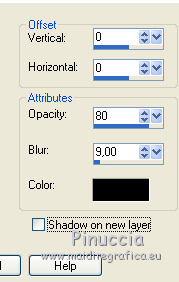
16. Effects>3D Effects>Drop Shadow, color black.
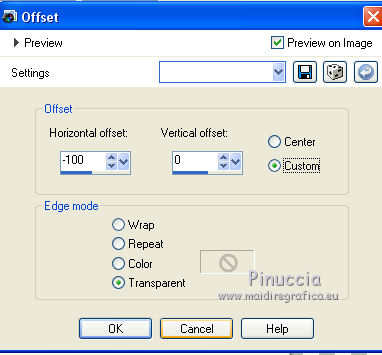
17. Effects>Image Effects>Offset
18. Layers>Duplicate.
Image>Mirror.
19. Activate the bottom layer.
Effects>User Defined Filter - select the preset Emboss 3 and ok.

20. Adjust>Brightness and Contrast>Brightness and Contrast.
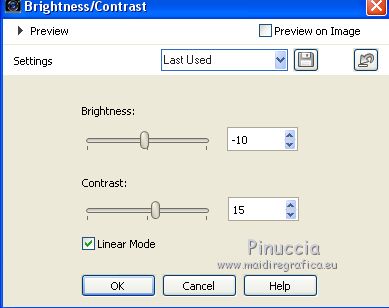
for the older versions
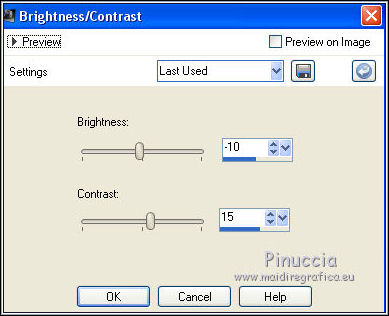
21. Activate your top layer.
Open the tube 56_Femme_Page6_Animabelle, erase the watermark and go to Edit>Copy.
Go back to your work and go to Edit>Paste as new layer.
22. Effects>Image Effects>Offset.
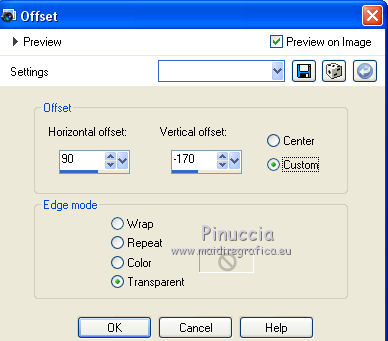
23. Effects>3D Effects>Drop Shadow, color black.

24. Layers>Merge>Merge All.
25. Image>Add borders, 2 pixels, symmetric, color #01366d.
Image>Add borders, 10 pixels, symmetric, color #a5c8d7.
Image>Add borders, 30 pixels, symmetric, color #01366d.
26. Activate your Magic Wand Tool 
and click on the last border to select it.
27. Effects>Plugins>AAA Frames - Frame Works.
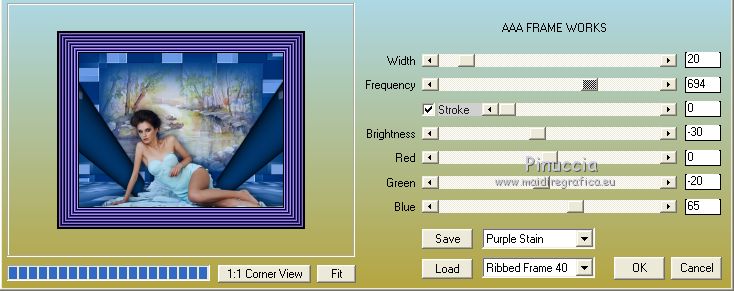
Selections>Select None.
28. Sign your work and save as jpg.
Versions with tubes by
Thafs and Silvie
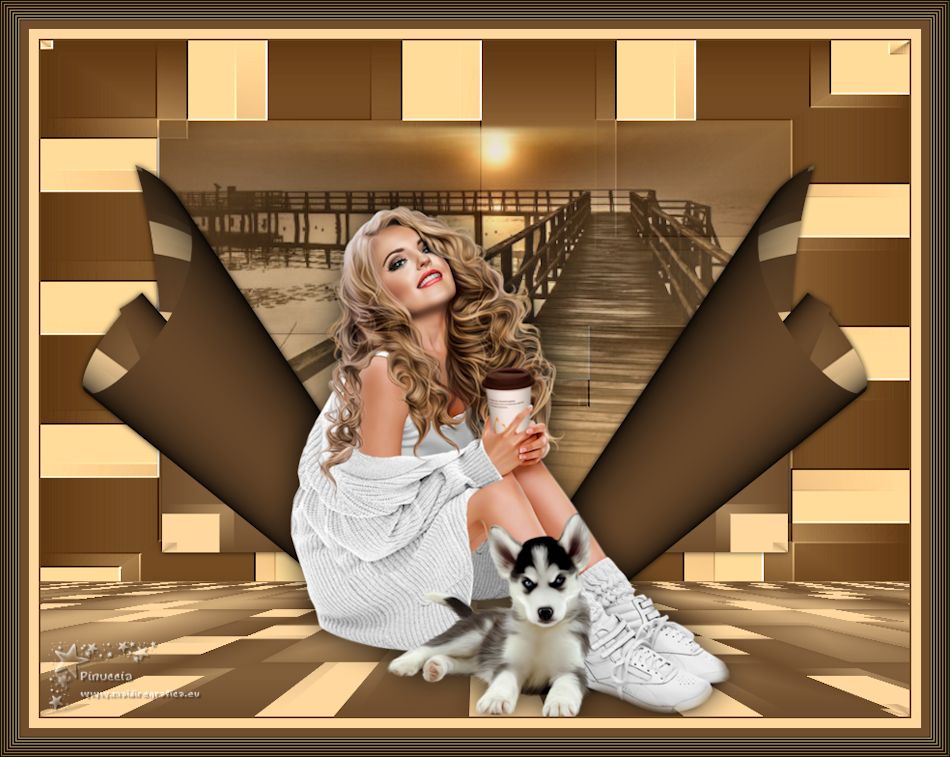
Thafs and Nena Silva
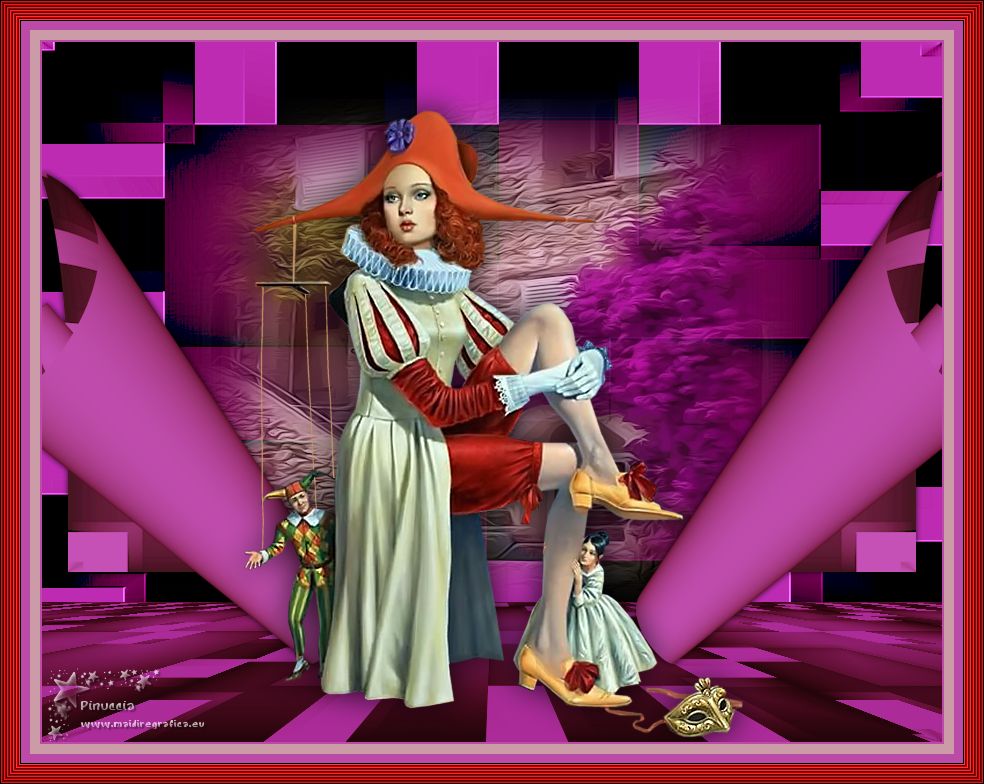
Your versions here

If you have problems or doubts, or you find a not worked link, or only for tell me that you enjoyed this tutorial, write to me.
9 February 2020
|
 ENGLISH VERSION
 Muchas gracias Nines por este hermoso regalo de cumpleaños
 ENGLISH VERSION
 Muchas gracias Nines por este hermoso regalo de cumpleaños