|
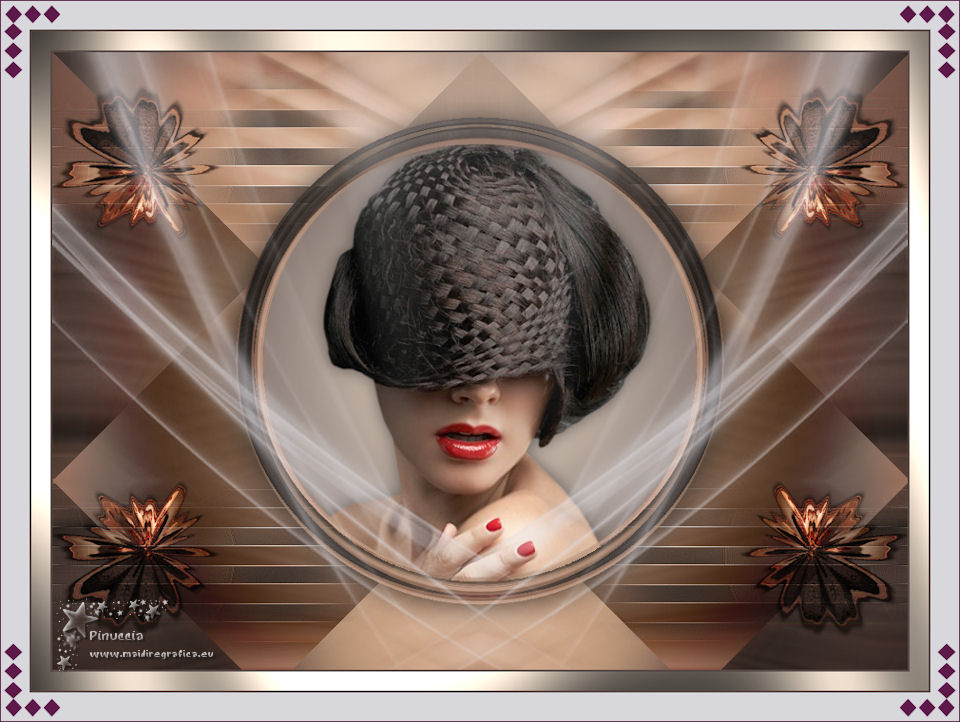
TOP TRESSE
 ENGLISH VERSION ENGLISH VERSION
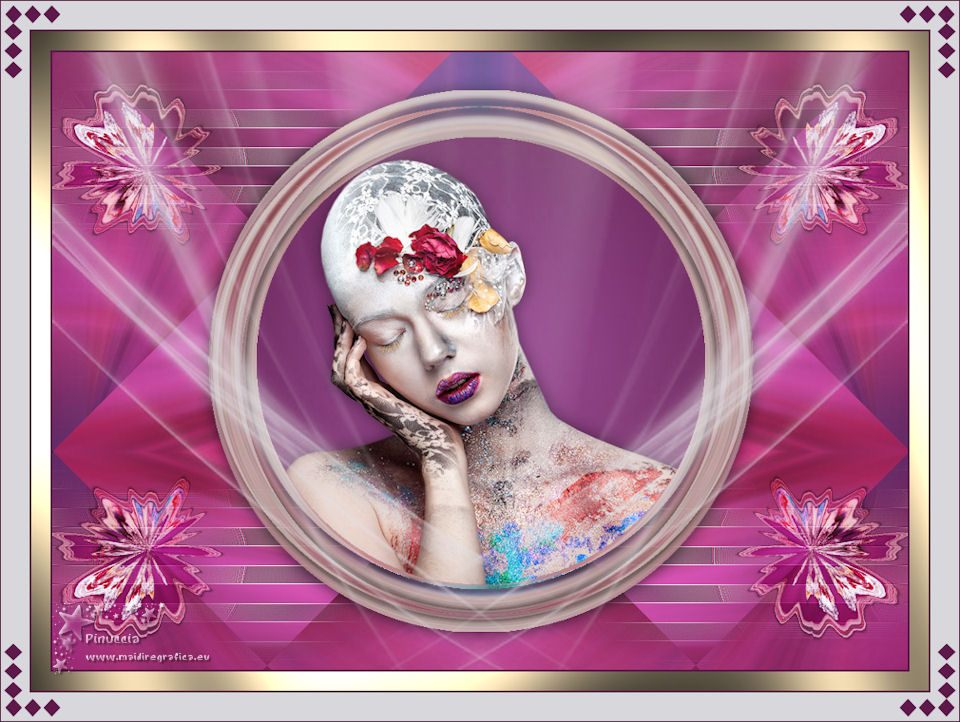
Here you find the original of this tutorial:

This tutorial was translated with PSPX7 but it can also be made using other versions of PSP.
Since version PSP X4, Image>Mirror was replaced with Image>Flip Horizontal,
and Image>Flip with Image>Flip Vertical, there are some variables.
In versions X5 and X6, the functions have been improved by making available the Objects menu.
In the latest version X7 command Image>Mirror and Image>Flip returned, but with new differences.
See my schedule here
French translation here
Your versions ici
For this tutorial, you will need:
Material
here
Tube Femme 666 by Lily
OBG_MASK_32
Adorno_Tresse_Nines
(you find here the links to the material authors' sites)
Plugins
consult, if necessary, my filter section here
Mura's Meister - Pole Transform here
VM Instant Art - Tripolis here
Tramages - Pool Shadow here
DSB Flux - Linear Transmission here
Simple - Top Left Mirror here
Filters Unlimited 2.0 here
Filters VM Instant Art, Tramages and Simple can be used alone or imported into Filters Unlimited.
(How do, you see here)
If a plugin supplied appears with this icon  it must necessarily be imported into Unlimited it must necessarily be imported into Unlimited

You can change Blend Modes according to your colors.
In the newest versions of PSP, you don't find the foreground/background gradient (Corel_06_029).
You can use the gradients of the older versions.
The Gradient of CorelX here
Open the mask in PSP and minimize it with the rest of the material.
1. Open a new transparent image 900 x 650 pixels.
2. Set your foreground color to #a3529f,
and your background color to #5d1949.
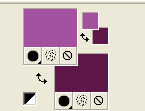
Set your foreground color to a Foreground/Background Gradient, style Sunburst.
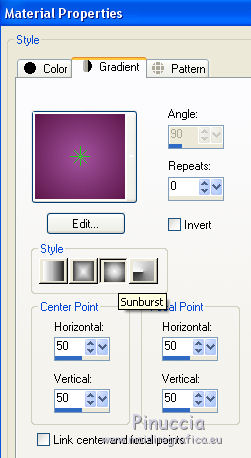
Flood Fill  the transparent image with your Gradient. the transparent image with your Gradient.
3. Open the tube Femme 666 by Lily, erase the watermark and go to Edit>Copy.
Go back to your work and go to Edit>Paste as new layer.
4. Effects>Image Effects>Seamless Tiling, default settings.

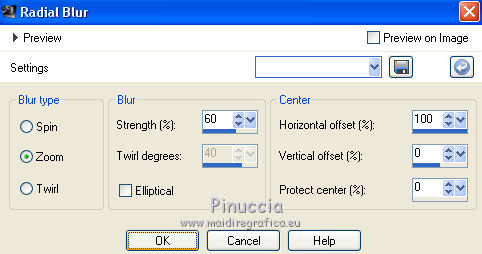
5. Adjust>Blur>Radial Blur.
6. Layers>Duplicate.
Image>Mirror.
Layers>Merge>Merge Down.
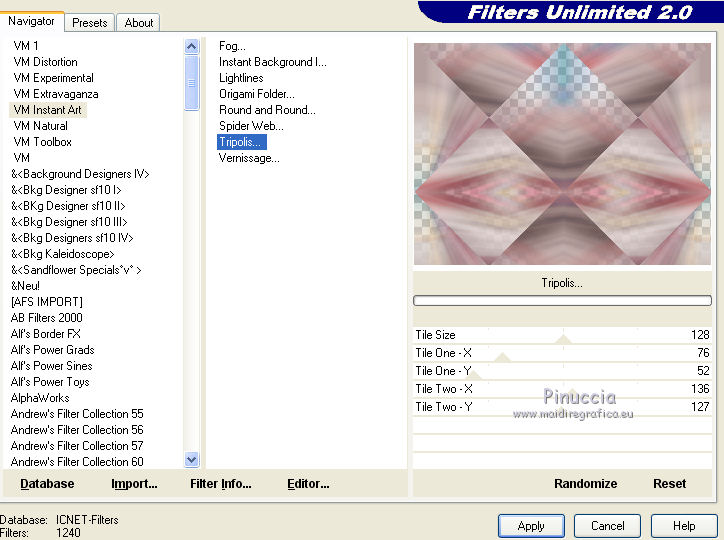
7. Effects>Plugins>Filters Unlimited 2.0 - VM Instant Art - Tripolis, default settings
8. Layers>Duplicate.
Effects>Plugins>Mura's Meister - Pole Transform.
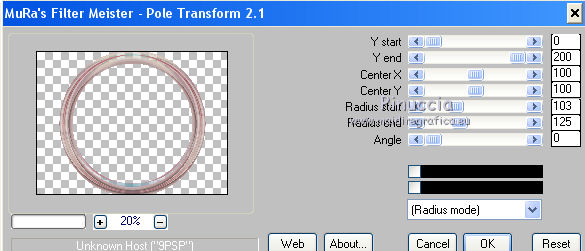
The result can change according the tube that you are using.
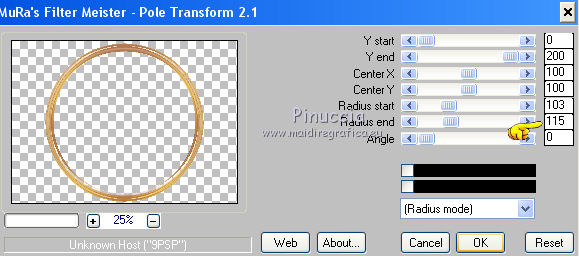
If it is necessary, play with Radius end, to reduce the circle dans le frame
Ci-below the example of my second version
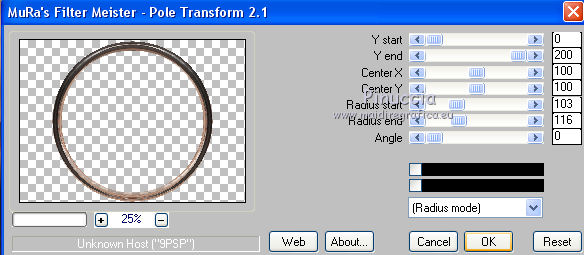
For my 4th version (tube Anna.br)
9. Image>Resize, to 80%, resize all layers not checked.
Activate your Magic Wand Tool 
and click in the circle to select it.
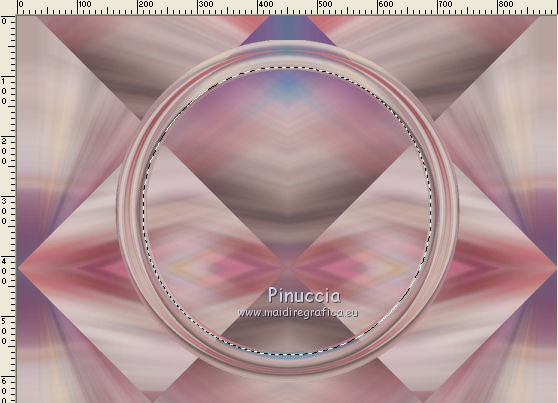
10. Selections>Modify>Expand - 5 pixels.
Layers>New Raster Layer.
Flood Fill  the layer with your Gradient. the layer with your Gradient.
Keep selected.
11. Edit>Paste as new layer (the tube Femme 666 by Lily is still in memory).
Image>Resize, 2 times to 80%, resize all layers not checked.
Place  the tube on the selection, as below. the tube on the selection, as below.
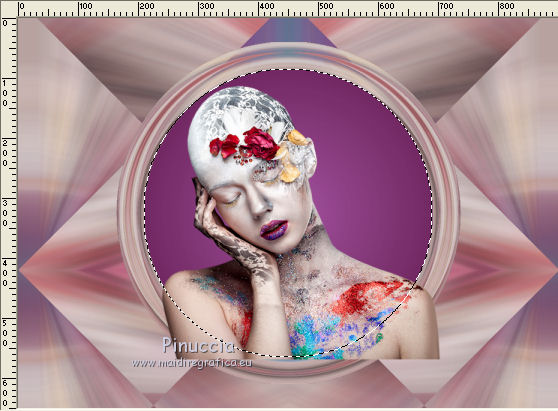
12. Selections>Invert.
Press CANC on the keyboard 
Selections>Select All.
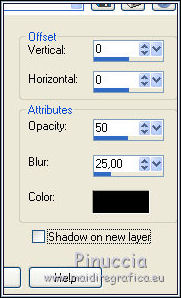
13. Effects>3D Effects>Drop Shadow, color black #000000.
14. Move these two layers under the circle's layer.
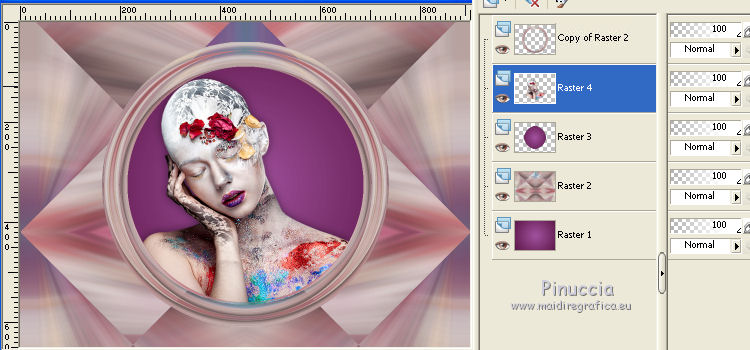
15. Activate the top layer of the circle.
Layers>Merge>Merge Down - 2 times.
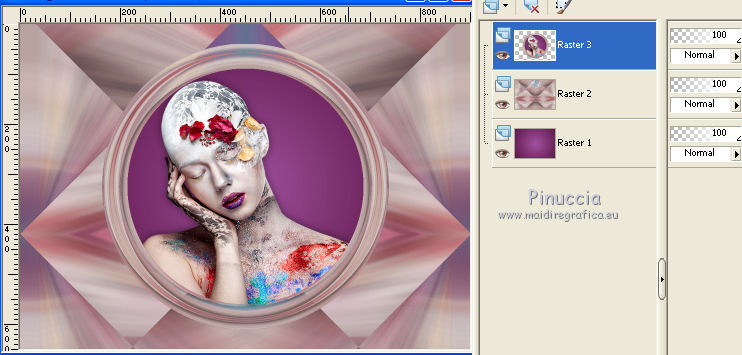
16. Effects>3D Effects>Drop Shadow, color #000000.

17. Layers>Duplicate.
Image>Resize, to 50%, resize all layers not checked.
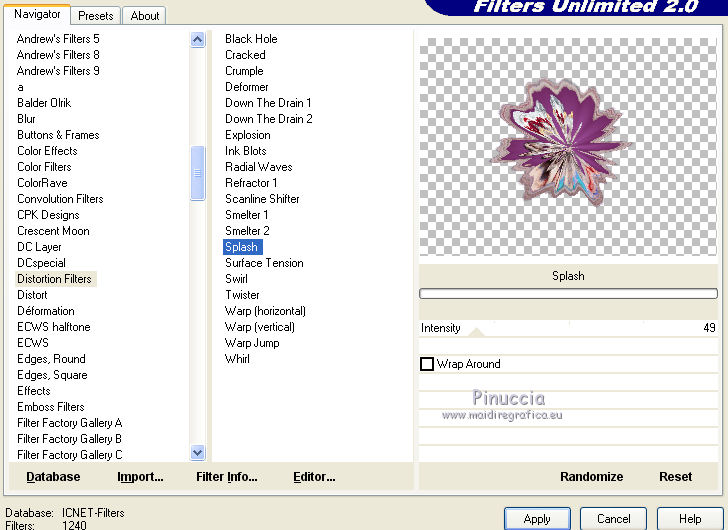
18. Effects>Plugins>Filters Unlimited 2.0 - Distortion Filters - Splash.
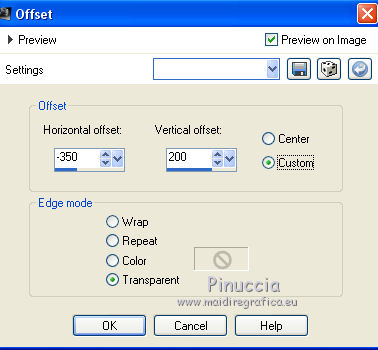
19. Image>Resize, to 50%, resize all layers not checked.
Effects>Image Effects>Offset.
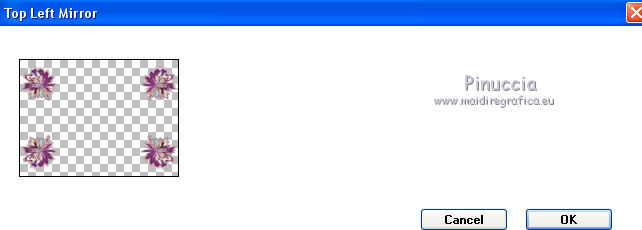
20. Effects>Plugins>Simple - Top Left Mirror.
21. Layers>Duplicate.
Adjust>Blur>Gaussian Blur - radius 20.

22. Effects>Plugins>DSB Flux - Linear Transmission.
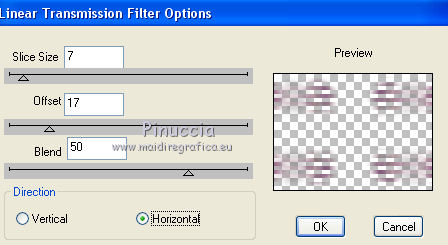
Effects>Edge Effects>Enhance More.
Move this layer under the circle's layer.
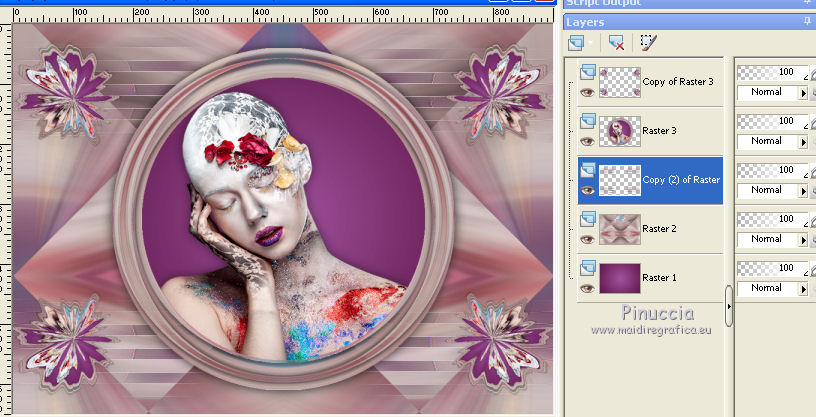
23. Change the Blend Mode of the layer Raster 2 to Overlay.
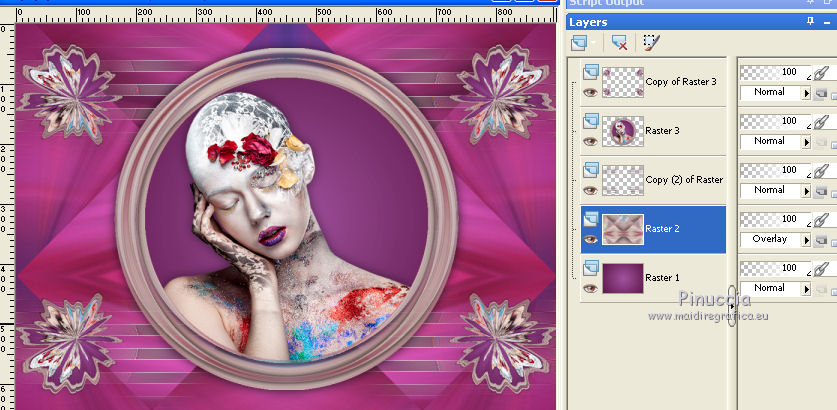
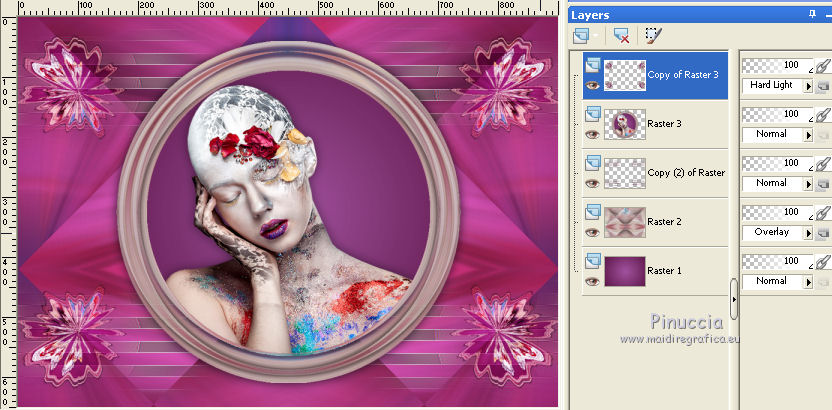
24. Activate the top layer
and change the Blend Mode of this layer to Hard Light.
25. Set your foreground color to #e2e0e5.
Layers>New Raster Layer.
Flood Fill  with your foreground color #e2e0e5. with your foreground color #e2e0e5.
26. Layers>New Mask layer>From image
Open the menu under the source window and you'll see all the files open.
Select the mask OBG_MASK_32.
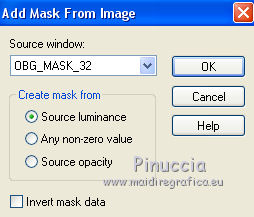
Layers>Merge>Merge Group.
Layers>Duplicate.
Image>Mirror.
27. Layers>Merge>Merge All.
28. Image>Add borders, 2 pixels, symmetric, background color #5d1949.
Image>Add borders, 20 pixels, symmetric, color #fee7bc.
Activate your Magic Wand Tool 
and click in the last border to select it.
29. Effects>Plugins>Tramages - Pool Shadow, default settings.
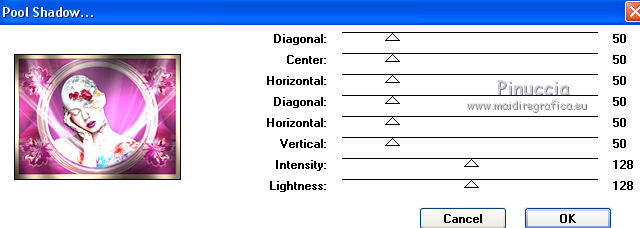
Selections>Select None.
30. Image>Add borders, 2 pixels, symmetric, background color #5d1949.
Image>Add borders, 30 pixels, symmetric, color #fee7bc.
31. Open the tube Adorno_Tresse_Nines, erase the watermark and go to Edit>Copy.
Go back to your work and go to Edit>Paste as new layer.
32. Layers>Merge>Merge All.
33. Image>Add borders, 1 pixel, symmetric, background color #5d1949.
Image>Resize, 95%, resize all layers checked.
Sign your work and save as jpg.
Versions with tubes by
Thafs
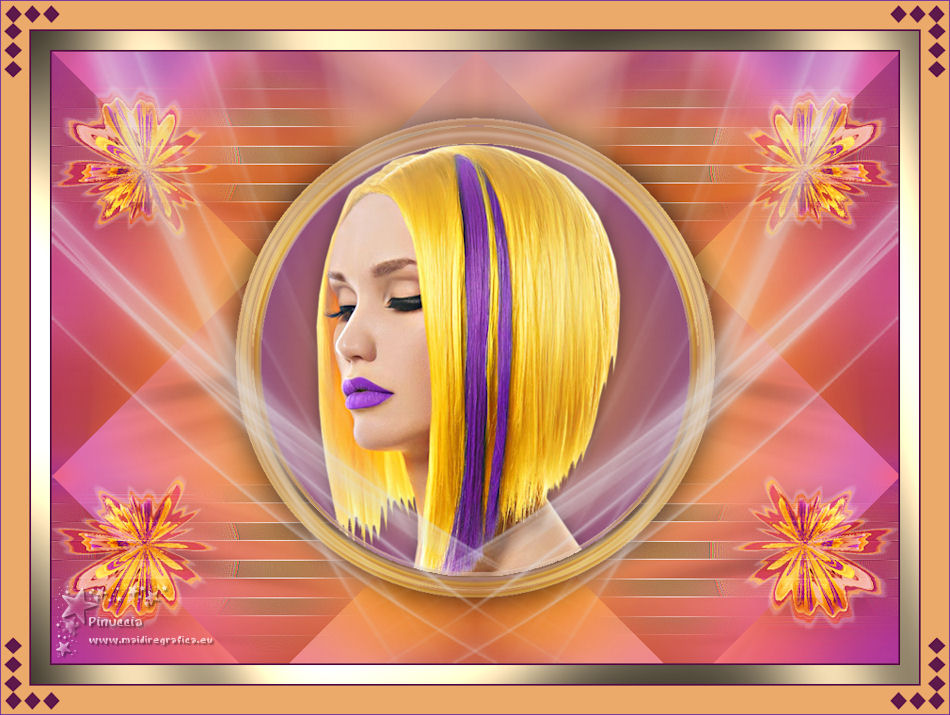
Gabry
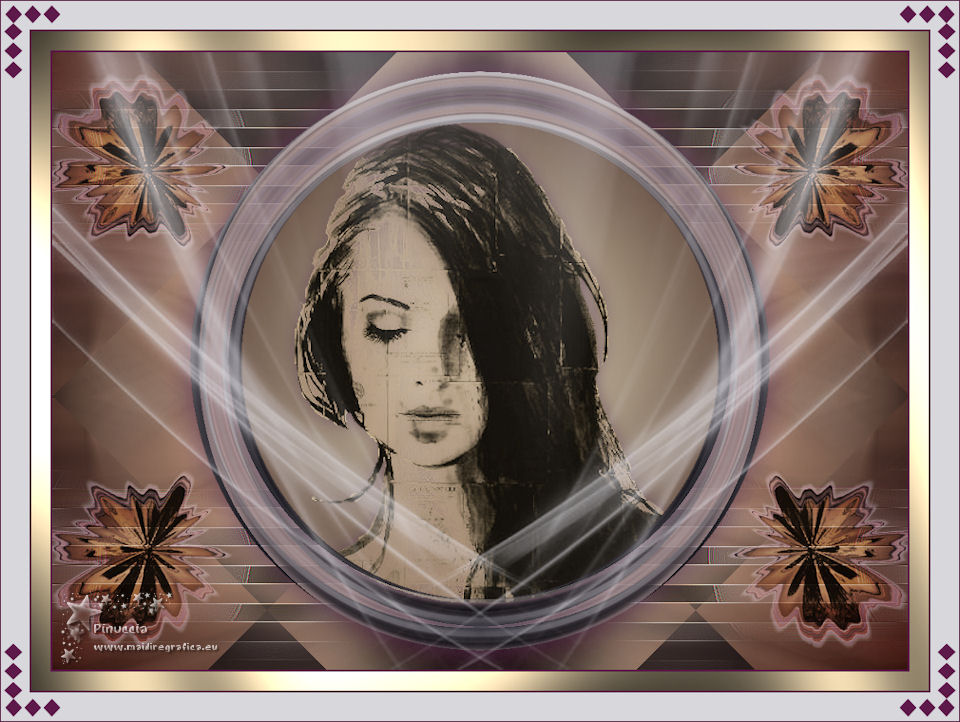
Anna.br
Your versions here

If you have problems or doubts, or you find a not worked link, or only for tell me that you enjoyed this tutorial, write to me.
20 January 2020
|
 ENGLISH VERSION

 ENGLISH VERSION
