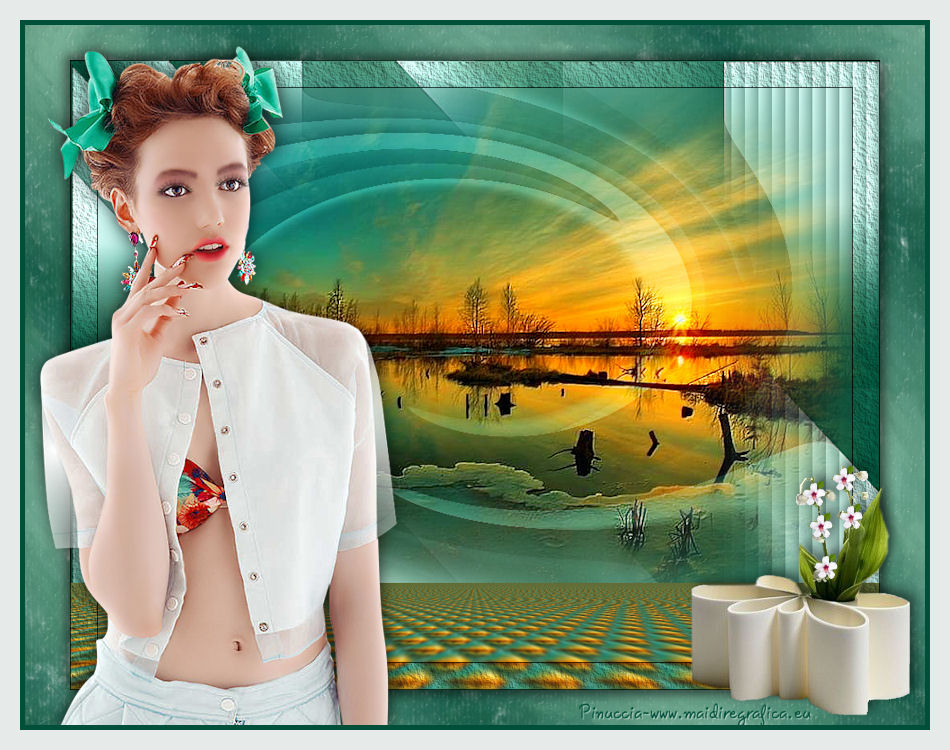
|
TAG TOCHA
english version

Thanks Nines for your invitation to translate your tutorials

This tutorial was created with PSP X2 but it can also be made using other versions of PSP.
Since version PSP X4, Image>Mirror was replaced with Image>Flip Horizontal,
and Image>Flip with Image>Flip Vertical, there are some variables.
In versions X5 and X6, the functions have been improved by making available the Objects menu.
In the latest version X7 command Image>Mirror and Image>Flip returned, but with new differences.
See my schedule here
French translation here
Your versions here
For this tutorial, you will need:
Material here
The tubes are by Tocha, Ket and Sudam.
The mask is by Narah.
Plugins
FM Tile Tools - Saturation Emboss here
AAA Frames - Texture Frame here
Mura's Meister - Perspective Tiling here
Alien Skin Snap Art - Pastel here

Open the mask in PSP and minimize with the rest of the material.
1. Set the Foreground color to #609f84,
and the Background color to #005039.

Set the foreground color on Foreground/background Gradient, style Linear.
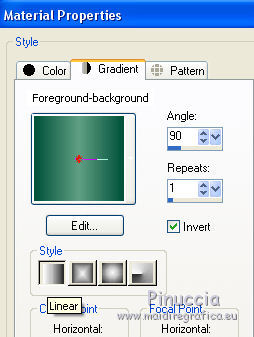
2. Open a new transparent image 900 x 600 pixels.
Flood Fill  with the gradient. with the gradient.
3. Layers>New Raster Layer.
Set the Foreground color to #cafcf1.

Flood Fill  the layer with the new foreground color. the layer with the new foreground color.
4. Layers>New Mask layer>From image.
Open the menu under the source window and you'll see all the files open.
Select the mask narah_mask_0786.
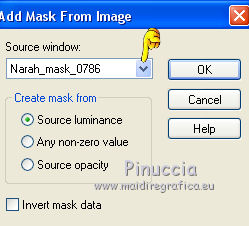
Layers>Merge>Merge group.
Adjust>Sharpness>Sharpen more.
5. Layers>Duplicate.
6. Effects>Distortion Effects>Twirl.
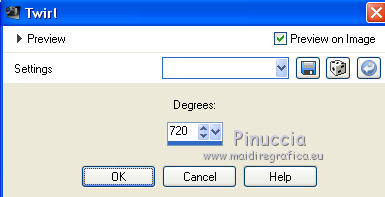
Set the Blend Mode to Soft Light.
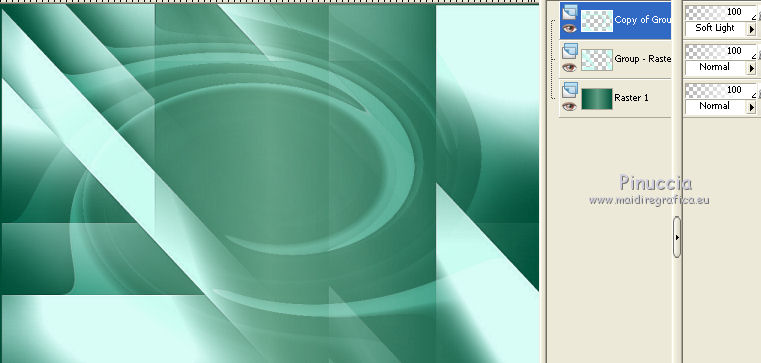
7. Activate the mask layer.
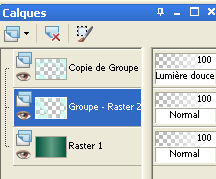
Selection Tool 
(no matter the type of selection, because with custom selection you always get a rectangle)
click on the Custom selection 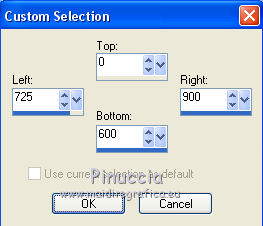
and set the following settings.

8. Effects>Textures Effects>Blinds - color black.
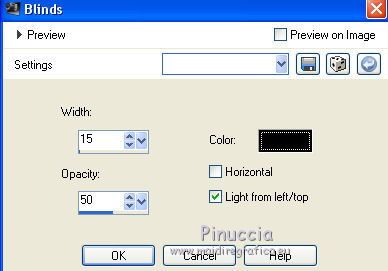
Selections>Select None.
Stay on this layer.
9. Open the tube ketlandscape2015016 - Edit>Copy.
Back to your work and go to Edit>Past as new layer.
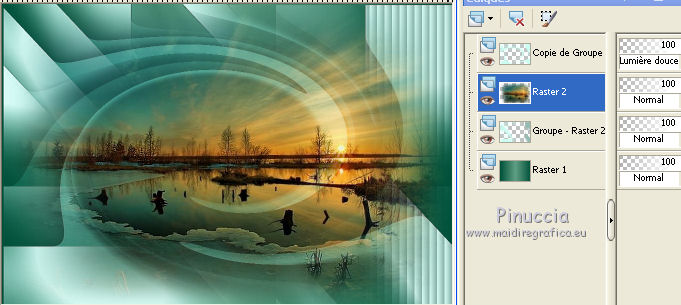
10. Effects>Plugins>FM Tile Tools - Saturation Emboss, par défaut.
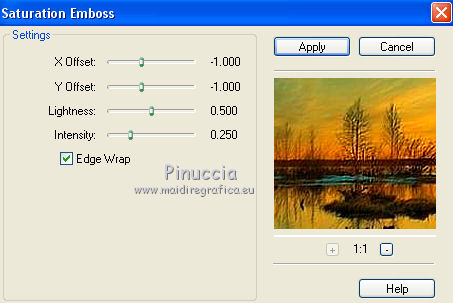
11. Layers>Merge>Merge visible.
12. Layers>Duplicate.
13. Effects>Image Effects>Seamless Tiling, standard.

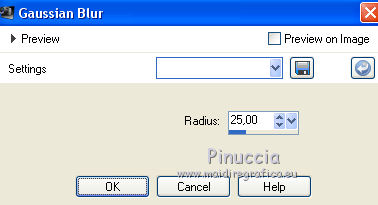
14. Adjust>Blur>Gaussian blur - radius 25.
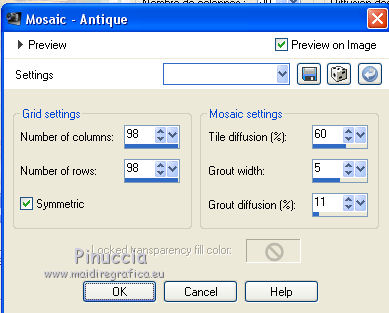
15. Effects>Texture Effects> Mosaique Antique.
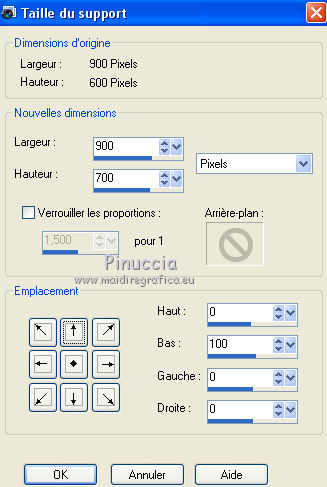
16. Image>Taille du support - 900 x 700 pixels.
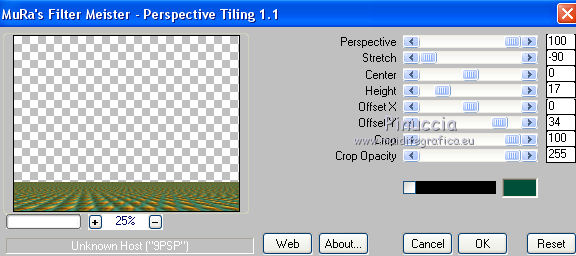
17. Effects>Plugins>Mura's Meister - Perspective Tiling.
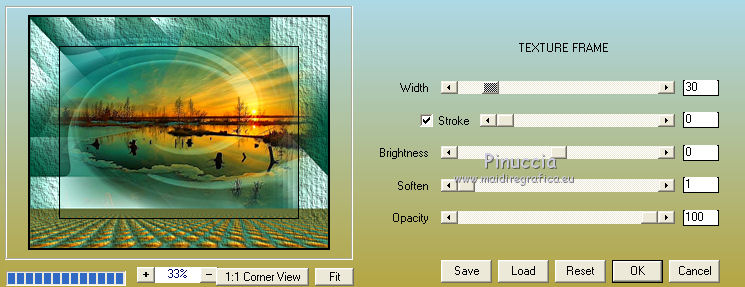
18. Layers>Merge>Merge visible.
Effects>Plugins>AAA Frames - Texture Frame.
19. Image>Resize, 90%, resize all layers not checked.
20. Activate the Magic Wand Tool 
clic on the transparent space to select it.
21. Layers>New Raster Layer.
Layers>Arrange>Move down.
22. Again set the Foreground Color to #609f84

Set the foreground color on Foreground/background Gradient, style Linear.
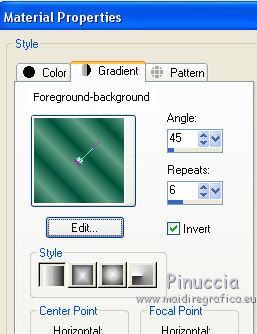
Flood Fill  the selection with the gradient. the selection with the gradient.
Selections>Select None.
23. Effects>Plugins>Alien Skin Snap Art - Pastel.
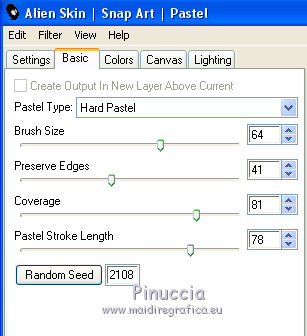
24. Active the layer Merged.
Effects>3D Effects>Drop Shadow, color black.
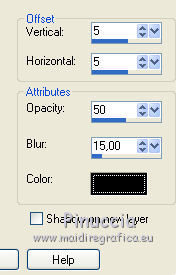
Repeat Drop Shadow, but vertical et horizontal -5.
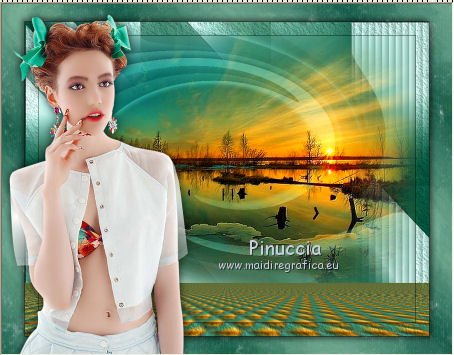
25. Open the tube Tocha 24818 - Edit>Copy.
Back to your work and go to Edit>Past as new layer.
Image>Resize, 2 times 90%, resize all layers not checked.
Move  the tube to the left side. the tube to the left side.
26. Effects>3D Effects>Drop Shadow, color black.
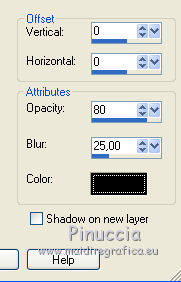
27. Open the tube Sudam 617 - Edit>Copy.
Back to your work and go to Edit>Past as new layer.
Move  the tube to the right side. the tube to the right side.
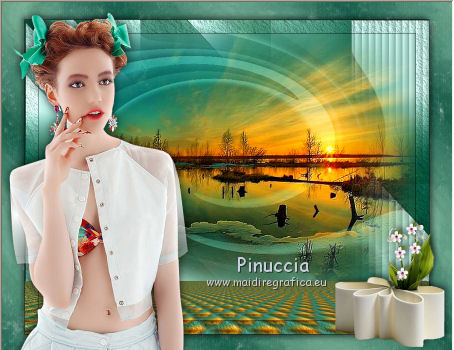
28. Effects>3D Effects>Drop Shadow, color black.

29. Layers>Merge>All.
30. Image>Add borders, 5 pixels, symmetric, color #005039.
Image>Add borders, 20 pixels, symmetric, color #e6eae9.
31. Sign your work and save as jpg.
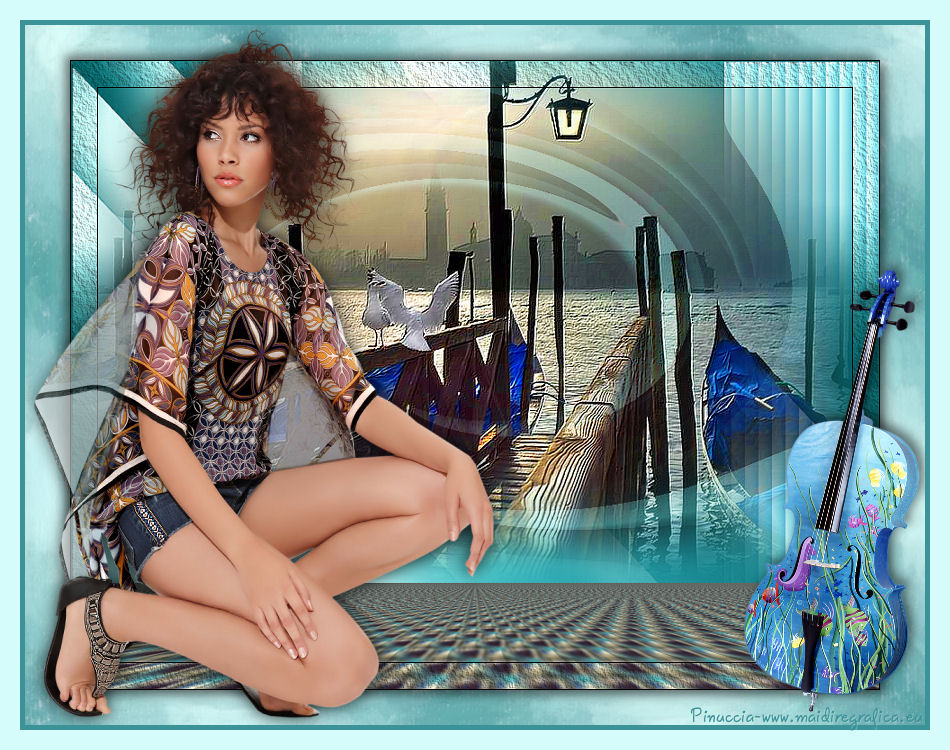
The tubes of this version are by Tocha and Ket

If you have problems or doubt, or you find a not worked link, or only for tell me that you enjoyed this tutorial, write to me.
2 March 2015
|
