|
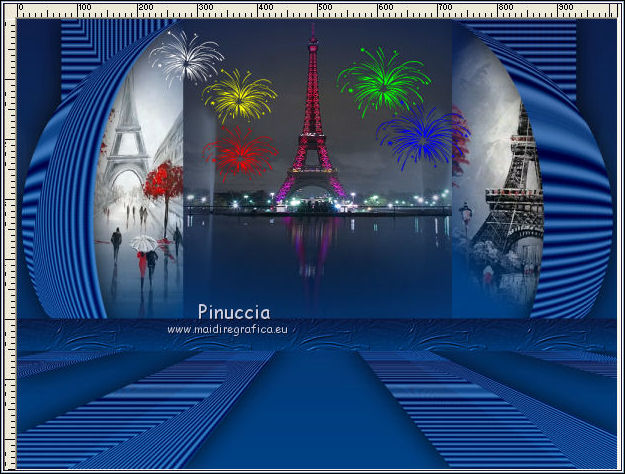
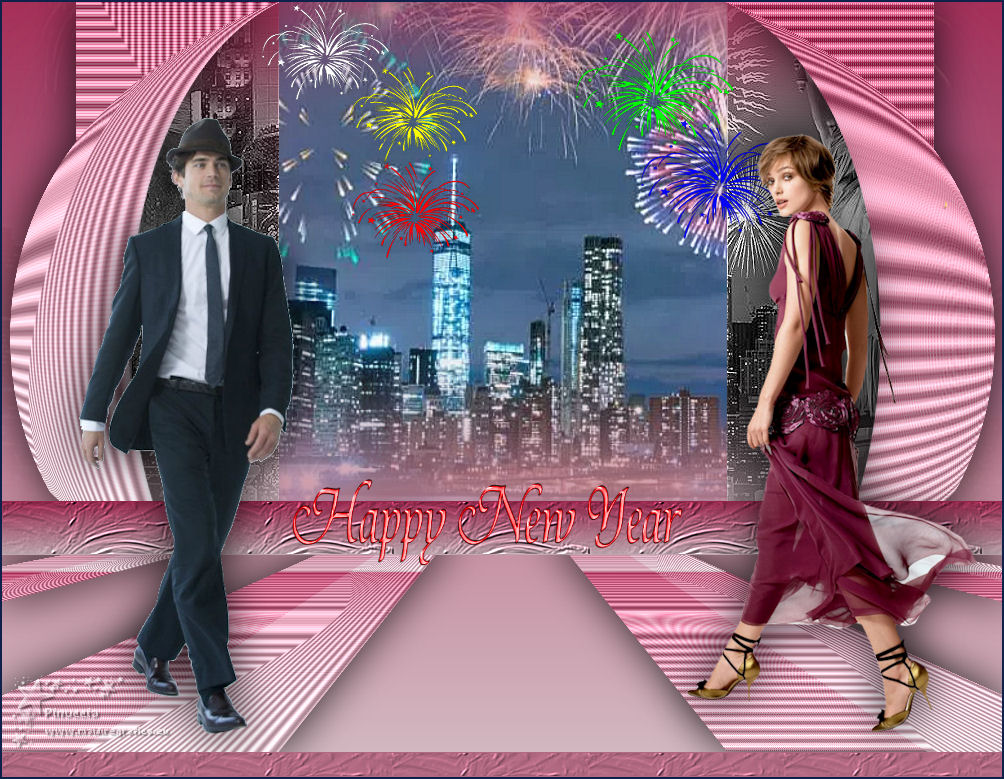
TOP HAPPY YEAR 2019
 ENGLISH VERSION ENGLISH VERSION

Here you find the original of this tutorial:

This tutorial was translated with PSPX7 but it can also be made using other versions of PSP.
Since version PSP X4, Image>Mirror was replaced with Image>Flip Horizontal,
and Image>Flip with Image>Flip Vertical, there are some variables.
In versions X5 and X6, the functions have been improved by making available the Objects menu.
In the latest version X7 command Image>Mirror and Image>Flip returned, but with new differences.
See my schedule here

French translation here
Your versions here
For this tutorial, you will need:
Material here
Malackatube fashion120
CAL-1737A-030317
Criss 2772 by Linda Gatita
Criss 2774 by Linda Gatita
lunapaisage4828 by Luna
KaraT3661
ElementsNewYear_ScrappingMar49
(you find here the links to the material authors' sites)
Plugins
consult, if necessary, my filter section here
Filters Unlimited 2.0 here
Sapphire 11 - SapphirePlugin_1008 here
Mura's Meister - Perspective Tiling here

You can change Blend Modes according to your colors.
In the newest versions of PSP, you don't find the foreground/background gradient (Corel_06_029).
You can use the gradients of the older versions.
The Gradient of CorelX here
Copy the texture in the Textures Folder.
Copy the selections in the Selections Folder.
1. Set your foreground color to #0f204e,
and your background color to #014285.
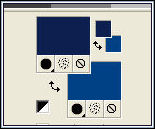
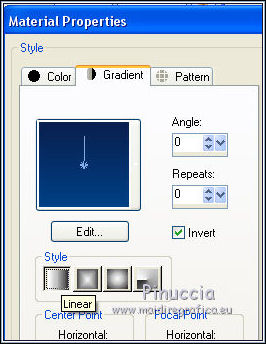
Set your foreground color to a Foreground/Background Gradient, style Linear.
2. Open a new transparent image 950 x 650 pixels.
3. Open the tube lunapaisagem4828 - Edit>Copy.
Go back to your work and go to Edit>Paste as new layer.
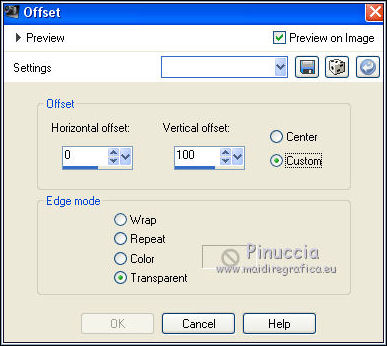
4. Effects>Image Effects>Offset.
5. Layers>New Raster Layer.
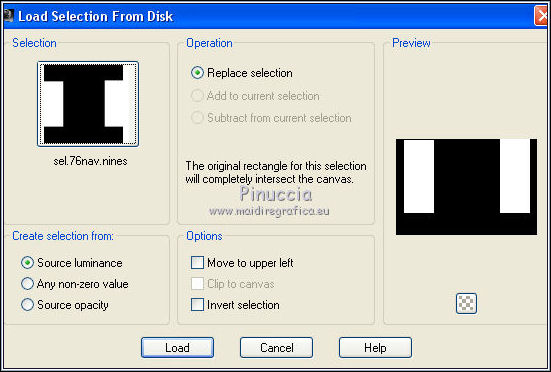
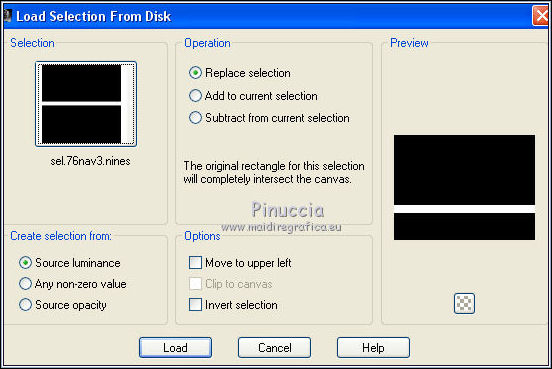
Selections>Load/Save Selection>Load Selection from Disk.
Look for and load the selection sel.76nav.nines
Flood Fill  the selection with your Gradient. the selection with your Gradient.
6. Open the tube Criss 2774 and go to Edit>Copy.
Go back to your work and go to Edit>Paste as new layer.
Image>Resize, to 70%, resize all layers not checked.
Place  the tube on the selection. the tube on the selection.
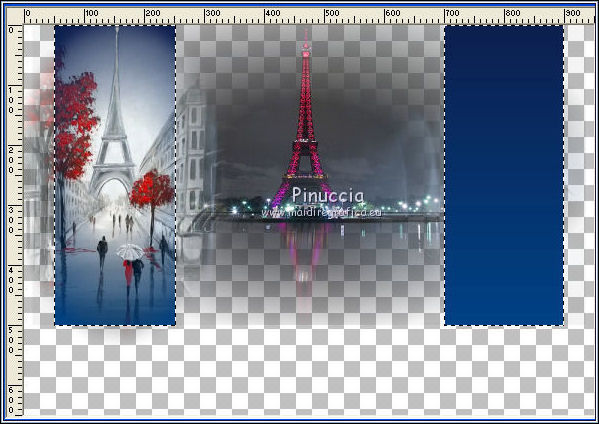
7. Selections>Invert.
Press CANC on the keyboard 
Keep selected.
8. Open the tube Criss 2772 and go to Edit>Copy.
Go back to your work and go to Edit>Paste as new layer.
Image>Resize, to 70%, resize all layers not checked.
Place the tube on the selection.
Press CANC on the keyboard.
Selections>Select None.
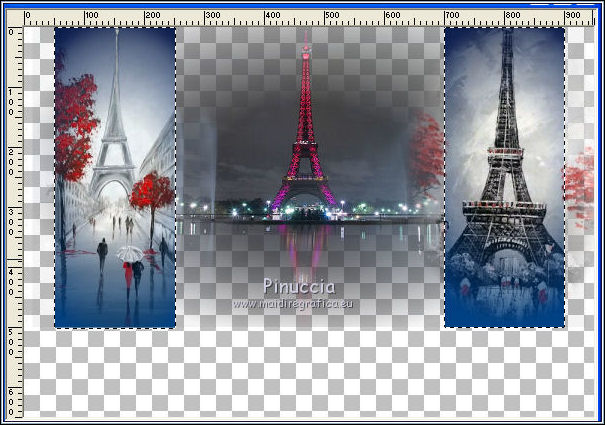
9. Activate the empty bottom layer.
Selections>Select All.
Image>Crop to selection.
10. Image>Canvas Size - 1000 x 750 pixels.

Flood Fill the layer with your Gradient.
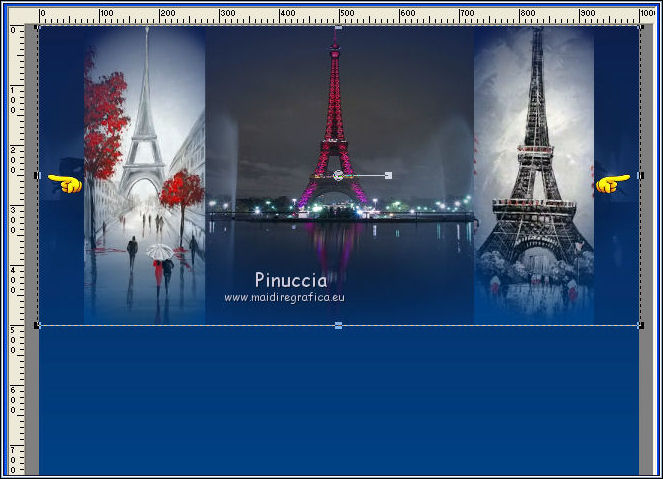
11. Activate the layer above of the landscape.
Activate the Pick Tool  (K key on the keyboard) (K key on the keyboard)
mode Scale 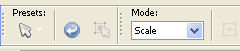
push a bit the right and left nodes
12. Layers>New Raster Layer.
Layers>Arrange>Bring to Top.
13. Selections>Load/Save Selection>Load Selection from Disk.
Load again the selection sel.76nav.nines
Flood Fill the selection with your Gradient.
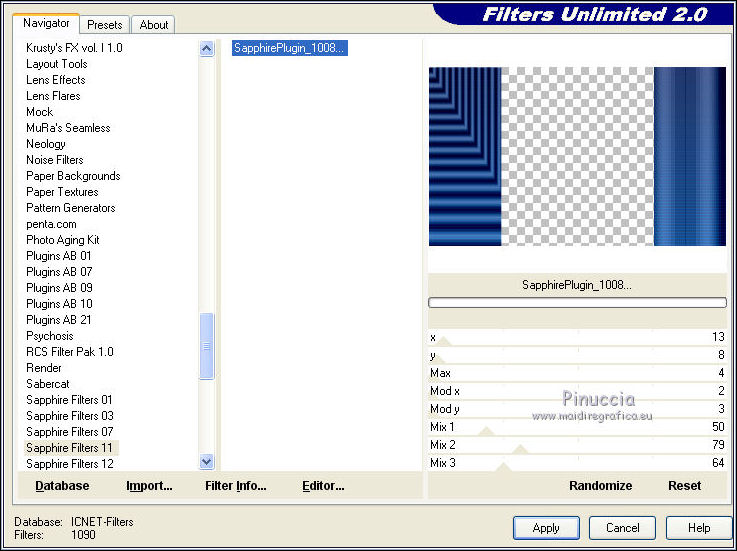
14. Effects>Plugins>Filters Unlimited 2.0 - Sapphire Filter 11 - SapphirePlugin_1008, default settings.

Selections>Select None.
15. Effects>Plugins>Mura's Meister - Persperctive Tiling.

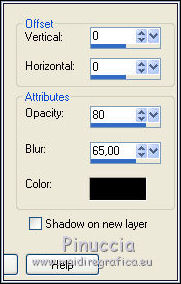
16. Effects>3D Effects>Drop Shadow, color black.
17. Layers>New Raster Layer.
Selections>Load/Save Selection>Load Selection from Disk.
Look for and load the selection sel.76nav2.nines
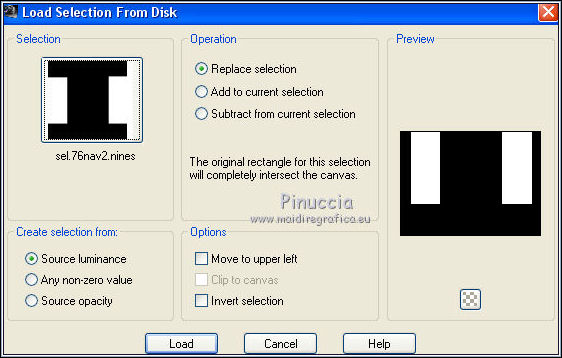
Flood Fill the selection with your Gradient.
18. Effects>Plugins>Filters Unlimited 2.0 - Sapphire Filter 11 - SapphirePlugin_1008, same settings.
Selections>Select None.
19. Effects>Geometric Effects>Spherize
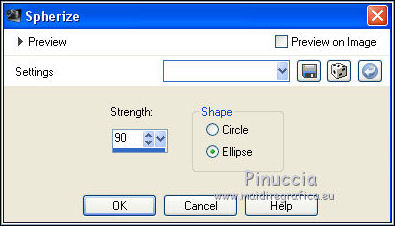
Edit>Repeat Spherize.
20. Effects>Image Effects>Offset.

21. Effects>3D Effects>Drop Shadow, color black.
22. Layers>New Raster Layer.
Selections>Load/Save Selection>Load Selection from Disk.
Look for and load the selection sel.76nav3.nines
Flood Fill the layer with your Gradient.
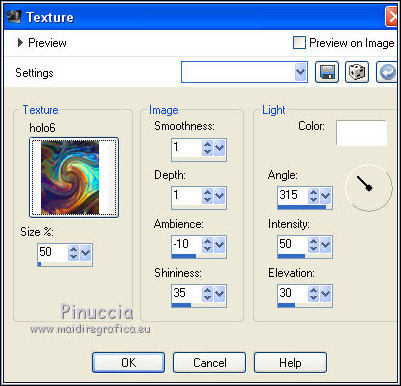
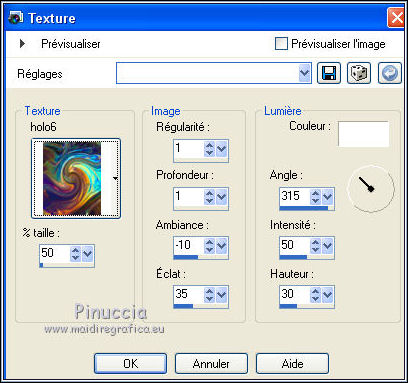
23. Effects>Texture Effects>Texture - select the texture holo6, with these settings
Adjust>Sharpness>Sharpen More.
Selections>Select None.
24. Open the tube KaraT3661 and go to Edit>Copy.
Go back to your work and go to Edit>Paste as new layer.
Move the tube over the landscape.
29. Open the tube ElementsNewYear_ScrappingMar49 and go to Edit>Copy.
Go back to your work and go to Edit>Paste as new layer.
Place rightly the text.

30. Open the tube malackatube fashion120, erase the watermark and go to Edit>Copy.
Go back to your work and go to Edit>Paste as new layer.
Image>Resize, to 80%, resize all layers not checked.
Move the tube to the right side.
31. Effects>3D Effects>Drop Shadow, same settings.
32. Open the tube CAL-1737A-030317, erase the watermark and go to Edit>Copy.
Go back to your work and go to Edit>Paste as new layer.
Image>Resize, 1 time to 90% and 1 time to 95%, resize all layers not checked.
Move the tube to the left side

Effects>3D Effects>Drop Shadow, same settings.
33. Layers>Merge>Merge All.
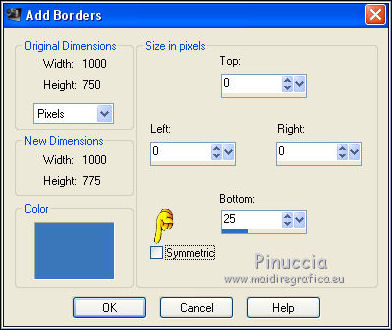
34. Image>Add borders, symmetric not checked, color #3a76ba.
35. Activate the Magic Wand Tool 
and click on the border to select it.
36. Effects>Texture Effects>Texture, same settings.
Selections>Select None.
37. Image>Add borders, 2 pixels, symmetric, color #0f204a.
38. Sign your work and save as jpg.
The tube of the woman is by Betty1953, the landscapes are tubed by me
I don't know the author of the man's tube.
Your versions here

If you have problems or doubts, or you find a not worked link, or only for tell me that you enjoyed this tutorial, write to me.
My mail is in the menu on the top of the page.
15 November 2018
My tutorials and my translations are registeredi
|