|
TOP HORROR SKULL
 ENGLISH VERSION ENGLISH VERSION
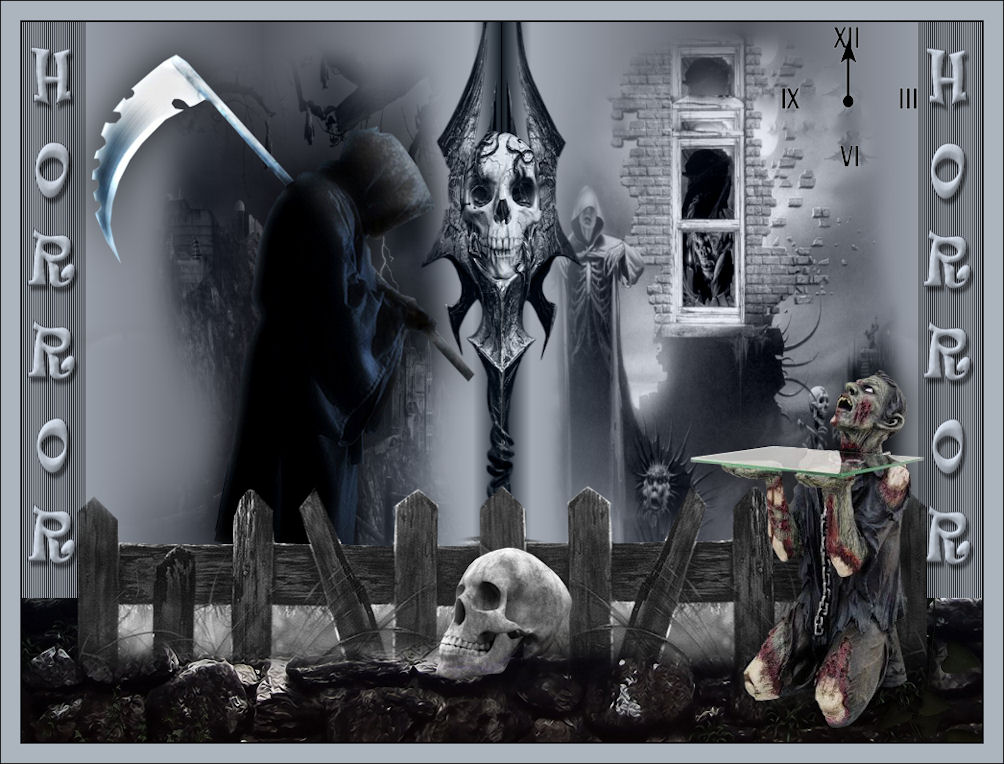
Here you find the original of this tutorial:

This tutorial was translated with PSPX7 but it can also be made using other versions of PSP.
Since version PSP X4, Image>Mirror was replaced with Image>Flip Horizontal,
and Image>Flip with Image>Flip Vertical, there are some variables.
In versions X5 and X6, the functions have been improved by making available the Objects menu.
In the latest version X7 command Image>Mirror and Image>Flip returned, but with new differences.
See my schedule here
French translation here
Le vostre versioni ici
For this tutorial, you will need:
Material here
Tube calguisfaucheuse24102018 by Guismo
Tube calguiszombideco23102018 by Guismo
Tube calguisskull22102018 by Guismo
Mist calguismistedhalloween24102018 by Guismo
Mist calguismomisthorrorSkull19102011 by Guismo
Tube calguismuretteroseblue151102016 by Guismo
Tube CAL-1651-021717
Mist Estacas valla-autor desconocido
Gerdaklok16
Texto Horror_nines
(you find here the links to the material authors' sites)
Plugins
consult, if necessary, my filter section here
Dc Special - Book here
Filters Unlimited 2.0 here
Filters VM Toolbox can be used alone or imported into Filters Unlimited.
(How do, you see here)
If a plugin supplied appears with this icon  it must necessarily be imported into Unlimited it must necessarily be imported into Unlimited

You can change Blend Modes according to your colors.
In the newest versions of PSP, you don't find the foreground/background gradient (Corel_06_029).
You can use the gradients of the older versions.
The Gradient of CorelX here
1. Open a new transparent image 1000 x 600 pixels.
Set your foreground color to #555760,
and your background color to #acb4be.
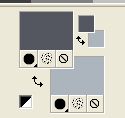
2. Set your foreground color to a Foreground/Background Gradient, style Linear.
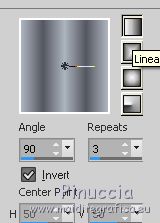
Flood Fill  the transparent image with your Gradient. the transparent image with your Gradient.
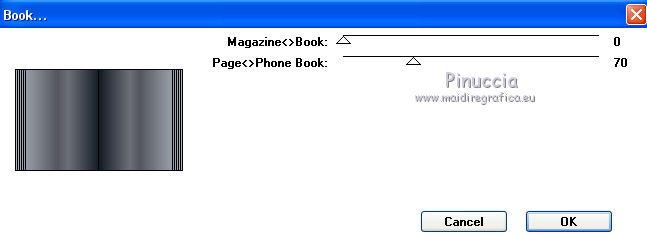
3. Effects>Plugins>DC Special - Book.
4. Selection Tool 
(no matter the type of selection, because with the custom selection your always get a rectangle)
clic on the Custom Selection 
and set the following settings.
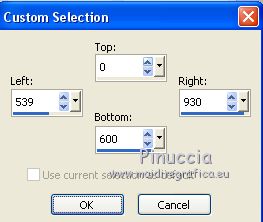
5. Layers>New Raster Layer.
Open calguismisthoororSkull19102011 - Edit>Copy.
Go back to your work and go to Edit>Paste into Selection.
Selections>Select None.
Change the Blend Mode of this layer to Luminance (legacy).
6. Custom Selection 
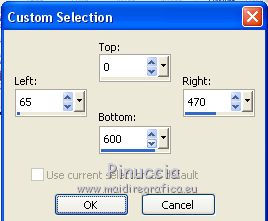
7. Layers>New Raster Layer.
Open calguismistedhalloween 24102018, erase the watermark and go to Edit>Copy.
Go back to your work and go to Edit>Paste into Selection.
Selections>Select None.
Change the Blend Mode of this layer to Luminance (legacy).
8. Open gerdaklok16 - Edit>Copy.
Go back to your work and go to Edit>Paste as new layer.
Image>Resize, 2 times to 80%, resize all layers not checked.
Move  the tube at the upper right. the tube at the upper right.
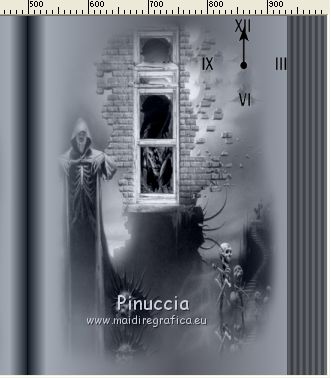
9. Open CAL-1651-021717 - Edit>Copy.
Go back to your work and go to Edit>Paste as new layer.
Erase the watermark.
Place  le tube in the middle. le tube in the middle.
Change the Blend Mode of this layer to Luminance (legacy).
10. Open the texte Horror_nines - Edit>Copy.
Go back to your work and go to Edit>Paste as new layer.
11. Open calguisfaucheuse24102018 - Edit>Copy.
Go back to your work and go to Edit>Paste as new layer.
Image>Resize, 2 times to 80%, resize all layers not checked.
Move  the tube to the left side. the tube to the left side.
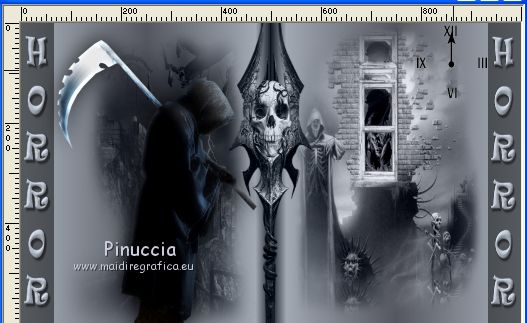
12. Effects>3D Effets>Drop Shadow, color black.
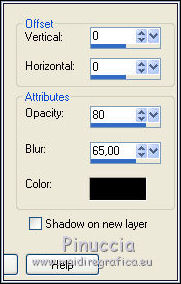
13. Layers>Merge>Merge visible.
14. Image>Canvas Size - 1000 x 750 pixels.
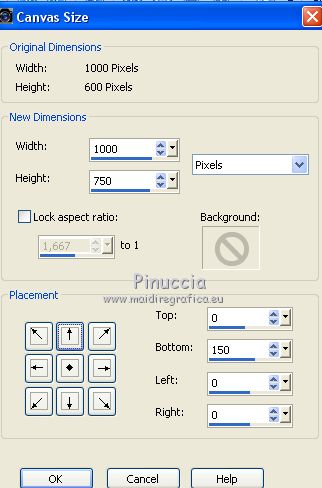
15. Open calguismuretteroseblue151102016 - Edit>Copy.
Go back to your work and go to Edit>Paste as new layer.
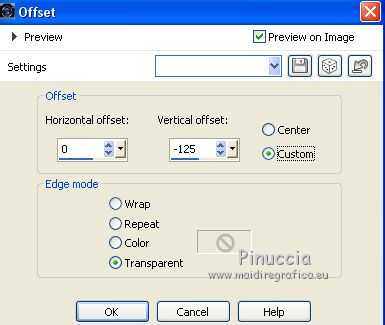
16. Effects>Image Effects>Offset.
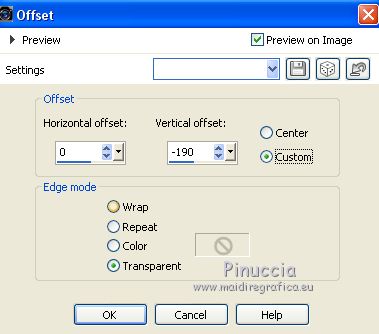
17. Layers>Arrange>Send to Bottom.
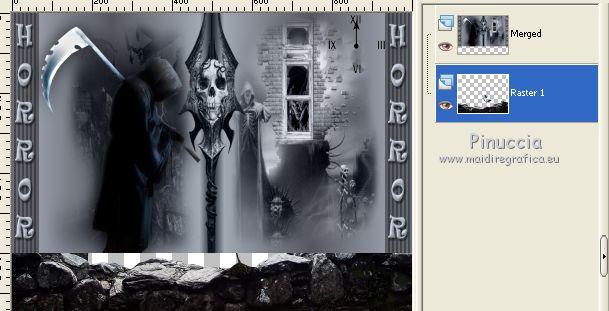
18. Activate the top layer.
Open estacas valla_autor desconocido - Edit>Copy.
Go back to your work and go to Edit>Paste as new layer.
19. Effects>3D Effects>Offset.
20. Layers>New Raster Layer.
Layers>Arrange>Send to Bottom.
Set your foreground color to black.
Flood Fill  the layer with color black. the layer with color black.
21. Activate the top layer.
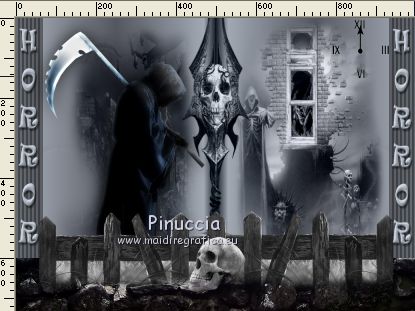
Open calguisklull22102018, erase the watermark and Edit>Copy.
Go back to your work and go to Edit>Paste as new layer.
Image>Resize, 1 time to 50% and 1 time to 70%, resize all layers not checked.
Move  the tube down in the middle. the tube down in the middle.
Change the Blend Mode of this layer to Luminance (legacy).
22. Open calguiszombideco23102018, erase the watermark - Edit>Copy.
Go back to your work and go to Edit>Paste as new layer.
Image>Mirror.
Move  the tube at the bottom right. the tube at the bottom right.
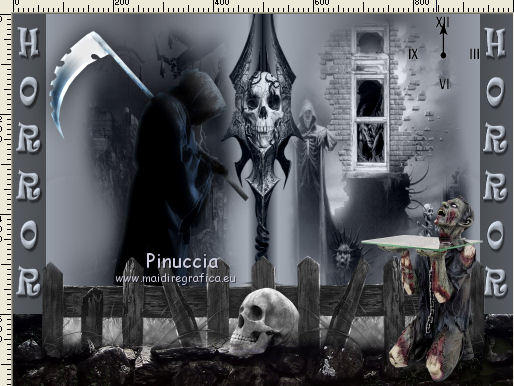
23. Effects>3D Effects>Drop Shadow, same settings.

24. Layers>Merge>Merge All.
25. Image>Add borders, 2 pixels, symmetric, color #000000.
Image>Add borders, 20 pixels, symmetric, background color #acb4be.
Image>Add borders, 1 pixel, symmetric, color #000000.
26. Image>Resize, to 96%, resize all layers checked.
27. Sign your work and save as jpg.
Your versions here

If you have problems or doubts, or you find a not worked link, or only for tell me that you enjoyed this tutorial, write to me.
25 Octobre 2018
|
 ENGLISH VERSION

 ENGLISH VERSION
