|
TOP LOLIA
english version

Here you find the original of this tutorial:

This tutorial was translated with PSPX3 but it can also be made using other versions of PSP.
Since version PSP X4, Image>Mirror was replaced with Image>Flip Horizontal,
and Image>Flip with Image>Flip Vertical, there are some variables.
In versions X5 and X6, the functions have been improved by making available the Objects menu.
In the latest version X7 command Image>Mirror and Image>Flip returned, but with new differences.
See my schedule here
French translation here
Your versions here
For this tutorial, you will need:
a landscape (not applied)
For my example I used a tube by Mentali mentali-misted998 (I jointed it in the zip).
The rest of the material here
Tube3088_mulher_mara_pontes
anna.br_couple_et_petits
Plugins
consult, if necessary, my filter section here
Flaming Pear - Flood here
Flaming Pear - Glitterato here
Mura's Meister - Copies here
AAA Frames - Foto Frame here
FM Tile Tools - Saturation Emboss here

You can change Blend Modes according to your colors.
In the newest versions of PSP, you cannot find the foreground/background gradient ou Corel_06_29.
You can use the Gradient folder of Corel X that you can find here
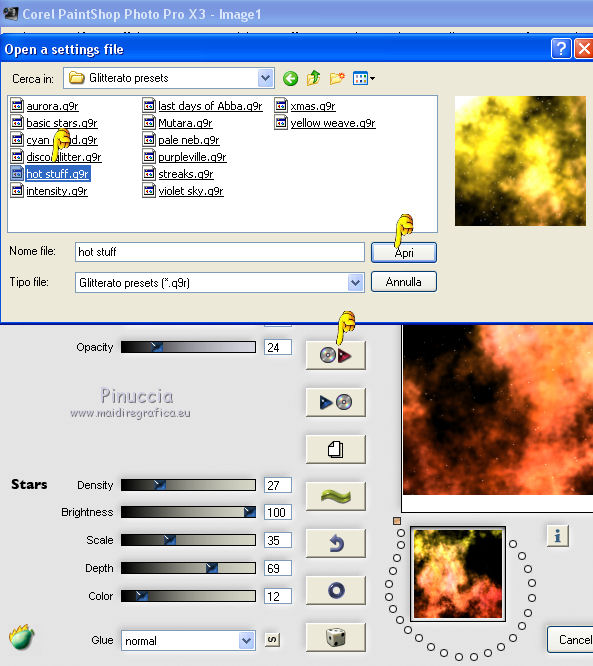
The preset hot_stuff is standard in the filter Glitterato.
If you don't find it in your plugin, import the preset applied when you'll need.
Open the mask in PSP and minimize it with the rest of the material.
1. Open a new transparent image 1000 x 750 pixels.
2. Set your foreground color to #9a9472,
and your background color to #393820.
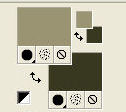
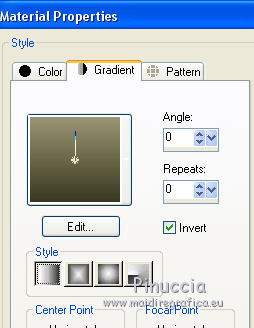
Set your foreground color to a Foreground/Background Gradient, style Linear.
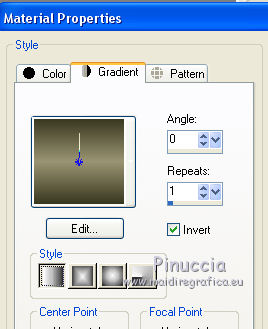
Flood Fill  the transparente image with your Gradient. the transparente image with your Gradient.
3. Effects>Geometric Effects>Perspective Horizontal.
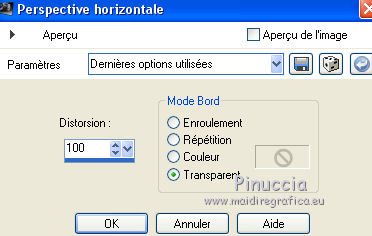
4. Image>Mirror.
Repeat Effects>Geometric Effects>Perspective Horizontal.

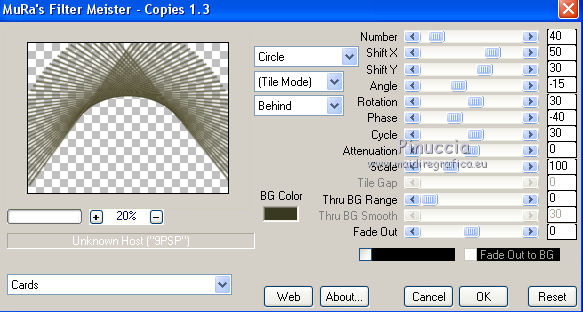
5. Effects>Plugins>Mura's Meister - Copies.
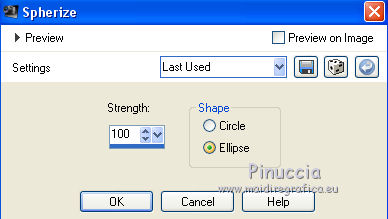
6. Effects>Geometric Effects>Spherize.
7. Effects>Plugins>FM Tile Tools - Saturation Emboss, par défaut.

8. Change the Gradient settings.
Layers>New Raster Layer.
Layers>Arrange>Move down.
Flood Fill  the layer with your gradient. the layer with your gradient.
9. Effects>Plugins>Flaming Pear - Glitterato
select the preset Hot stuff.q9r and ok.
10. Image>Flip.
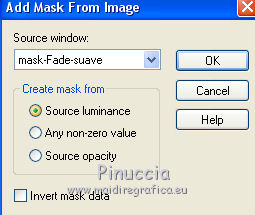
11. Apply 2 times a mask to fade the bord
For my example, I used mask_top_fade (joined in the zip).
Layers>New Mask layer>From image
Open the menu under the source window and you'll see all the files open.
Select the mask mask_top_fade.
Layers>Duplicate.
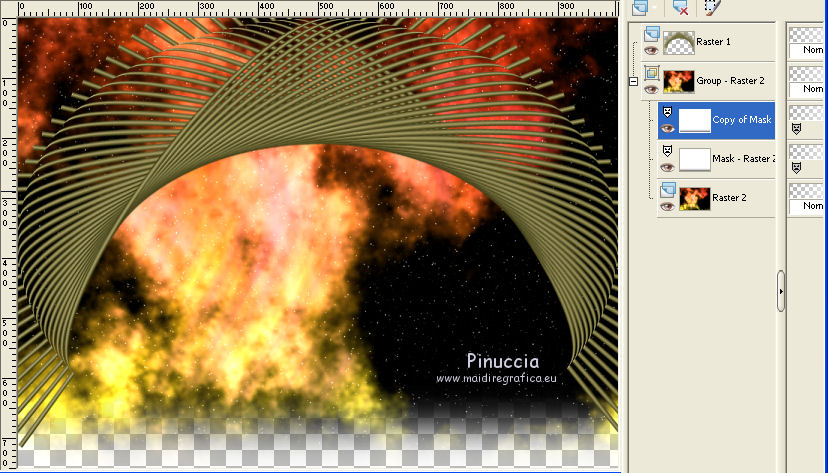
Layers>Merge>Merge Group.
12. Layers>New Raster Layer.
Layers>Arrange>Send to Bottom.
Flood Fill  the layer with your gradient. the layer with your gradient.
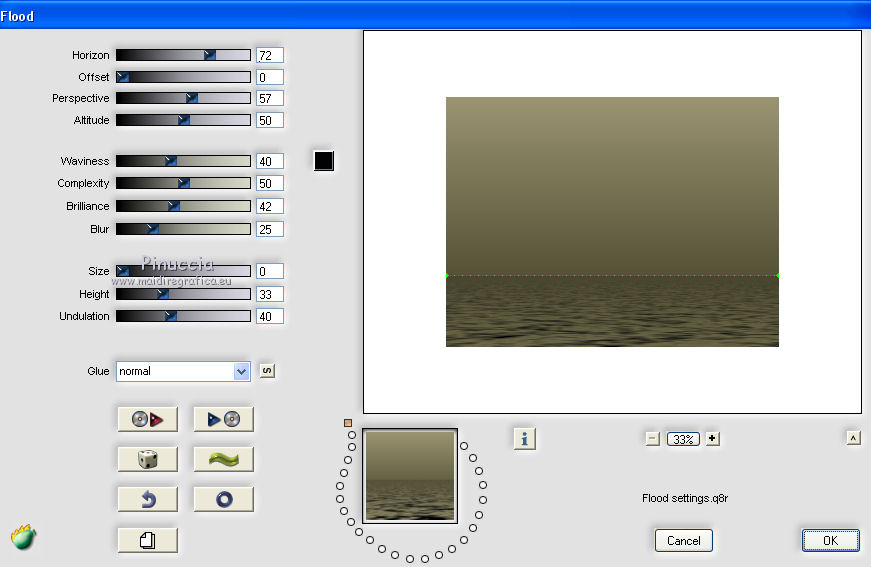
13. Effects>Plugins>Flaming Pear - Flood.
14. Open your landscape, for me mentali-misted998 - Edit>Copy.
Go back to your work and go to Edit>Paste as new layer.
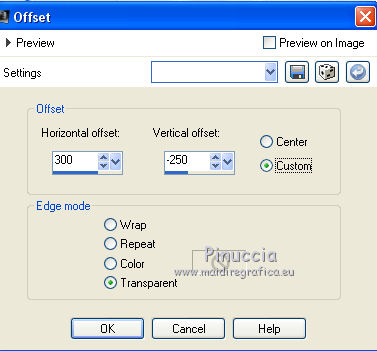
15. Effects>Image Effects>Offset.
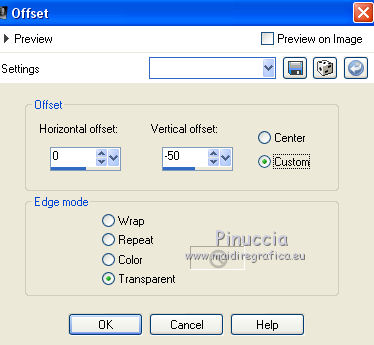
Layers>Arrange>Move up.
16. Open the tube anna.br_couple_et_petits - Edit>Copy.
Go back to your work and go to Edit>Paste as new layer.
Image>Resize, 3 times to 80%, resize all layers not checked.
17. Effects>Image Effects>Offset.
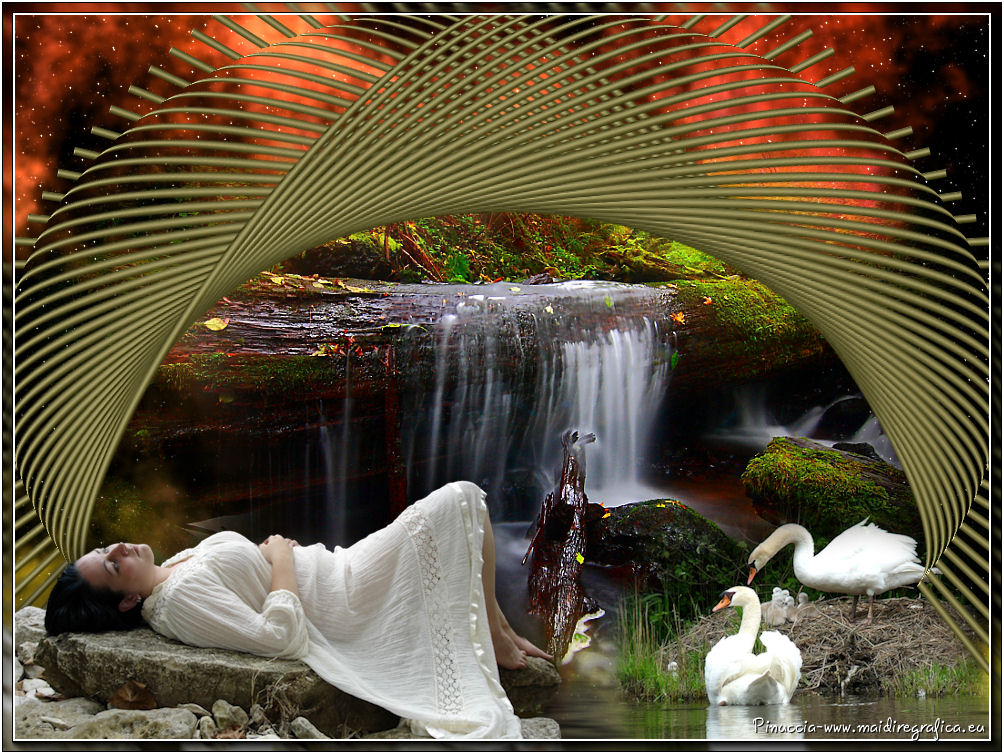
You should have this
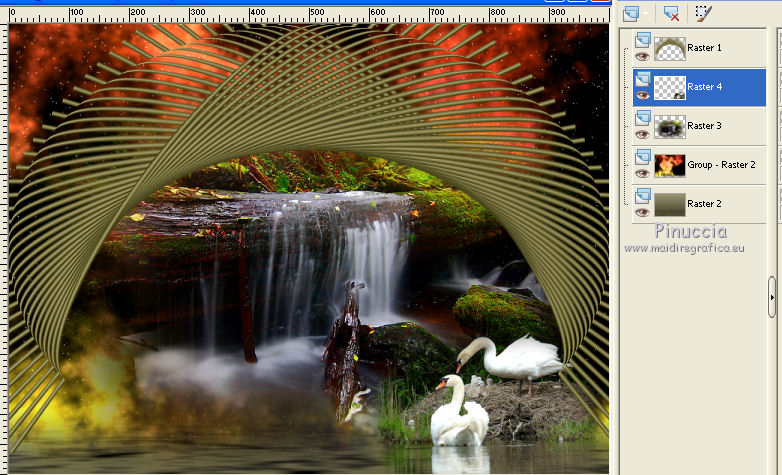
18. Activate the top layer.
Open tube3088_mulher_mara_pontes - Edit>Copy.
Go back to your work and go to Edit>Paste as new layer.
Image>Resize, 2 times to 80% and 1 time to 90%, resize all layers not checked.
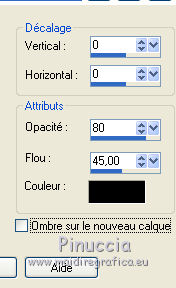
19. Effects>3D Effects>Drop Shadow, color black.
Move  the tube at the bottom left. the tube at the bottom left.
20. Layers>Merge>Merge visible.
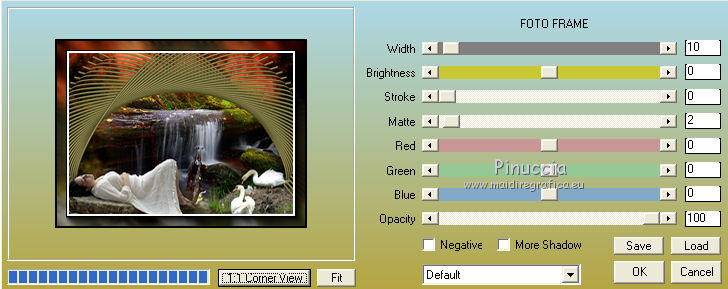
21. Effects>Plugins>AAA Frames - Foto Frame.
22. Image>Add borders, 2 pixels, symmetric, color white.
23. Sign your work and save as jpg.

If you have problems or doubt, or you find a not worked link, or only for tell me that you enjoyed this tutorial, write to me.
24 August 2016
|
