|
TOP MERRY CHRISTMAS

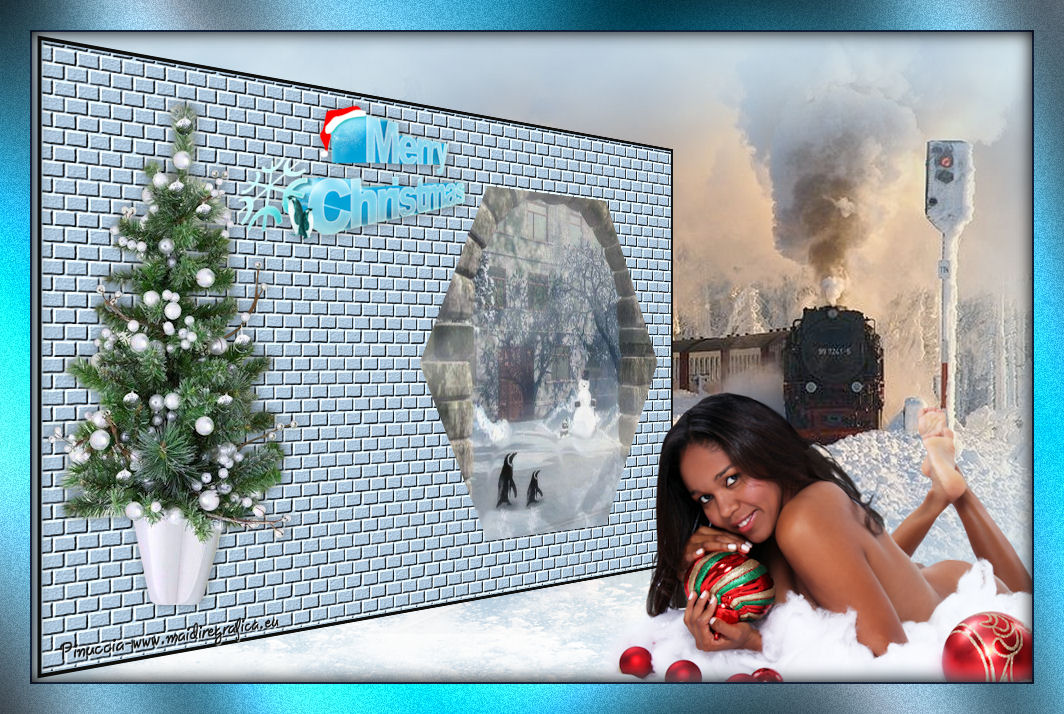
Here you find the original of this tutorial:

This tutorial was translated with PSPX3 but it can also be made using other versions of PSP.
Since version PSP X4, Image>Mirror was replaced with Image>Flip Horizontal,
and Image>Flip with Image>Flip Vertical, there are some variables.
In versions X5 and X6, the functions have been improved by making available the Objects menu.
In the latest version X7 command Image>Mirror and Image>Flip returned, but with new differences.
See my schedule here
French translation here
Your versions here

For this tutorial, you will need:
Material here
Tube DBK AA Model-Xm-0905 by Katrina
Tube Paysage 14.11.10.04 by Corinne Vicaire
Tube paysage 24.11.10.04 by Corinne Vicaire
Tube N_40_SL by Sussuluz
Tube Tube Mery Christma by Corinne Vicaire
BS17 Suelo nieve2
Textura ladrillo
Plugins
consult, if necessary, my filter section here
Filters Unlimited 2.0 here
Graphics Plus - Cross Shadow here
Mura's Meister - Cloud here
Andromeda - Perspective here
DBS Flux - Bright Noise here
Filters VM Distortion can be used alone or imported into Filters Unlimited.
(How do, you see here)
If a plugin supplied appears with this icon  it must necessarily be imported into Unlimited it must necessarily be imported into Unlimited

You can change Blend Modes according to your colors.
In the newest versions of PSP, you don't find the foreground/background gradient (Corel_06_029).
You can use the gradients of the older versions.
The Gradient of CorelX here
Copy the texture "ladrillo" in the Textures Folder.
1. Open a new transparent image 1000 x 650 pixels.
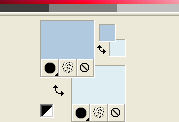
2. Set your foreground color to #b0c9de,
and your background color to #deeef3.
3. Effects>Plugins> Mura's Meister Cloud, par défaut.
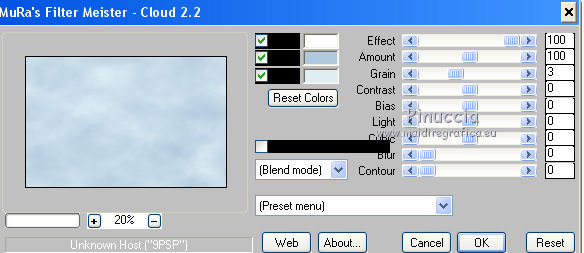
remember that this plugin works with the colors of your Materials,
but keeps in memory the first settings used after the opening of PSP.
So, if you have already used the plugin, press Reset to be sure to have your colors.
Press again Reset is used to change the appearance of the clouds, which is random
(for that, your result will be always different).
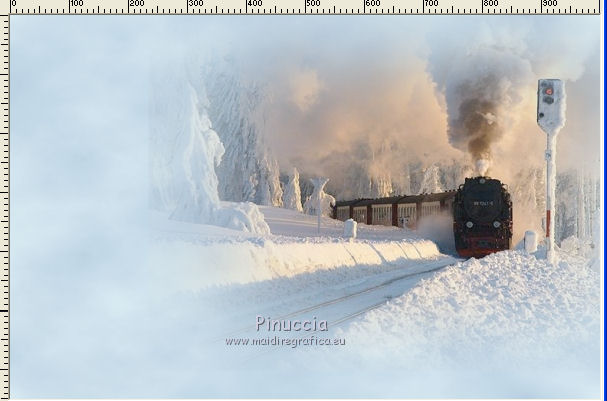
4. Open the tube paysage 14.11.10.04 - Edit>Copy.
Go back to your work and go to Edit>Paste as new layer.
Move  the tube to the right side, see my example. the tube to the right side, see my example.
5. Layers>New Raster layer.
Set your foreground color to #0e0e0d.
Flood Fill  the layer with #0e0e0d. the layer with #0e0e0d.
6. Selections>Select All.
Selections>Modify>Contract - 4 pixels.
Press CANC on the keyboard 
Keep selected.
7. Flood Fill  with your foreground color #b0c9de. with your foreground color #b0c9de.
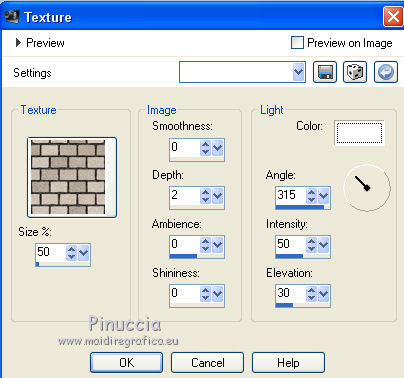
8. Effects>Texture Effects>Texture - select the texture ladrillo, color white.
Selections>Select None.
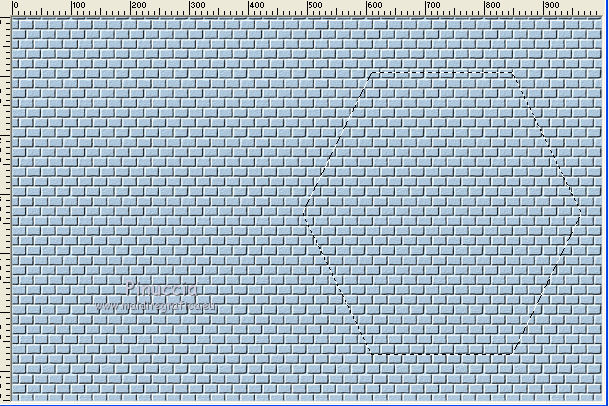
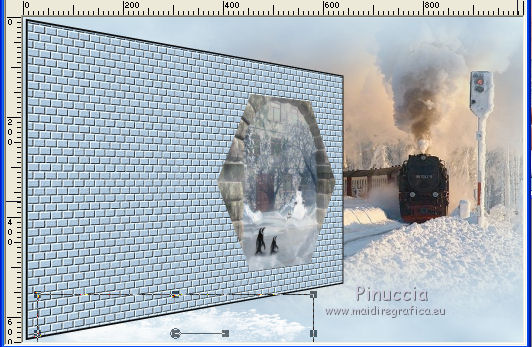
9. Activate the Selection Tool  , héxagone, , héxagone,

Draw a selection as below

Press CANC on the keyboard
Keep selected.
10. Open the tube paysage 24.11.10.02 - Edit>Copy.
Go back to your work and go to Edit>Paste as new layer.
Place  rightly the tube in the selection. rightly the tube in the selection.

Selections>Invert.
Press CANC on the keyboard.
Selections>Select None.
Layers>Arrange>Move Down.
Activate the top layer.
Layers>Merge>Merge down.
11. Effects>Plugins>Andromeda - Perspective
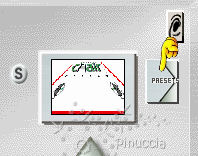
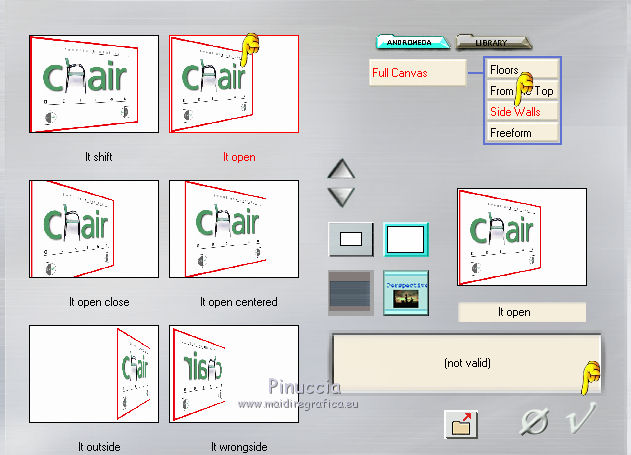
Click on Presets

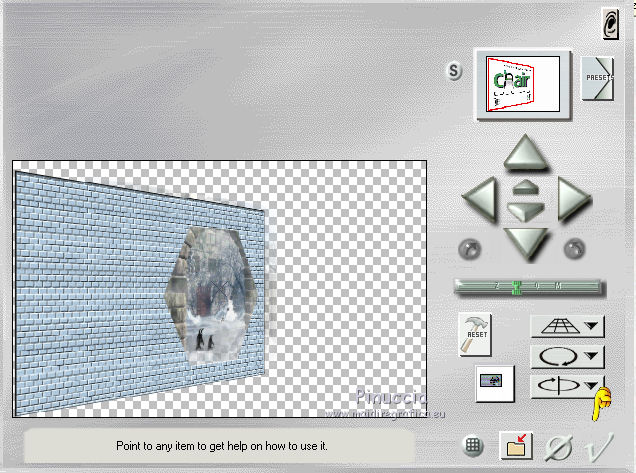
Set the settings and click on the cherck mark at the bottom right to apply.

Again click on the check mark at the bottom right to close

12. Activate the bottom layer.
13. Open the tube suelo nieve - Edit>Copy.
Go back to your work and go to Edit>Paste as new layer.
Move  the tube at the bottom left. the tube at the bottom left.

14. Layers>Duplicate.
Move  this layer a little lower. this layer a little lower.
15. Open the tube DBK-AA-Model_Xm-0905 - Edit>Copy.
Go back to your work and go to Edit>Paste as new layer.
Image>Resize, 2 times to 80%, resize all layers not checked.
Move  the tube at the bottom right. the tube at the bottom right.
16. Open the tube arbol de Navidad - Edit>Copy.
Go back to your work and go to Edit>Paste as new layer.
Image>Resize, to 80%, resize all layers not checked.
Move  the tube to the left, on the wall. the tube to the left, on the wall.
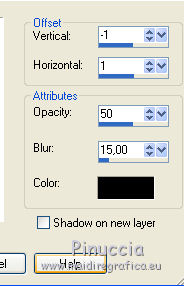
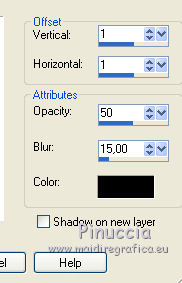
17. Effects>3D Effects>Drop Shadow, color black.

18. Open the tube Merry Christmas - Edit>Copy.
Go back to your work and go to Edit>Paste as new layer.
Image>Resize, 4 times to 80%, resize all layers not checked.
Place  the wordart on the wall, see my example. the wordart on the wall, see my example.
19. Effects>3D Effects>Drop Shadow, color black.

20. Layers>Merge>All.
21. Image>Add borders, 2 pixels, symmetric, color #2c4983.
Image>Add borders, 30 pixels, symmetric, color white.
Activate the Magic Wand Tool 
and click on the white bord to select it.
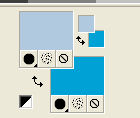
22. Foreground color #b0c9de,
Background color #01a1d5.

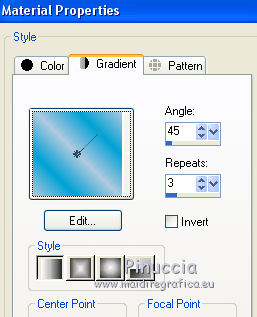
Set your foreground color to a Foreground/Background Gradient, style Linear.

Flood Fill  the selection with your gradient. the selection with your gradient.
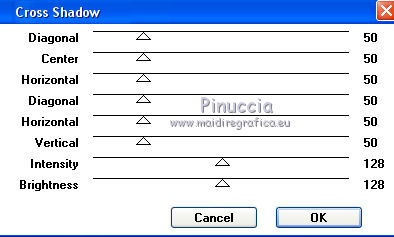
23. Effects>Plugins>Graphics Plus - Cross Shadow, par défaut.

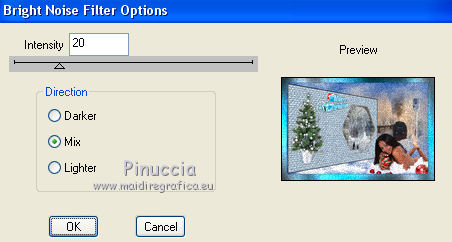
24. Effects>Plugins>DSB Flux - Brigt Noise.

25. Selections>Invert.
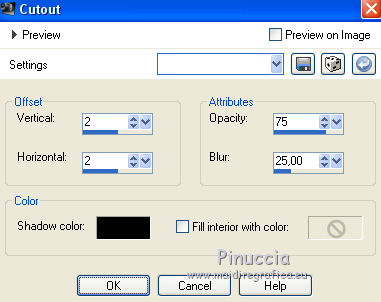
Effects>3D Effects>Cutout, color black.

Repeat Cutout, but vertical and horizontal -2.
Selections>Select None.
26. Image>Add borders, 2 pixels, symmetric, color #2c4983.
27. Sign your work and save as jpg.

If you have problems or doubts, or you find a not worked link, or only for tell me that you enjoyed this tutorial, write to me.
30 Novembre 2017
|


 the tube to the right side, see my example.
 the layer with #0e0e0d.

 , héxagone,
